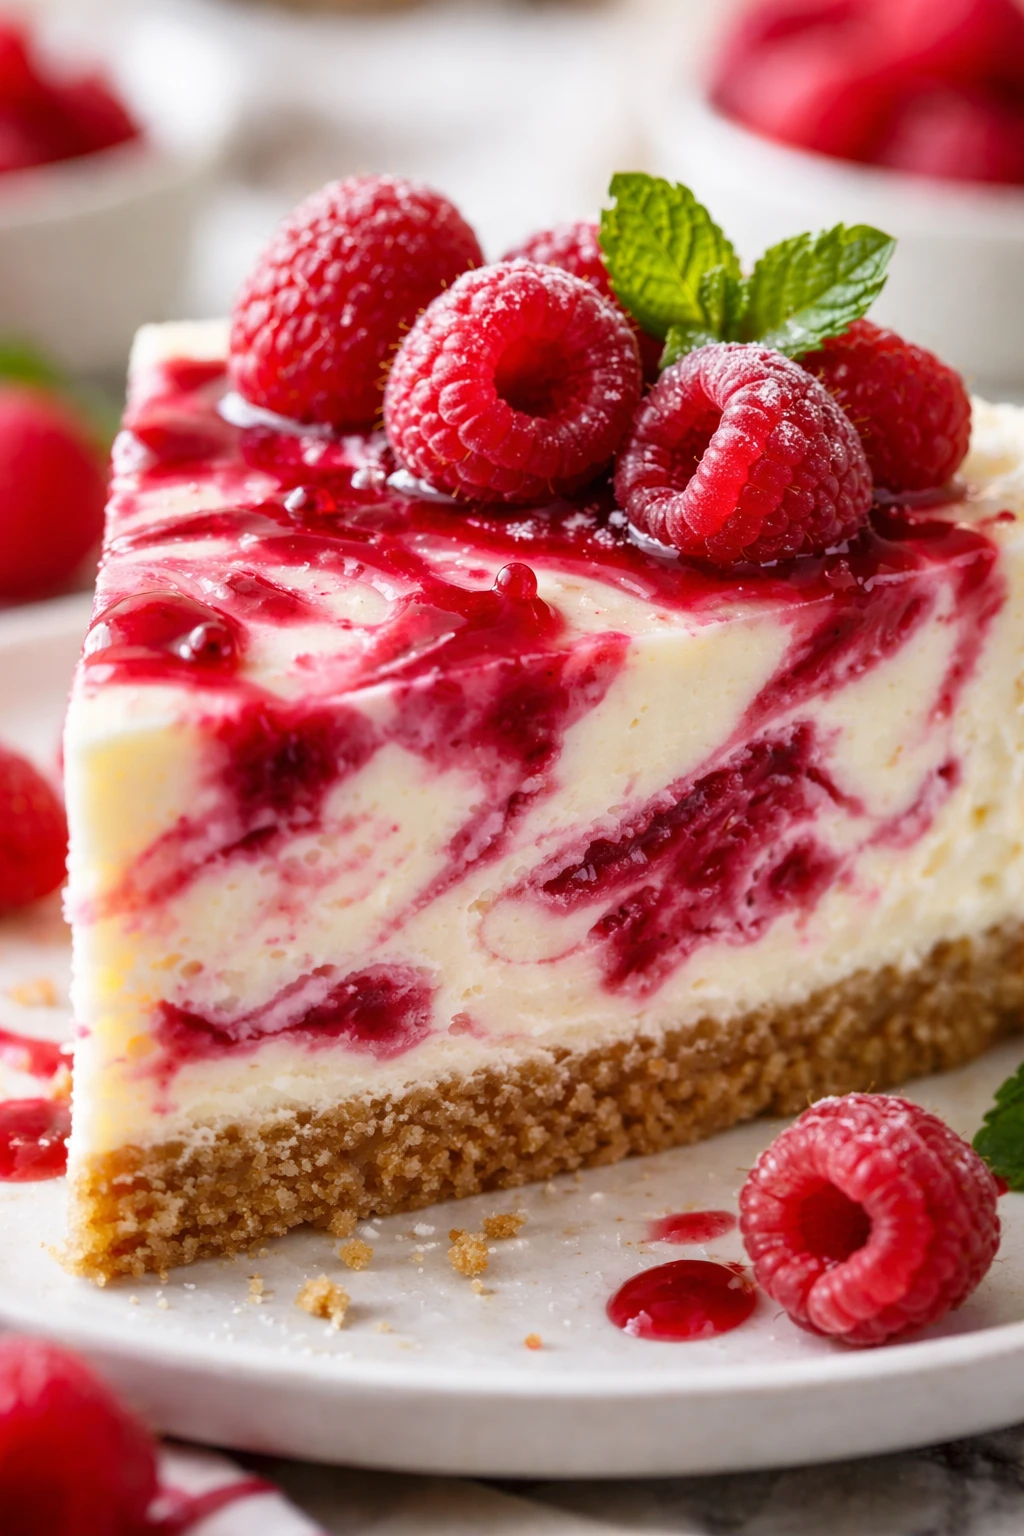
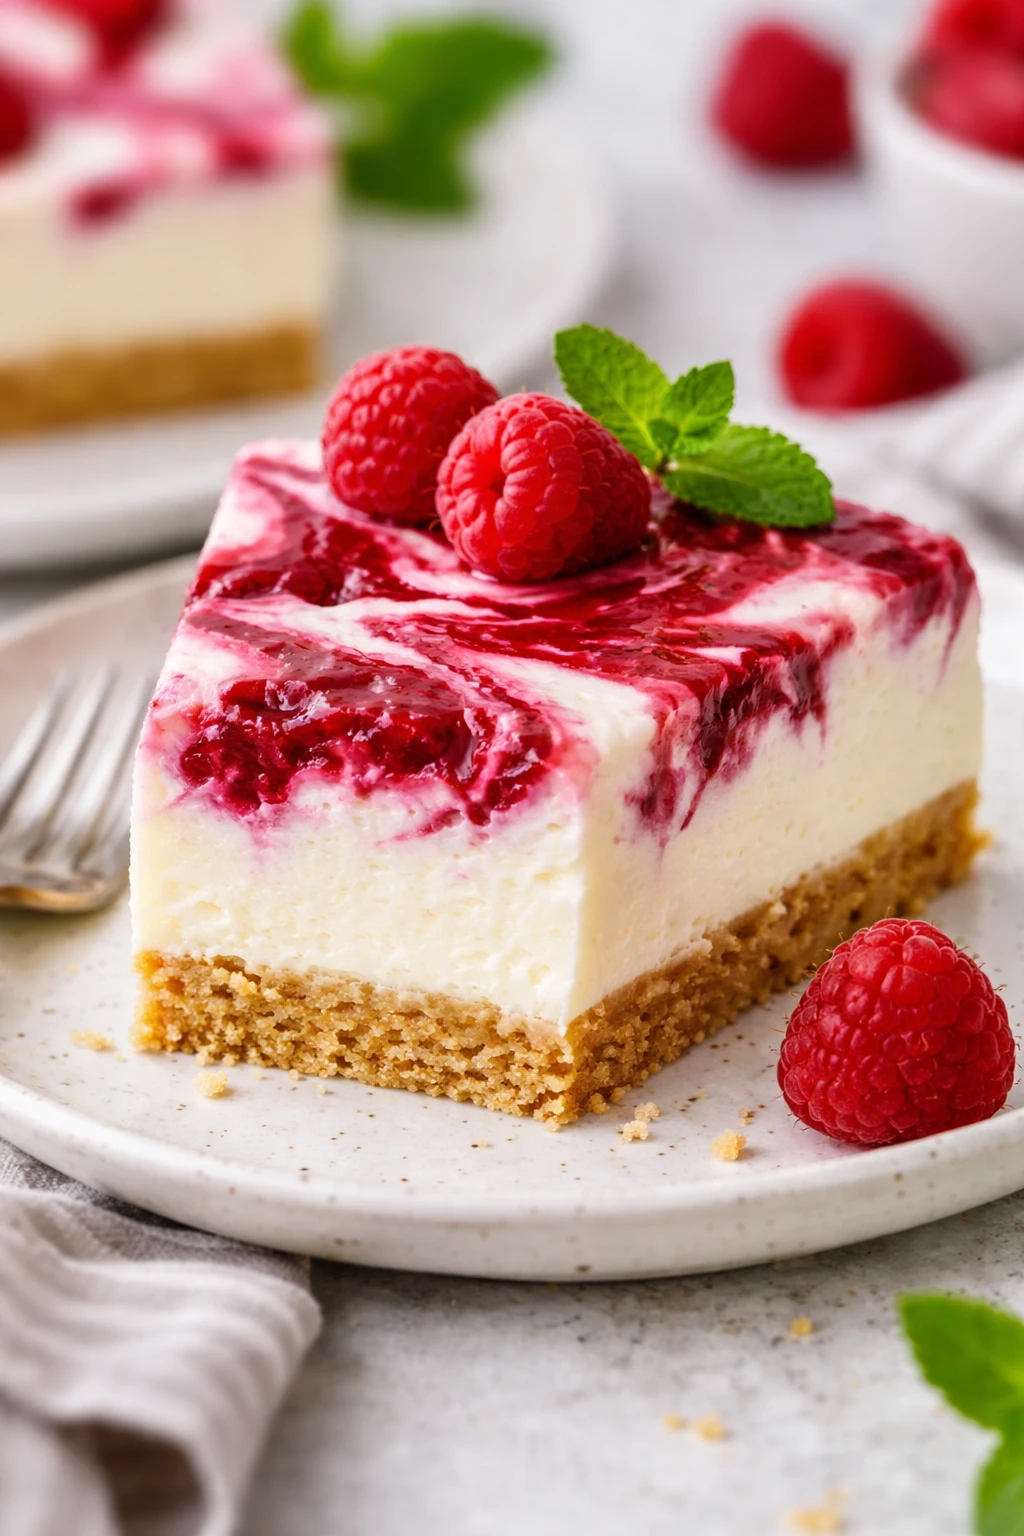
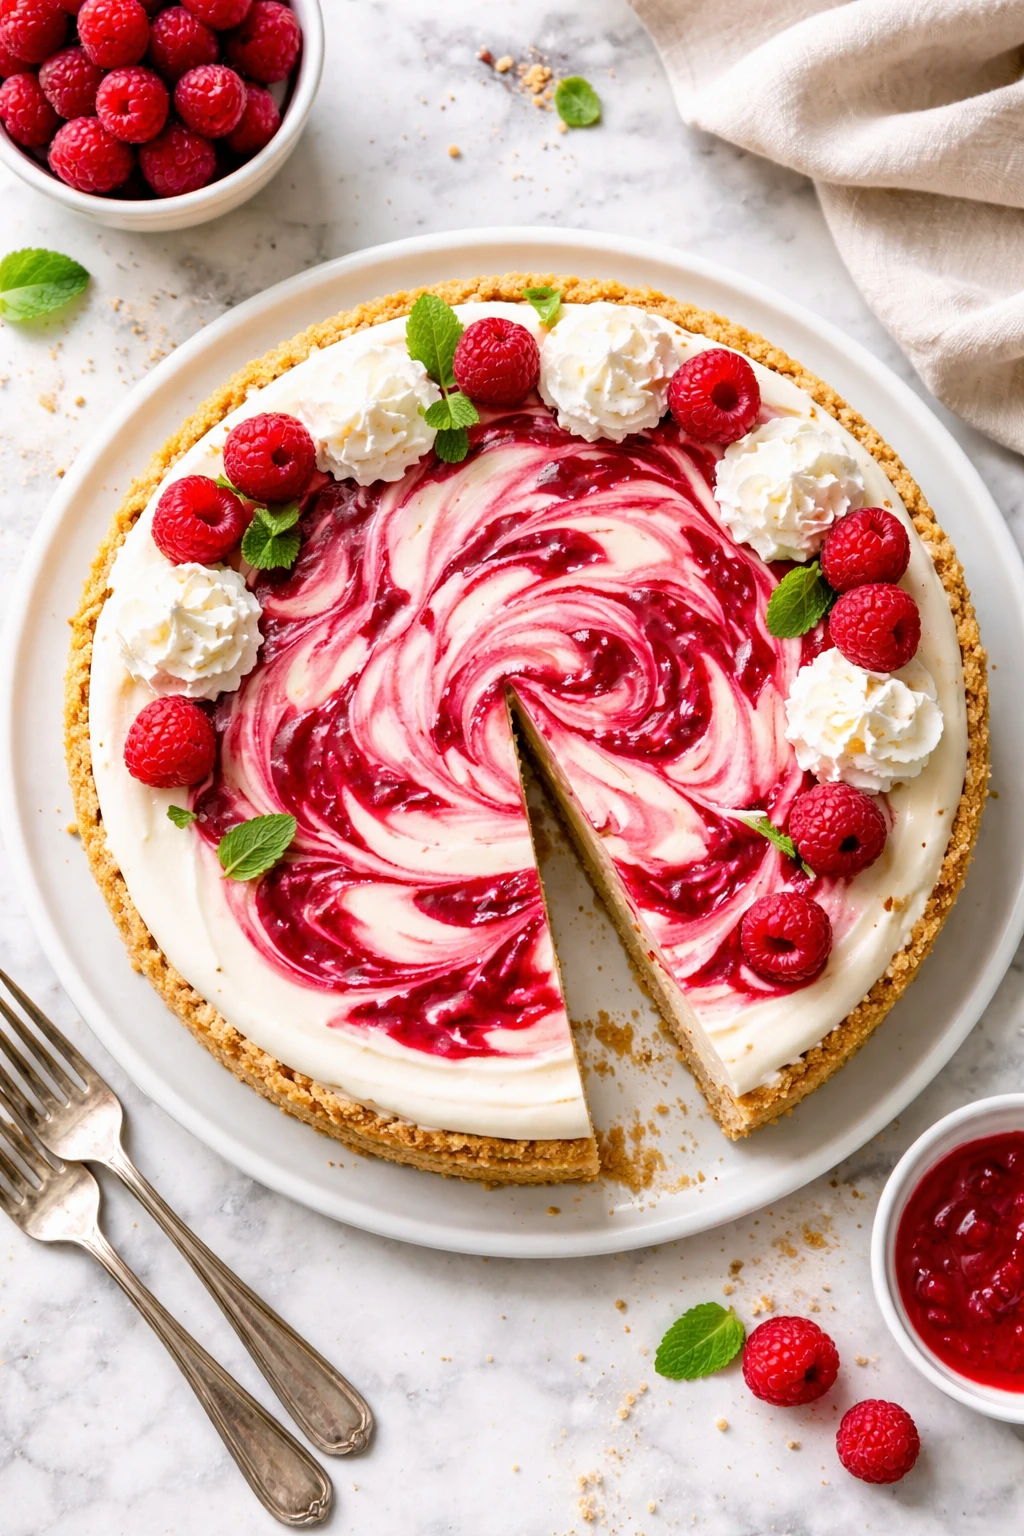
This no bake cheesecake is a total game-changer—super creamy with a fresh raspberry swirl that brightens every bite. It’s perfect for when you want a fuss-free dessert that still wows. Great for summer get-togethers or last-minute treats!
Introduction
I stumbled upon this no bake raspberry swirl cheesecake a couple of summers ago when I wanted something quick, light, and impressive for a backyard get-together. Honestly, I was skeptical at first—no bake cheesecakes can sometimes be too soft or overly sweet. But this recipe changed the game for me. It’s incredibly creamy without being heavy, and the raspberry swirl adds a fresh, tangy contrast that lifts the whole dessert. What makes this version special is how I fold the whipped cream gently into the cream cheese mixture, which keeps it airy and smooth. Also, swirling in fresh raspberry puree right before chilling gives it a beautiful marbled look and a burst of natural fruit flavor. When you cut into it, you get that perfect bite of sweet and tart, creamy and crumbly. It’s always a crowd-pleaser, especially in warm weather when you want something cool but not too rich. Plus, it’s super forgiving—no oven needed, so it’s great for last-minute plans or when you just want dessert without the fuss. I think you’re going to love how simple and stunning this cheesecake is!
What You'll Need
One 9-inch cheesecake, 8 servings
- 1 1/2 cups graham cracker crumbs
- 1/3 cup unsalted butter, melted
- 3 tablespoons granulated sugar
- 16 ounces cream cheese, softened
- 1 cup powdered sugar
- 1 teaspoon vanilla extract
- 1 1/2 cups heavy whipping cream, chilled
- 1/2 cup fresh raspberries
- 2 tablespoons raspberry jam
How To Do It
Step 1
Start by combining the graham cracker crumbs, melted butter, and granulated sugar in a medium bowl. Mix until the crumbs are evenly coated and hold together when pressed. This mixture forms the crust, so it’s important to get it well combined for a firm base. Press the crust mixture firmly and evenly into the bottom of a 9-inch springform pan or pie dish. Use the bottom of a glass or measuring cup to compact it tightly. This helps prevent the crust from crumbling when you slice the cheesecake later. Once pressed, place the crust in the refrigerator to chill while you prepare the filling.
⏱ Time: 10
✓ Doneness: Crust is tightly packed and feels firm to the touch after chilling
Step 2
In a large mixing bowl, beat the softened cream cheese until smooth and creamy using an electric mixer on medium speed. Add the powdered sugar and vanilla extract, then continue to beat until fully combined and fluffy. The key here is to ensure the cream cheese is completely softened to avoid lumps, which can ruin the silky texture of the filling. Scrape down the sides of the bowl as needed to incorporate all ingredients evenly. This base mixture is what gives the cheesecake its rich, creamy texture, so take your time to get it perfectly smooth.
⏱ Time: 5
✓ Doneness: Filling is smooth, lump-free, and light in texture
Step 3
In a separate chilled bowl, whip the heavy cream using an electric mixer on high speed until stiff peaks form. This means when you lift the beaters, the cream holds its shape firmly without collapsing. Whipping the cream to this stage is crucial because it adds air and lightness to the cheesecake, preventing it from feeling too dense or heavy. Be careful not to overwhip, or it will become grainy and start turning into butter.
⏱ Time: 7
✓ Doneness: Whipped cream holds stiff peaks and looks glossy
Step 4
Gently fold about half of the whipped cream into the cream cheese mixture using a spatula. Folding means carefully lifting the mixture from underneath and over the top to combine without deflating the whipped cream. This step is important to keep the filling airy and light. Once partially combined, fold in the remaining whipped cream until no streaks remain. Avoid stirring vigorously, which can knock out the air and make the filling dense.
⏱ Time: 5
✓ Doneness: Filling is smooth and fluffy with no visible whipped cream streaks
Step 5
In a small bowl, mash the fresh raspberries with the raspberry jam until slightly chunky but spreadable. This blend gives a natural fruit flavor and a nice balance of sweetness and tartness. If you prefer a smoother swirl, you can strain the mixture to remove seeds, but I like the texture it adds. The jam helps intensify the raspberry flavor and adds a bit of shine to the swirl.
⏱ Time: 5
✓ Doneness: Raspberry mixture is well combined and spreadable
Step 6
Pour half of the cheesecake filling into the chilled crust and spread it evenly. Dollop spoonfuls of the raspberry mixture over the filling. Use a skewer or knife to gently swirl the raspberry through the cheesecake, creating a marbled effect. Be careful not to overmix, or the swirl will disappear. Then, spread the remaining cheesecake filling over the top and repeat the swirling with the remaining raspberry mixture. This technique creates that gorgeous visual and ensures every bite has a burst of raspberry flavor.
⏱ Time: 10
✓ Doneness: Visible raspberry swirls throughout the cheesecake filling
Step 7
Cover the cheesecake loosely with plastic wrap and refrigerate for at least 4 hours, preferably overnight. Chilling allows the filling to set firmly and the flavors to meld beautifully. If you try to slice it too soon, the cheesecake will be too soft and might fall apart. Patience here really pays off with a clean slice and perfect texture.
⏱ Time: 240
✓ Doneness: Cheesecake feels firm and sliceable when gently pressed
Step 8
Before serving, run a warm knife around the edges of the pan to loosen the cheesecake. This prevents sticking and helps you remove the sides cleanly. Carefully remove the springform ring or transfer to a serving plate if using a pie dish. For an extra touch, garnish with fresh raspberries or a light dusting of powdered sugar. This step enhances presentation and adds freshness.
⏱ Time: 5
✓ Doneness: Cheesecake releases easily from the pan edges
Step 9
Slice the cheesecake with a sharp knife dipped in hot water and wiped dry between cuts. This technique ensures smooth, clean slices without dragging or tearing the delicate filling. Serve chilled and enjoy the creamy, tangy, and sweet flavors in every bite. This cheesecake is perfect for summer parties, family dinners, or anytime you want a fuss-free yet impressive dessert. Store leftovers covered in the fridge.
⏱ Time: 5
✓ Doneness: Clean, even slices with intact raspberry swirls
Variations
Lemon Blueberry No Bake Cheesecake
Swap the raspberry swirl for a lemon curd and fresh blueberry mixture. The lemon adds a bright citrus twist while the blueberries bring sweetness and texture. It’s refreshing and perfect for spring or summer gatherings.
Note: Use fresh lemon juice in the curd and fold blueberries gently to avoid breaking them up, preserving texture.
Chocolate Swirl No Bake Cheesecake
Add melted dark chocolate swirled into the cream cheese filling instead of raspberry. This variation offers a rich, decadent flavor that pairs well with the classic graham crust.
Note: Melt chocolate gently and cool slightly before swirling to prevent melting the filling.
No Bake Vegan Cheesecake
Use vegan cream cheese and coconut cream whipped to stiff peaks. Replace the crust with crushed vegan cookies and coconut oil. The result is creamy, dairy-free, and just as delicious.
Note: Chill coconut cream overnight and whip only the solid part for best texture.
Salted Caramel No Bake Cheesecake
Drizzle homemade or store-bought salted caramel sauce into the filling for a sweet and salty flavor twist. Top with a sprinkle of sea salt for extra contrast.
Note: Swirl caramel gently to maintain visual appeal and avoid overmixing.
Matcha Green Tea No Bake Cheesecake
Incorporate matcha powder into the cream cheese filling for an earthy flavor and beautiful green color. This variation is unique and pairs nicely with a simple vanilla crust.
Note: Sift matcha powder to avoid clumps and mix thoroughly into the cream cheese base.
Pro Tips
Soften cream cheese fully before mixing.
Softened cream cheese blends smoothly without lumps, creating a silky filling. If it’s too cold, you’ll get clumps that are hard to break down, affecting texture and appearance.
Chill your mixing bowl and beaters before whipping cream.
Cold equipment helps the cream reach stiff peaks faster and more reliably, giving the cheesecake a light texture. Warm bowls can cause the cream to turn buttery or not whip properly.
Press the crust firmly into the pan.
A compact crust holds together when sliced and prevents crumbling. Loose crumbs will fall apart and make serving messy.
Fold whipped cream gently into the cream cheese mixture.
Folding preserves the air whipped into the cream, keeping the filling light and fluffy. Stirring vigorously deflates the cream, resulting in a dense, heavy cheesecake.
Use a sharp knife dipped in hot water for slicing.
Wiping the knife between cuts ensures clean slices without dragging or tearing the delicate filling and swirl.
Swirl raspberry mixture just before chilling.
Swirling right before chilling keeps the pattern distinct and the raspberry flavor fresh. If mixed too early, the swirl will blend into the filling and lose its visual appeal.
Chill the cheesecake for at least 4 hours, preferably overnight.
Chilling allows the filling to set properly and the flavors to meld. Cutting too soon results in a soft, unstable cheesecake that won’t slice well.
Common Mistakes to Avoid
Using cold cream cheese straight from the fridge.
Why it happens Many assume cream cheese is ready to use when taken from the fridge, but it’s often too firm and lumpy.
Fix Let cream cheese sit at room temperature for at least 30 minutes before mixing. This ensures smooth, lump-free filling.
Overwhipping the cream.
Why it happens It’s easy to keep whipping past stiff peaks, turning the cream grainy and buttery.
Fix Stop whipping as soon as stiff peaks form. The cream should be glossy and hold shape but not be grainy.
Pressing the crust too lightly.
Why it happens Some skip compacting the crust, thinking it’s unnecessary.
Fix Use a flat-bottomed glass to firmly press crumbs into the pan, preventing crumbly slices.
Mixing the raspberry swirl too aggressively.
Why it happens Eager to combine, some stir the raspberry mixture fully into the filling.
Fix Use a gentle swirling motion with a skewer to keep the marbled effect and fresh flavor.
Not chilling the cheesecake long enough.
Why it happens Impatience leads to slicing too soon, ruining texture.
Fix Refrigerate at least 4 hours, ideally overnight, for firm, sliceable cheesecake.
Nutrition
Per Serving:
Nutritional values are estimates and may vary based on specific ingredients used.
Storage & Tips
Room Temperature
Keep the cheesecake covered and out of direct sunlight for no more than 2 hours to prevent spoilage. Cheesecake is dairy-based and should be refrigerated promptly to maintain freshness and safety.
Refrigerator
Store the cheesecake in an airtight container or tightly wrapped with plastic wrap for up to 4 days. The texture may firm up further, and flavors meld nicely. Serve chilled or let sit at room temperature for 10 minutes before slicing for a softer bite.
Freezer
Wrap the cheesecake tightly in plastic wrap and aluminum foil to prevent freezer burn. Freeze for up to 2 months. Thaw overnight in the refrigerator before serving. Texture may be slightly less creamy but still delicious.
Reheating
No reheating needed—serve chilled. If desired, let sit at room temperature for 10-15 minutes for a creamier texture. Avoid microwaving, which can cause the filling to separate or become grainy.
Make Ahead
Prepare the crust and filling 1 day ahead and swirl in the raspberry mixture just before chilling overnight. This allows flavors to develop and saves time on the day you plan to serve.
FAQ
Can I make this cheesecake without a springform pan?
Absolutely! You can use a regular pie dish or any round cake pan. Just be aware that removing the cheesecake might be trickier. Serving directly from the dish works well, or you can line the pan with parchment paper for easier removal.
What if I don’t have fresh raspberries?
You can substitute frozen raspberries thawed and drained, or use raspberry jam alone. The flavor won’t be quite as fresh, but it will still be delicious. Just reduce or omit the jam if using very sweet preserves.
How long does this cheesecake need to chill?
For the best texture and flavor, chill for at least 4 hours, but overnight is ideal. This allows the filling to firm up and the flavors to meld perfectly, resulting in clean slices and a creamy mouthfeel.
Can I make this recipe dairy-free?
Yes! Use dairy-free cream cheese and coconut cream or a plant-based whipping cream alternative. Keep in mind the texture and taste will differ slightly, but it’s a delicious option for those avoiding dairy.
Why is my filling too runny?
Runny filling usually means the cream cheese wasn’t fully softened or the whipped cream was overmixed or underwhipped. Make sure the cream cheese is smooth before adding other ingredients and whip the cream just to stiff peaks.
Can I prepare this cheesecake a day ahead?
Definitely! In fact, chilling overnight helps the cheesecake set perfectly and enhances the flavor. Just cover it tightly and keep refrigerated until ready to serve.
How do I prevent the crust from becoming soggy?
Press the crust firmly and chill it before adding the filling. The butter in the crust acts as a barrier, but chilling helps it set and resist moisture from the filling.
Is it possible to use gelatin to make it firmer?
You can add gelatin if you want a firmer texture, but this recipe sets nicely without it due to chilling and whipped cream structure. Adding gelatin changes the mouthfeel, making it more like a mousse.
Final Thoughts
Give this no bake raspberry swirl cheesecake a try—it's simple, stunning, and sure to impress. I’d love to hear how yours turns out, so don’t forget to share your results!