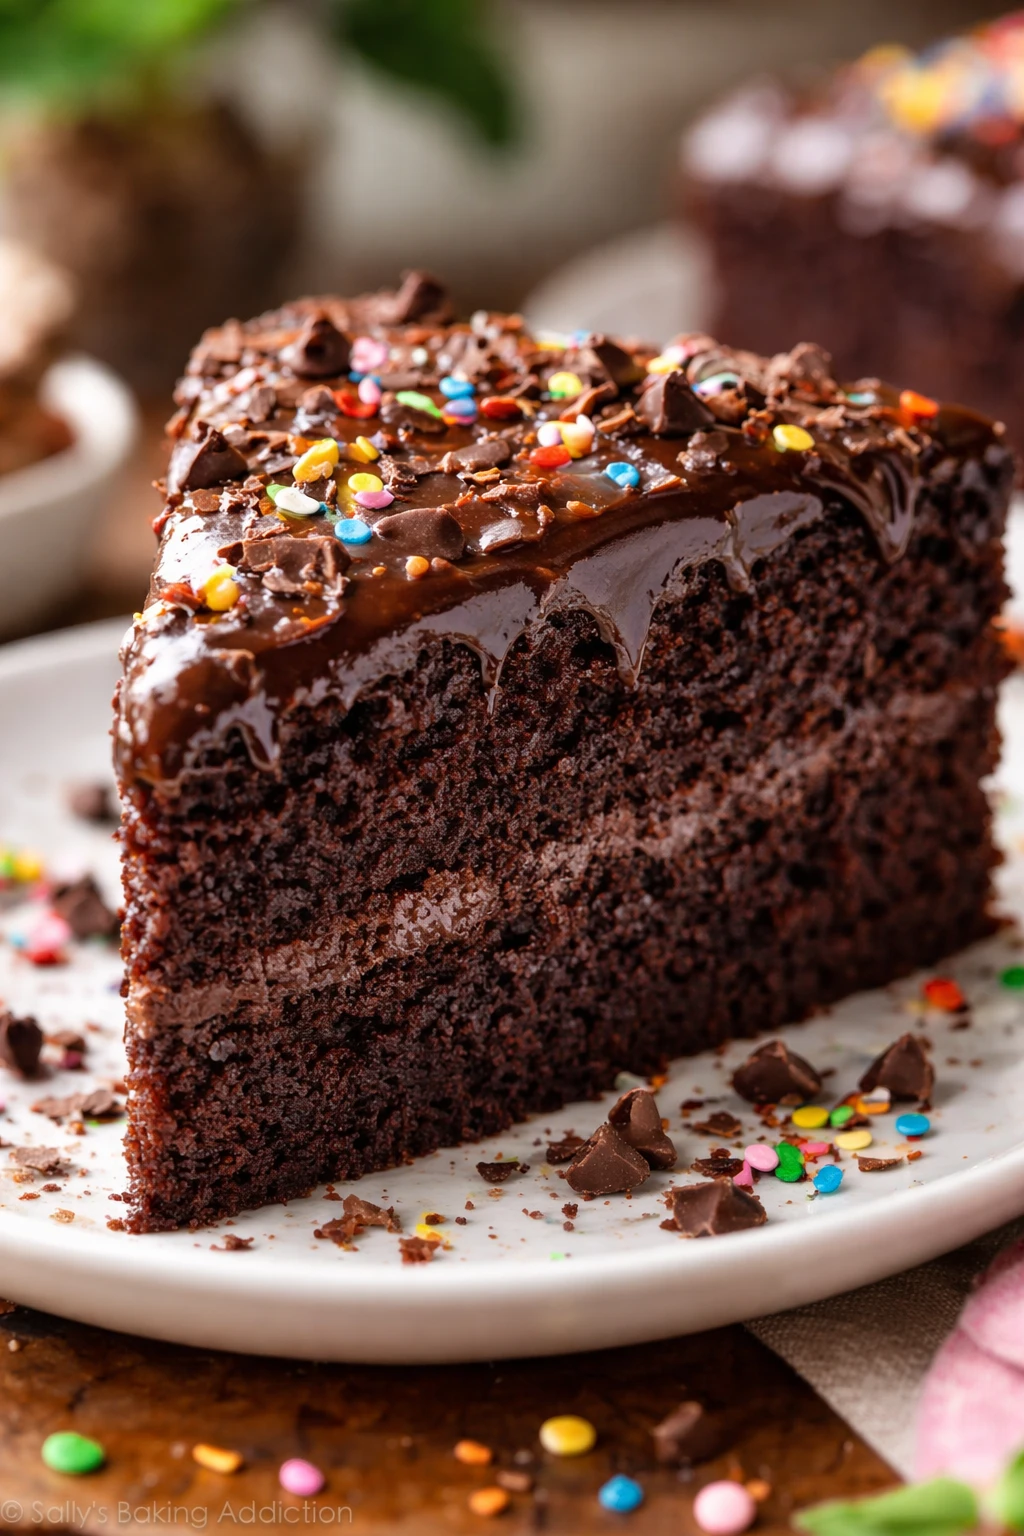
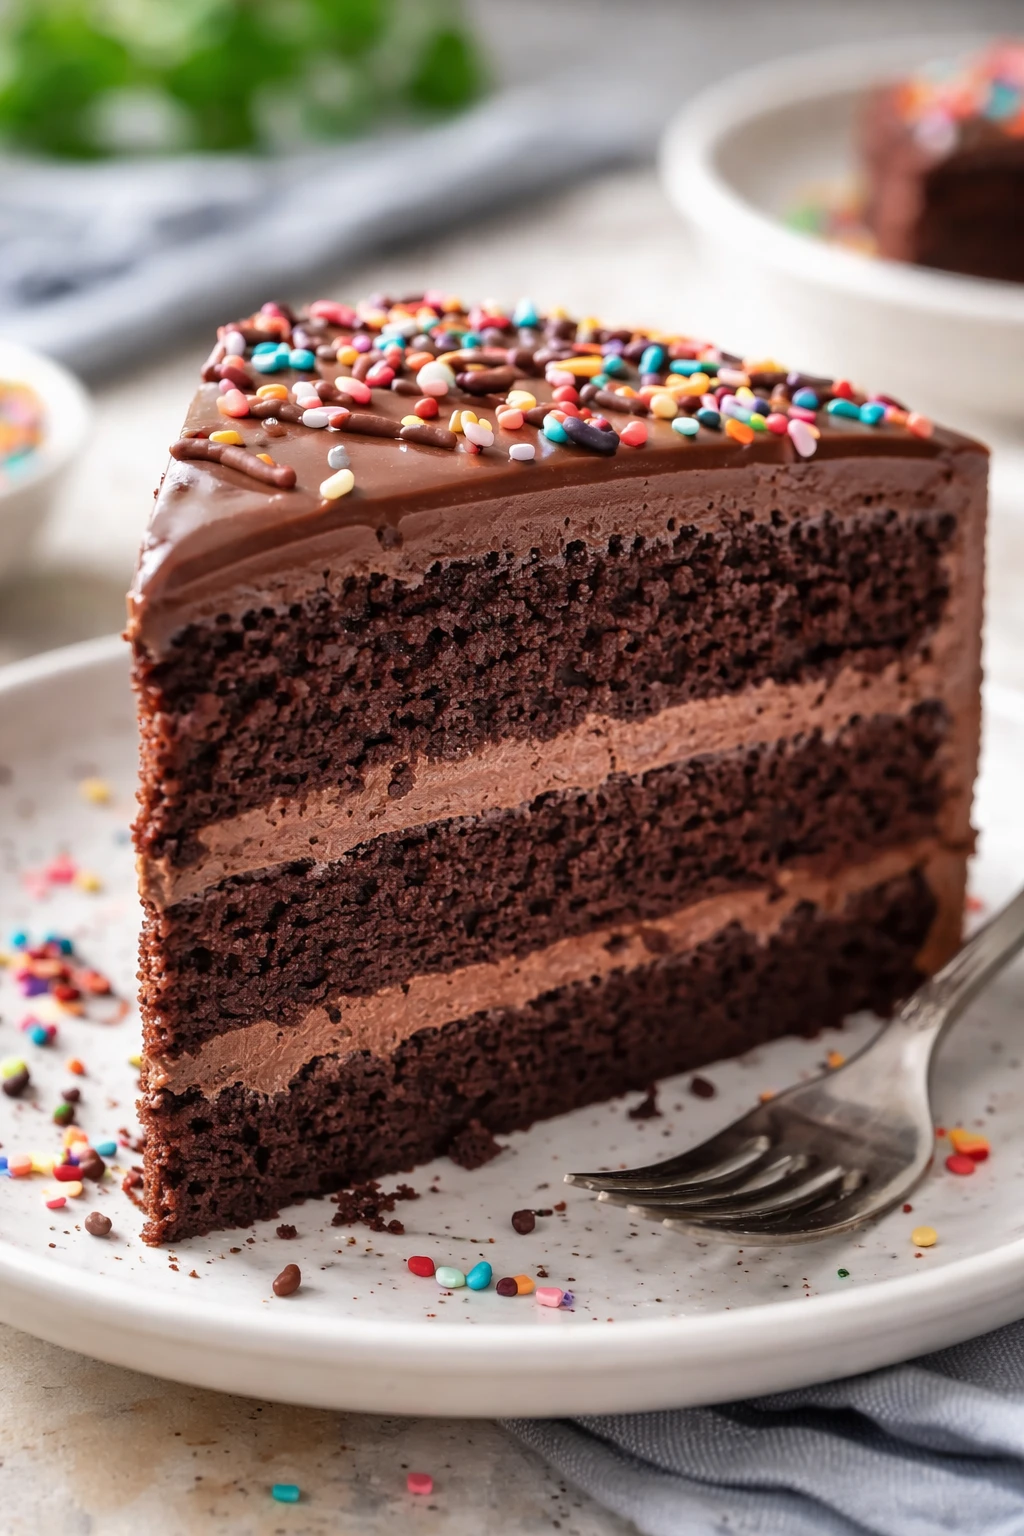
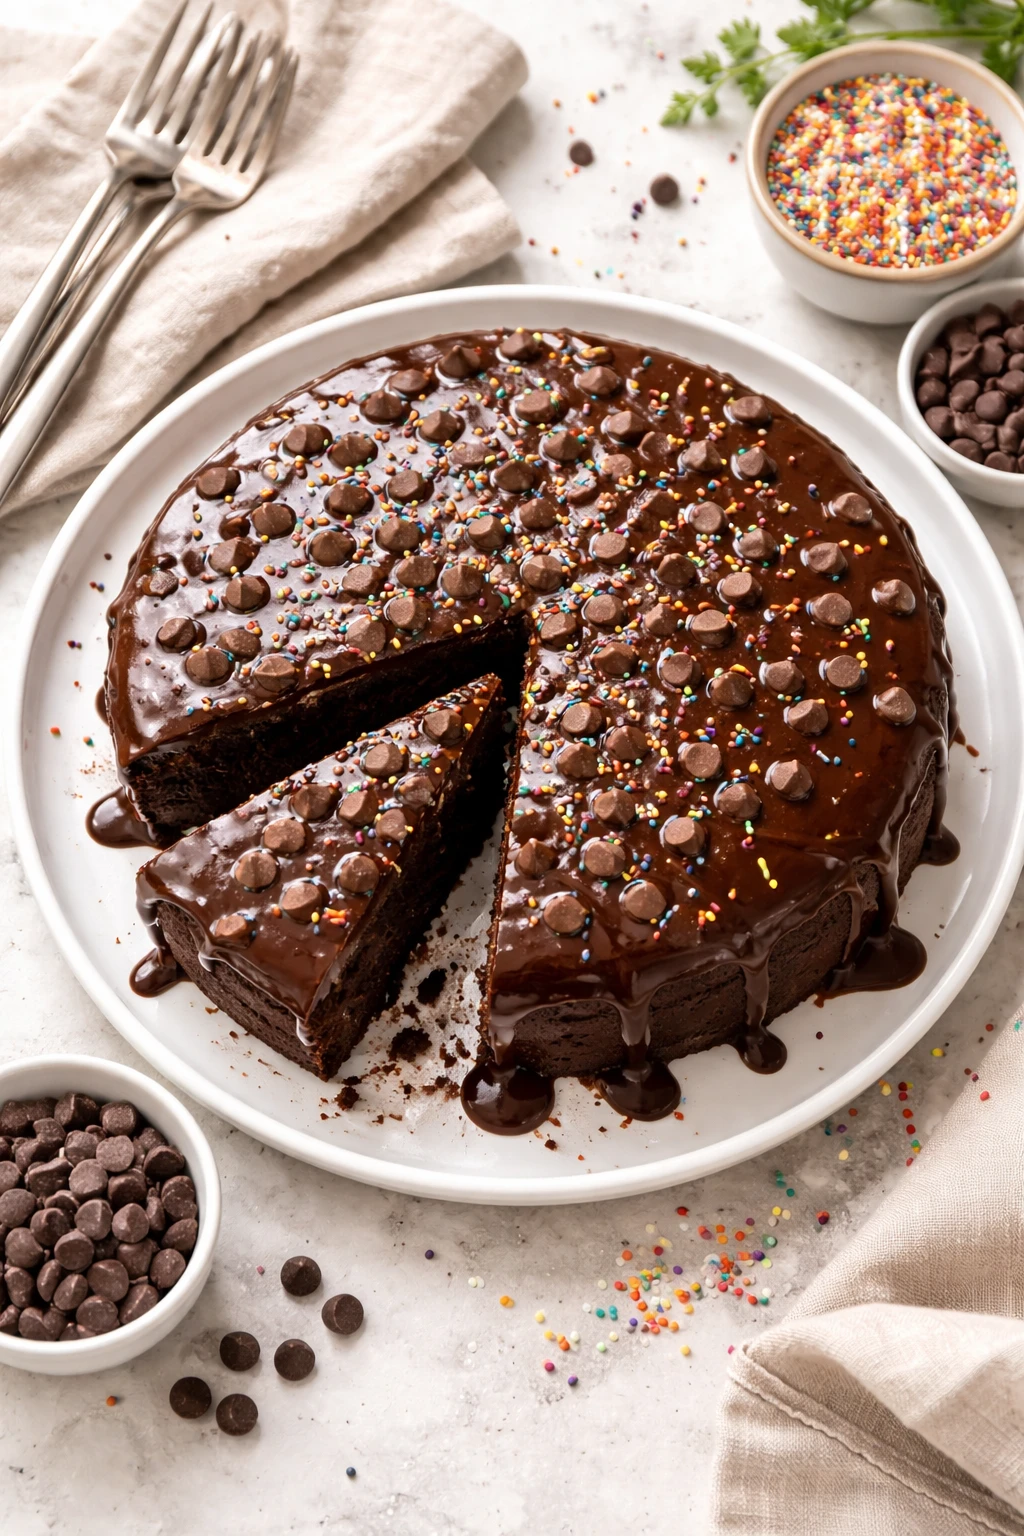
This chocolate cake is insanely easy with only five ingredients and zero fuss. It’s super moist and rich, perfect for last-minute desserts or birthday celebrations. Kids and grown-ups alike can’t get enough!
Introduction
I first stumbled on this chocolate cake recipe when I needed a quick dessert for an unexpected dinner guest. Honestly, I was skeptical that just five ingredients could produce something truly delicious, but it blew me away. It's moist and rich without being heavy, and the crumb is so tender it practically melts in your mouth. What makes this cake stand out is how simple it is to pull together—no fancy mixers, no hard-to-find ingredients. Just basic pantry staples and a little whisking. I’ve made it several times now, and the trick I learned is to sift the cocoa powder with the flour and baking powder to avoid any lumps and ensure even mixing. The result is a smooth batter that bakes into a perfectly tender crumb. It’s not overly sweet, so you can add your favorite frosting or enjoy it plain with a scoop of ice cream. If you’re like me and appreciate fuss-free baking that still impresses, this recipe is a keeper. Plus, it’s a huge hit with kids who love the deep chocolate flavor and soft texture. Give it a try next time you want a quick, reliable chocolate cake that doesn’t skimp on flavor or texture.
What You'll Need
One 8-inch round cake, 8 servings
- 1 cup all-purpose flour
- 1 cup granulated sugar
- 1/2 cup unsweetened cocoa powder
- 1 teaspoon baking powder
- 1 cup milk
How To Do It
Step 1
Preheat your oven to 350°F (175°C) and grease an 8-inch round cake pan with butter or non-stick spray. This ensures the cake won’t stick and will come out cleanly. Proper oven temperature is key for even baking; too hot and the cake could dry out, too cool and it won’t rise properly.
⏱ Time: 10
✓ Doneness: The pan feels evenly warm and lightly greased
Step 2
In a large bowl, sift together the flour, cocoa powder, and baking powder. Sifting breaks up lumps and aerates the dry ingredients, which helps the cake rise evenly and develop a light texture. Don’t rush this step or skip sifting—it can cause clumps and uneven baking.
⏱ Time: 5
✓ Doneness: Dry ingredients are lump-free and well combined
Step 3
Add the sugar to the dry mixture and stir gently to combine. Mixing sugar with the dry ingredients first helps it distribute evenly throughout the batter for consistent sweetness in every bite. Avoid overmixing here to keep the cake tender.
⏱ Time: 3
✓ Doneness: Sugar is evenly mixed without any clumps
Step 4
Pour in the milk gradually while stirring with a whisk or spoon. This helps hydrate the dry ingredients and forms a smooth batter. Mix just until combined to avoid developing gluten, which can make the cake tough. The batter should be thick but pourable.
⏱ Time: 5
✓ Doneness: Batter is smooth with no flour pockets
Step 5
Pour the batter into the prepared cake pan, spreading it evenly with a spatula. This ensures the cake bakes uniformly and avoids uneven rising. Tap the pan gently on the counter to release any air bubbles trapped in the batter.
⏱ Time: 3
✓ Doneness: Batter evenly spread and surface smooth
Step 6
Bake the cake in the preheated oven for 28-32 minutes. Avoid opening the oven door during the first 20 minutes to prevent the cake from collapsing. You'll know it's done when a toothpick inserted into the center comes out clean or with a few moist crumbs.
⏱ Time: 30
✓ Doneness: Toothpick test comes out clean or with moist crumbs
Step 7
Remove the cake from the oven and let it cool in the pan for 10 minutes. Cooling slightly allows the cake to set and makes it easier to remove from the pan without breaking.
⏱ Time: 10
✓ Doneness: Cake feels firm but still warm to touch
Step 8
Run a knife around the edges to loosen the cake, then invert it onto a wire rack to cool completely. Proper cooling prevents sogginess and helps the crumb firm up for a perfect texture.
⏱ Time: 10
✓ Doneness: Cake releases cleanly from pan and cools evenly
Step 9
Once cooled, frost or dust with powdered sugar as desired. This is optional but adds a nice touch. If you want to keep it simple, a scoop of vanilla ice cream pairs beautifully with the rich chocolate flavor.
⏱ Time: 5
✓ Doneness: Frosting smooth or powdered sugar evenly dusted
Variations
Chocolate Cake with Coffee Boost
Add 1/4 cup of brewed strong coffee instead of part of the milk to deepen the chocolate flavor. Coffee enhances cocoa’s richness without tasting like coffee itself. The cake will have a slightly more complex aroma and taste, perfect for adults.
Note: Replace 1/4 cup milk with coffee. Make sure coffee is cooled to room temperature to avoid curdling the batter.
Gluten-Free Chocolate Cake
Swap all-purpose flour for a gluten-free baking blend that measures cup-for-cup. This makes the cake accessible for gluten-sensitive folks without sacrificing texture or flavor. Expect a slightly different crumb but just as moist and delicious.
Note: Use a gluten-free blend that contains xanthan gum or add 1/4 teaspoon xanthan gum for structure.
Mocha Chocolate Cake with Espresso Powder
Stir in 1 teaspoon of espresso powder with the dry ingredients for a mocha twist. This intensifies the chocolate flavor and adds a subtle coffee note. Great for coffee lovers who want a little caffeine kick in dessert.
Note: Dissolve espresso powder into dry ingredients for even distribution.
Vegan Chocolate Cake
Replace milk with almond or oat milk and use a flax egg (1 tablespoon flaxseed meal + 3 tablespoons water) instead of regular egg if you want to make it vegan. The texture will be slightly denser but still moist and flavorful.
Note: Let flax egg rest for 5 minutes before adding to batter to thicken properly.
Chocolate Cake with Nutty Crunch
Fold in 1/2 cup chopped walnuts or pecans into the batter before baking for added texture and flavor. The nuts add a pleasant crunch and a toasty note that pairs wonderfully with chocolate.
Note: Toss nuts lightly in flour before folding in to prevent sinking.
Pro Tips
Always sift your dry ingredients together before mixing with wet ingredients.
Sifting combines the flour, cocoa, and baking powder evenly and breaks up lumps, which helps distribute leavening agents uniformly. This results in a consistent rise and prevents dense spots or bitter clumps of cocoa in the cake.
Don’t overmix the batter once you add the milk.
Overmixing develops gluten strands in the flour, which makes the cake tough and dense instead of tender. Stir gently just until everything is combined to keep the crumb soft and delicate.
Use fresh baking powder for the best rise.
Baking powder loses potency over time, so old powder can cause the cake to be flat and heavy. Fresh baking powder ensures the chemical reaction that creates lift happens properly, giving you a light and fluffy cake.
Let the cake cool in the pan before removing.
Cooling slightly allows the structure to set so the cake doesn’t break apart when you turn it out. Removing it too soon can cause it to crumble or stick to the pan.
Tap the cake pan on the counter before baking.
This releases trapped air bubbles in the batter that could cause uneven holes or cracks in the finished cake. It helps the cake bake evenly with a smooth surface.
Measure ingredients accurately using a kitchen scale or proper measuring cups.
Baking is a science, and small variations in flour or cocoa powder amounts can change the texture. Accurate measurements help maintain the cake’s moist, tender crumb every time.
Use room temperature milk to mix the batter.
Cold milk can cause the cocoa and flour to clump and makes it harder to incorporate ingredients evenly. Room temperature milk blends smoothly, giving a consistent batter.
Common Mistakes to Avoid
Using expired baking powder
Why it happens Many people overlook the expiration date on baking powder, assuming it lasts forever, which leads to a cake that doesn’t rise properly.
Fix Test your baking powder by mixing a teaspoon in warm water — it should fizz immediately. If not, replace it. Using fresh baking powder guarantees the leavening reaction needed for a fluffy cake.
Overmixing the batter
Why it happens Some think more mixing makes the batter smoother, but it actually develops gluten, making the cake tough.
Fix Mix just until the ingredients are combined and no dry flour pockets remain. Stop mixing as soon as the batter looks uniform.
Not sifting the cocoa powder and flour
Why it happens Skipping sifting to save time can cause lumps that bake unevenly and create bitter spots.
Fix Always sift the dry ingredients together. It only takes a minute and ensures a smooth, even batter.
Opening the oven door too early
Why it happens Curious cooks often peek too soon, causing temperature drops that make the cake sink.
Fix Wait at least 20 minutes before checking. Use the oven light if you want to monitor progress without opening the door.
Using the wrong pan size
Why it happens Using a pan that’s too small or too large affects baking time and cake thickness.
Fix Stick to an 8-inch round pan as specified. If you use a different size, adjust baking time accordingly and watch closely to avoid over- or under-baking.
Nutrition
Per Serving:
Nutritional values are estimates and may vary based on specific ingredients used.
Storage & Tips
Room Temperature
Keep the cake covered with a cake dome or plastic wrap at room temperature for up to 2 days. This keeps it moist but avoid leaving it out longer to prevent it from drying or spoiling.
Refrigerator
Store the cake in an airtight container or wrapped tightly in plastic wrap for up to 5 days. The cake may firm up and lose some moisture when cold, so bring it to room temperature before serving or warm briefly in the microwave.
Freezer
Wrap the cooled cake tightly in plastic wrap and then aluminum foil to prevent freezer burn. Freeze for up to 3 months. Thaw overnight in the refrigerator or at room temperature wrapped to retain moisture.
Reheating
Warm individual slices in the microwave for 10-15 seconds or the whole cake in a low oven (300°F) for 10 minutes covered with foil. Adding a small splash of milk to frosting or serving with ice cream helps restore moisture.
Make Ahead
You can bake the cake a day ahead and store it wrapped at room temperature or refrigerated. Prepare any frosting separately and spread on the day of serving to keep it fresh and prevent sogginess.
FAQ
Can I use cocoa powder other than natural unsweetened?
Natural unsweetened cocoa powder is best because it reacts properly with baking powder for rise and flavor. Dutch-processed cocoa is less acidic, so if you use it, the cake might not rise as well or taste slightly different. Adjusting leavening agents is needed for Dutch cocoa.
What if I don’t have all-purpose flour?
You can try cake flour for a lighter crumb or whole wheat flour for a nuttier flavor, but these will change texture and density. Cake flour produces a softer cake, while whole wheat adds heaviness. Adjust liquid slightly if substituting whole wheat to keep moisture balance.
How do I know when the cake is done?
Insert a toothpick in the center—if it comes out clean or with a few moist crumbs, the cake is done. The surface should spring back lightly when touched. Avoid overbaking to keep it moist and tender.
Can I add eggs to this recipe?
This recipe is designed egg-free for simplicity, but adding one egg can enrich texture and structure. If you add an egg, reduce milk slightly and expect a firmer crumb. It’s optional but not necessary for a great cake.
What frosting pairs best with this cake?
Classic buttercream, cream cheese frosting, or simple powdered sugar dusting all complement this cake well. The cake isn’t overly sweet, so rich frostings balance it nicely. You can also serve it plain with fresh berries or ice cream.
Can I make this cake gluten-free?
Yes! Use a gluten-free flour blend that measures cup-for-cup like all-purpose flour. Some blends include xanthan gum for structure; if yours doesn’t, add 1/4 teaspoon. The cake might be a bit more crumbly but still tasty.
How do I store leftover cake?
Wrap leftovers tightly in plastic wrap or store in an airtight container. Keep at room temperature up to 2 days or refrigerate for up to 5 days. Bring to room temp before eating for best texture.
Can I double this recipe?
Absolutely! Double all ingredients and bake in a larger pan or two pans. Adjust baking time accordingly and check with a toothpick for doneness. Larger cakes may take longer to bake through.
Final Thoughts
I hope you enjoy this simple chocolate cake as much as my family does! Don’t forget to share your baking successes and tweaks—I love hearing from you.