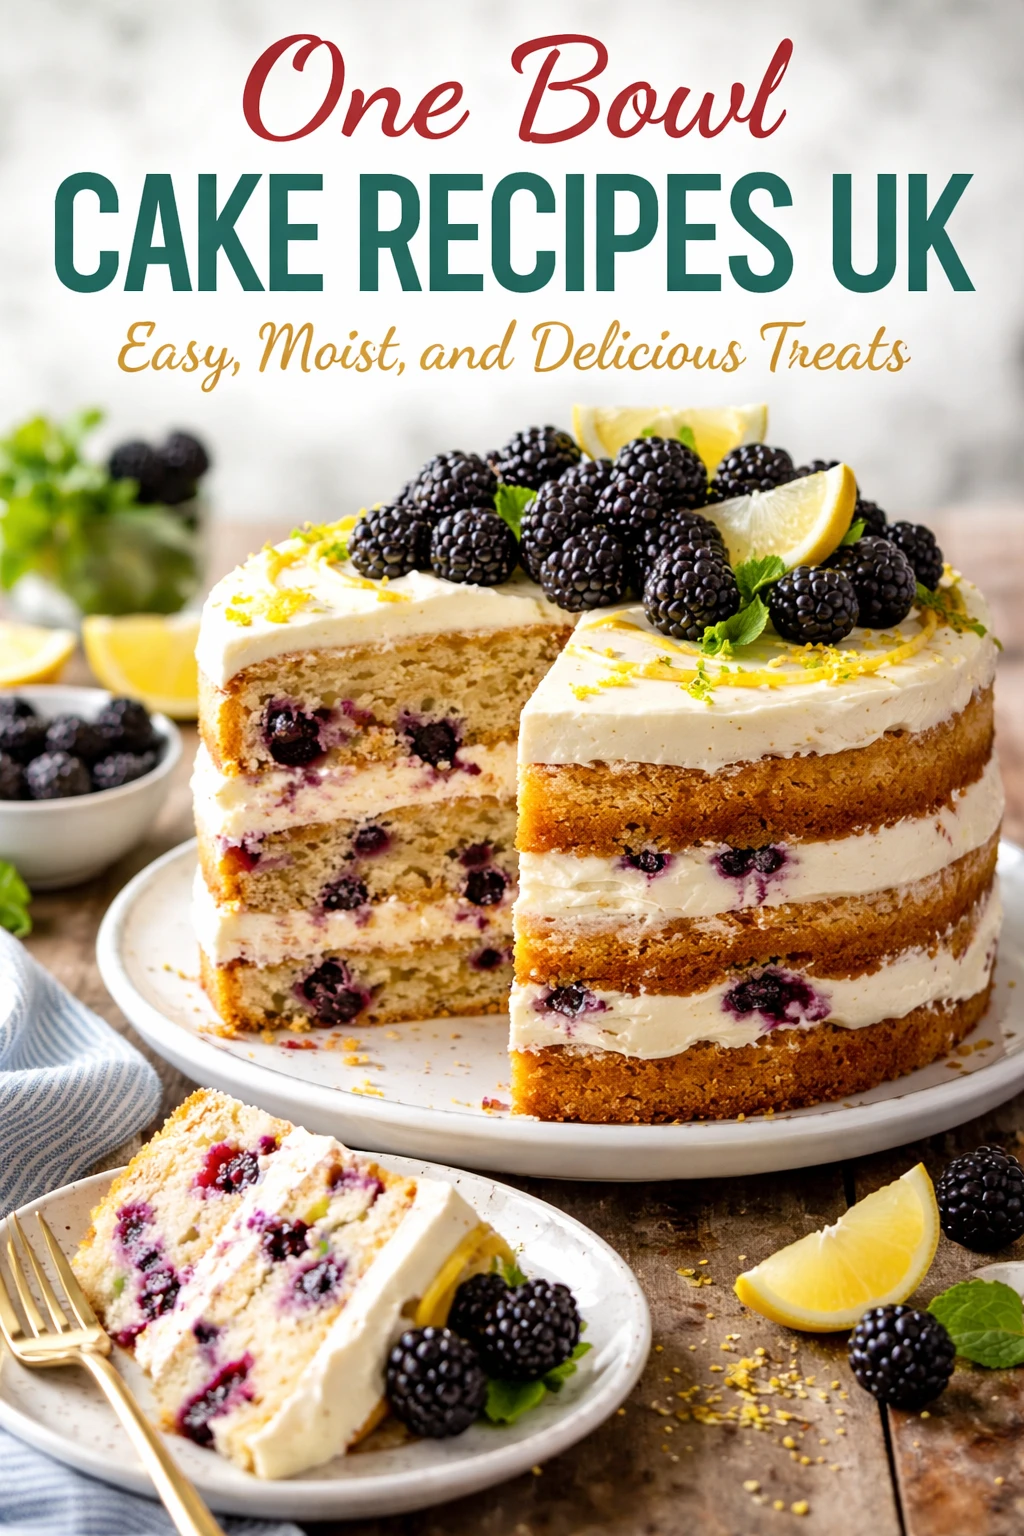
This British one bowl sponge cake is a total lifesaver—super simple, no fuss, and always moist. I love how just one bowl means less cleanup. Perfect with a cuppa for afternoon tea or a last-minute dessert!
Introduction
I first stumbled upon this one bowl British sponge cake recipe during a rainy weekend when I just wanted something sweet without the hassle. The genius of this recipe is how everything comes together in a single bowl—no extra bowls, no complicated steps, just straightforward mixing. That simplicity means less washing up, which I definitely appreciate! I remember my first attempt was a bit dense because I overmixed, but once I learned to fold gently and keep the batter airy, the cake turned out beautifully light and moist every time. What I love most is how versatile it is—you can enjoy it plain with a dusting of icing sugar or dress it up with fresh berries and cream. The vanilla and butter give it a rich flavor, and the milk keeps the crumb tender. It’s perfect for afternoon tea with friends or a quick dessert when unexpected guests drop by. Trust me, once you try this, it’ll become your go-to simple cake recipe!
What You'll Need
One 8-inch round cake, 8 servings
- 225g unsalted butter, softened
- 225g caster sugar
- 4 large eggs, at room temperature
- 225g self-raising flour, sifted
- 2 tsp baking powder
- 2 tsp vanilla extract
- 2 tbsp whole milk
How To Do It
Step 1
Preheat your oven to 180°C (350°F) and grease an 8-inch round cake tin. This step is crucial to ensure your cake doesn’t stick and bakes evenly. Greasing and lining the tin with parchment paper helps the cake release easily after baking, preventing any tears or crumbles. Make sure to cover the base and sides well. If you skip this, you risk losing the perfect cake shape when removing it.
⏱ Time: 10 minutes
✓ Doneness: Tin is fully greased and parchment paper fits snugly inside
Step 2
In a large mixing bowl, cream the softened butter and caster sugar together until pale and fluffy. Use an electric mixer on medium speed or beat by hand with a wooden spoon. This aeration is key for a light sponge, as it traps air that helps the cake rise. If you rush this step or don’t cream enough, your cake might turn out dense and heavy.
⏱ Time: 5-7 minutes
✓ Doneness: Mixture is light in color and fluffy in texture
Step 3
Add the eggs one at a time, beating well after each addition. This gradual mixing helps the eggs emulsify into the butter and sugar base, creating a smooth batter. If you add all eggs at once, the mixture might split or curdle, leading to a lumpy batter. Scrape down the sides to incorporate everything evenly.
⏱ Time: 3 minutes
✓ Doneness: Batter is smooth and glossy without separation
Step 4
Sift together the self-raising flour and baking powder. Sifting adds air and breaks up any lumps, which helps keep the cake light. Gently fold the flour mixture into the wet ingredients using a spatula or large spoon. Be careful not to overmix—stir just until combined to avoid developing gluten, which would make the cake tough.
⏱ Time: 3-5 minutes
✓ Doneness: No visible streaks of flour, batter is smooth but slightly thick
Step 5
Add the vanilla extract and milk, folding them gently into the batter. The milk adds moisture and helps loosen the batter slightly, while vanilla boosts the flavor. Folding gently keeps the air bubbles intact, ensuring a fluffy texture. Avoid vigorous stirring at this stage.
⏱ Time: 2 minutes
✓ Doneness: Batter is smooth, slightly glossy, and evenly mixed
Step 6
Pour the batter evenly into the prepared cake tin, smoothing the top with a spatula. Even spreading ensures the cake bakes uniformly without doming or tunneling. Tap the tin lightly on the counter to release any large air bubbles that might cause holes in the crumb.
⏱ Time: 2 minutes
✓ Doneness: Batter surface is level and smooth
Step 7
Bake in the preheated oven for 25-30 minutes. Avoid opening the oven door during the first 20 minutes, as this can cause the cake to sink. The cake is done when it’s golden brown on top and a skewer inserted into the center comes out clean or with a few moist crumbs. Overbaking leads to dryness, so keep an eye near the end.
⏱ Time: 25-30 minutes
✓ Doneness: Golden top and clean skewer test
Step 8
Remove the cake from the oven and let it cool in the tin for 10 minutes. Cooling slightly allows the cake to firm up, making it easier to remove. Then, run a knife around the edges and turn the cake out onto a wire rack to cool completely. This prevents sogginess from trapped steam.
⏱ Time: 15 minutes
✓ Doneness: Cake feels firm to touch and releases easily from tin
Step 9
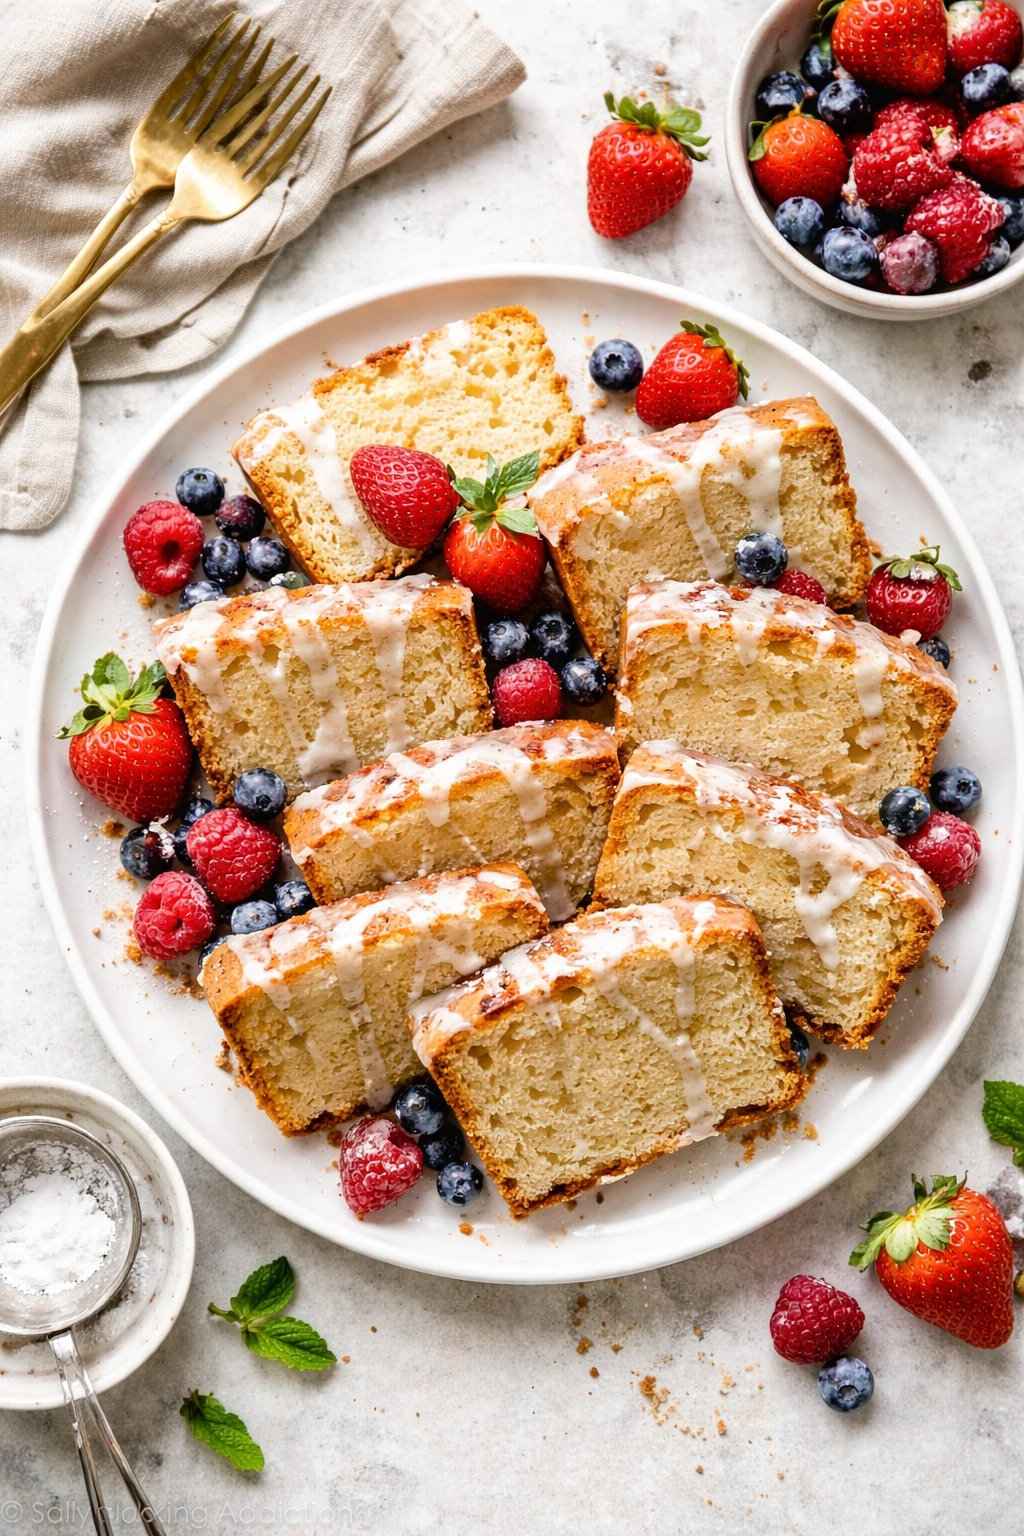
Once cooled, serve plain with a dusting of icing sugar or decorate with fresh berries and whipped cream. This cake is versatile, so feel free to add your favorite toppings. Enjoy it with a cup of tea or coffee for a true British teatime treat!
⏱ Time: 5 minutes
✓ Doneness: Cake is fully cooled and ready to slice
Variations
Lemon Zest Sponge Cake
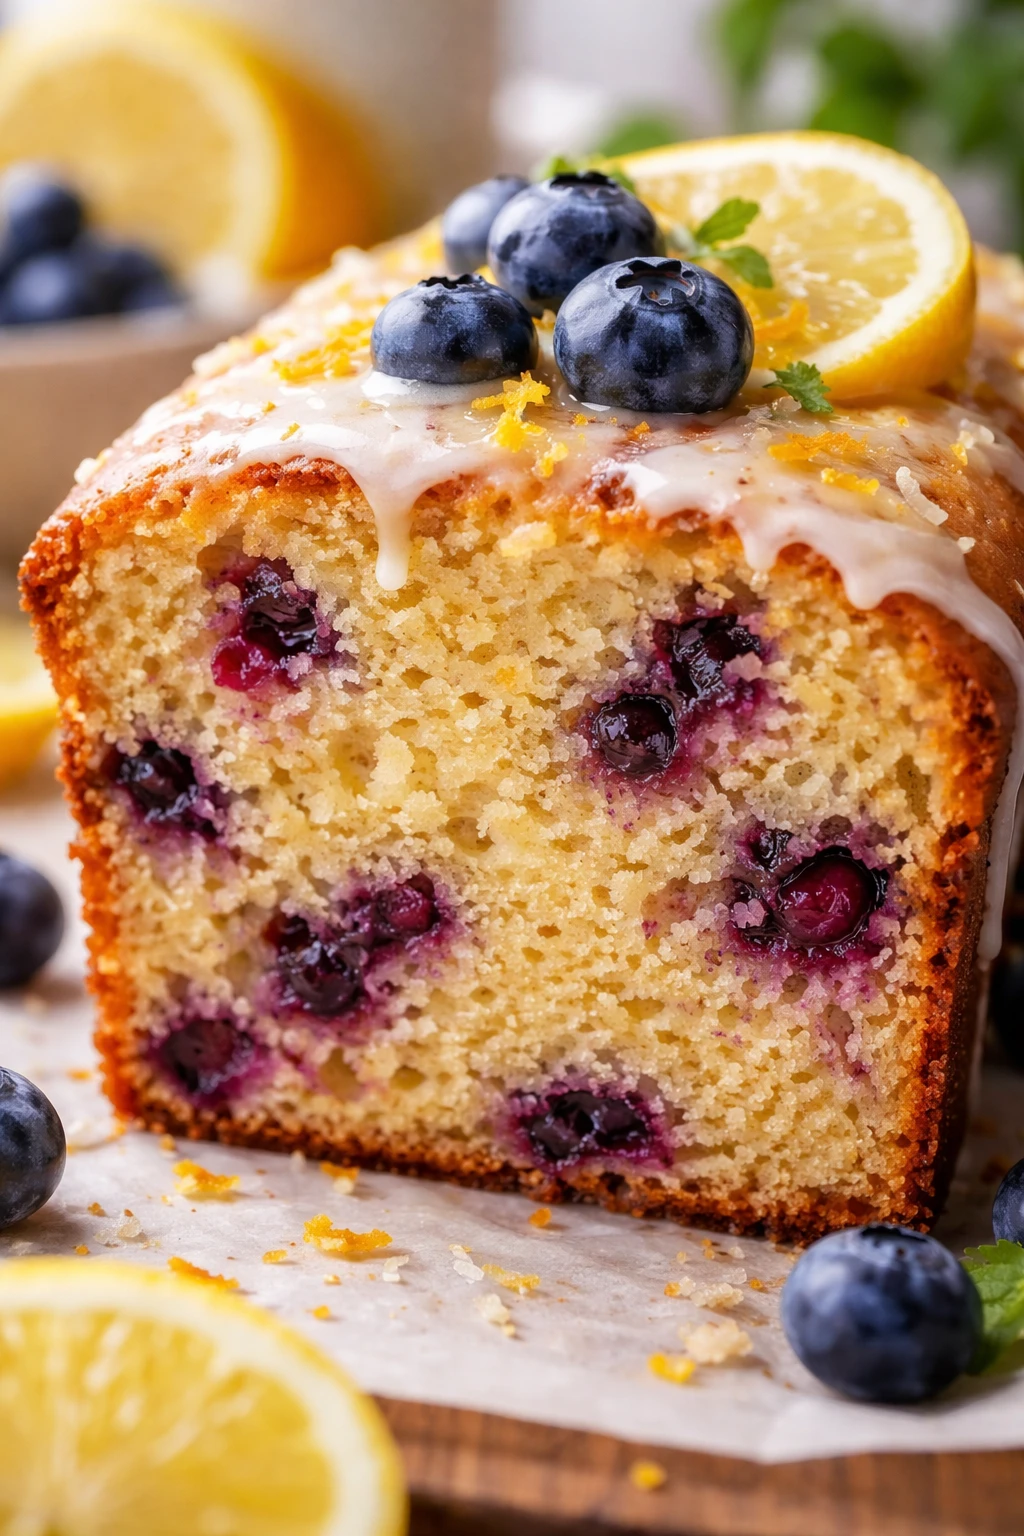
Add 2 tbsp finely grated lemon zest to the batter and replace vanilla with lemon extract for a fresh, citrus twist. This brightens the cake and pairs wonderfully with a light glaze or lemon curd topping.
Note: Be gentle folding in zest to avoid deflating batter; baking time remains the same.
Chocolate Marble Sponge
Divide the batter in half and stir 2 tbsp cocoa powder into one half. Swirl both batters together in the tin for a marbled effect. This adds a rich chocolate flavor without complicating the original recipe.
Note: Don’t overmix the swirl or the marble effect will disappear; bake as usual.
Berry-Filled Sponge Cake
Fold in 100g fresh or frozen berries gently into the batter before baking. The berries add moisture and a fruity burst, making the cake perfect for summer gatherings.
Note: Coat frozen berries lightly in flour to prevent sinking; baking time may increase by a few minutes.
Gluten-Free Sponge Adaptation
Use a gluten-free self-raising flour blend instead of regular flour. The cake will be slightly denser but still moist and delicious, great for those avoiding gluten.
Note: Check the blend’s baking instructions as some need additional binding agents.
Vegan One Bowl Sponge
Replace butter with vegan margarine, eggs with flax eggs (1 tbsp flaxseed meal + 3 tbsp water per egg), and milk with almond milk. The cake will be slightly less rich but still soft and tasty.
Note: Flax eggs take a few minutes to gel—prepare in advance; bake time may be slightly longer.
Pro Tips
Always use room temperature eggs and butter for best results.
Cold ingredients don’t combine well, which can cause the batter to curdle or be lumpy. Room temperature eggs and butter emulsify smoothly, trapping air and creating a light, fluffy texture essential for sponge cakes.
Don’t overmix once you add the flour.
Overmixing flour develops gluten, which makes the cake tough and dense. Gentle folding just until combined preserves the tender crumb and keeps the cake soft.
Sift your dry ingredients before folding.
Sifting adds air and breaks up lumps, ensuring even distribution of baking powder and a uniform rise. It also prevents pockets of flour that could make the texture uneven.
Use an 8-inch round tin for even baking.
The size and shape of the tin affect how heat circulates. Too small a tin causes the cake to be thick and undercooked in the center, while too large makes it thin and dry.
Resist opening the oven door early.
Opening the oven door before the cake has set can cause temperature drops, making the cake sink in the middle. Wait until at least 20 minutes have passed before checking.
Let the cake cool in the tin before removing.
Cooling slightly allows the cake to firm up, reducing the chance of it breaking apart when you turn it out. Then transfer to a wire rack to avoid sogginess from steam.
Use parchment paper to line the tin.
Parchment paper prevents sticking and makes it easier to lift the cake out, preserving its shape and crumb.
Common Mistakes to Avoid
Overmixing the batter after adding flour
Why it happens Many assume mixing thoroughly is better, but vigorous mixing develops gluten, which toughens the cake.
Fix Fold the flour in gently and stop as soon as you see no streaks. Use a spatula and scoop from the bottom, turning the bowl, rather than stirring.
Using cold butter or eggs
Why it happens Sometimes people forget to prep ingredients ahead, leading to cold butter that won’t cream properly.
Fix Plan ahead and take eggs and butter out 30 minutes before starting. If in a hurry, soften butter by microwaving in short bursts carefully.
Opening the oven door too early
Why it happens Curiosity or impatience leads to checking too soon, causing temperature drops.
Fix Set a timer for at least 20 minutes before peeking. Use the oven light to check color instead of opening the door.
Not greasing or lining the tin properly
Why it happens Skipping this step to save time or by accident.
Fix Always grease the tin thoroughly and line the base with parchment paper to prevent sticking and breaking.
Using expired baking powder
Why it happens Baking powder loses potency over time, often overlooked in pantry checks.
Fix Test baking powder by mixing a small amount in warm water—if it bubbles vigorously, it’s fresh. Replace if inactive.
Nutrition
Per Serving:
Nutritional values are estimates based on standard ingredients and serving size.
Storage & Tips
Room Temperature
Store the cake covered loosely with a clean tea towel or cake dome at room temperature for up to 2 days. Avoid plastic wrap at room temp as it traps moisture and can make the cake soggy.
Refrigerator
Keep the cake in an airtight container in the fridge for up to 5 days. The cake may firm up and dry slightly when cold, so bring it to room temperature before serving or warm gently in the microwave for 10-15 seconds.
Freezer
Wrap the cooled cake tightly in plastic wrap and then foil to prevent freezer burn. Freeze for up to 3 months. Thaw overnight in the fridge or for a few hours at room temperature. Refresh by warming briefly in the oven at 150°C (300°F) for 10 minutes.
Reheating
Reheat slices in the microwave for 10-15 seconds or in a preheated oven at 150°C (300°F) for 8-10 minutes. Add a small splash of milk or cover with foil to prevent drying out. Avoid overheating as it can toughen the crumb.
Make Ahead
You can prepare the batter a few hours ahead and keep it covered in the fridge before baking. Alternatively, bake the cake a day before serving and store it wrapped at room temperature or refrigerated. Add toppings or decorations just before serving for best freshness.
FAQ
Can I use salted butter instead of unsalted?
Yes, but reduce or omit any additional salt in the recipe if you add any. Unsalted butter gives you more control over seasoning, but salted will work fine if that's what you have.
What if I don’t have self-raising flour?
You can make your own by combining 225g plain flour with 2 tsp baking powder and a pinch of salt. Sift together before using to ensure even distribution.
How do I know when the cake is done?
The cake should be golden brown on top and spring back when lightly pressed. Insert a skewer or toothpick in the center—if it comes out clean or with a few moist crumbs, it’s ready.
Can I make this cake gluten-free?
Yes, substitute the self-raising flour with a gluten-free self-raising blend. The texture may be slightly different but it will still be delicious.
Why did my cake turn out dense last time?
Common reasons include overmixing after adding flour, using cold ingredients, or expired baking powder. Follow the creaming and folding steps gently and use fresh ingredients.
Can I add flavorings other than vanilla?
Absolutely! Lemon zest, almond extract, or even a splash of orange juice can brighten the flavor nicely. Just add them with the milk and vanilla step.
How do I prevent my cake from sinking in the middle?
Avoid opening the oven door early and ensure your baking powder is fresh. Also, don’t overfill the tin and follow the baking time carefully.
Can I double this recipe?
Yes, but bake in two tins rather than doubling the batter in one tin to avoid uneven cooking. Adjust baking time accordingly and test doneness with a skewer.
Final Thoughts
I hope you enjoy making and sharing this simple one bowl British sponge cake as much as I do. It’s a comforting classic that’s easy to master—let me know how yours turns out!