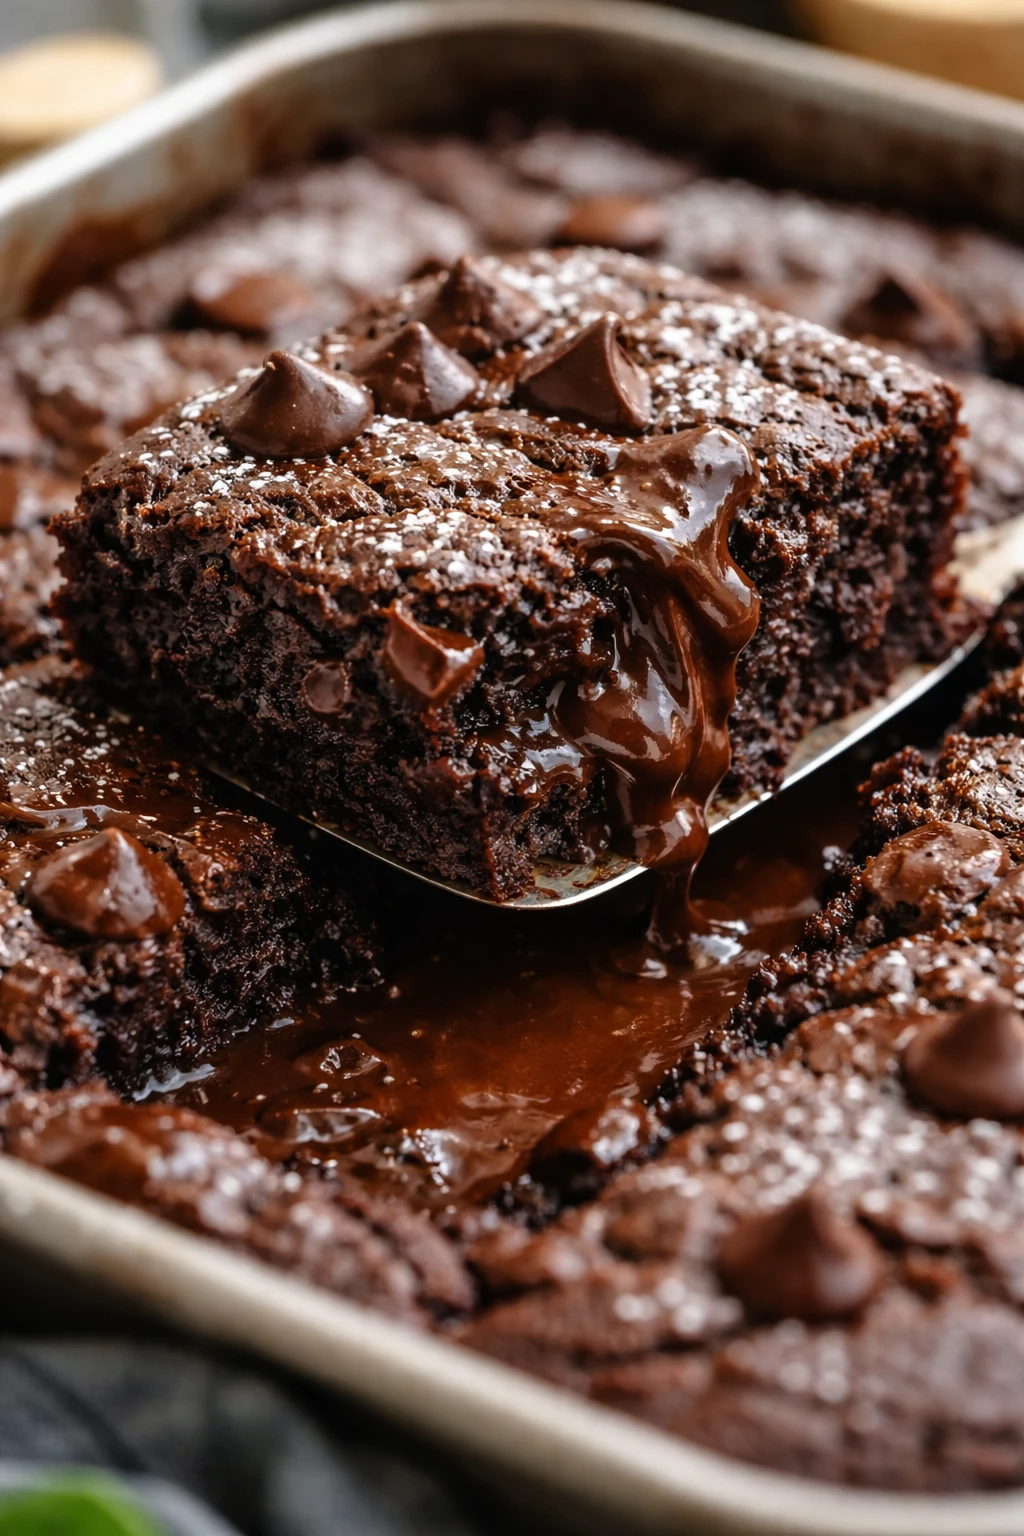
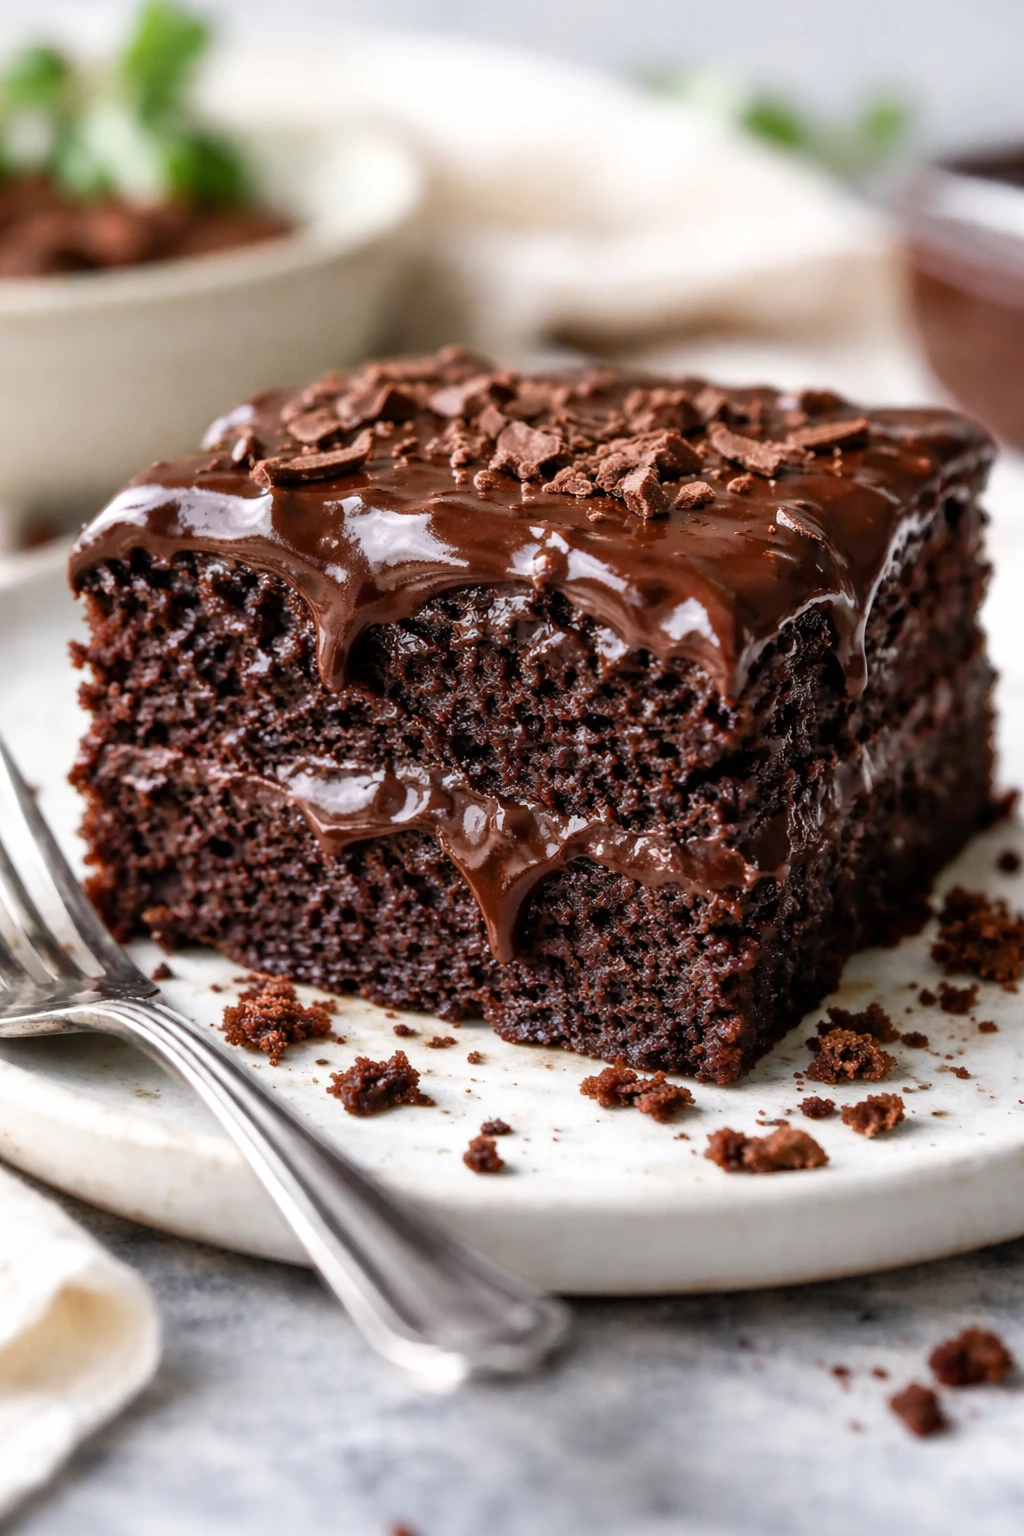
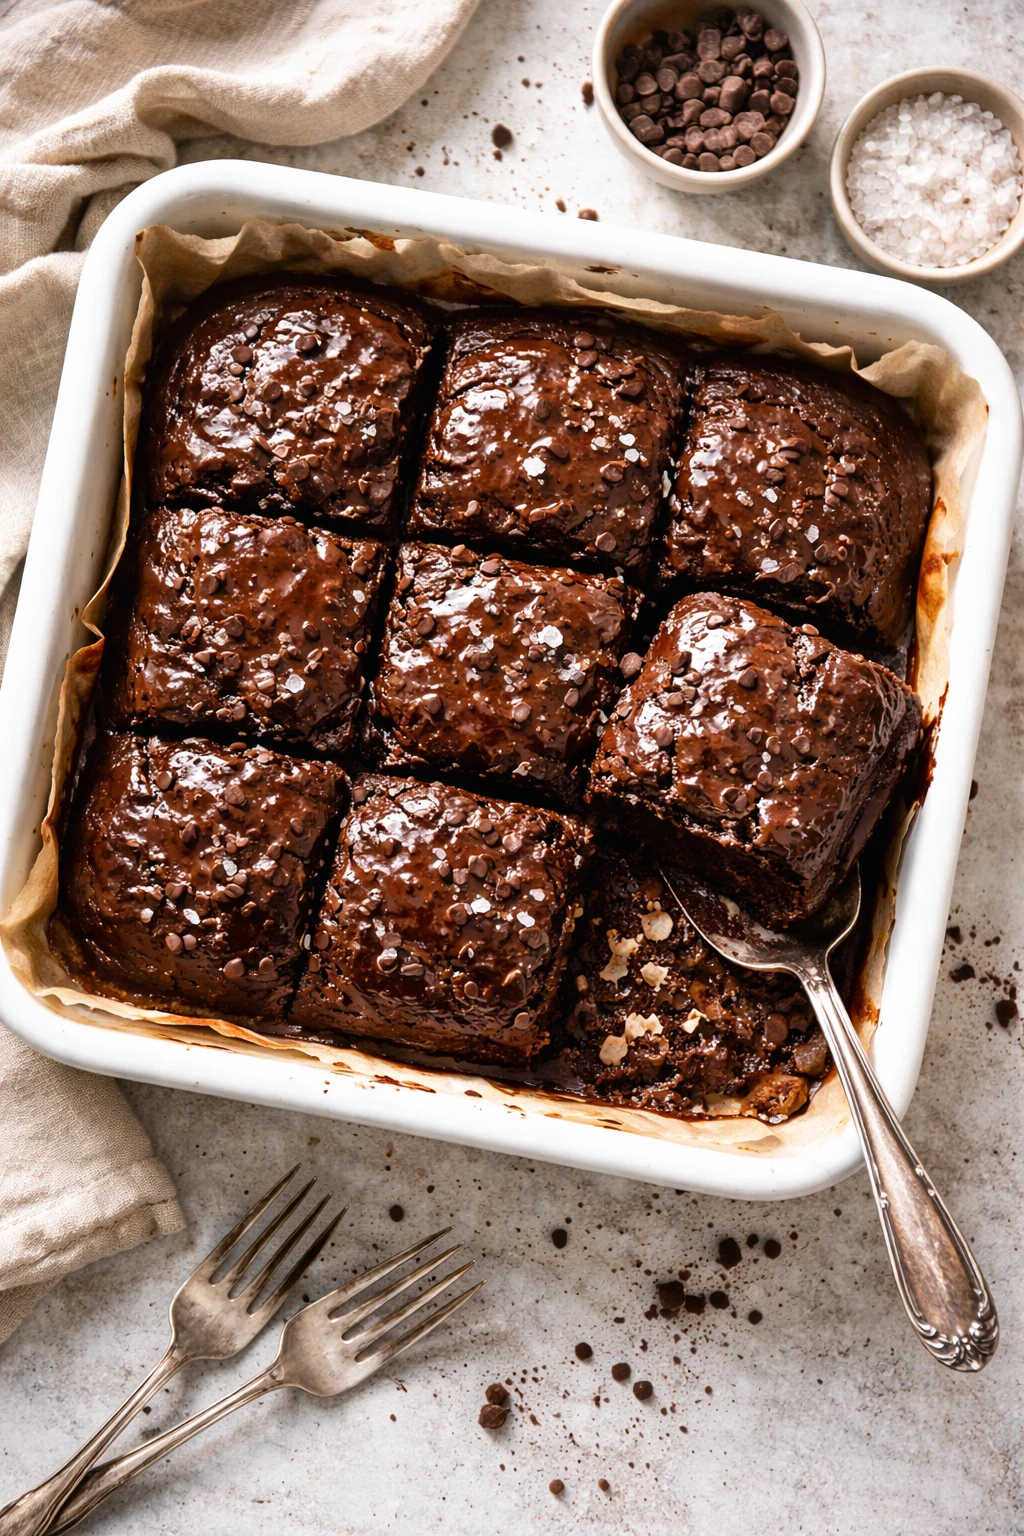
This one pan chocolate cake is everything you want in a quick dessert—rich, gooey, and zero fuss since it’s all made in one skillet. I love serving it warm with a scoop of ice cream on cozy nights.
Introduction
I stumbled upon this one pan chocolate cake recipe on a hectic weeknight when I wanted something indulgent but didn’t want to wash a million dishes. The genius of this cake is that everything happens in one skillet—no mixing bowls, no extra pans. It’s gooey, rich, and perfect for when you want a quick dessert that feels special. What makes my version different is the addition of boiling water at the end, which really intensifies the cocoa flavor and keeps the cake incredibly moist. I also like to use whole milk instead of water for a creamier texture. The trick I learned is not to overbake it; you want the center to stay soft and fudgy. When it’s done, the top has a slight crust while the inside is warm and luscious. It’s exactly the kind of comforting treat I reach for on cozy nights, and my family always asks for seconds. Honestly, I’ve tried other chocolate cakes, but this one keeps winning because it’s fuss-free and reliably delicious every time.
What You'll Need
Approximately 6 generous servings
- 1 cup all-purpose flour, sifted
- 1 cup granulated sugar
- 1/2 cup unsweetened cocoa powder
- 1 teaspoon baking powder
- 1/4 teaspoon salt
- 1/2 cup whole milk
- 1/4 cup vegetable oil
- 1 large egg
- 1 teaspoon vanilla extract
- 1/2 cup boiling water
- Optional: vanilla ice cream or whipped cream for serving
How To Do It
Step 1
Preheat your oven to 350°F (175°C). Lightly grease a 9-inch oven-safe skillet or baking pan to prevent sticking. This step is crucial because the cake will bake directly in this pan, and greasing ensures easy removal and a nice crust on the edges. Avoid skipping this or using too little oil—it can cause the cake to stick and break apart when serving.
⏱ Time: 5 minutes
✓ Doneness: The pan surface appears evenly coated with a thin, glossy layer of oil.
Step 2
In the skillet, whisk together the flour, sugar, cocoa powder, baking powder, and salt until fully combined and lump-free. Mixing dry ingredients first ensures even distribution of leavening agents and cocoa, which helps the cake rise uniformly and develop a balanced chocolate flavor. Take your time here to avoid clumps that could leave dry spots in the cake.
⏱ Time: 3 minutes
✓ Doneness: The mixture looks smooth with no visible lumps of cocoa or flour.
Step 3
Add the milk, vegetable oil, egg, and vanilla extract directly to the dry ingredients in the skillet. Stir gently but thoroughly with a whisk or spatula until the batter is smooth and glossy. Overmixing can develop gluten, making the cake tough, so stop once combined. The batter should be thick but pourable.
⏱ Time: 4 minutes
✓ Doneness: The batter is homogenous and smooth with no streaks of flour or dry spots.
Step 4
Carefully pour the boiling water over the batter in the skillet. The water will thin out the batter and activate the cocoa’s flavors, making the cake extra moist and fudgy. Stir gently just until incorporated—don’t overmix or you’ll lose the lightness. The batter will be thinner than typical cake batters, which is normal.
⏱ Time: 2 minutes
✓ Doneness: Batter is smooth and slightly thin, with no unmixed pockets of flour or cocoa.
Step 5
Place the skillet in the preheated oven and bake for 25 to 30 minutes. The baking time can vary depending on your oven, so start checking at 25 minutes. You want the edges to be set and the center to still jiggle slightly when you gently shake the pan. This ensures a gooey, fudgy center rather than a dry cake.
⏱ Time: 25-30 minutes
✓ Doneness: Edges look firm and set; center wobbles softly but is not liquid.
Step 6
Remove the skillet from the oven and let the cake cool for 10-15 minutes. Cooling allows the cake to set up a bit, making it easier to serve without falling apart. If you try to cut it too hot, it might be too runny. The warm cake is best served right away with a scoop of vanilla ice cream or whipped cream for contrast.
⏱ Time: 10-15 minutes
✓ Doneness: Cake surface is slightly firm but still warm to the touch.
Step 7
Use a spatula or large spoon to scoop generous portions directly from the skillet. Because it’s a one pan cake, it won’t slice like a traditional cake but rather serve like a warm pudding cake. This makes it feel homemade and cozy—perfect for casual desserts.
⏱ Time: 2 minutes
✓ Doneness: Portions hold shape but reveal gooey, moist interior.
Step 8
If you want to add a little extra flair, sprinkle a pinch of flaky sea salt over the top before serving. The salt enhances the chocolate flavor and balances the sweetness beautifully. It’s a tiny step that makes a big difference, trust me!
⏱ Time: 1 minute
✓ Doneness: Salt crystals lightly scattered and visible on the cake surface.
Step 9
Clean your skillet promptly after it cools down by soaking it in warm water and gently scrubbing. Because this is a one pan recipe, cleanup is minimal, but don’t let the batter dry on the pan or it’ll be tougher to clean. Quick cleanup means you’re more likely to make this again soon!
⏱ Time: 5-10 minutes
✓ Doneness: Skillet is clean and ready for next use without residue.
Variations
Peanut Butter Swirl
Before baking, dollop spoonfuls of creamy peanut butter on the batter and swirl gently with a knife. This adds a salty, nutty contrast to the rich chocolate and makes the cake extra indulgent. The texture stays gooey but with pockets of peanut butter goodness.
Note: Swirl gently to avoid deflating the batter. Baking time remains the same.
Berry Chocolate Skillet Cake
Add fresh or frozen raspberries or strawberries on top of the batter before baking. The fruit adds bright, tart notes that balance the chocolate’s sweetness. Expect a slightly moister texture where the berries release juice.
Note: Use thawed frozen berries to avoid excess moisture; bake 2-3 minutes longer if needed.
Vegan One Pan Chocolate Cake
Replace the egg with a flax egg (1 tbsp ground flaxseed + 3 tbsp water) and use plant-based milk. Use coconut oil or neutral oil. The cake will be slightly denser but still moist and delicious with a fudgy texture.
Note: Mix flax egg well and let it gel before adding. Baking time may increase by 3-5 minutes.
Spiced Chocolate Cake
Add 1/2 teaspoon cinnamon and a pinch of cayenne pepper to the dry ingredients for a warm, spicy kick. This variation is perfect for autumn or winter and adds depth to the chocolate flavor.
Note: Mix spices thoroughly with dry ingredients; baking time unchanged.
Nutty Chocolate Skillet Cake
Fold chopped toasted walnuts or pecans into the batter before baking. The nuts add crunch and a toasty flavor that contrasts beautifully with the gooey cake.
Note: Toast nuts beforehand for best flavor; fold gently to avoid deflating batter.
Pro Tips
Don’t overmix the batter once you add wet ingredients.
Overmixing develops gluten in the flour, which can make the cake dense and chewy instead of tender and soft. Stir just until combined to maintain a delicate crumb.
Use freshly sifted cocoa powder for the best chocolate flavor.
Sifting removes lumps and aerates the cocoa, allowing it to integrate smoothly and bloom fully during baking, enhancing richness and texture.
Grease your skillet thoroughly but avoid excess oil pooling.
A thin, even layer prevents sticking and promotes a crisp edge. Too much oil can fry the batter edges unevenly, affecting texture and appearance.
Let the cake cool slightly before serving.
Immediate cutting can cause the gooey center to run and make serving messy; resting lets the structure set for cleaner portions.
Add a pinch of flaky sea salt on top before serving.
Salt balances the sweetness and intensifies the chocolate flavor, making the dessert more complex and satisfying.
Use whole milk instead of water for richer flavor and texture.
Milk adds fat and sweetness, improving moisture retention and resulting in a creamier mouthfeel.
Check the cake a few minutes before the timer ends.
Ovens vary; checking early prevents overbaking, which can dry out the cake and ruin the gooey center.
Common Mistakes to Avoid
Overbaking the cake
Why it happens Many assume the cake should be fully set like a traditional cake, so they leave it in too long.
Fix Start checking the cake at 25 minutes and remove it when the edges are set but the center still jiggles slightly. This ensures a moist, fudgy texture.
Skipping the boiling water
Why it happens Some think water is just to thin the batter and omit it or use cold water.
Fix Always add boiling water last and mix gently. It blooms the cocoa and keeps the cake moist and rich.
Not greasing the skillet well
Why it happens Assuming the batter won’t stick or using too little oil.
Fix Generously grease the pan with oil or butter to avoid sticking and ensure easy serving.
Overmixing the batter
Why it happens Trying to get rid of lumps or to mix thoroughly.
Fix Mix just until ingredients are combined; a few small lumps are okay and prevent gluten overdevelopment.
Using expired baking powder
Why it happens Not checking the freshness of leavening agents.
Fix Test baking powder by mixing a teaspoon in warm water; if it bubbles actively, it’s fresh. Replace if flat.
Nutrition
Per Serving:
Nutritional values are estimates and may vary based on specific ingredients used.
Storage & Tips
Room Temperature
This cake can safely sit at room temperature, covered loosely, for up to 4 hours. Beyond that, moisture loss and drying begin, so it’s best to refrigerate if not eaten soon.
Refrigerator
Store in an airtight container for up to 3 days. The cake will firm up and lose some gooeyness but can be warmed gently before serving to revive softness.
Freezer
Freeze portions wrapped tightly in plastic wrap and foil for up to 2 months. Thaw overnight in the fridge and reheat gently to restore the gooey texture.
Reheating
Reheat slices in the microwave for 20-30 seconds or in a low oven (300°F) for 10-15 minutes. Add a splash of milk or water if it seems dry to regain moisture.
Make Ahead
You can prepare the batter up to 1 day ahead and keep it covered in the skillet in the fridge. Bring to room temperature before baking to ensure even cooking.
FAQ
Can I use cocoa powder that’s Dutch-processed instead of natural?
Yes, but keep in mind Dutch-processed cocoa is less acidic and won’t react with baking powder the same way. You might need to add a small amount of baking soda to help the cake rise properly and maintain texture.
What if I don’t have a skillet? Can I use a regular cake pan?
Absolutely! Just use a 9-inch round or square baking pan. Grease it well and follow the same instructions. The baking time may vary slightly, so start checking a bit earlier.
Why is my cake dry or crumbly?
Dryness usually comes from overbaking or overmixing. Make sure to check the cake early and mix until just combined. Also, fresh ingredients like baking powder and proper oil amount help keep it moist.
Can I make this gluten-free?
Yes! Substitute the flour with a 1:1 gluten-free baking flour blend. Make sure it contains xanthan gum or add it separately for structure. Texture might be slightly different but still delicious.
How do I know when the cake is done?
Look for set edges and a center that still jiggles slightly when you shake the pan. The cake continues to cook as it cools, so don’t wait for it to be fully firm.
Can I add chocolate chips or chunks?
Definitely! Fold in 1/2 cup of chocolate chips before adding the boiling water. They’ll melt into gooey pockets throughout the cake, adding extra chocolate bursts.
Is there a way to make this cake less sweet?
You can reduce the sugar by up to 1/4 cup without affecting texture much. Adding a pinch of salt also balances sweetness and enhances chocolate flavor.
Can I substitute the vegetable oil with melted butter?
You can, but keep in mind butter solidifies at room temp and can make the cake firmer. Melted butter will add flavor but may change the moist, tender crumb you get with oil.
Final Thoughts
Give this one pan chocolate cake a try next time you want an easy, comforting dessert. I’d love to hear how it turns out for you—don’t forget to share your sweet moments!