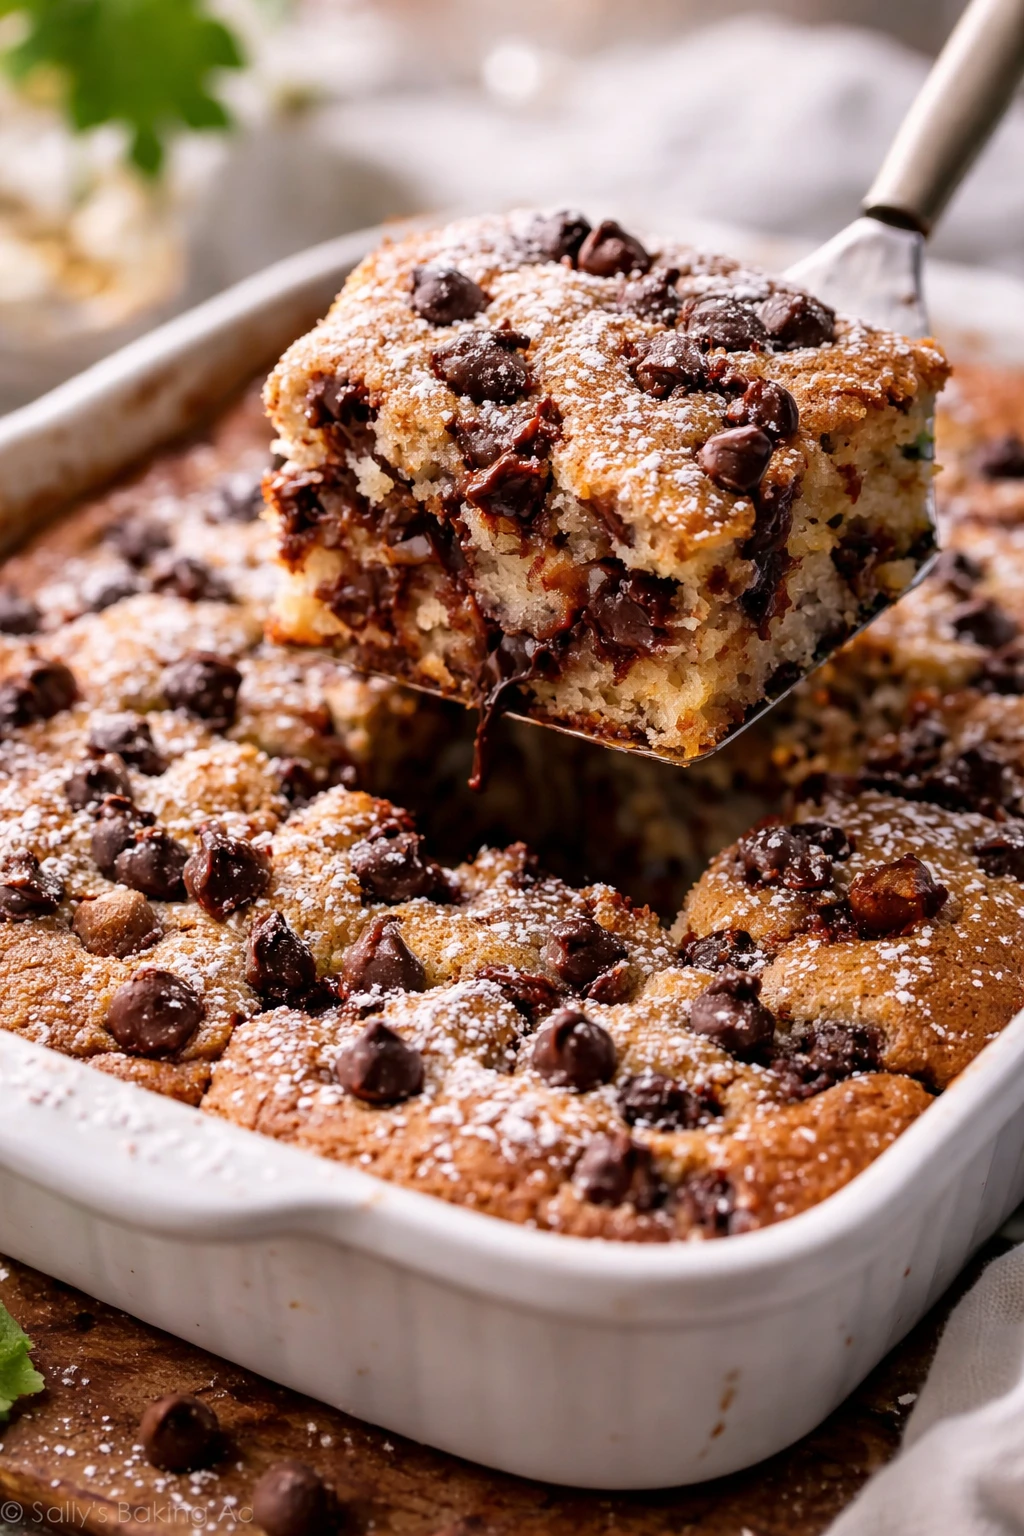
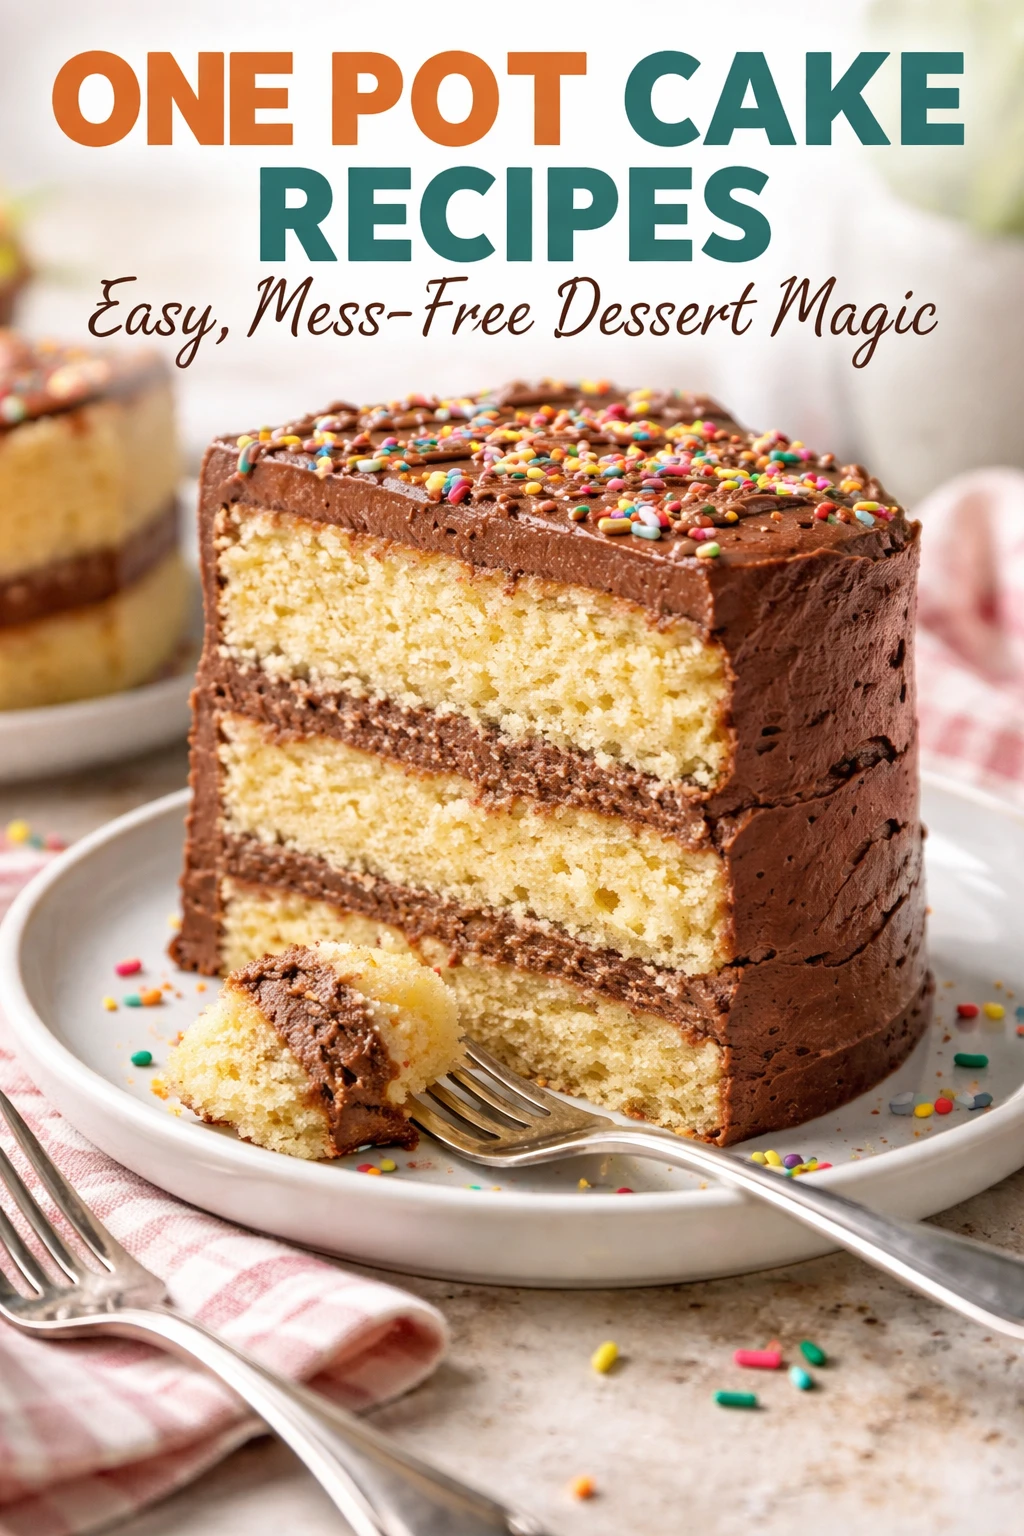
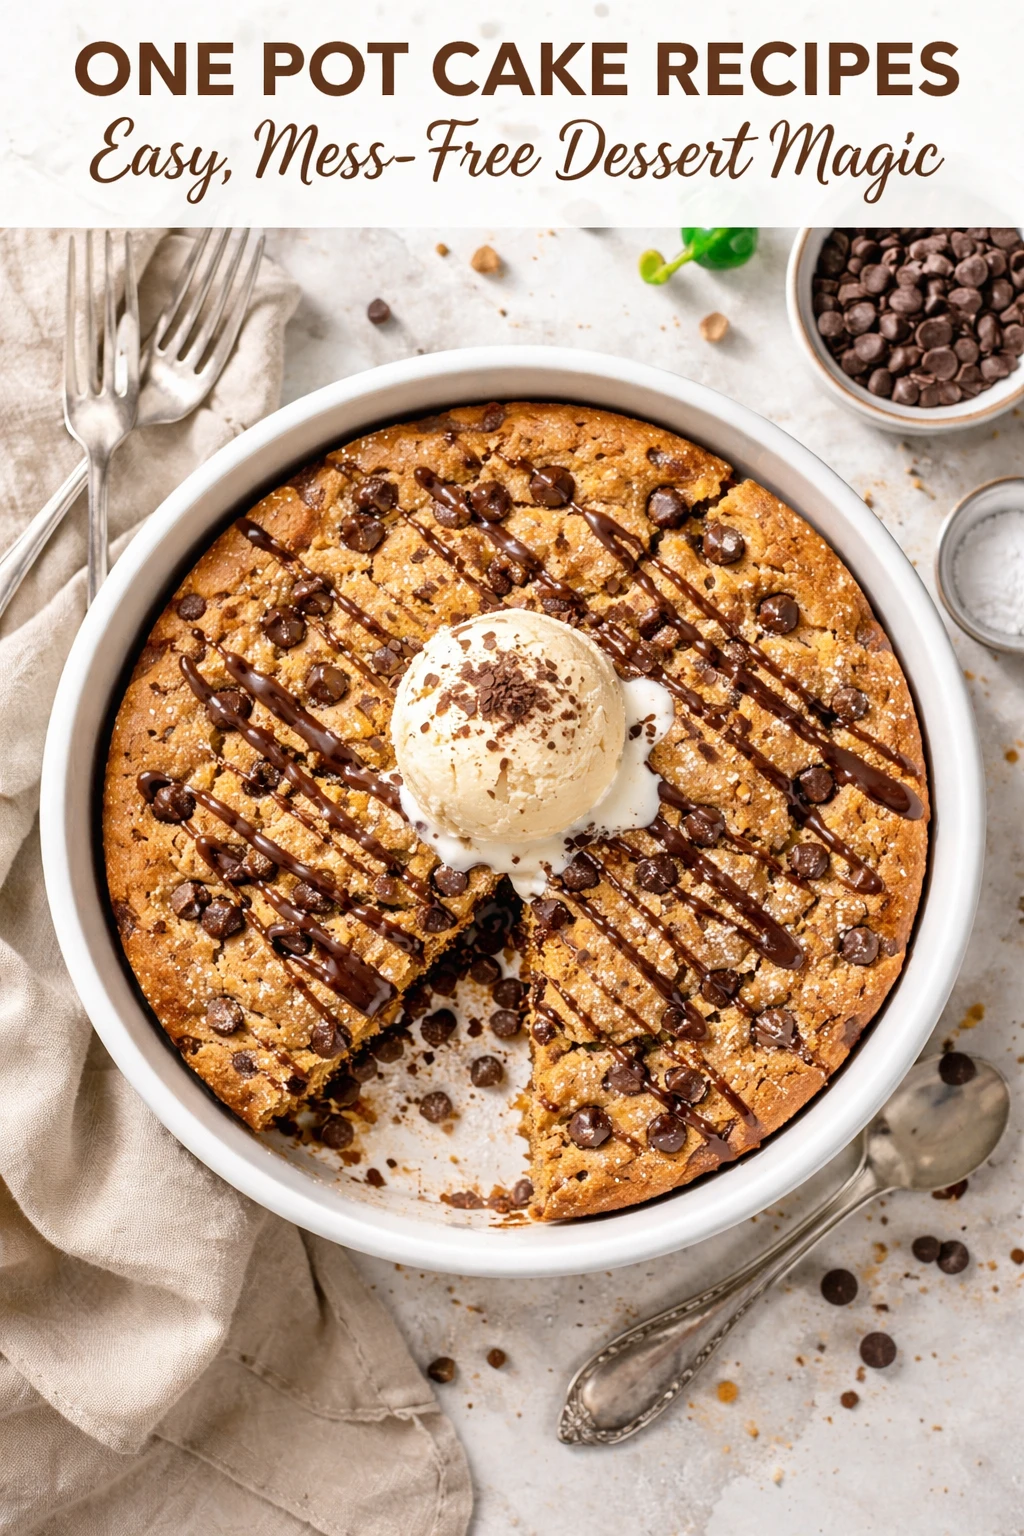
This one-pot cake is a total game-changer—no extra bowls, no mess. You cook the batter right on top of fruit, creating a gorgeous caramelized topping. Perfect for casual dinners or when you need a quick, impressive dessert!
Introduction
I stumbled upon this one-pot caramelized fruit cake on a lazy Sunday afternoon when I wanted something sweet but didn’t want to deal with a mountain of dishes. The magic is in how you cook the batter right on top of the fruit, so the sugars melt and caramelize during baking, creating a beautiful, glossy topping. It’s like an upside-down cake but without the hassle of flipping or extra pans. I’ve tried traditional upside-down cakes before and ended up with soggy fruit or messy cleanups, but this method keeps the fruit juicy yet caramelized, and the cake moist and tender. Plus, it’s super forgiving, which is great if you’re not a baking pro. The trick I learned is to melt the butter and brown sugar first, then layer the fruit before pouring the batter over it. When it bakes, the juices mingle beautifully, and when you flip it out or just serve it as is, it looks stunning. It’s perfect for casual dinners, last-minute guests, or even a cozy weekend treat. My family can’t get enough, and I love how easy it is to whip up with whatever fruit I have on hand.
What You'll Need
Approximately 8 slices, 6 servings
- 1/2 cup unsalted butter, melted
- 3/4 cup brown sugar, packed
- 2 cups mixed fresh fruit (pineapple, berries, or apples), sliced
- 1 1/2 cups all-purpose flour
- 1 cup granulated sugar
- 2 tsp baking powder
- 1/2 tsp salt
- 1/2 cup whole milk
- 2 large eggs
- 1 tsp vanilla extract
How To Do It
Step 1
Preheat your oven to 350°F (175°C). In a 9-inch round cake pan, melt the butter over low heat right on the stove or in the oven-safe pan you’ll use for baking. Once melted, sprinkle the brown sugar evenly over the butter. This step is crucial because the butter and sugar will caramelize during baking, creating that gorgeous glossy topping. Make sure the sugar is spread in one even layer to avoid burnt spots. Avoid stirring here; just let it sit until the sugar dissolves slightly.
⏱ Time: 5 minutes
✓ Doneness: Butter is fully melted and sugar looks glossy and just starting to dissolve, no grainy spots
Step 2
Arrange the sliced fruit over the butter and sugar mixture in a single layer. Don’t pile the fruit too high; it should cover the surface but not be thick. The fruit juices will seep into the sugar and butter, creating a natural syrup. This layering is what gives the cake its signature caramelized top. Using fresh, ripe fruit helps with juiciness and flavor, so choose what’s in season or what you love most.
⏱ Time: 5 minutes
✓ Doneness: Fruit slices cover the sugar evenly with no gaps, looking fresh and glossy
Step 3
In a mixing bowl, whisk together the flour, granulated sugar, baking powder, and salt until well combined. This dry mix forms the base of your cake. Sifting the flour here is optional but helps avoid lumps and gives a lighter texture. Mixing these dry ingredients evenly ensures your cake rises uniformly and has a fine crumb. Don’t skip the salt—it balances the sweetness and enhances the caramel notes from the fruit topping.
⏱ Time: 3 minutes
✓ Doneness: Dry ingredients are fully combined with no clumps
Step 4
In a separate bowl, whisk the eggs, milk, and vanilla extract together until smooth and slightly frothy. These wet ingredients add moisture and richness to the batter. Whisking helps incorporate air, which lightens the cake texture. Use whole milk for the best flavor and tenderness; skim or plant-based milks can work but might affect texture slightly.
⏱ Time: 3 minutes
✓ Doneness: Wet ingredients are homogenous and slightly frothy
Step 5
Gradually pour the wet ingredients into the dry ingredients, gently folding with a spatula or wooden spoon until just combined. Be careful not to overmix—overworking the batter can develop gluten and make the cake tough. You want a thick, slightly lumpy batter that will bake up tender and moist. Stop mixing as soon as you don’t see streaks of flour.
⏱ Time: 3 minutes
✓ Doneness: Batter is smooth with a few small lumps, no dry flour visible
Step 6
Pour the batter evenly over the arranged fruit in the pan, spreading gently with a spatula to cover the fruit completely. Don’t press the batter down; just spread it lightly so it bakes evenly. The batter will rise and envelop the fruit, sealing in the juices and creating that lovely caramelized crust on top. This step is key for the cake’s signature texture contrast.
⏱ Time: 3 minutes
✓ Doneness: Fruit is fully covered with an even layer of batter
Step 7
Place the pan in the preheated oven and bake for 30-35 minutes. The cake is done when a toothpick inserted into the center comes out clean or with just a few moist crumbs. Avoid opening the oven too often during baking, or the cake might sink. The edges will turn golden brown, and you’ll notice a sweet caramel aroma filling your kitchen.
⏱ Time: 30-35 minutes
✓ Doneness: Golden brown edges and toothpick comes out clean
Step 8
Once baked, remove the cake from the oven and let it cool in the pan for about 10 minutes. This resting time allows the caramel to set slightly and makes it easier to slice without sticking. If you want, you can invert the cake onto a serving plate for the classic upside-down presentation, but it’s just as lovely served directly from the pan.
⏱ Time: 10 minutes
✓ Doneness: Cake is warm but firm to touch, caramel slightly thickened
Step 9
Serve warm or at room temperature, optionally with a scoop of vanilla ice cream or a dollop of whipped cream. The contrast between the caramelized fruit and tender cake is irresistible. Leftovers keep well and taste great slightly warmed. Enjoy this easy, no-fuss cake as a last-minute dessert or a cozy treat anytime!
⏱ Time: 0 minutes
✓ Doneness: Cake slices hold shape and fruit topping glistens
Variations
Tropical Pineapple and Coconut
Swap the mixed fruit for fresh pineapple chunks and sprinkle shredded coconut on top before baking. This gives a tropical twist with a crunchy coconut topping that pairs beautifully with caramelized pineapple.
Note: Add the coconut in the last 5 minutes of baking to prevent burning and maintain its texture.
Berry Medley with Lemon Zest
Use a mix of blueberries, raspberries, and blackberries with a teaspoon of fresh lemon zest in the batter. The tartness of the berries and lemon brightens the sweet caramel and adds complexity.
Note: Berries release more juice, so reduce milk slightly to keep batter from being too wet.
Apple Cinnamon Upside-Down
Replace fruit with thinly sliced apples and add a teaspoon of cinnamon to the dry ingredients. This cozy flavor combo is perfect for fall and pairs wonderfully with the caramelized topping.
Note: Toss apple slices in a little lemon juice to prevent browning before layering.
Peach and Ginger
Use fresh peach slices and add 1/2 teaspoon ground ginger to the batter for a warm, spicy undertone that complements the caramelized fruit beautifully. Great for summer or late summer peaches.
Note: Ginger can intensify during baking, so start with less and adjust to taste.
Vegan Version
Substitute eggs with flax eggs (1 tbsp ground flax + 3 tbsp water per egg) and use plant-based milk and vegan butter. The texture is slightly denser but still moist and flavorful with the caramelized fruit topping intact.
Note: Baking time may increase by 5-7 minutes; check doneness with a toothpick.
Pro Tips
Use room temperature eggs and milk for the batter.
Room temperature ingredients mix more evenly and trap air better, which helps the cake rise and develop a tender crumb. Cold ingredients can cause the batter to curdle or bake unevenly, leading to dense spots.
Don’t overmix the batter once you combine wet and dry ingredients.
Overmixing develops gluten in the flour, making the cake tough and chewy instead of soft and tender. Mixing just until combined keeps the crumb light and moist.
Let the cake cool for at least 10 minutes before slicing or flipping.
This resting period allows the caramel to thicken and the cake to set, preventing the fruit topping from sliding off and making slicing cleaner and easier.
Use a heavy-bottomed pan that conducts heat evenly.
Even heat distribution prevents hot spots that can burn the sugar or undercook the batter. A good pan ensures the caramelization happens uniformly and the cake bakes through perfectly.
Pack the brown sugar firmly when measuring.
Brown sugar’s moisture content varies, so packing it ensures you use the right amount to create a proper caramel layer. Too little sugar leads to a bland topping; too much can burn.
Choose fruits with firm texture and natural sweetness.
Firm fruits hold their shape during baking and release juices slowly, which combine with the caramel for flavor without making the cake soggy. Overly watery or underripe fruits can ruin the texture.
Avoid opening the oven door during baking.
Opening the door causes temperature fluctuations that can make the cake sink or bake unevenly. Trust the timing and check doneness only near the end.
Common Mistakes to Avoid
Using too much fruit piled high
Why it happens It’s tempting to add lots of fruit for flavor, but piling it on thick prevents even baking and leads to sogginess.
Fix Stick to a single even layer of fruit slices. This ensures the caramelization happens properly and the cake cooks evenly without excess moisture pooling.
Overmixing the batter
Why it happens Many cooks think a smooth batter means well mixed, but overmixing develops gluten and toughens the cake.
Fix Mix just until flour disappears and no dry spots remain. A few small lumps are fine and help keep the cake tender.
Not melting butter and sugar evenly
Why it happens Rushing this step or stirring too much can cause uneven caramelization or burnt sugar spots.
Fix Melt butter gently, sprinkle sugar evenly, and let it sit without stirring until it dissolves slightly and looks glossy.
Using unripe or watery fruit
Why it happens Some fruits release too much water or lack sweetness, causing a soggy topping and bland flavor.
Fix Choose ripe, firm fruit with good natural sugars. Avoid watery varieties or pat fruit dry if needed.
Cutting the cake too soon
Why it happens Impatience leads to cutting when the caramel and cake haven’t set, causing the topping to slide off.
Fix Let the cake cool at least 10 minutes before slicing or flipping to allow the layers to set properly.
Nutrition
Per Serving:
Nutritional values are estimates and may vary based on specific ingredients used.
Storage & Tips
Room Temperature
You can keep this cake covered at room temperature for up to 2 days. Use a cake dome or airtight container to prevent it from drying out. The caramel topping remains soft and delicious when fresh.
Refrigerator
Store leftovers in an airtight container in the fridge for up to 4 days. The cake will firm up and the caramel topping will thicken; warm slices gently before serving for best texture.
Freezer
Wrap the cake tightly in plastic wrap and foil, then freeze for up to 2 months. Thaw overnight in the fridge, then warm gently in the oven to restore moisture and soften the caramel.
Reheating
Reheat slices in a 325°F oven for 10-15 minutes until warmed through. Avoid microwaving as it can make the cake soggy. Adding a small splash of milk before warming can help maintain moisture.
Make Ahead
You can prepare the caramel and fruit layer 1 day ahead and keep it refrigerated. Assemble the batter and bake on the day of serving for maximum freshness. Alternatively, bake completely and reheat before serving.
FAQ
Can I use frozen fruit instead of fresh?
Frozen fruit can work but tends to release more water, which may make the cake soggy or prevent proper caramelization. If using frozen, thaw and drain excess liquid before layering, and slightly reduce the milk in the batter to compensate.
Why did my cake turn out soggy underneath?
Sogginess usually happens when too much fruit or juice leaks into the batter. Make sure to use a single layer of fruit, avoid watery varieties, and don’t pile fruit too thickly. Also, avoid overbaking or opening the oven door too early.
Can I make this gluten-free?
Yes! Substitute the all-purpose flour with a gluten-free baking blend that includes xanthan gum. The texture might be slightly different, but the cake will still be moist and delicious. Watch baking time closely as gluten-free cakes can bake faster.
Do I have to invert the cake to serve?
Not at all! You can serve it directly from the pan; the caramelized fruit topping looks beautiful and tastes great without flipping. Inverting is optional and mainly for presentation.
How do I prevent the caramel from burning?
Use moderate oven temperature (350°F) and spread the sugar evenly. Avoid stirring the sugar and butter once combined to prevent crystallization. Also, use a heavy-bottomed pan to distribute heat evenly.
Can I add nuts to the topping?
Definitely! Chopped pecans or walnuts sprinkled over the sugar and butter before adding fruit add a lovely crunch and flavor. Just be mindful of potential allergies.
What’s the best pan to use for this cake?
A 9-inch heavy-bottomed round cake pan or cast iron skillet works best. The pan needs to be oven-safe and distribute heat evenly for proper caramelization and baking.
Can I double the recipe for a larger cake?
You can, but use a larger pan and adjust baking time accordingly. The cake may take longer to cook through, so check doneness with a toothpick after 40 minutes and then every 5 minutes.
Final Thoughts
I hope you give this one-pot caramelized fruit cake a try—it’s simple, stunning, and so satisfying! Let me know how yours turns out and what fruit combos you loved.