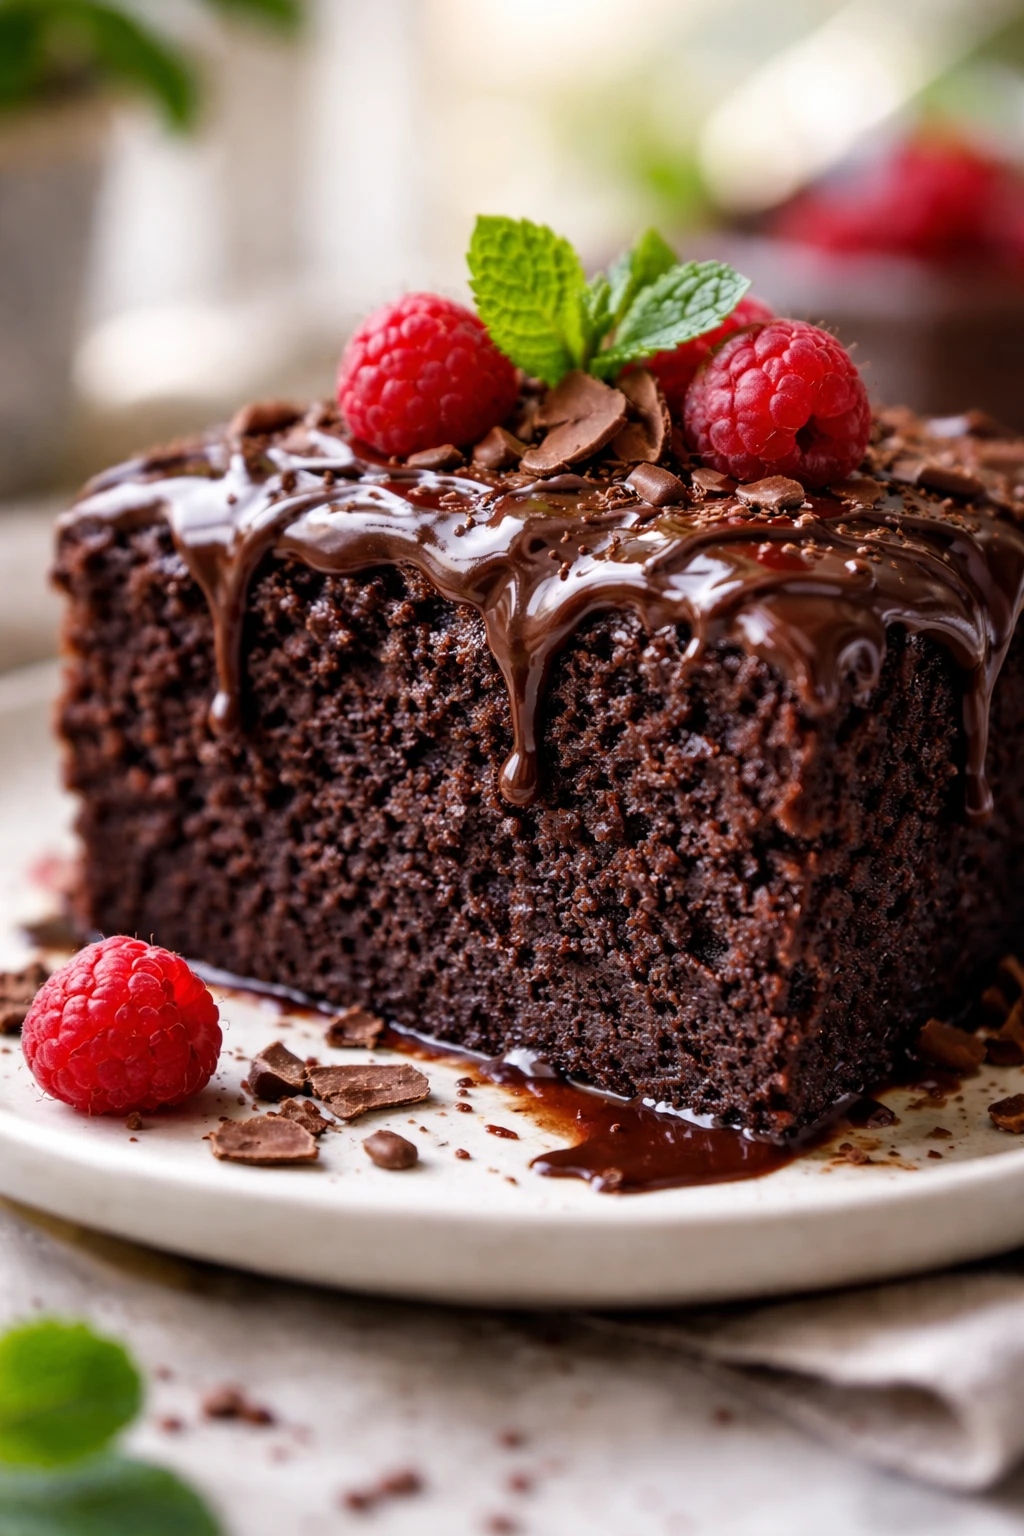
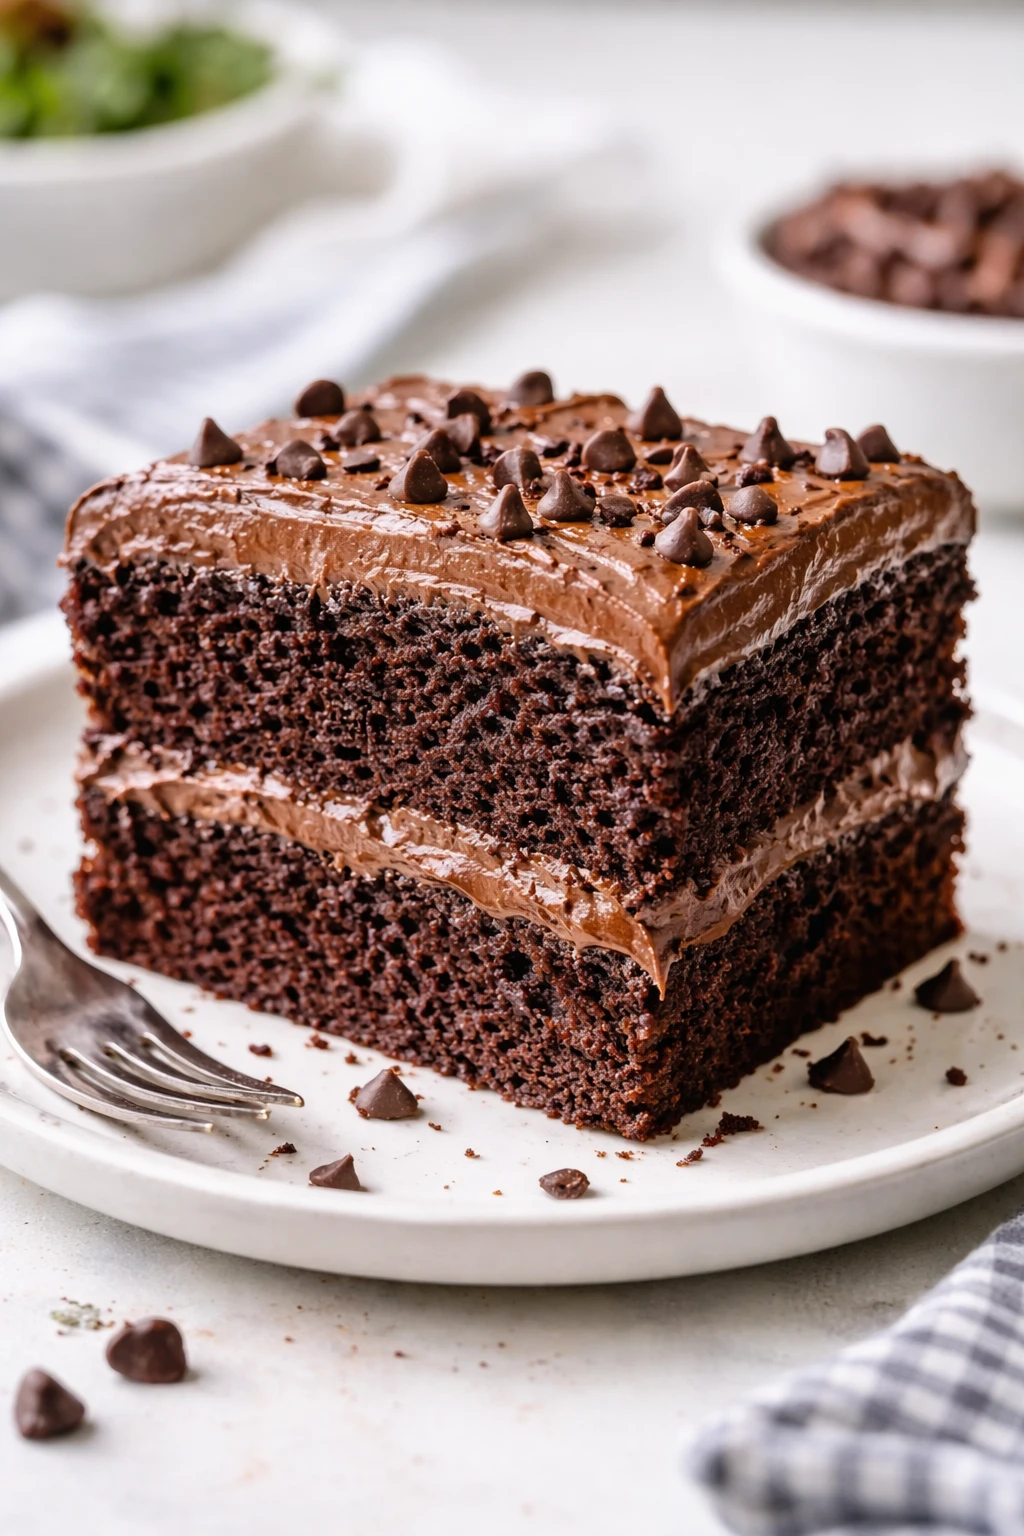
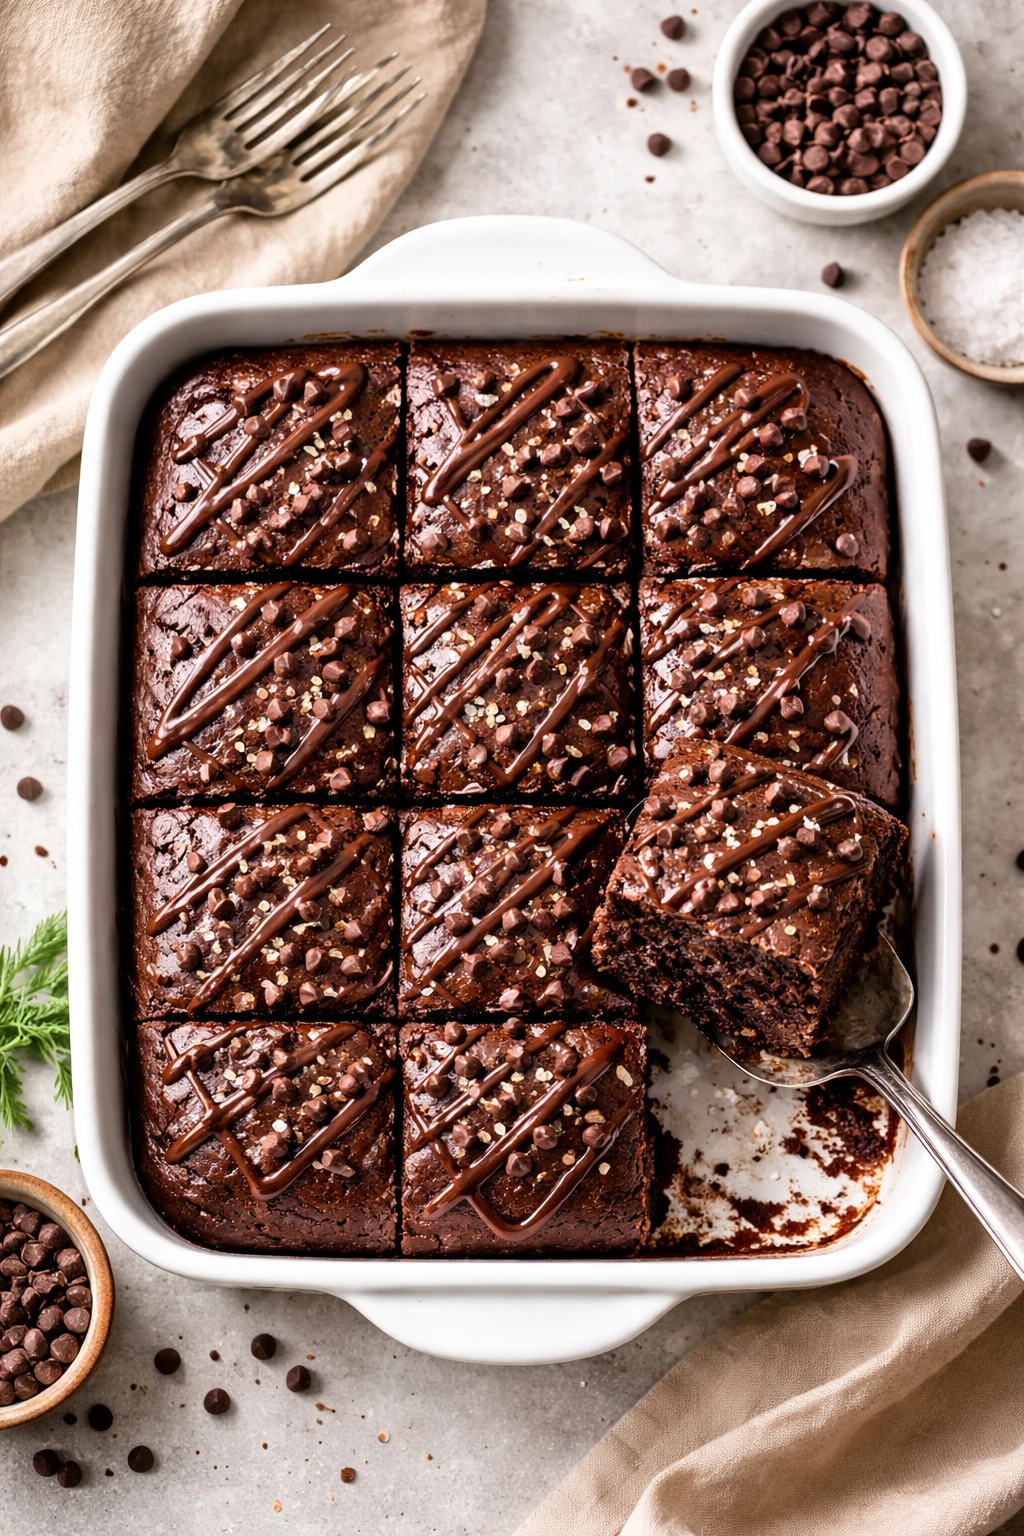
This chocolate cake is a quick lifesaver when you crave something sweet but don't want to fuss. Just five ingredients make it moist and rich—perfect for cozy weeknights or last-minute dessert plans.
Introduction
I first stumbled upon this chocolate cake recipe during a hectic week when I wanted something sweet but didn’t have time for complicated baking. What I love about it is how simple it is—only five ingredients! It’s perfect when you want to whip up a dessert fast without sacrificing flavor or texture. The trick I learned is to sift the dry ingredients really well to avoid any lumps, which makes the cake super tender and smooth. Also, using room temperature milk helps the batter mix evenly and keeps the cake moist. The finished result is a rich, chocolatey cake that’s surprisingly light and fluffy. It’s become my go-to treat for cozy evenings when I crave something comforting but don’t want to spend hours in the kitchen. Honestly, the first time I tried it, I was skeptical it could taste so good with so few ingredients—but it totally did! Plus, it’s easy enough to share with friends or family without any fuss. I think you’ll love how effortlessly delicious it is.
What You'll Need
One 8-inch round cake, 8 servings
- 1 cup all-purpose flour, sifted
- 1 cup granulated sugar
- 1/2 cup cocoa powder, unsweetened
- 1 teaspoon baking powder
- 1 cup milk, room temperature
How To Do It
Step 1
Preheat your oven to 350°F (175°C). Grease and flour an 8-inch round cake pan to prevent sticking. This step is crucial because it creates a thin barrier between the batter and pan, ensuring your cake comes out cleanly. If you skip this, the cake might stick and break apart when you try to remove it. Take your time with this step to get an even coating, especially around the edges where cakes tend to stick the most.
⏱ Time: 10 minutes
✓ Doneness: Pan feels evenly coated with no bare spots and a slight sheen from the grease
Step 2
In a large bowl, sift together the flour, granulated sugar, cocoa powder, and baking powder. Sifting breaks up clumps and aerates the dry ingredients, which helps the cake rise evenly and have a tender crumb. If you don’t sift, your batter might have lumps of cocoa or flour that won’t fully incorporate, leading to uneven texture. Mix gently with a whisk to combine the ingredients thoroughly.
⏱ Time: 5 minutes
✓ Doneness: Dry ingredients are smooth, light, and evenly blended with no visible clumps
Step 3
Slowly pour the room temperature milk into the dry ingredients while stirring continuously. The milk hydrates the flour and activates the baking powder, which is essential for the cake’s rise. Adding it slowly and mixing gently prevents overworking the batter, which can make the cake dense. Use a spatula or wooden spoon and fold the mixture until just combined; it’s okay if a few small lumps remain—overmixing can ruin the texture.
⏱ Time: 3 minutes
✓ Doneness: Batter is smooth with a thick but pourable consistency and no dry flour patches
Step 4
Pour the batter into the prepared cake pan and smooth the top with a spatula. This ensures an even surface for baking and helps the cake rise uniformly. Avoid tapping the pan too hard on the counter, as this can cause bubbles that lead to an uneven crumb. Instead, gently level the surface and get it ready for the oven.
⏱ Time: 2 minutes
✓ Doneness: Batter evenly spread without peaks or valleys on top
Step 5
Bake the cake in the preheated oven for about 30 minutes. The baking powder will react with the wet ingredients and heat to create air pockets, making the cake rise and become fluffy. Don’t open the oven door frequently, as temperature changes can cause the cake to sink. Start checking at 28 minutes by inserting a toothpick in the center; if it comes out clean or with a few moist crumbs, the cake is done.
⏱ Time: 30 minutes
✓ Doneness: Toothpick inserted in center comes out clean or with moist crumbs, cake springs back when lightly pressed
Step 6
Remove the cake from the oven and let it cool in the pan for 10 minutes. Cooling allows the cake to firm up slightly, making it easier to remove from the pan without breaking. If you try to unmold it while it’s too hot, it might crumble or stick. After cooling, run a knife around the edges to loosen it before turning it out onto a wire rack.
⏱ Time: 10 minutes
✓ Doneness: Cake edges pull slightly away from the pan and surface is warm but not hot
Step 7
Invert the cake onto a wire rack to cool completely. This step prevents the bottom from becoming soggy by allowing air to circulate and moisture to escape. Leaving it in the pan traps steam, which can ruin the texture. Patience here pays off—cooling fully helps the flavors develop and the crumb set perfectly.
⏱ Time: 30 minutes
✓ Doneness: Cake is fully cooled to room temperature and feels firm to the touch
Step 8
Once cooled, you can frost or dust the cake with powdered sugar if desired. I usually keep it simple because the cake is rich enough on its own. If frosting, spread it evenly with a spatula, working gently to avoid tearing the crumb. If you want a fudgier texture, try a simple chocolate glaze instead.
⏱ Time: 5 minutes
✓ Doneness: Frosting or dusting is smooth and even, cake looks polished and ready to serve
Step 9
Slice the cake with a sharp knife dipped in hot water for clean cuts. Wipe the knife between slices to keep edges neat. Serve with a scoop of ice cream or a glass of milk for an extra comforting treat. Enjoy immediately or store properly to keep it fresh.
⏱ Time: 5 minutes
✓ Doneness: Slices cut cleanly with no crumbling or tearing
Variations
Chocolate Cake with Espresso Boost
Add 1 teaspoon of instant espresso powder to the dry ingredients for a deeper, richer chocolate flavor. The espresso enhances the cocoa without making the cake taste like coffee. Expect a slightly more complex and intense chocolate profile.
Note: Espresso powder dissolves easily and won’t affect batter texture. Just mix it with the cocoa powder before adding liquids.
Gluten-Free Chocolate Cake
Swap the all-purpose flour for a gluten-free blend that includes xanthan gum. This keeps the cake tender and moist while making it safe for gluten-sensitive folks. Texture might be slightly different but still delicious.
Note: Use a 1:1 gluten-free baking flour blend to maintain similar structure and rise.
Vegan Chocolate Cake
Replace the milk with almond or oat milk and use a flaxseed egg (1 tablespoon ground flaxseed mixed with 3 tablespoons water) instead of eggs if added. This version is dairy-free and still moist and flavorful, perfect for vegan diets.
Note: Flax eggs help bind ingredients but can make batter slightly denser; adjust baking time by a few minutes if needed.
Chocolate Cake with Coconut Oil
Replace half the milk with coconut milk and add 2 tablespoons melted coconut oil for a subtle tropical twist and extra moistness. The cake will have a hint of coconut flavor and a richer texture.
Note: Melt coconut oil gently before mixing to avoid clumps; coconut milk adds fat for tenderness.
Spiced Chocolate Cake
Add 1/2 teaspoon cinnamon and a pinch of cayenne pepper to the dry ingredients for a warm, spicy kick. This variation adds depth and a little heat, making the chocolate flavor pop in a unique way.
Note: Use sparingly to avoid overpowering the chocolate; spices blend well when sifted with cocoa.
Pro Tips
Always sift your dry ingredients together before mixing.
Sifting aerates the flour and cocoa powder, breaks up lumps, and ensures even distribution of baking powder. This results in a lighter texture and consistent rise. Skipping this step can cause uneven baking and dense spots in the cake.
Use room temperature milk to mix into the batter.
Cold milk can cause the batter to seize or mix unevenly, leading to a dense crumb. Room temperature milk blends smoothly, activating the baking powder uniformly, which helps the cake rise properly and stay moist.
Don’t overmix the batter once you add the milk.
Overmixing develops gluten in the flour, making the cake tough instead of tender. Mixing just until combined keeps the crumb soft and fluffy. A few small lumps are okay and will bake out.
Preheat your oven fully before baking.
Starting with a fully heated oven ensures the baking powder reacts properly, creating the right rise and crumb structure. Baking in a cold or uneven oven can cause the cake to bake unevenly or sink.
Let the cake cool in the pan before removing.
Removing the cake too soon can cause it to break or stick. Cooling allows the structure to set slightly, making it easier to unmold without damage.
Use a toothpick to test doneness starting at 28 minutes.
Testing too early can cause the cake to fall, while waiting too long risks overbaking. The toothpick test confirms the center is set but still moist for the perfect texture.
For clean slices, dip your knife in hot water before cutting.
A warm knife glides through the cake smoothly, preventing crumbling or tearing, especially with moist cakes like this one.
Common Mistakes to Avoid
Using cold milk straight from the fridge.
Why it happens Often, people rush and add cold milk without thinking about temperature. They assume it won’t affect the batter much.
Fix Always let milk come to room temperature before mixing. This helps the dry ingredients hydrate evenly and activates the leavening agents properly, leading to a tender, well-risen cake.
Overmixing the batter after adding liquids.
Why it happens Many think mixing longer will make the batter smoother or more uniform.
Fix Mix just until the ingredients are combined. Overmixing develops gluten, which makes the cake dense and chewy instead of soft and fluffy.
Skipping the greasing and flouring of the pan.
Why it happens People often underestimate how much the cake can stick, especially with moist batters.
Fix Always grease and flour the pan well to create a non-stick surface. This prevents the cake from tearing when you remove it.
Opening the oven door too frequently during baking.
Why it happens Curiosity or impatience causes cooks to check the cake often.
Fix Avoid opening the oven door until at least 25 minutes have passed. Temperature drops can cause the cake to sink or bake unevenly.
Using expired baking powder.
Why it happens Baking powder loses potency over time, but it’s easy to forget to check the expiration date.
Fix Test baking powder by adding a teaspoon to hot water; it should bubble vigorously. Replace if it doesn’t to ensure proper rising.
Nutrition
Per Serving:
Nutritional values are estimates and may vary based on specific ingredients used.
Storage & Tips
Room Temperature
You can keep the cake covered at room temperature for up to 2 days. Make sure it’s wrapped tightly with plastic wrap or stored in an airtight container to prevent it from drying out.
Refrigerator
Store leftover cake in an airtight container in the fridge for up to 5 days. The cake may firm up and lose some moisture when cold, so let it come to room temperature or warm slightly before serving.
Freezer
Freeze the cake wrapped tightly in plastic wrap and then foil for up to 3 months. To thaw, let it sit overnight in the fridge or at room temperature for a few hours. Avoid microwaving frozen cake directly to preserve texture.
Reheating
Warm slices gently in the microwave for 15-20 seconds or in a 300°F oven for 5-7 minutes. Adding a small splash of milk or covering with foil helps retain moisture during reheating.
Make Ahead
You can mix the dry ingredients a day ahead and store them in an airtight container. Add wet ingredients and bake fresh the next day for best texture. The baked cake itself can also be made a day in advance and stored covered at room temperature or refrigerated.
FAQ
Can I substitute the milk with a non-dairy alternative?
Yes, you can use almond, soy, oat, or coconut milk instead of dairy milk. Just make sure it's unsweetened to avoid altering the cake's sweetness. Using non-dairy milk may slightly change the texture or flavor, but it generally works well.
What if I don’t have baking powder? Can I use baking soda?
Baking soda requires an acidic ingredient to activate, which this recipe doesn’t include. If you want to use baking soda, you’d need to add something acidic like vinegar or lemon juice. Otherwise, stick with baking powder to ensure the cake rises properly.
Why is my cake dense and not fluffy?
Common causes include overmixing the batter, using cold liquids, or expired baking powder. Make sure to mix gently, use room temperature milk, and check your baking powder’s freshness to get a light, airy cake.
Can I make this cake gluten-free?
Absolutely! Use a gluten-free all-purpose flour blend with xanthan gum for best results. The texture might be slightly different, but the cake will still be moist and tasty.
How do I store leftover cake to keep it fresh?
Wrap the cake tightly in plastic wrap or store in an airtight container at room temperature for up to 2 days. For longer storage, refrigerate or freeze as described in the storage section.
Can I add frosting to this cake?
Yes, you can add your favorite frosting once the cake is completely cooled. Chocolate ganache, buttercream, or a simple dusting of powdered sugar all work well. Just be gentle when spreading to avoid tearing the crumb.
Why should I sift the dry ingredients?
Sifting removes lumps and aerates the flour and cocoa powder, which helps the cake rise evenly and results in a tender crumb. It also helps distribute the baking powder uniformly.
Is it okay to use cold ingredients straight from the fridge?
It’s better to use room temperature ingredients, especially milk, to ensure even mixing and proper activation of the baking powder. Cold ingredients can cause the batter to seize and make the cake dense.
Final Thoughts
I hope you enjoy baking and eating this simple chocolate cake as much as I do! Let me know how it turns out and what your favorite variations are.