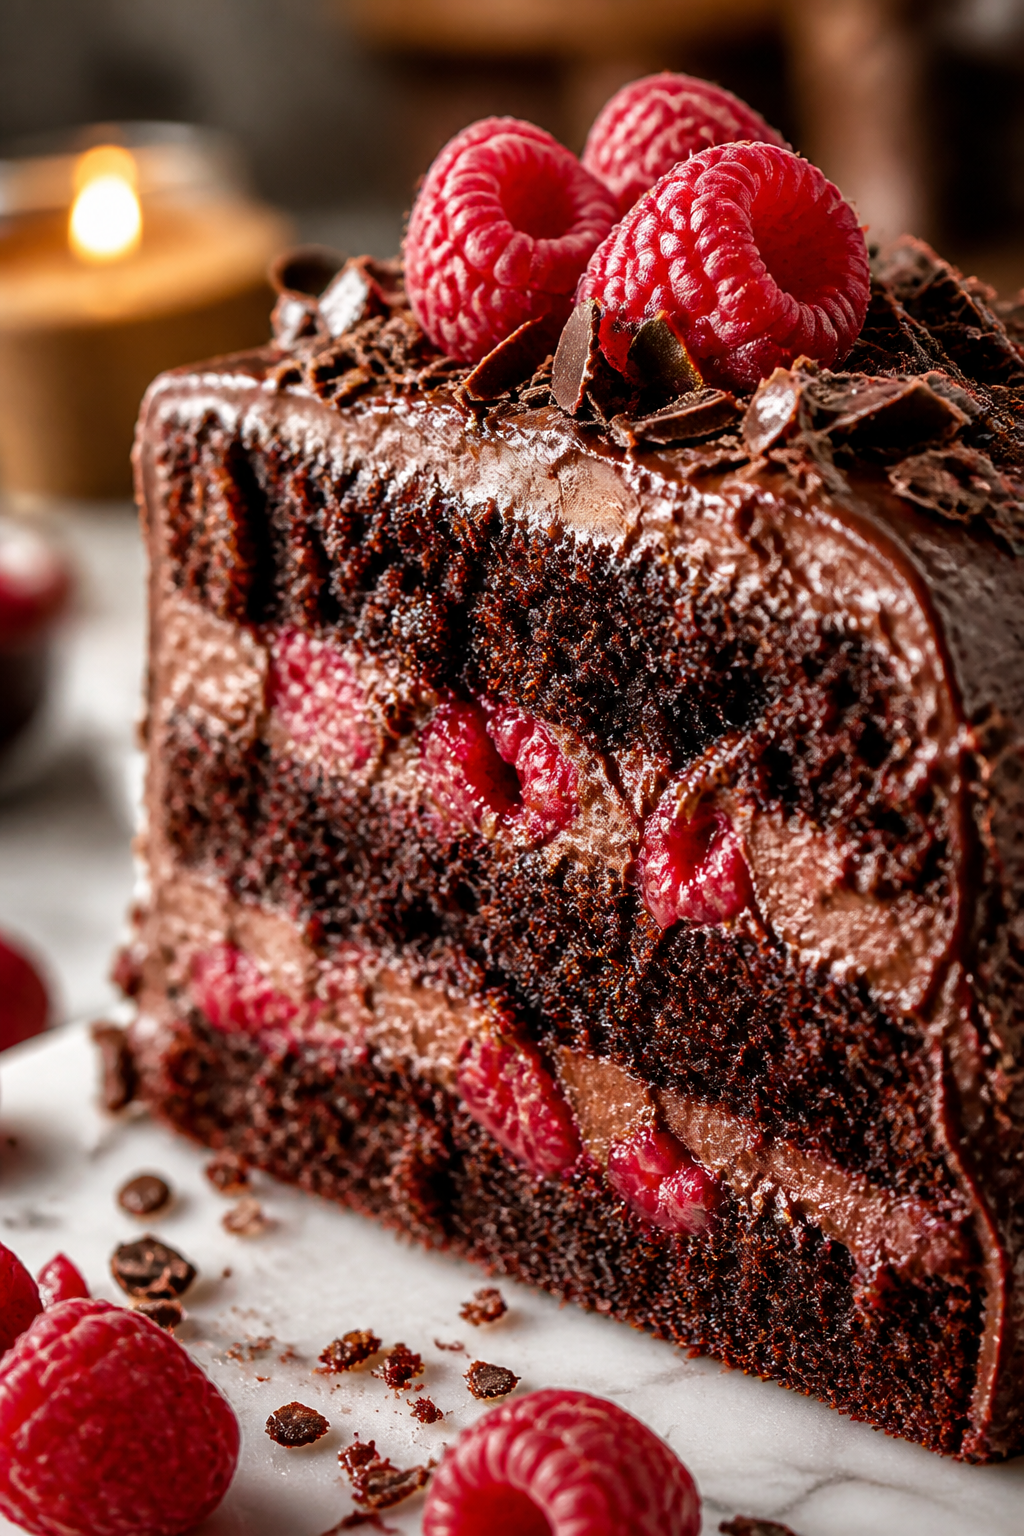
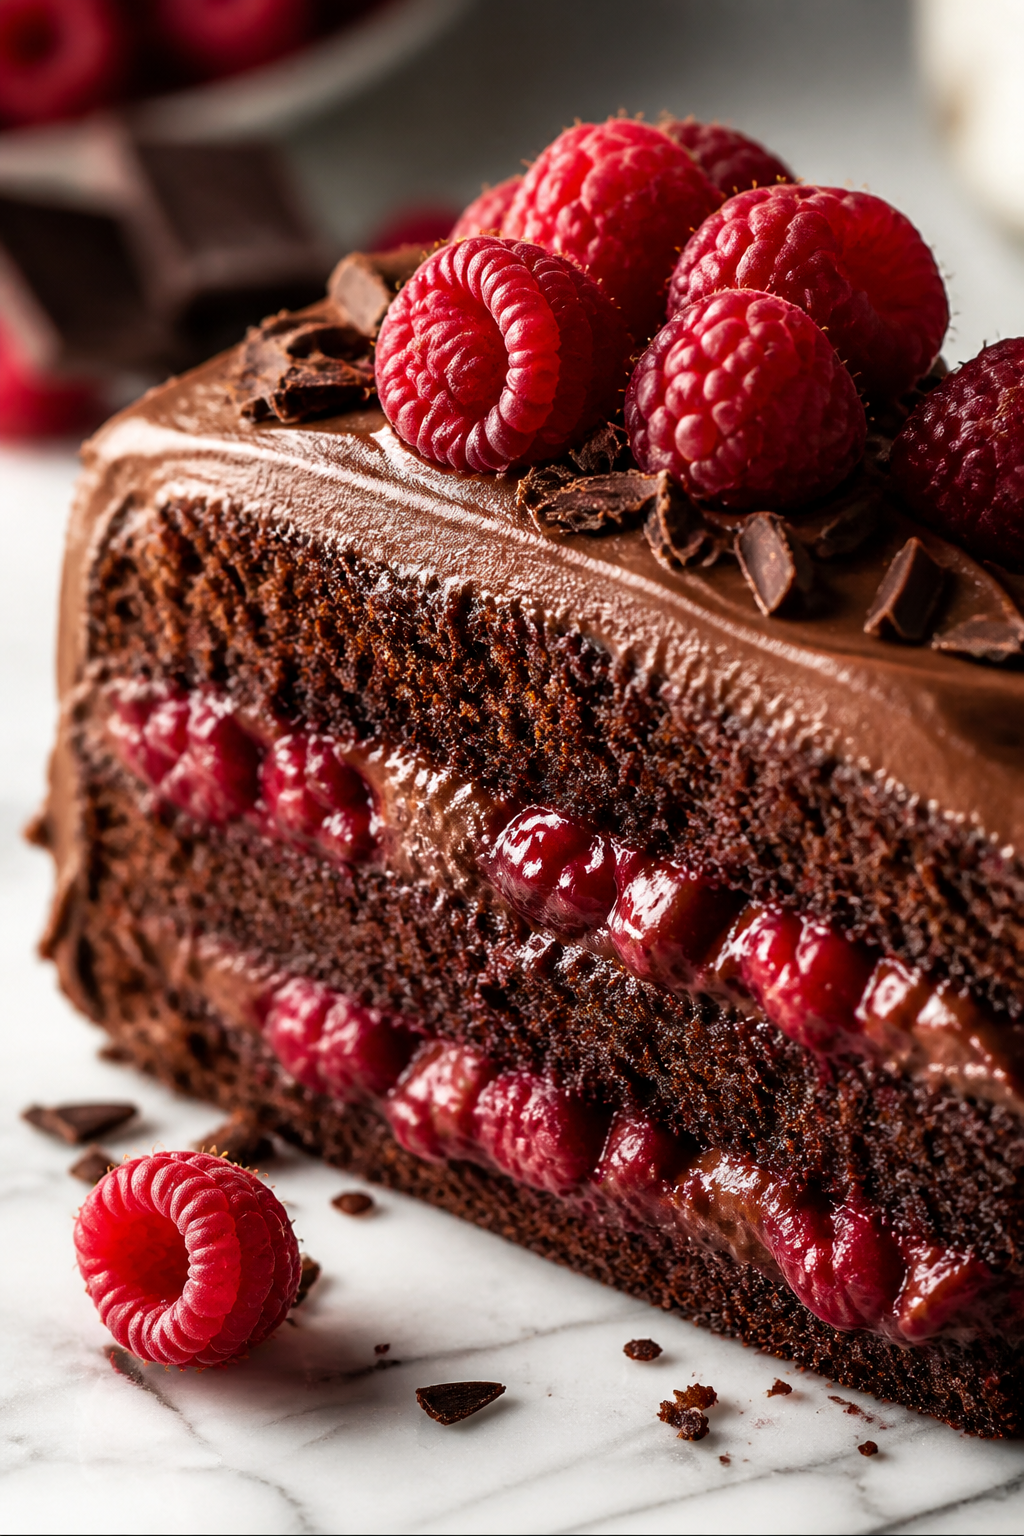
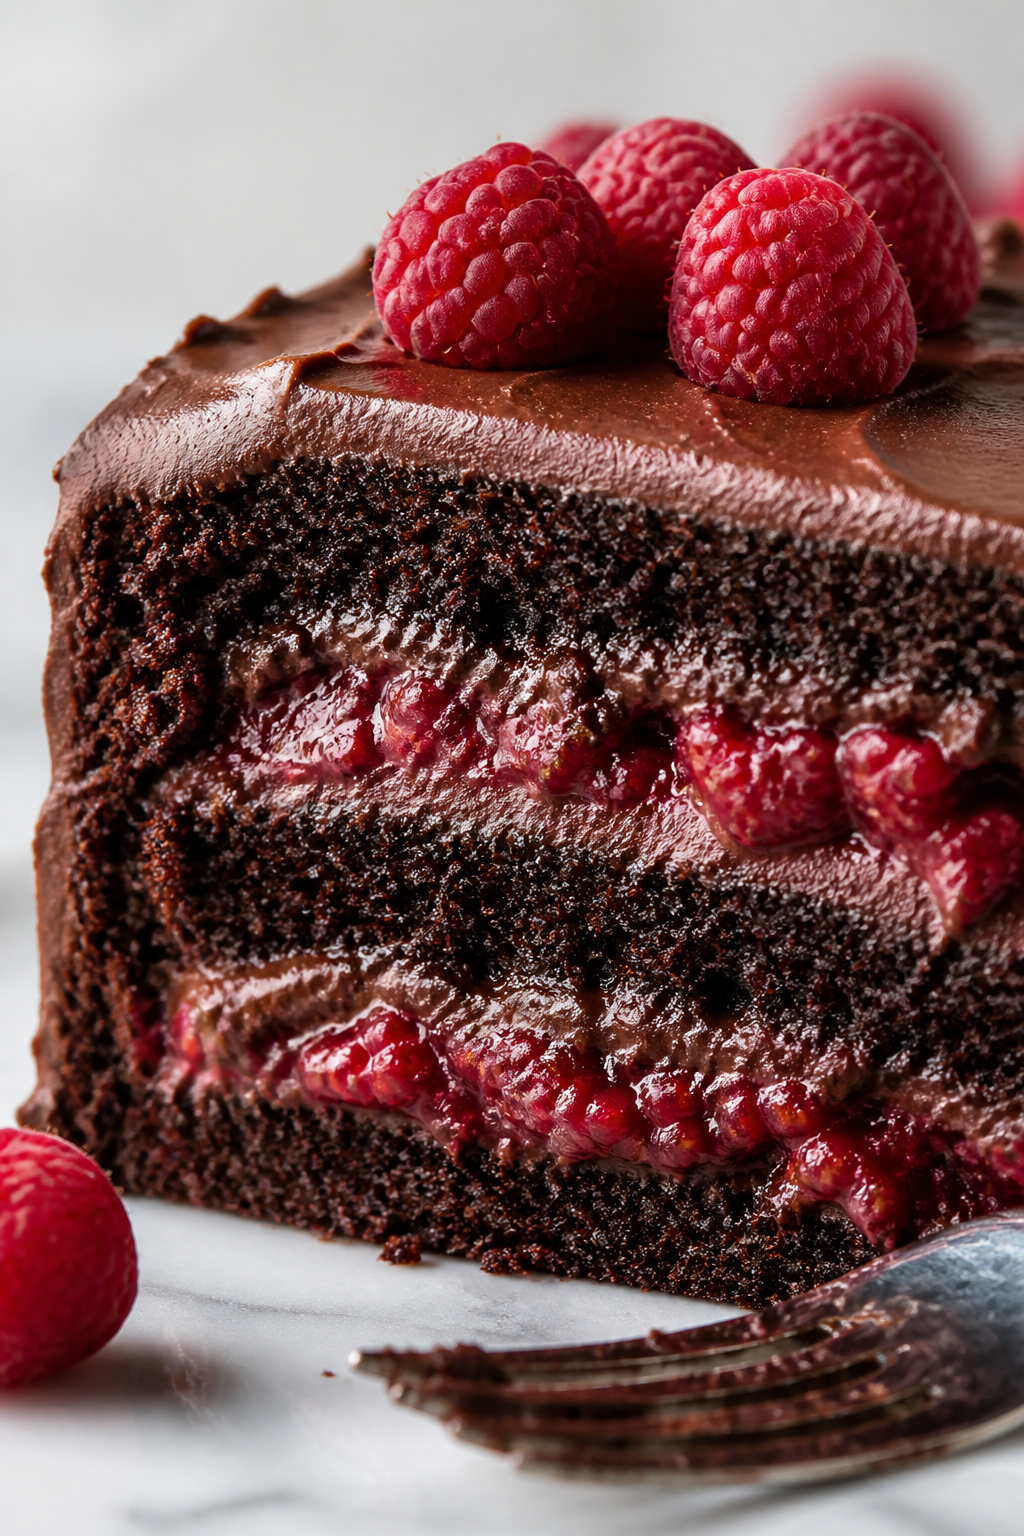
This chocolate layer cake is a quick, no-fuss dessert that feels special thanks to fresh raspberries adding a juicy brightness. Perfect for last-minute celebrations or a cozy weekend treat.
Introduction
I first made this chocolate layer cake a few years ago when I needed a quick dessert for a friend's birthday and didn't want to fuss with complicated recipes. It quickly became a favorite because it’s simple yet feels so special. What really sets this cake apart is the fresh raspberries — they add a juicy brightness that cuts through the rich cocoa flavor beautifully. I love how the boiling water in the batter helps create an ultra-moist crumb, which is a trick I picked up from some of my favorite bakers. Also, I usually let the cake cool completely before frosting, which helps the layers stay neat and the frosting smooth. When it's all done, the cake looks impressive but takes less than an hour to pull together, which is perfect for those last-minute occasions or cozy weekend treats. Plus, the raspberries make it look like you spent way more time on it than you actually did!
What You'll Need
One 9-inch two-layer cake, serves 8
- 1 3/4 cups all-purpose flour, sifted
- 2 cups granulated sugar
- 3/4 cup unsweetened cocoa powder
- 1 1/2 teaspoons baking powder
- 1 1/2 teaspoons baking soda
- 1 teaspoon salt
- 2 large eggs, room temperature
- 1 cup whole milk
- 1/2 cup vegetable oil
- 2 teaspoons pure vanilla extract
- 1 cup boiling water
- Fresh raspberries for garnish
- Chocolate frosting of your choice, about 2 cups
How To Do It
Step 1
Preheat your oven to 350°F (175°C) and grease two 9-inch round cake pans. Line them with parchment paper to ensure the cakes release easily. This step is crucial because a properly prepared pan prevents the cake from sticking and breaking when you remove it. You want smooth edges and an even surface for frosting later. Take care not to skip the parchment lining, as greasing alone might not be enough for the moist batter.
⏱ Time: 10 minutes
✓ Doneness: Pans are fully greased and lined; no dry spots remain
Step 2
In a large mixing bowl, whisk together the sifted flour, sugar, cocoa powder, baking powder, baking soda, and salt. Sifting helps aerate the dry ingredients, ensuring there are no lumps and creating a lighter cake texture. Mixing the leavening agents evenly is essential for a consistent rise, so take your time here. If you rush, you might end up with uneven pockets or dense spots in the cake.
⏱ Time: 5 minutes
✓ Doneness: Dry ingredients are uniformly combined with no clumps
Step 3
Add the eggs, milk, vegetable oil, and vanilla extract to the dry ingredients. Use an electric mixer on medium speed to blend everything until smooth — this usually takes about 2 minutes. Mixing at this speed helps develop the batter’s structure without overworking the gluten, which can make the cake tough. Avoid rushing or under-mixing; you want a smooth, thick batter with no streaks of flour.
⏱ Time: 3 minutes
✓ Doneness: Batter is smooth, shiny, and slightly thick
Step 4
Carefully stir in the boiling water last. The batter will be thin, but that’s exactly what you want. The hot water helps bloom the cocoa powder, intensifying the chocolate flavor, and creates a super moist crumb. Be gentle when folding to avoid splashing. Don’t skip this step or substitute with cold water, or you’ll lose that rich depth and moist texture.
⏱ Time: 2 minutes
✓ Doneness: Batter is thin and well combined with no lumps
Step 5
Divide the batter evenly between the prepared pans and tap them gently on the counter to release any air bubbles. This helps the cakes bake evenly and prevents large holes inside. Place the pans in the center of the oven to ensure even heat distribution. Avoid opening the oven door during baking, which can cause the cakes to sink.
⏱ Time: 2 minutes
✓ Doneness: Batter is level and bubbles released
Step 6
Bake for 30 to 35 minutes, or until a toothpick inserted into the center comes out clean or with a few moist crumbs. The edges should start pulling away from the pan slightly, and the cake will spring back when gently pressed. Overbaking dries the cake, so start checking around 30 minutes. Underbaking leaves a gooey center, so be patient but watch carefully.
⏱ Time: 30 minutes
✓ Doneness: Toothpick mostly clean, cake springs back to touch
Step 7
Allow the cakes to cool in their pans for 10 minutes, then run a knife around the edges and invert onto a wire rack. Peel off the parchment paper and let them cool completely before frosting. Cooling fully prevents the frosting from melting and sliding off, which is a common mistake. Patience here makes the final cake look neat and taste better.
⏱ Time: 30 minutes
✓ Doneness: Cakes are cool to the touch and firm
Step 8
Once cool, spread a generous layer of chocolate frosting on top of one cake layer, then gently place the second layer on top. Frost the top and sides of the cake evenly. Use a spatula or butter knife for smooth edges. The frosting not only adds flavor but seals in moisture, keeping the cake tender longer. Don’t rush the frosting — smooth layers look prettier and taste better.
⏱ Time: 15 minutes
✓ Doneness: Frosting is smooth and evenly spread
Step 9
Finally, garnish the top with fresh raspberries. Their tartness contrasts beautifully with the rich chocolate, adding a fresh pop of flavor and color. You can also gently press some raspberries into the frosting around the edges for a pretty presentation. Serve immediately or refrigerate until ready to enjoy. This finishing touch makes the cake feel special without extra fuss.
⏱ Time: 5 minutes
✓ Doneness: Raspberries evenly distributed and fresh
Variations
Raspberry Chocolate Ganache Cake
Swap the frosting for a rich chocolate ganache made with heavy cream and dark chocolate. Pour over the layers and top with raspberries for an ultra-luxe finish. Expect a denser, fudgier texture and more intense chocolate flavor.
Note: Ganache sets firmer than buttercream; chill the cake briefly to firm ganache before serving.
Chocolate Cake with Whipped Cream and Raspberries
Replace the frosting with lightly sweetened whipped cream, layering it between cake layers and topping with raspberries. This version is lighter and less sweet, perfect for summer or those who prefer a less rich dessert.
Note: Whipped cream is more delicate; serve soon after assembly to prevent sogginess.
Gluten-Free Chocolate Raspberry Cake
Use a gluten-free flour blend in place of all-purpose flour. The cake will still be moist and tender thanks to the boiling water and oil, but texture may be slightly different—still delicious and inclusive.
Note: Check the blend includes xanthan gum or similar for structure, or add it separately.
Vegan Chocolate Layer Cake
Substitute eggs with flax eggs and use plant-based milk and oil. Use vegan frosting and fresh raspberries as usual. This keeps the cake moist and flavorful while accommodating vegan diets.
Note: Flax eggs may slightly alter crumb texture; mix well but don’t overbeat.
Spiced Chocolate Raspberry Cake
Add 1 teaspoon cinnamon and a pinch of cayenne to the dry ingredients for a warm, spicy twist that complements the chocolate and raspberries beautifully. This adds depth and a subtle kick.
Note: Adjust spice to taste; too much cayenne can overpower.
Pro Tips
Always sift your dry ingredients together.
Sifting aerates the flour and cocoa powder, preventing lumps and ensuring even mixing. This results in a lighter, more consistent crumb texture, which is especially important for chocolate cakes where clumps can create dry spots.
Use room temperature eggs and milk for better batter consistency.
Cold ingredients can cause the batter to curdle or mix unevenly, resulting in denser cakes. Room temperature ingredients emulsify better with fats and liquids, producing a smoother batter that traps air for a lighter texture.
Don’t skip the boiling water; add it last and mix gently.
Boiling water blooms the cocoa powder, releasing flavor and color, and creates a thinner batter that bakes into a moist crumb. Adding it last prevents overmixing and keeps the batter’s texture right.
Let the cake layers cool completely before frosting.
If the cake is warm, frosting will melt and slide off, ruining the look and texture. Cooling allows the crumb to set, making the cake easier to handle and frosting to stay smooth.
Use parchment paper to line your pans.
Parchment prevents sticking and helps you remove the cake easily without breaking the edges, which is essential for neat layers and a professional-looking finish.
Tap the pans gently on the counter before baking.
This releases trapped air bubbles in the batter that could create large holes or uneven baking, ensuring a uniform crumb and smooth surface.
Choose fresh, firm raspberries and add them just before serving.
Raspberries that are too ripe can bleed juice into the frosting, making it watery and messy. Adding them at the last minute keeps the cake looking fresh and tasting bright.
Common Mistakes to Avoid
Overmixing the batter
Why it happens Cooks often mix too vigorously thinking it will make the batter smoother, but this develops gluten too much.
Fix Mix just until ingredients are combined and smooth. Stop when no dry flour streaks remain to keep the cake tender and soft.
Skipping the boiling water
Why it happens Some skip it to save a step or because they’re unsure of its purpose.
Fix Add boiling water last as instructed to bloom the cocoa and create a moist crumb. It’s essential for flavor and texture.
Frosting warm cake layers
Why it happens Impatience or poor timing leads to frosting before the cake is cool.
Fix Allow cakes to cool completely on wire racks to avoid melting frosting and a messy finish.
Not preparing pans properly
Why it happens Skipping parchment or insufficient greasing causes sticking.
Fix Grease pans well and line with parchment to ensure cakes release easily and keep edges intact.
Using overripe raspberries
Why it happens Wanting very sweet berries but not checking firmness.
Fix Use firm, ripe raspberries and add just before serving to avoid juice bleeding.
Nutrition
Per Serving:
Nutritional values are estimates and may vary based on specific ingredients used.
Storage & Tips
Room Temperature
The cake can safely sit at room temperature for up to 2 hours if covered loosely to prevent drying. Beyond that, refrigerate to maintain freshness and prevent spoilage.
Refrigerator
Store the cake in an airtight container or cover with plastic wrap in the refrigerator for up to 4 days. The cake may firm up and the frosting could harden; bring to room temperature before serving for best flavor and texture.
Freezer
Wrap the cake tightly in plastic wrap and then foil to freeze for up to 2 months. To thaw, move to the refrigerator overnight, then bring to room temperature before serving to restore moistness and flavor.
Reheating
Chocolate cake is best served at room temperature. If chilled, allow to sit out for 30 minutes before slicing. Avoid microwaving as it can dry out the cake or melt the frosting unevenly.
Make Ahead
Bake the layers 1-2 days ahead and store wrapped tightly in plastic wrap at room temperature or refrigerated. Frost and decorate on the day of serving to keep raspberries fresh and frosting smooth.
FAQ
Can I use Dutch-processed cocoa instead of natural cocoa powder?
Dutch-processed cocoa is less acidic, which affects the reaction with baking soda. If you substitute, reduce or omit baking soda and consider adding baking powder instead to maintain proper rise and texture.
What if I don’t have vegetable oil? Can I use butter?
Butter can be used but it changes the texture, making the cake slightly denser and less moist. If substituting, melt the butter and use the same amount, but expect a richer flavor and firmer crumb.
How do I prevent the cake from sinking in the middle?
Make sure to measure leavening agents accurately, avoid opening the oven door during baking, and bake at the correct temperature. Overmixing or underbaking can also cause sinking.
Can I make this cake gluten-free?
Yes, using a gluten-free flour blend that contains xanthan gum works well. The texture may vary slightly but the boiling water and oil help keep it moist and tender.
How do I store leftover cake?
Keep leftover cake in an airtight container in the refrigerator for up to 4 days. Bring to room temperature before serving for best texture and flavor.
Can I freeze the cake after frosting?
Yes, but wrap it very well to prevent freezer burn. Thaw in the refrigerator overnight and bring to room temperature before serving to keep frosting and cake moist.
Why is my cake dry sometimes?
Dry cake often results from overbaking or too much flour. Use accurate measuring, don’t overbake, and follow the recipe’s timing closely. The boiling water step also helps keep it moist.
Can I use frozen raspberries?
Frozen raspberries tend to release more juice and can make the frosting watery. If using frozen, thaw and drain them well, or add just before serving to minimize moisture issues.
Final Thoughts
I hope you enjoy making and sharing this chocolate layer cake with fresh raspberries as much as I do! Don’t forget to tell me how it turns out — I’d love to hear your thoughts.