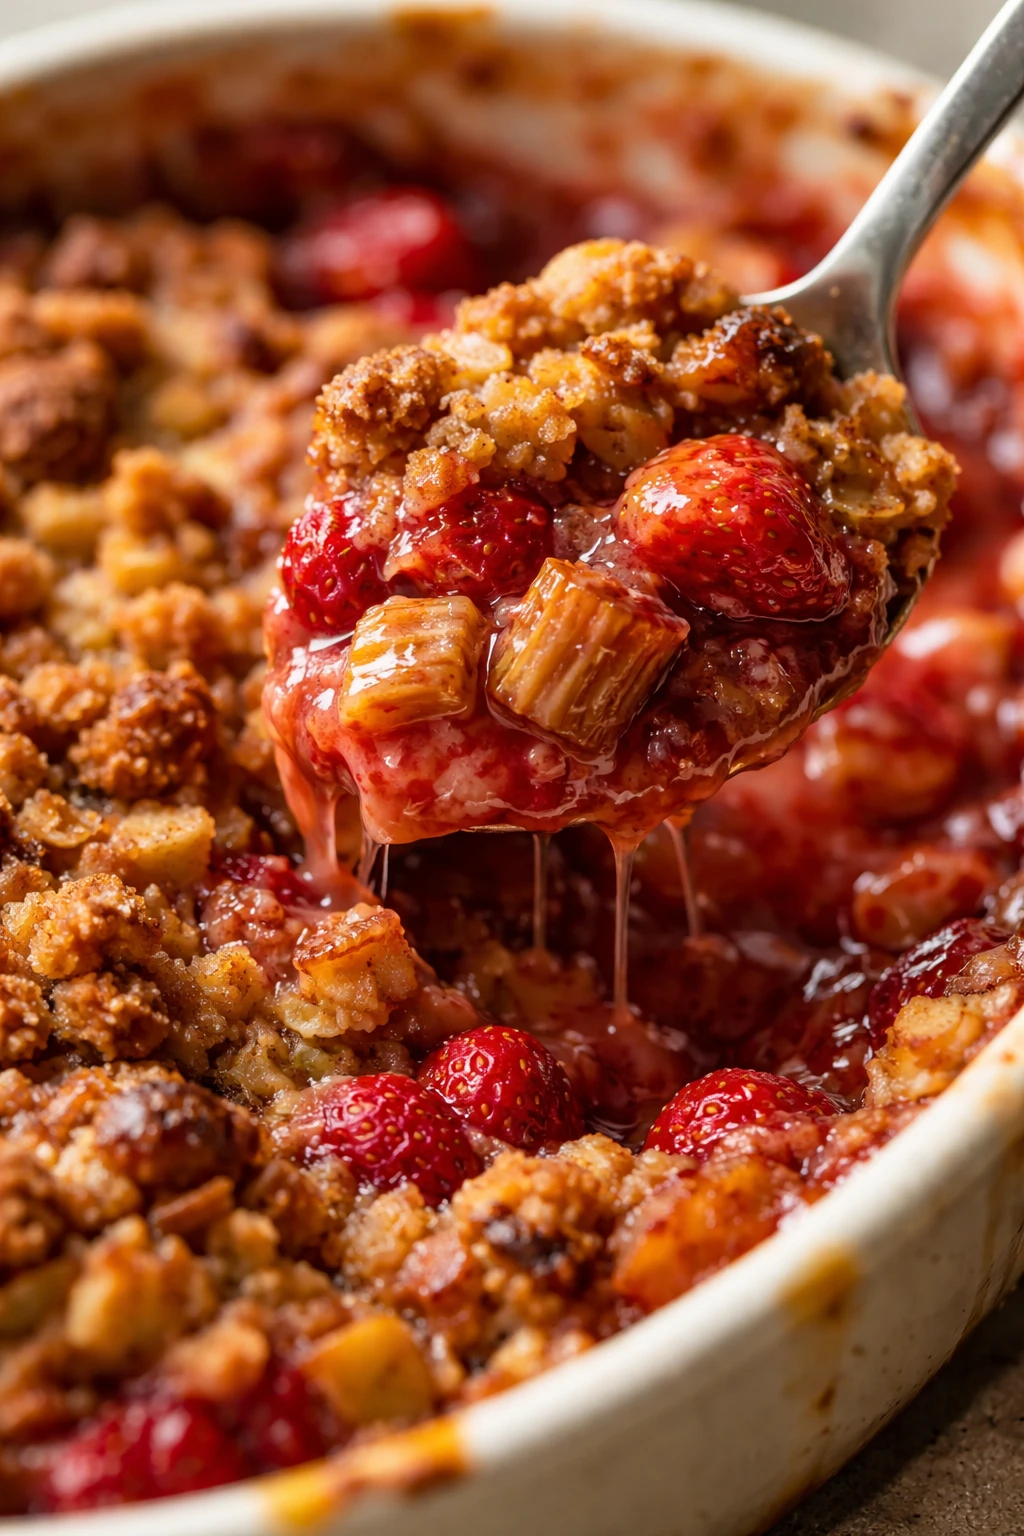
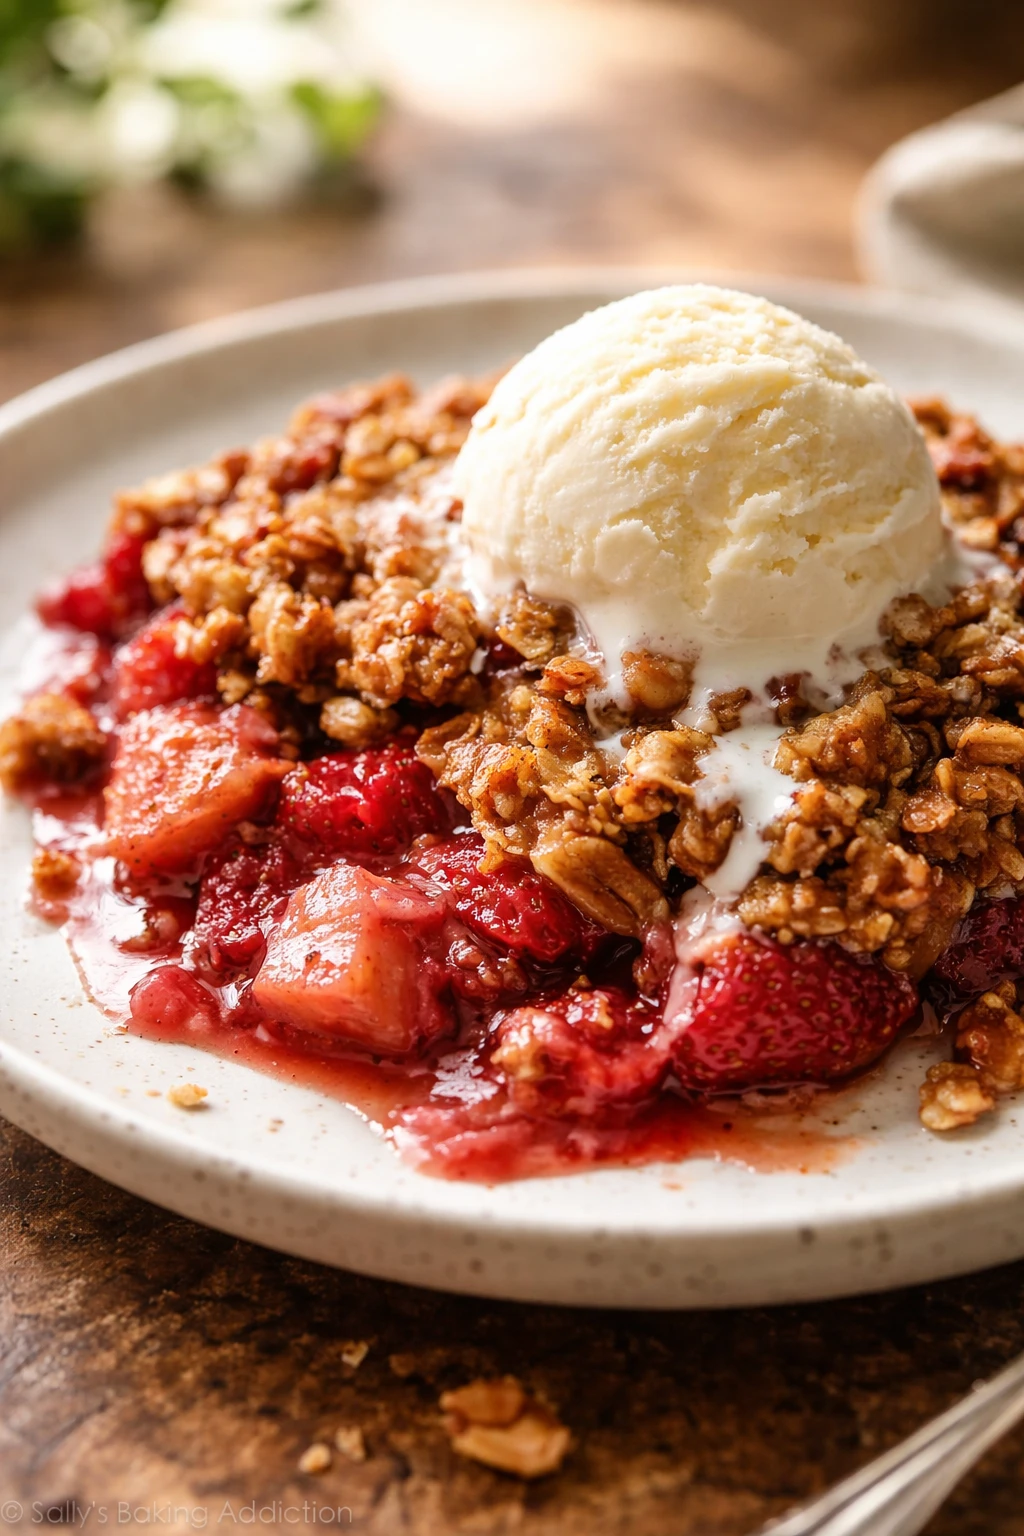
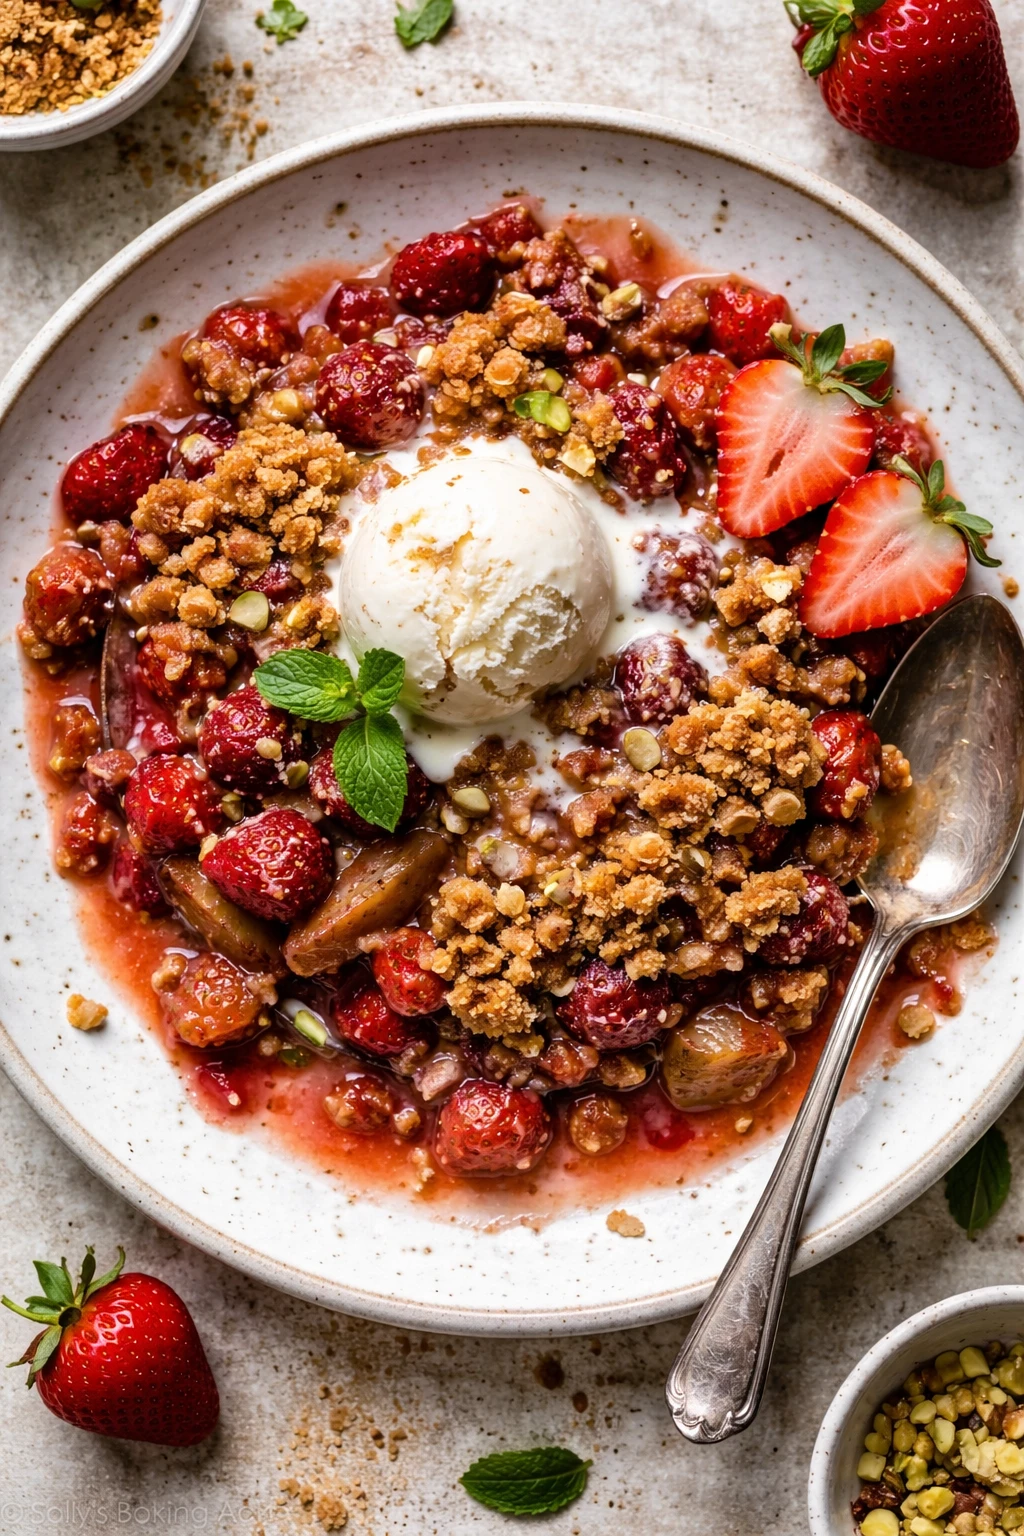
This rhubarb and strawberry crisp is a perfect blend of tart and sweet with a cozy oat crumble on top. It comes together quickly, making it a go-to dessert for busy weekends or surprise guests.
Introduction
I first made this rhubarb and strawberry crisp a few years ago when I found a bunch of rhubarb in my neighbor’s garden. I wasn’t sure how to use it, but pairing it with fresh strawberries and a buttery oat topping turned out to be a game changer. This recipe is different from other crisps I’ve tried because the oat topping stays perfectly crumbly without getting soggy, thanks to the cold butter technique I learned. Also, the balance between the tart rhubarb and sweet strawberries makes it just right—not too sour or overly sweet. When it comes out of the oven, it’s bubbling and golden, with that irresistible aroma of cinnamon and vanilla. My family loves digging in while it’s still warm, maybe with a scoop of vanilla ice cream on top. Honestly, it’s one of those desserts I keep coming back to because it’s simple, quick, and always a crowd-pleaser. If you’re new to rhubarb, this is a gentle introduction that highlights its unique flavor without overwhelming your taste buds.
How To Do It
Step 1
Start by preheating your oven to 375°F (190°C) and greasing a 9x13-inch baking dish. This ensures your crisp won’t stick and will brown evenly. While the oven heats, chop the rhubarb into about 1-inch pieces and halve the strawberries, aiming for uniform size so they cook evenly. Mixing the fruit before baking helps the flavors meld and ensures consistent texture. Avoid cutting the fruit too small or uneven, as that can cause uneven cooking and mushiness.
⏱ Time: 10 minutes
✓ Doneness: Fruit pieces are evenly sized and mixed, baking dish is ready
Step 2
In a large bowl, combine the chopped rhubarb, strawberries, granulated sugar, lemon juice, and vanilla extract. The sugar draws out the fruit’s natural juices and balances the tartness, while lemon juice brightens the flavors. Gently toss everything together to coat the fruit evenly without breaking it down. If you rush this step or stir too roughly, you risk bruising the delicate strawberries and ruining the texture.
⏱ Time: 5 minutes
✓ Doneness: Fruit is well coated and slightly juicy but not mushy
Step 3
Transfer the fruit mixture into the prepared baking dish, spreading it out evenly. This helps it cook uniformly and prevents any soggy spots. Make sure to scrape all the juices from the bowl into the dish for maximum flavor. If you pile the fruit too high without spreading, it may cook unevenly, leaving some parts undercooked.
⏱ Time: 3 minutes
✓ Doneness: Fruit layer is even and juices are visible
Step 4
Now, prepare the oat topping. In a separate bowl, whisk together the rolled oats, flour, brown sugar, cinnamon, and salt. These dry ingredients form the base of the topping, providing sweetness, spice, and texture. Mixing them well ensures the topping bakes evenly without clumps. Don’t skip the cinnamon—it adds warmth that complements the fruit beautifully.
⏱ Time: 5 minutes
✓ Doneness: Dry ingredients are fully combined and uniform in color
Step 5
Add the cold, cubed butter to the dry oat mixture. Use your fingers or a pastry cutter to work the butter into the oats until the mixture resembles coarse crumbs. The cold butter creates little pockets of fat that melt during baking, resulting in a crisp, flaky texture. If the butter is too warm or you overwork the mixture, the topping can become greasy or dense instead of crumbly.
⏱ Time: 7 minutes
✓ Doneness: Topping looks crumbly with pea-sized butter pieces
Step 6
Sprinkle the oat topping evenly over the fruit in the baking dish, covering all the fruit. This balance ensures each bite has that perfect mix of juicy fruit and crunchy topping. Don’t press the topping down; leaving it loose helps it bake into a crisp crust rather than a dense layer.
⏱ Time: 3 minutes
✓ Doneness: Topping is evenly distributed and visibly crumbly
Step 7
Place the baking dish in the preheated oven and bake for about 30 minutes. Halfway through, check to make sure the topping isn’t browning too quickly; if it is, loosely cover with foil. The baking time allows the fruit to soften and release juices while the topping crisps up. Avoid opening the oven too often, as this can cause temperature fluctuations that affect baking.
⏱ Time: 30 minutes
✓ Doneness: Topping is golden brown and fruit is bubbling around edges
Step 8
Once baked, remove the crisp from the oven and let it cool for at least 15 minutes before serving. This resting time lets the fruit juices thicken slightly and the topping set, making it easier to serve without it running. If you serve it too hot, the crisp will be watery and the topping may fall apart.
⏱ Time: 15 minutes
✓ Doneness: Fruit juices are thickened and topping feels set but still crunchy
Step 9
Serve the crisp warm, optionally topped with vanilla ice cream or whipped cream for extra indulgence. This contrast between warm fruit and cold cream is a classic pairing that elevates the dessert. Enjoy immediately for the best texture and flavor.
⏱ Time: 0 minutes
✓ Doneness: Dessert is plated attractively and ready to enjoy
Variations
Add a Nutty Crunch with Chopped Pecans
Mix 1/2 cup chopped pecans into the oat topping for extra texture and a toasty flavor. Pecans complement the tart fruit beautifully and add a satisfying crunch to every bite.
Note: Add nuts after cutting in the butter so they’re evenly distributed. Watch baking time as nuts can brown faster.
Make it Gluten-Free with Almond Flour
Swap out all-purpose flour for almond flour in the topping to make this crisp gluten-free. The almond flour adds a subtle nutty flavor and keeps the topping tender yet crumbly.
Note: Almond flour is more delicate, so handle gently and monitor baking closely to avoid overbrowning.
Spice it Up with Ginger and Cardamom
Add 1/2 teaspoon ground ginger and 1/4 teaspoon ground cardamom to the oat topping for a warm, exotic twist. These spices deepen the flavor without overpowering the fruit’s natural taste.
Note: Mix spices with dry ingredients thoroughly to ensure even flavor distribution.
Use Frozen Fruit for Year-Round Crisp
Frozen rhubarb and strawberries work well if fresh aren’t available. Thaw and drain excess liquid before mixing to prevent a watery crisp. This makes the dessert accessible anytime.
Note: Adjust sugar slightly if frozen fruit is less sweet and reduce liquid by draining well.
Turn It Into a Crisp Bar
Press the fruit and topping mixture into a lined baking pan and bake as usual. Once cooled, cut into bars for a portable, snackable version of the crisp.
Note: Use a slightly smaller pan for thicker bars and increase baking time by 5-10 minutes.
Pro Tips
Cut the butter into small cubes and keep it cold until mixing.
Cold butter melts slowly in the oven, creating flaky layers in the oat topping. If the butter is warm or melted, it will blend too thoroughly with the dry ingredients, causing a greasy or dense texture instead of a crisp, crumbly crust.
Use a mix of granulated and brown sugar in the topping.
Brown sugar adds moisture and a subtle caramel flavor, while granulated sugar keeps the topping crisp. This combination balances flavor and texture, giving the crisp a richer taste and perfect crunch.
Don’t stir the fruit mixture aggressively.
Gentle tossing preserves the shape and texture of delicate strawberries and prevents them from turning mushy. Overmixing releases too much juice, which can make the base watery and affect the topping’s crispness.
Let the crisp cool before serving.
Cooling allows the fruit juices to thicken and the topping to set, preventing the dessert from being too runny. Serving immediately can cause the crisp to fall apart and make it hard to plate neatly.
Check the topping halfway through baking and cover if browning too fast.
Ovens vary in heat, and the topping can burn before the fruit is fully cooked. Covering loosely with foil prevents burning while allowing the fruit to soften and juices to bubble.
Use fresh lemon juice for best flavor and color preservation.
Fresh lemon juice adds bright acidity and helps maintain the vibrant red hues of rhubarb and strawberries. Bottled juice may have preservatives or altered flavors that affect the final taste.
Serve with vanilla ice cream or whipped cream for contrast.
The cold creaminess balances the warm, tart fruit and crunchy topping, creating a delightful contrast in temperature and texture that elevates the dessert experience.
Common Mistakes to Avoid
Using overripe or mushy strawberries.
Why it happens Sometimes people use very ripe fruit thinking it will be sweeter, but overripe strawberries break down too much during baking.
Fix Choose firm, ripe strawberries instead and handle them gently when mixing. This keeps the fruit texture intact and prevents the crisp from becoming watery.
Butter too warm when mixing the topping.
Why it happens Butter softens quickly at room temperature, and many don’t chill it enough before mixing.
Fix Keep butter in the fridge and cut into small cubes just before mixing. Work quickly and use a pastry cutter or fingers to maintain small butter pieces for a flaky topping.
Skipping lemon juice in the fruit mixture.
Why it happens Some think lemon juice will make the dessert too sour or isn’t necessary.
Fix Add fresh lemon juice—it brightens flavors and helps preserve fruit color. Without it, the crisp can taste flat and dull.
Not letting the crisp cool before serving.
Why it happens Impatience leads to serving right out of the oven.
Fix Wait at least 15 minutes for juices to thicken and topping to set. This makes serving easier and improves texture.
Baking at too high a temperature causing burnt topping.
Why it happens Oven temperature varies, and some crank it up to speed cooking.
Fix Stick to 375°F and check halfway through. Cover with foil if topping browns too fast to ensure fruit cooks properly without burning.
Nutrition
Per Serving:
Nutritional values are estimates and may vary based on specific ingredients used.
Storage & Tips
Room Temperature
The crisp can be kept at room temperature for up to 2 hours if covered loosely with foil or plastic wrap to prevent drying out. Beyond that, it’s best to refrigerate to maintain freshness and avoid spoilage.
Refrigerator
Store leftovers in an airtight container in the fridge for up to 4 days. The topping may soften slightly, but reheating in the oven restores some crispness. It can be enjoyed cold but tastes best warmed.
Freezer
Freeze the crisp in a tightly wrapped container or heavy-duty freezer bag for up to 3 months. To prevent freezer burn, press plastic wrap directly on the surface before sealing. Thaw overnight in the fridge before reheating.
Reheating
Reheat individual servings in a 350°F oven for 10-15 minutes until warmed through and the topping crisps back up. Microwave reheating is quicker but may make the topping soggy. Add a splash of lemon juice or a dab of butter when reheating to refresh flavors.
Make Ahead
You can prepare the fruit filling and oat topping separately up to 1 day ahead. Store fruit in an airtight container and keep topping in the fridge wrapped tightly. Assemble and bake fresh the day you want to serve for best texture.
FAQ
Can I use frozen rhubarb and strawberries instead of fresh?
Yes, frozen fruit works well but you should thaw and drain it before using. Frozen fruit releases more water, so draining helps prevent a watery crisp. You may also want to reduce the sugar slightly depending on the sweetness of your frozen fruit.
How do I keep the oat topping from getting soggy?
The key is using cold butter cut into the dry ingredients, which creates pockets of fat that crisp up in the oven. Also, don’t press the topping down; keeping it loose helps it bake into a crumbly crust. Letting the crisp cool after baking also helps the topping set and stay crunchy.
Can I make this crisp vegan?
Absolutely! Swap the butter for a vegan butter or coconut oil. Keep in mind coconut oil has a different melting point and flavor, which may slightly change the texture and taste but still yields a delicious crisp.
What if I don’t have rolled oats?
Yes, frozen fruit works well but you should thaw and drain it before using. Frozen fruit releases more water, so draining helps prevent a watery crisp. You may also want to reduce the sugar slightly depending on the sweetness of your frozen fruit.
How can I make the crisp more tart or sweeter?
Adjust the sugar in the fruit mixture to your taste. Adding more sugar will sweeten the dessert, while reducing it or adding more rhubarb increases tartness. Fresh lemon juice also enhances tartness without adding sugar.
Can I prepare the crisp ahead of time?
Yes, you can prep the fruit and topping separately up to a day in advance. Store the fruit in an airtight container and the topping in the fridge. Assemble and bake fresh for the best texture and flavor.
What’s the best way to serve this crisp?
It’s wonderful warm with vanilla ice cream or whipped cream. The contrast between warm fruit and cold cream is classic and elevates the dessert. You can also serve it at room temperature or slightly chilled.
Why does my crisp sometimes turn out watery?
Watery crisp usually happens if the fruit releases too much juice or if the topping doesn’t bake long enough. To avoid this, drain excess liquid from frozen fruit, use the right amount of sugar, and bake until the fruit is bubbling and the topping is golden.
Final Thoughts
I hope you give this rhubarb and strawberry crisp a try soon—it’s such a simple way to enjoy fresh fruit with a cozy crunch. Let me know how it turns out!