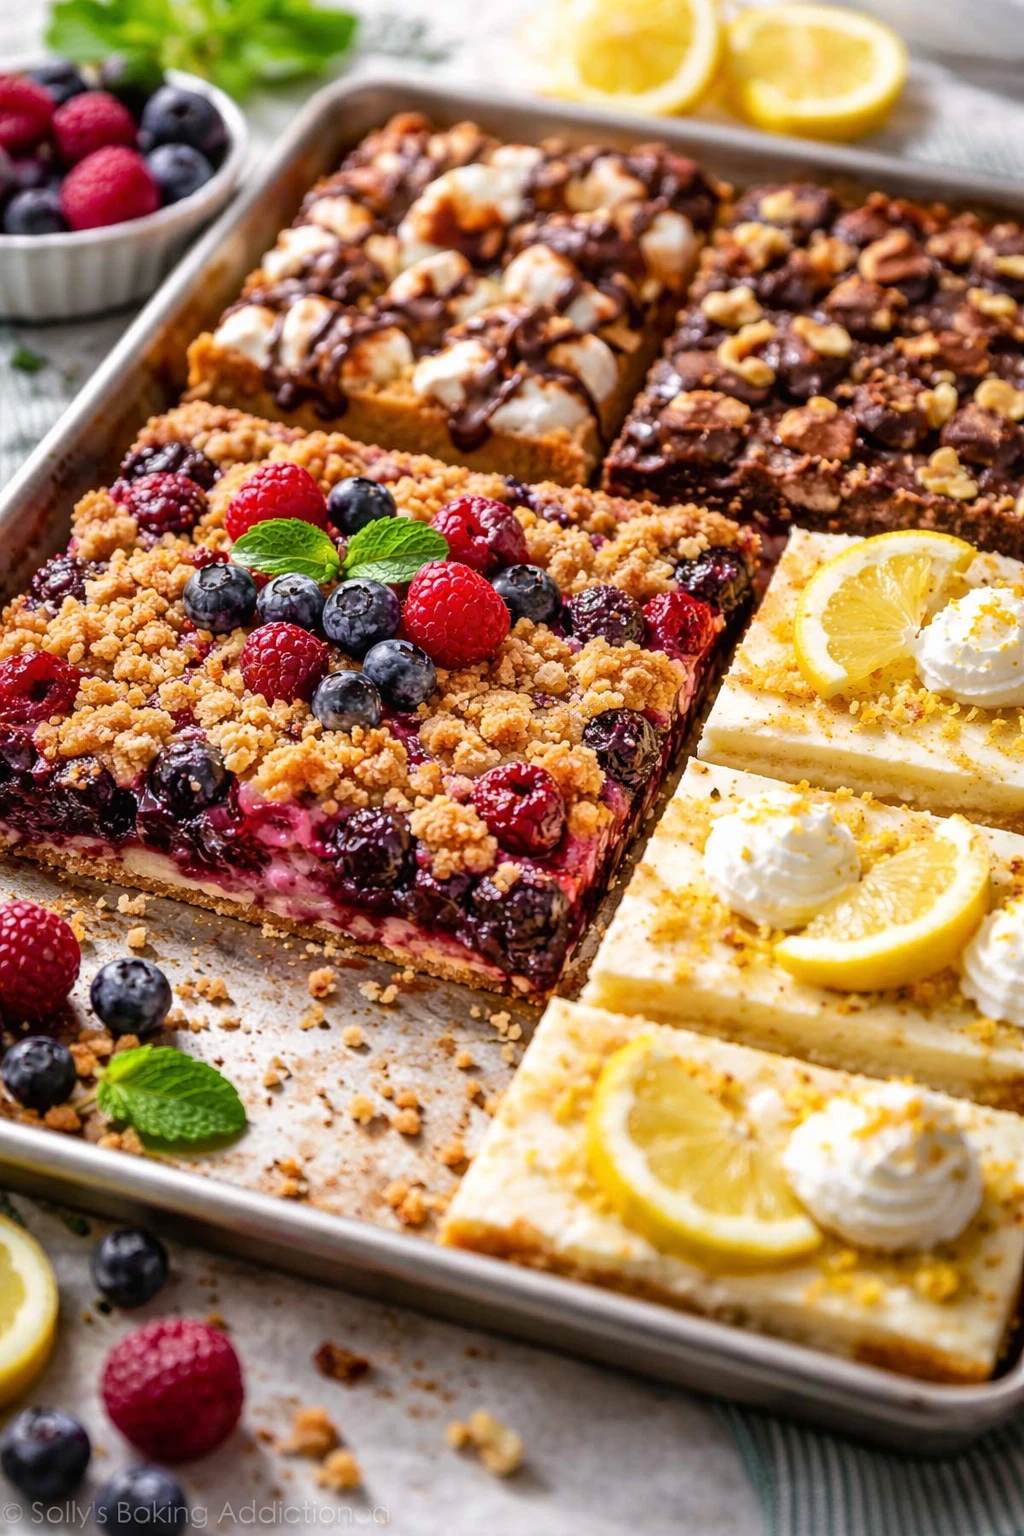
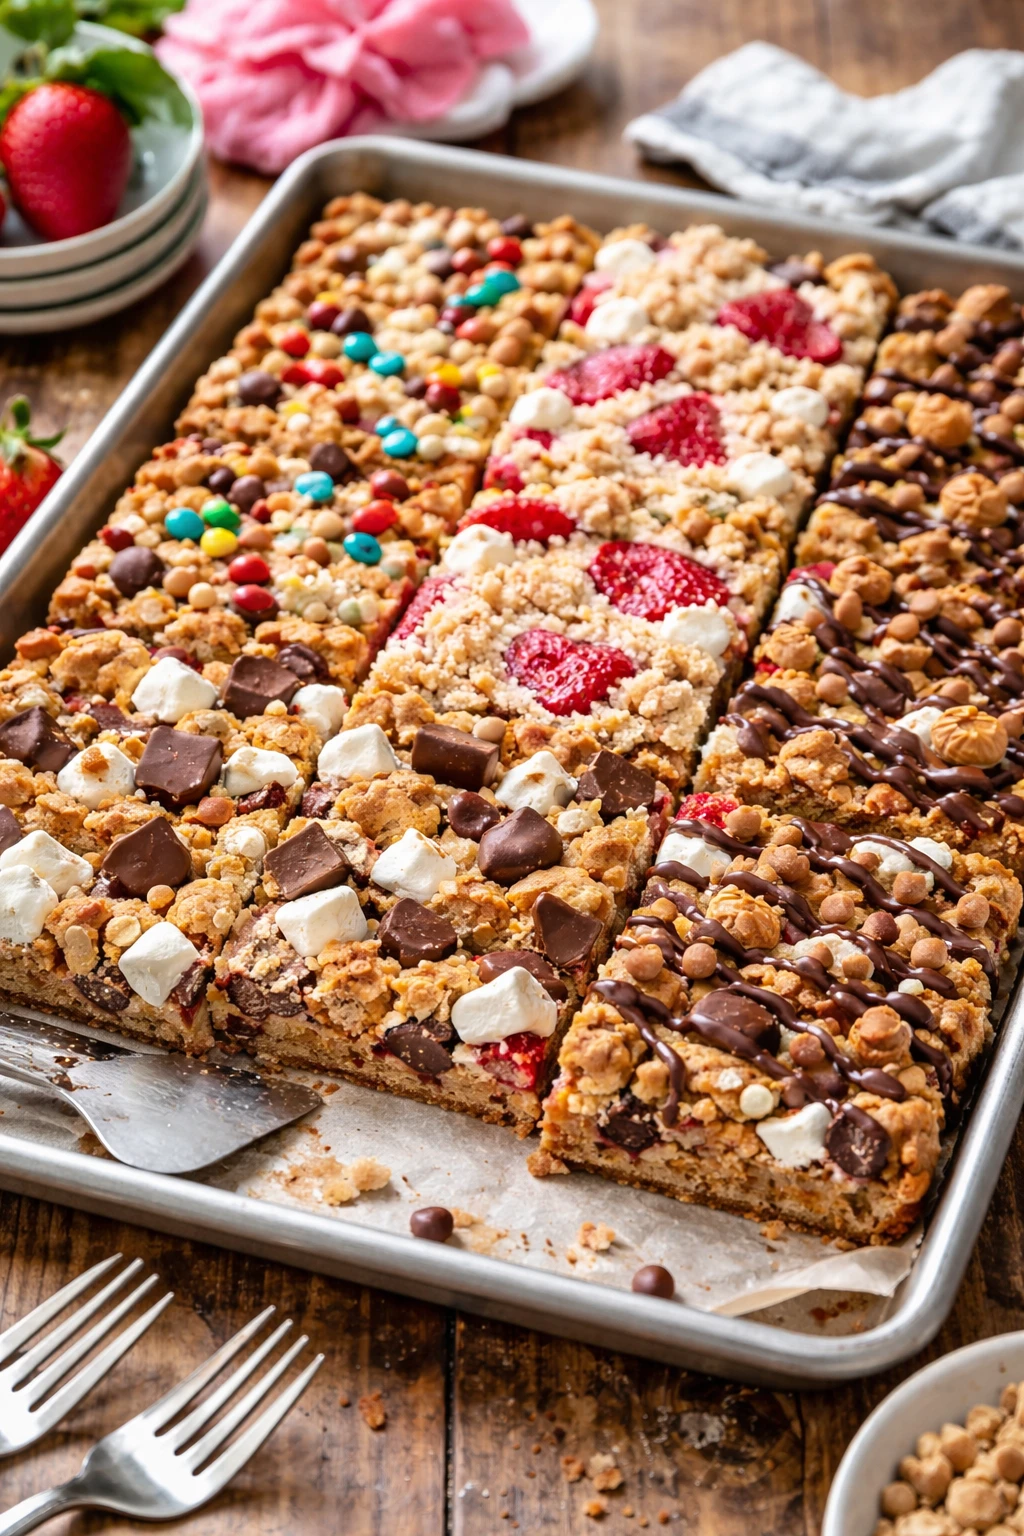
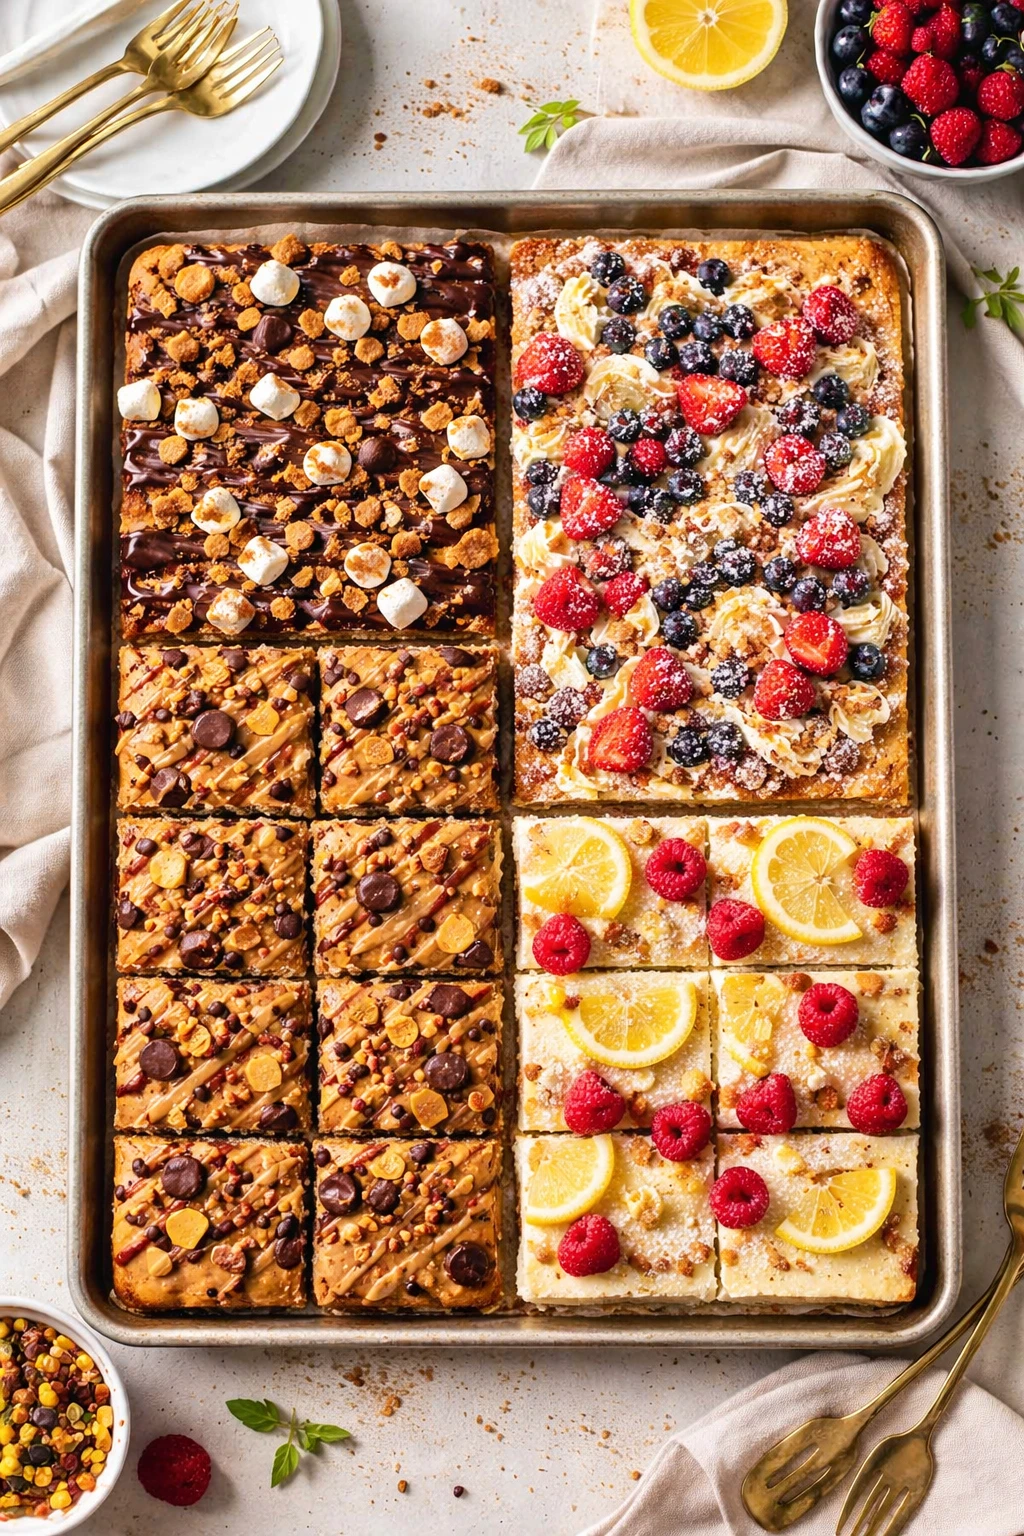
This sheet pan dessert is a total crowd-pleaser—layers of melty chocolate, fresh fruit, and crunchy nuts baked all at once. It’s super simple and perfect for casual get-togethers or cozy family nights.
Introduction
I first stumbled upon this sheet pan chocolate fruit bars recipe a few years ago when I needed a quick dessert for a family gathering. Honestly, I was skeptical about how good it could be since it’s so simple—just layering chocolate, fruit, and nuts on a pan and baking it. But it turned out to be a total hit! What I love about this version is how the honey and melted butter create a slightly chewy base mixed with oats, which holds all the ingredients together perfectly. The fresh berries add a juicy pop that balances the rich chocolate, making it feel indulgent but fresh at the same time. One trick I picked up is to make sure the berries are dry before adding them; otherwise, the bars get soggy. Also, spreading everything evenly on the sheet pan ensures every bite has a good balance of flavors. When it’s done, the bars are golden at the edges with melty chocolate pockets inside—comfort food vibes all around. It’s become my go-to when I want something easy but impressive that’s great for sharing. Whether you’re hosting friends or just craving a sweet treat, these bars won’t disappoint.
What You'll Need
Approximately 12 bars, 8 servings
- 2 cups semi-sweet chocolate chips
- 1 cup mixed fresh berries (blueberries, raspberries, strawberries), washed and dried
- 1/2 cup chopped walnuts
- 1 cup rolled oats
- 1/4 cup honey
- 1/2 cup unsalted butter, melted
- 1 teaspoon vanilla extract
- 1/4 teaspoon salt
How To Do It
Step 1
Preheat your oven to 350°F (175°C). Line a 9x13-inch sheet pan with parchment paper, leaving some overhang for easy removal later. This step is crucial because the parchment prevents sticking and helps you lift the bars out cleanly after baking. Skipping this can cause the bars to break or stick to the pan, making serving a messier task.
⏱ Time: 10 minutes
✓ Doneness: Oven fully preheated and parchment paper securely fitted in the pan
Step 2
In a large bowl, combine the rolled oats, melted butter, honey, vanilla extract, and salt. Stir until everything is thoroughly mixed and the oats are evenly coated. This mixture acts as the binding base for the bars, so getting an even coating helps create the perfect chewy texture. If you rush this step, the bars might fall apart or bake unevenly.
⏱ Time: 5 minutes
✓ Doneness: Oats look moistened and stick together slightly when pressed
Step 3
Spread the oat mixture evenly across the bottom of the prepared sheet pan, pressing down gently with the back of a spoon or your hands. This ensures a compact base that holds the toppings well during baking. If it's uneven, some parts will burn while others remain undercooked.
⏱ Time: 5 minutes
✓ Doneness: Even, flat oat layer covering the entire pan bottom
Step 4
Sprinkle the semi-sweet chocolate chips evenly over the oat base. Distribute them well so each bar will have chocolate in every bite. Chocolate chips will melt and create pockets of gooey sweetness throughout the bars.
⏱ Time: 3 minutes
✓ Doneness: Chocolate chips scattered uniformly across the oat layer
Step 5
Next, scatter the fresh berries over the chocolate chips. Make sure the berries are dry to avoid excess moisture, which can make the bars soggy. Fresh fruit adds a natural tartness and juiciness that contrasts beautifully with the rich chocolate.
⏱ Time: 3 minutes
✓ Doneness: Berries evenly spread without clumping or moisture pooling
Step 6
Sprinkle the chopped walnuts over the berries. Nuts add a lovely crunch and depth of flavor. Don’t skip this step—it balances the soft textures and adds complexity. If you prefer, you can toast the walnuts beforehand for an even nuttier flavor.
⏱ Time: 2 minutes
✓ Doneness: Nuts distributed evenly on top of the fruit layer
Step 7
Place the sheet pan in the middle rack of the preheated oven. Bake for 25-30 minutes, or until the edges are golden brown and the chocolate is melted and bubbly. Baking evenly ensures the base firms up while the toppings meld together without burning.
⏱ Time: 25-30 minutes
✓ Doneness: Golden edges, bubbling chocolate, and slight firmness when gently pressed
Step 8
Remove the pan from the oven and let it cool completely on a wire rack. Cooling allows the bars to set and makes cutting easier without crumbling. If you try to cut them while warm, they’ll fall apart.
⏱ Time: 30 minutes
✓ Doneness: Bars feel firm to the touch and no longer warm
Step 9
Using the parchment overhang, lift the entire slab out of the pan and place it on a cutting board. Slice into 12 even bars with a sharp knife. Clean the knife between cuts for neat edges. Serve immediately or store for later.
⏱ Time: 10 minutes
✓ Doneness: Clean, even bars ready to serve
Variations
Nut-Free Version
Simply omit the walnuts and add extra seeds like pumpkin or sunflower for crunch. You can also sprinkle shredded coconut on top for texture and flavor. This keeps the bars allergy-friendly while still flavorful.
Note: Without nuts, the bars will be slightly less crunchy but remain chewy and moist.
Add Spices for Warmth
Stir in 1 teaspoon cinnamon and a pinch of nutmeg into the oat base for a cozy, spiced flavor. This variation pairs beautifully with autumn or winter gatherings.
Note: Spices don’t affect texture but enhance aroma and taste complexity.
Use Dark Chocolate and Dried Fruit
Swap semi-sweet chips for dark chocolate chunks and fresh berries for chopped dried cherries or cranberries. This variation is richer and perfect if you want a less juicy but intensely flavorful bar.
Note: Dried fruit reduces moisture, making bars firmer and longer-lasting.
Vegan Version
Replace butter with coconut oil and honey with maple syrup. Use dairy-free chocolate chips to make this dessert completely plant-based without sacrificing flavor or texture.
Note: Coconut oil solidifies differently than butter, so bars might be a bit softer at room temperature.
Add a Drizzle of Caramel
Once cooled, drizzle homemade or store-bought caramel sauce over the bars for extra indulgence. This adds a sweet, buttery layer that complements the chocolate and fruit perfectly.
Note: Add caramel only after cooling to prevent melting or sogginess.
Pro Tips
Make sure the berries are completely dry before adding them to the pan.
Excess moisture from wet berries can make the oat base soggy and prevent proper setting. Dry berries ensure the bars have a nice texture and don’t become mushy.
Press the oat mixture firmly into the pan before adding toppings.
Firmly pressing the base helps it hold together during baking and slicing. If it’s too loose, the bars may crumble apart.
Use parchment paper with an overhang for easy removal.
Parchment prevents sticking and allows you to lift the entire slab out of the pan without breaking, making slicing and serving much easier.
Let the bars cool completely before slicing.
Cutting warm bars can cause them to fall apart. Cooling firms up the base and toppings for clean slices.
Toast the walnuts lightly before adding.
Toasting enhances the nutty flavor and adds crunch, elevating the overall taste profile of the bars.
Use a sharp knife and wipe it clean between cuts.
A sharp, clean knife makes neat cuts without dragging melted chocolate or berries, keeping the bars looking tidy.
Store bars in an airtight container at room temperature for up to 3 days.
Proper storage keeps them fresh and maintains texture without drying out or becoming too soft.
Common Mistakes to Avoid
Adding wet berries directly from washing without drying
Why it happens Often people wash berries and immediately add them, not realizing excess water affects texture.
Fix Pat berries dry thoroughly with paper towels before adding to the pan. This prevents sogginess and helps the bars set properly.
Not pressing the oat base firmly enough
Why it happens It’s tempting to just spread the oats loosely, but that causes crumbly bars.
Fix Use the back of a spoon or your hands to firmly press the oat mixture evenly into the pan to create a stable foundation.
Cutting bars while still warm
Why it happens Impatience leads to cutting too soon, causing the bars to fall apart.
Fix Allow bars to cool completely on a wire rack before slicing to ensure they hold their shape.
Overbaking until the bars are too dark
Why it happens Leaving bars in too long to get extra crispiness can burn the chocolate and dry out the base.
Fix Watch carefully and remove when edges are golden and chocolate is bubbly, usually around 25-30 minutes.
Using instant oats instead of rolled oats
Why it happens Instant oats are convenient but don’t provide the right texture in baked bars.
Fix Always use old-fashioned rolled oats for a chewy, sturdy base that bakes evenly.
Nutrition
Per Serving:
Nutritional values are estimates and may vary based on specific ingredients used.
Storage & Tips
Room Temperature
These bars can be safely kept at room temperature for up to 2 days if stored in an airtight container. Keep them away from direct sunlight or heat sources to prevent melting or spoilage.
Refrigerator
Store in an airtight container in the fridge for up to 5 days. The bars will firm up and might be a bit chewier when cold. You can eat them chilled or let them come to room temperature before serving.
Freezer
Freeze bars wrapped tightly in plastic wrap and placed in a freezer-safe container for up to 2 months. To thaw, leave in the fridge overnight or at room temperature for a few hours. Avoid microwaving directly from frozen to keep texture intact.
Reheating
If you prefer warm bars, reheat gently in a low oven (300°F) for 5-7 minutes or microwave at 50% power for 15-20 seconds. Adding a splash of milk or cream can help restore moisture if they seem dry.
Make Ahead
You can prepare the oat base and toppings up to 1 day ahead, store covered in the fridge, then bake fresh when ready to serve. This keeps the bars fresh and saves time on the day of your event.
FAQ
Can I use frozen berries instead of fresh?
You can, but you must thaw and pat them very dry to avoid excess moisture. Frozen berries tend to release more water, which can make the bars soggy. Using fresh, dry berries is best for texture.
How do I store leftover bars?
Store leftovers in an airtight container at room temperature for up to 2 days or in the fridge for up to 5 days. Keep them covered to prevent drying out. They taste great cold or warmed slightly.
Can I substitute honey with another sweetener?
Yes, maple syrup works well as a substitute, though it may change the flavor slightly. Avoid granulated sugar as it won’t provide the same binding or moisture.
What if my bars crumble when cutting?
This usually means the oat base wasn’t pressed firmly enough or the bars were cut too soon. Make sure to press the base well and let the bars cool completely before slicing.
Can I make these bars gluten-free?
Yes! Use certified gluten-free rolled oats to keep the bars safe for gluten-sensitive eaters without changing the texture.
Is it possible to add other nuts or seeds?
Absolutely. Try pecans, almonds, or sunflower seeds depending on your preference. Just chop nuts evenly so they distribute well.
How do I prevent the chocolate from burning?
Bake at a moderate temperature (350°F) and keep an eye on the bars. Removing them once the edges turn golden and the chocolate bubbles ensures it melts without burning.
Can I make these bars vegan?
Yes, swap butter for coconut oil, honey for maple syrup, and use dairy-free chocolate chips. This keeps the bars delicious and plant-based.
Final Thoughts
I hope you give these easy sheet pan chocolate fruit bars a try! They’re such a simple, satisfying dessert perfect for sharing—let me know how yours turn out!