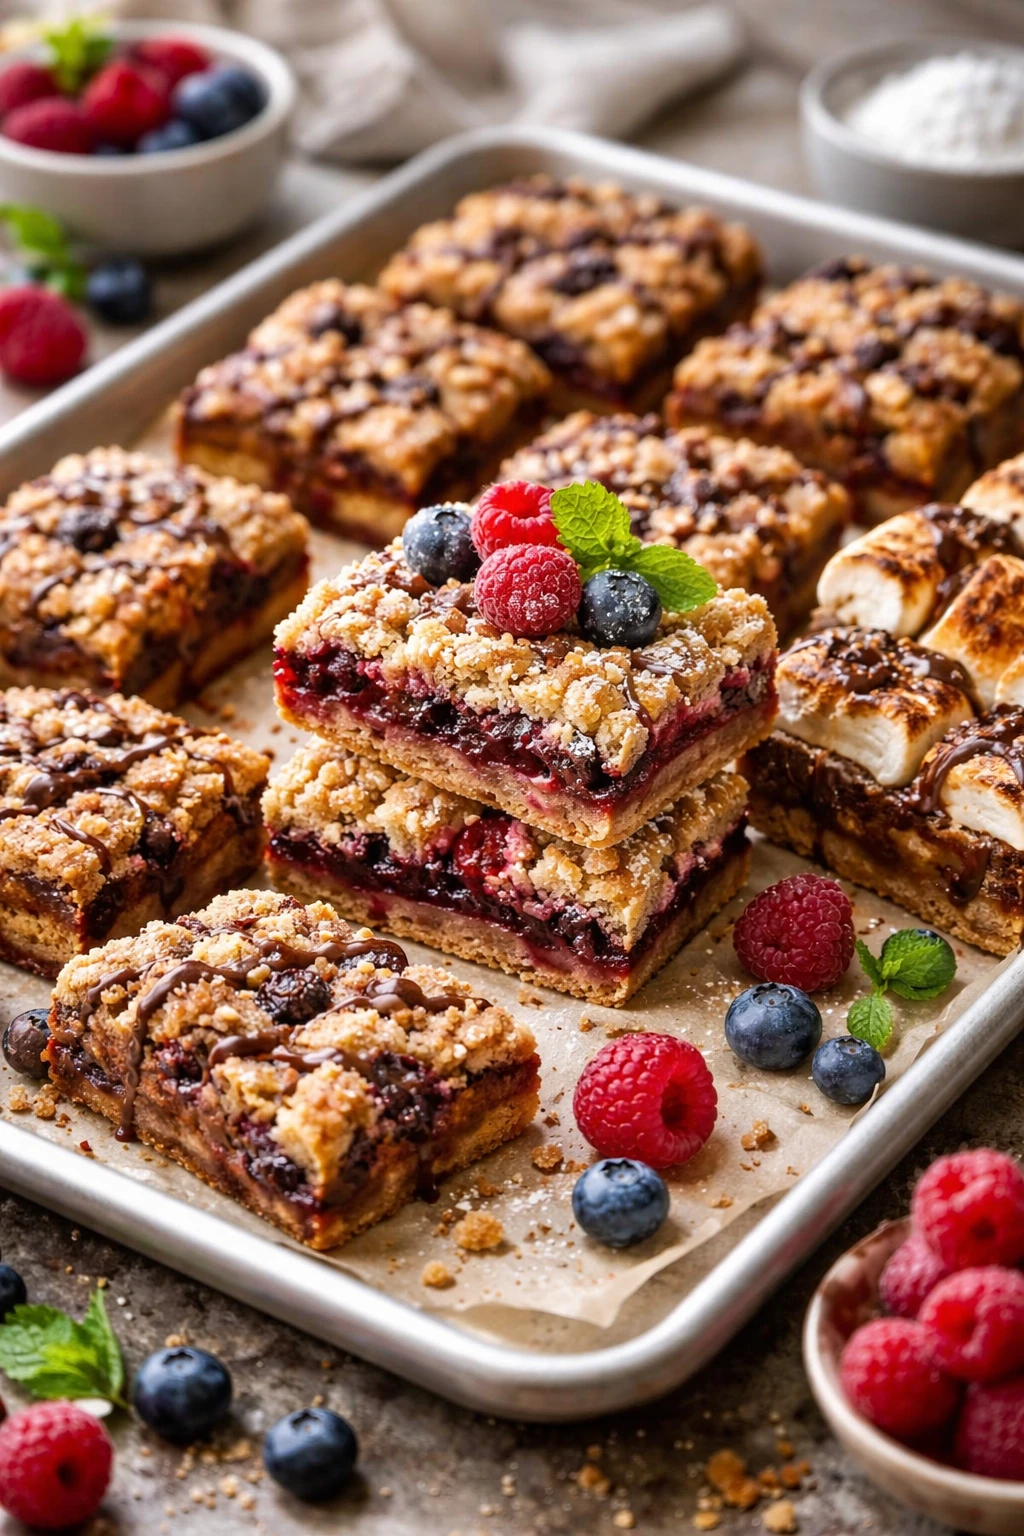
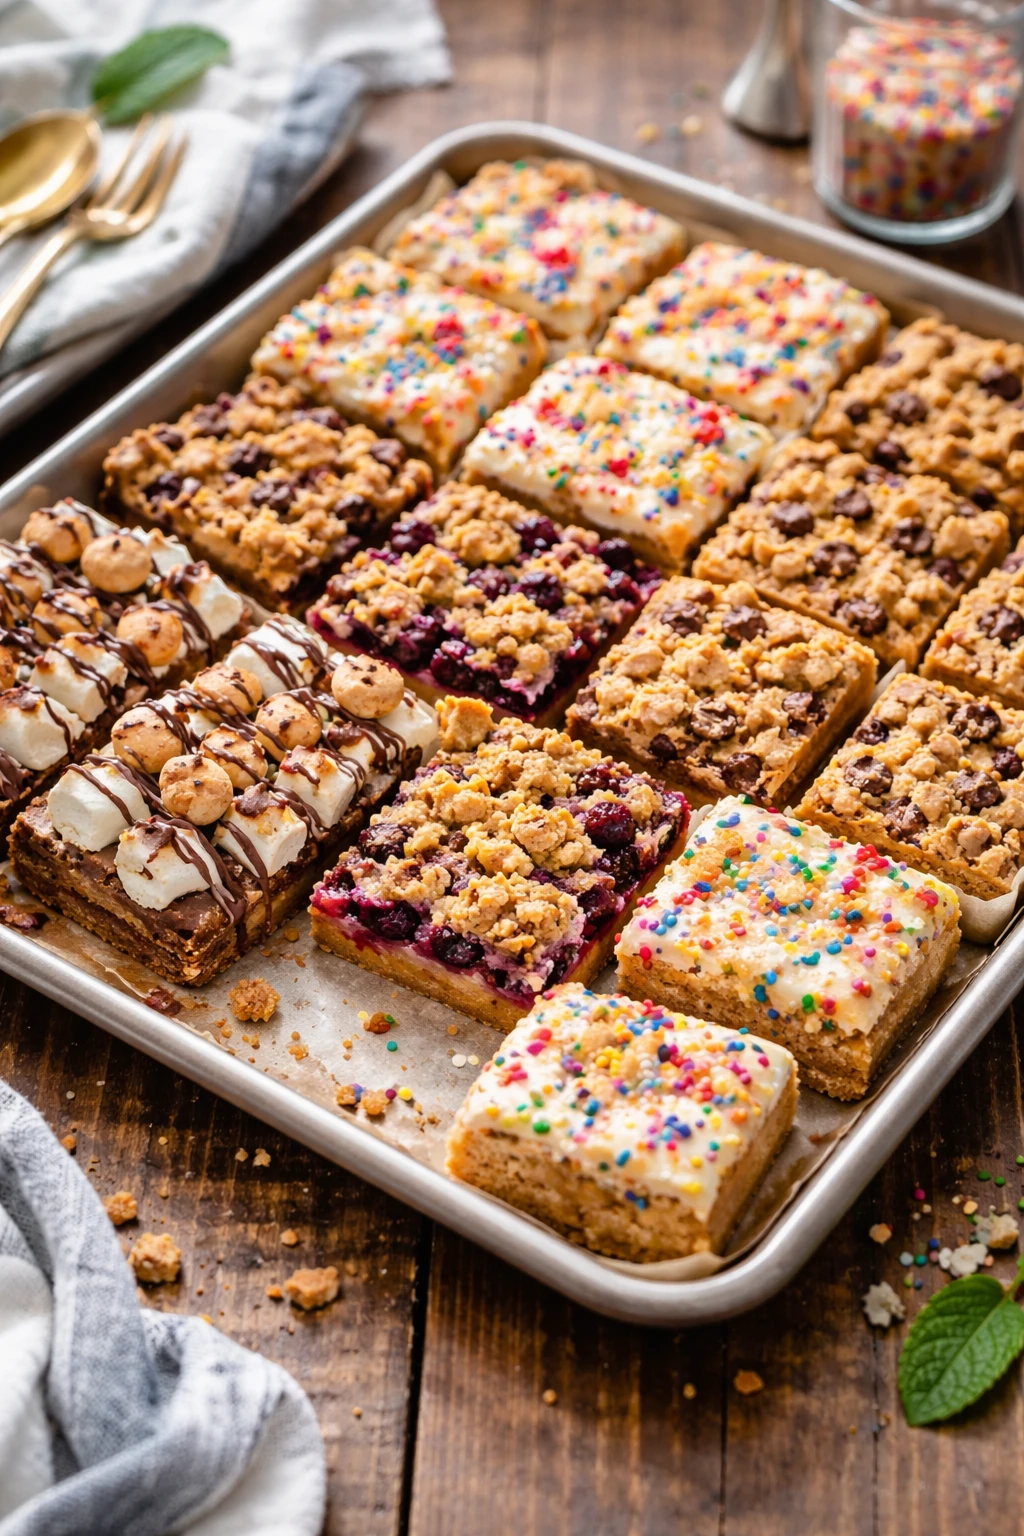
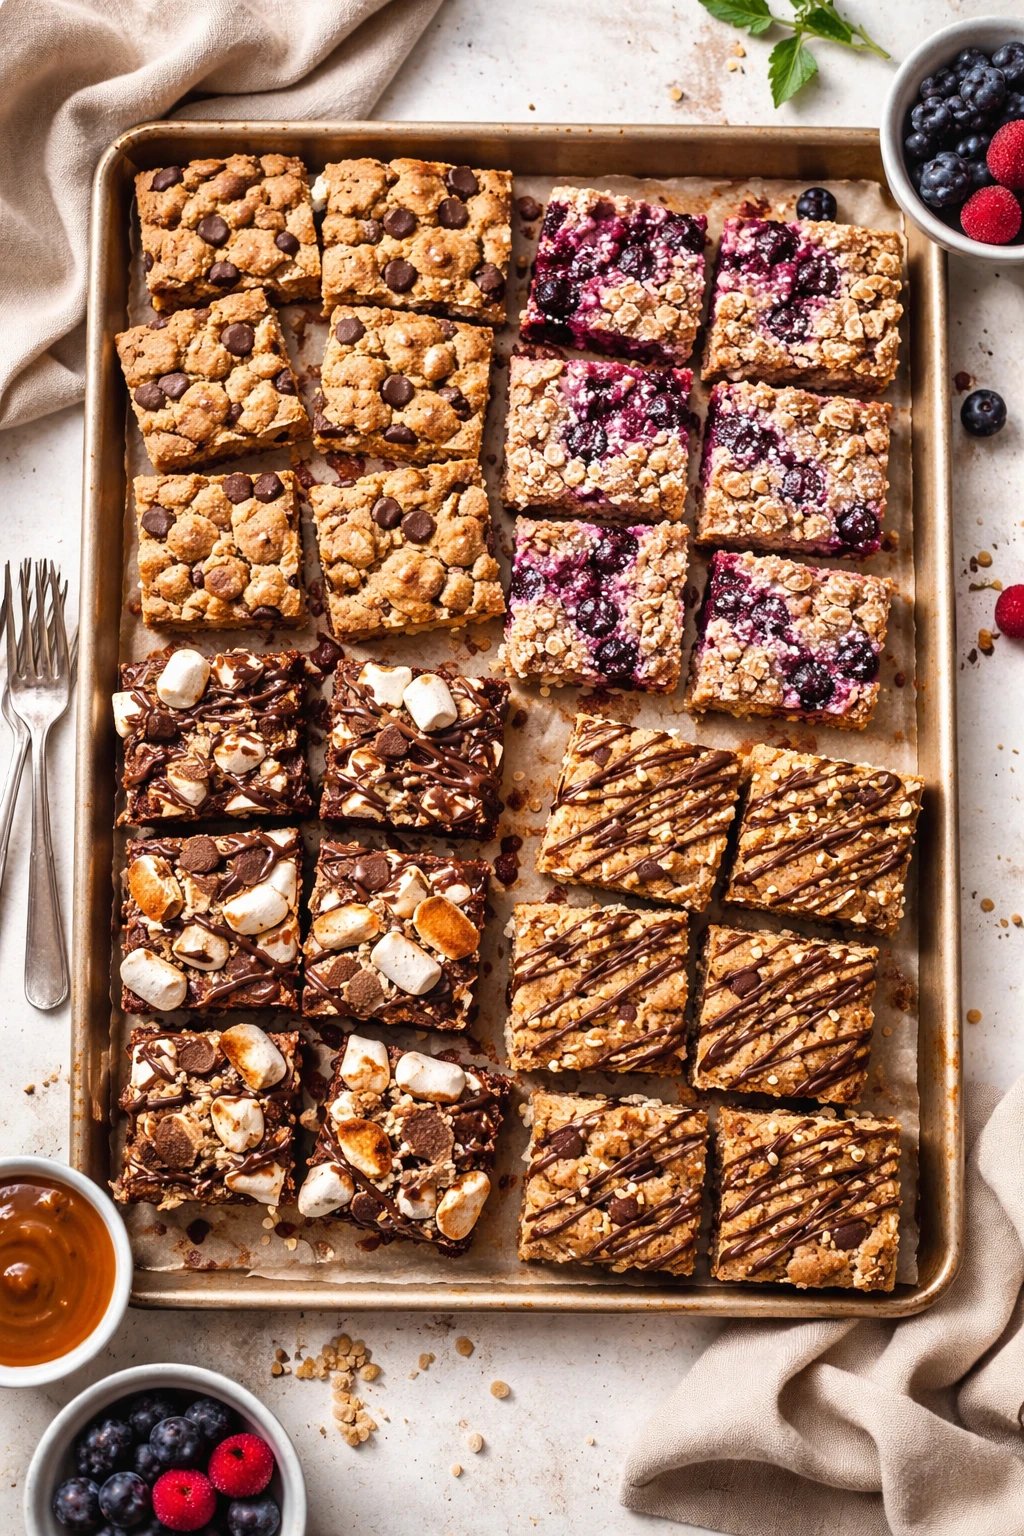
This sheet pan dessert mixes fresh fruit and a crunchy oat topping all baked together for a fuss-free, cozy treat. Using just one pan means less mess and more time to relax. Perfect for casual gatherings or a quiet night at home!
Introduction
I stumbled upon this sheet pan sweets recipe on a chilly weekend when I wanted dessert without a mountain of dishes. The idea of mixing fresh fruit with a crunchy oat topping all on one baking sheet was genius — less cleanup, more cozy time! What makes this version stand out is the balance of tart and sweet fruit with a buttery, crispy topping that’s not too heavy. I’ve tried a few versions before, but the trick I learned here is to toss the fruit with lemon juice and cinnamon before baking to brighten flavors and prevent browning. The topping is a simple mix, but the cold butter cut into the oats creates that perfect crumbly texture. When it comes out of the oven, it’s bubbly, golden, and smells like autumn in your kitchen. It’s perfect for casual get-togethers or just curling up with a book and a warm blanket. Honestly, it’s become a family favorite, and I love how easy it is to whip up on a weeknight. You’ll see why this one-pan dessert is one I keep coming back to!
How To Do It
Step 1
Preheat your oven to 350°F (175°C). While it warms, prepare the fruit by washing and chopping it into bite-sized pieces. Toss the mixed fruit in a large bowl with granulated sugar, lemon juice, and ground cinnamon. The sugar helps draw out natural juices, creating a delicious syrup as it bakes, while lemon juice keeps the fruit vibrant and bright. Don’t skip the cinnamon—it adds warmth without overpowering. Make sure the fruit is evenly coated but not mushy. This step is crucial to balance sweetness and acidity, ensuring the fruit cooks evenly and the flavors meld beautifully.
⏱ Time: 10 minutes
✓ Doneness: Fruit pieces glisten evenly coated with sugar and spices, no clumps.
Step 2
In a separate bowl, combine rolled oats, flour, brown sugar, and salt. Add the cold, cubed butter and use your fingers or a pastry cutter to work it into the dry ingredients until the mixture resembles coarse crumbs. The cold butter creates pockets of flakiness in the topping, which bake into a crisp, crumbly texture. If you rush this step or the butter melts too much, you’ll end up with a dense, cakey topping rather than a crisp one. Take your time to gently rub the butter in, aiming for pea-sized pieces throughout the mixture.
⏱ Time: 10 minutes
✓ Doneness: Mixture looks crumbly with visible small butter chunks, no large clumps.
Step 3
Spread the fruit mixture evenly across a large rimmed baking sheet or pan. Distribute the oat topping evenly over the fruit layer, covering as much as possible but not packing it down. This loose layering allows the topping to bake crisp and golden while the fruit underneath bubbles and softens. If the topping is pressed too firmly, it can become soggy. The contrast between crisp topping and juicy fruit is what makes this dessert so comforting and delicious.
⏱ Time: 5 minutes
✓ Doneness: Evenly layered fruit with a loose crumb topping spread evenly on top.
Step 4
Place the sheet pan in the oven and bake for about 30 minutes. Keep an eye on the topping as it bakes; it should turn golden brown and crispy, while the fruit underneath should be bubbling and tender. If you notice the topping browning too quickly, loosely tent the pan with foil to prevent burning. Baking until the fruit is bubbling ensures the juices have thickened and melded with the topping, creating that irresistible texture contrast.
⏱ Time: 30 minutes
✓ Doneness: Topping golden brown and crisp; fruit bubbling visibly at edges.
Step 5
Once baked, remove from the oven and let the dessert cool for at least 10 minutes before serving. This resting time allows the fruit juices to thicken slightly, preventing a runny bottom. It also helps the topping set to the perfect crispness. Serve warm with a scoop of vanilla ice cream or a dollop of whipped cream for extra indulgence. The contrast of warm fruit and cold ice cream is one of my favorite parts of this dessert.
⏱ Time: 10 minutes
✓ Doneness: Fruit juices slightly thickened; topping firm but not hard.
Step 6
If you want to add a nutty crunch, sprinkle chopped toasted pecans or walnuts over the crisp just before serving. The nuts add a lovely texture contrast and a toasty flavor that pairs wonderfully with the fruit and oat topping. Toasting the nuts beforehand enhances their flavor and crunch. This step is optional but highly recommended for a little extra flair.
⏱ Time: 5 minutes
✓ Doneness: Nuts lightly browned and fragrant.
Step 7
For a twist, try adding a handful of dried cranberries or raisins to the fruit mixture before baking. These add bursts of sweetness and chewiness that complement the fresh fruit beautifully. Soak dried fruit in warm water for 10 minutes before adding to plump them up and prevent them from drying out in the oven. This simple addition can elevate the flavor profile without extra effort.
⏱ Time: 5 minutes
✓ Doneness: Dried fruit plumped and distributed evenly in the mixture.
Step 8
To make the crisp gluten-free, substitute the all-purpose flour with almond flour or a gluten-free baking blend. Keep the oat topping the same, but make sure your oats are certified gluten-free if needed. This swap keeps the texture close to the original while making the dessert accessible to those with gluten sensitivities. The almond flour adds a subtle nutty flavor that pairs nicely with the fruit.
⏱ Time: 5 minutes
✓ Doneness: Topping remains crumbly and golden after baking.
Step 9
Clean your pan right after baking to make cleanup easier. Soak the pan in warm soapy water while the dessert cools. This loosens any sticky fruit residue and prevents it from hardening on the pan. Using a silicone spatula helps scrape off any stuck bits gently without scratching the pan. One-pan baking is great, but proper cleanup keeps your kitchen happy too!
⏱ Time: 10 minutes
✓ Doneness: Pan residue softened and easily wiped clean.
Variations
Nutty Pecan Sheet Pan Crisp
Add 1 cup chopped pecans to the oat topping and sprinkle some on top before baking. The nuts add crunch and a toasty flavor that pairs beautifully with the fruit. This version feels a bit richer and more festive.
Note: Watch the topping closely as nuts can brown faster; tent with foil if needed.
Tropical Mango and Coconut Crisp
Swap mixed fruit for diced mango and pineapple, and add 1/4 cup shredded coconut to the topping. This brings a bright, tropical twist with a chewy coconut crunch.
Note: Use firm mango to prevent mushiness; coconut can brown quickly, so monitor baking time.
Gluten-Free Almond Crisp
Replace all-purpose flour with almond flour and use certified gluten-free oats. This keeps the crisp naturally gluten-free with a subtle nutty flavor and moist texture.
Note: Almond flour can brown faster, so reduce oven temperature by 25°F if needed.
Spiced Autumn Crisp
Add 1/2 teaspoon ground nutmeg and 1/4 teaspoon ground cloves to the fruit mixture for a cozy, spiced flavor perfect for fall evenings.
Note: Spices intensify during baking; adjust amounts to taste to avoid overpowering.
Berry-Lemon Sheet Pan Crisp
Use 4 cups mixed berries and increase lemon juice to 2 tablespoons for a bright, tangy dessert. This variation is lighter and very refreshing.
Note: Berries release more juice; add 1 tablespoon cornstarch to the fruit mix to prevent sogginess.
Pro Tips
Use cold butter for the topping to get a crisp, crumbly texture.
Cold butter melts slowly in the oven, creating steam pockets that puff the topping. If butter is warm, it blends fully into the flour, resulting in a dense, cake-like topping rather than a crisp one.
Toss fruit with lemon juice and cinnamon before baking.
Lemon juice keeps fruit from browning and adds brightness, while cinnamon adds warmth and depth. This step balances flavors and ensures your dessert looks and tastes fresh.
Don’t pack down the topping—keep it loose for the best texture.
A loose topping allows steam to escape and creates a contrast between crisp topping and juicy fruit. Pressing it down can trap moisture, leading to sogginess.
Let the dessert rest after baking to thicken the fruit juices.
Resting time lets the juices cool and thicken, preventing a runny bottom and allowing the topping to set perfectly for easy serving.
Use a rimmed baking sheet for even cooking and easy cleanup.
A rimmed sheet keeps fruit juices contained, prevents spills in the oven, and ensures even heat distribution for consistent baking.
Toast nuts before adding them for extra flavor.
Toasting nuts enhances their natural oils and flavor, adding crunch and a toasty aroma that complements the sweet fruit and oat topping.
Use old-fashioned oats, not instant, for the topping.
Old-fashioned oats retain texture and chewiness after baking, while instant oats can become mushy, losing the desired crunch.
Common Mistakes to Avoid
Using warm butter in the topping
Why it happens Many assume soft butter is easier to mix, but warm butter blends too much with dry ingredients.
Fix Chill your butter well before cutting it into the flour and oats. Keep it in small cubes and handle quickly to retain coldness for a crisp topping.
Skipping lemon juice in the fruit mix
Why it happens People often forget lemon juice or think it’s optional.
Fix Always add lemon juice to prevent browning and brighten flavors. It makes a big difference in taste and appearance.
Pressing the topping down too firmly
Why it happens Some think packing topping makes it hold better.
Fix Sprinkle the topping loosely over fruit and avoid pressing to keep it crumbly and crisp after baking.
Not letting dessert rest before serving
Why it happens Impatience leads to serving immediately.
Fix Allow 10 minutes cooling so juices thicken and topping sets, preventing soggy texture and messy servings.
Using overripe or very soft fruit
Why it happens Overripe fruit is sweeter but can turn mushy.
Fix Choose ripe but firm fruit to keep good texture and avoid a watery dessert.
Nutrition
Per Serving:
Nutritional values are estimates and may vary based on specific ingredients used.
Storage & Tips
Room Temperature
Store leftover crisp covered loosely at room temperature for up to 2 days. Keep away from direct sunlight and heat sources to maintain topping texture.
Refrigerator
Store in an airtight container for up to 4 days. The topping may soften but reheating in the oven restores some crispness. Serve warm or at room temperature.
Freezer
Freeze in an airtight container or wrapped tightly for up to 3 months. Thaw overnight in the fridge before reheating. Reheat in a preheated oven to refresh texture.
Reheating
Reheat in a 350°F oven for 10-15 minutes until warm and topping is crisp again. Avoid microwave reheating as it makes the topping soggy. Add a splash of water if fruit looks dry.
Make Ahead
Prepare the fruit mixture and topping separately up to 1 day ahead. Assemble just before baking for best texture. Alternatively, bake fully and reheat before serving.
FAQ
Can I use frozen fruit instead of fresh?
Yes, frozen fruit works well but may release more liquid, which can make the crisp a bit soggy. To reduce this, thaw and drain excess liquid before mixing with sugar and lemon juice. You might also add a tablespoon of cornstarch to the fruit mix to help thicken the juices during baking.
What can I substitute for butter in the topping?
You can use coconut oil or a vegan butter substitute for a dairy-free version. Keep it cold and cut into the dry ingredients just like butter. The texture might be slightly different—coconut oil can make the topping a bit crumblier and less rich, but it still tastes delicious.
How do I keep the topping crispy after storing leftovers?
Store leftovers in the fridge and reheat in the oven to restore crispness. Avoid microwaving as it softens the topping. You can also re-toast the topping separately in a dry pan to bring back crunch before serving.
Can I make this dessert gluten-free?
Absolutely! Use gluten-free oats and substitute the all-purpose flour with almond flour or a gluten-free baking blend. Just make sure your oats are certified gluten-free to avoid cross-contamination. The texture will remain crumbly and tasty.
Why does my topping sometimes turn out soggy?
Sogginess usually happens if the butter is too warm when mixed or the topping is pressed down too firmly. Also, too much liquid from very ripe fruit can cause this. Use cold butter, mix gently, and sprinkle the topping loosely for the best crisp texture.
How can I make the fruit mixture less sweet?
Simply reduce the granulated sugar in the fruit mixture by half or omit it if your fruit is very ripe and sweet. The lemon juice will still brighten flavors without adding sweetness.
Is it okay to double this recipe?
You can double it, but bake in two separate sheet pans to ensure even cooking. Overcrowding one pan can lead to uneven baking and soggy topping.
Can I add spices like nutmeg or cloves?
Yes! Adding warm spices like nutmeg, cloves, or allspice enhances flavor, especially in fall. Start with small amounts (1/4 to 1/2 teaspoon) so they don’t overpower the fruit.
Final Thoughts
I hope you give this cozy sheet pan sweet a try—it’s one of those recipes that feels like a warm hug. Let me know how it turns out and what variations you loved!