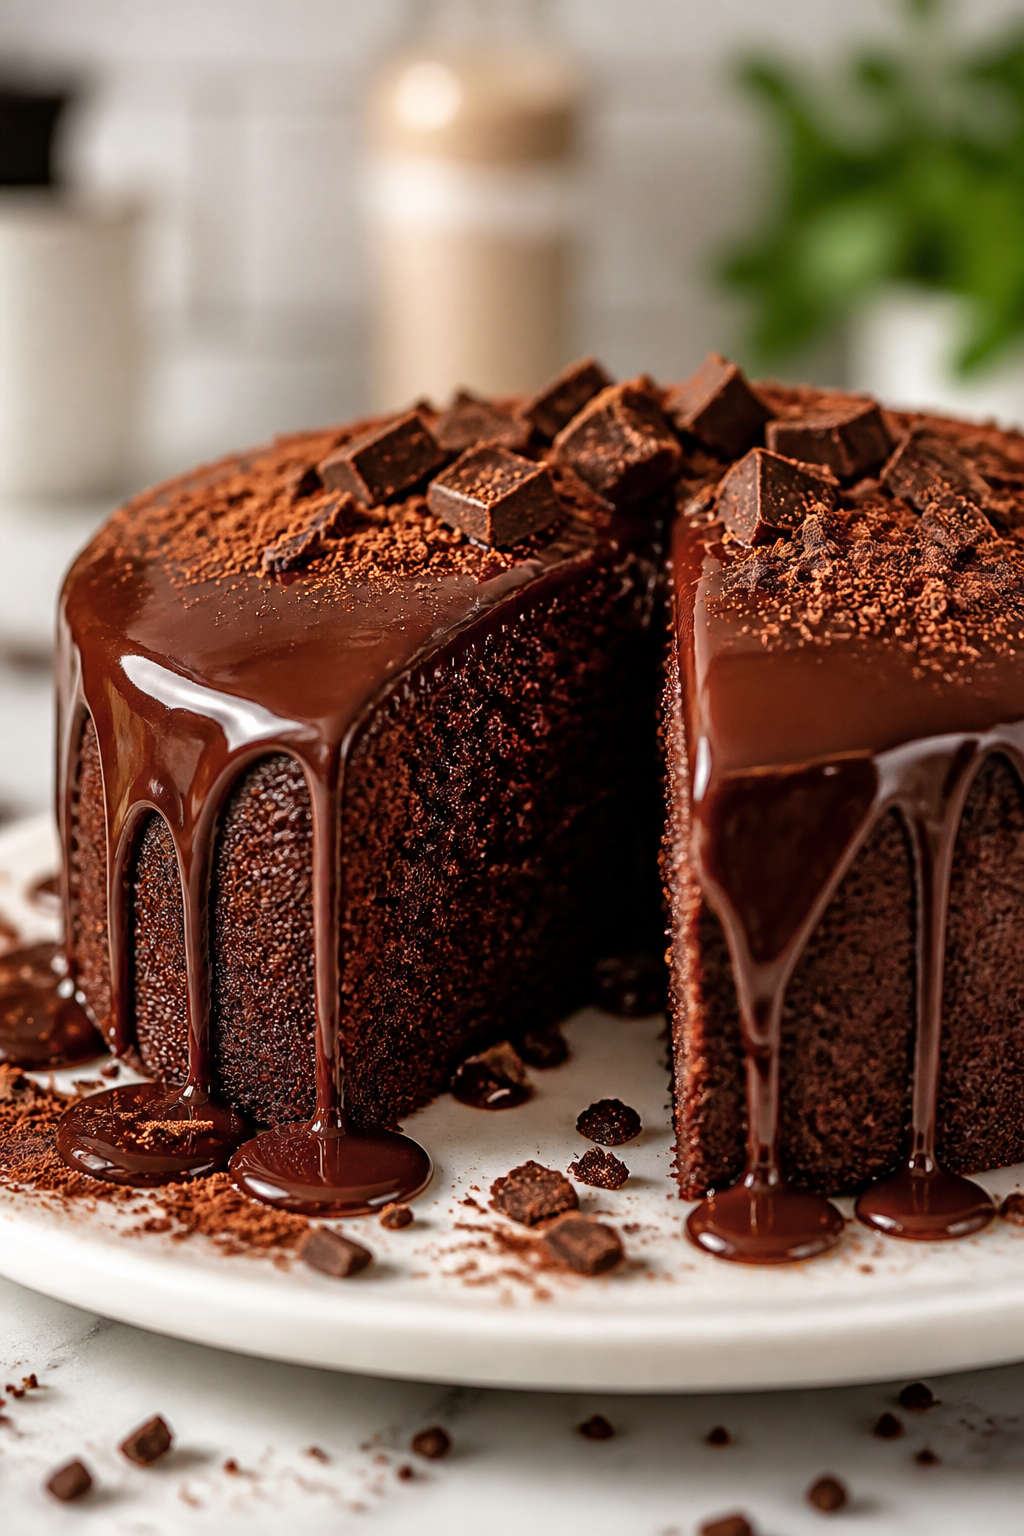
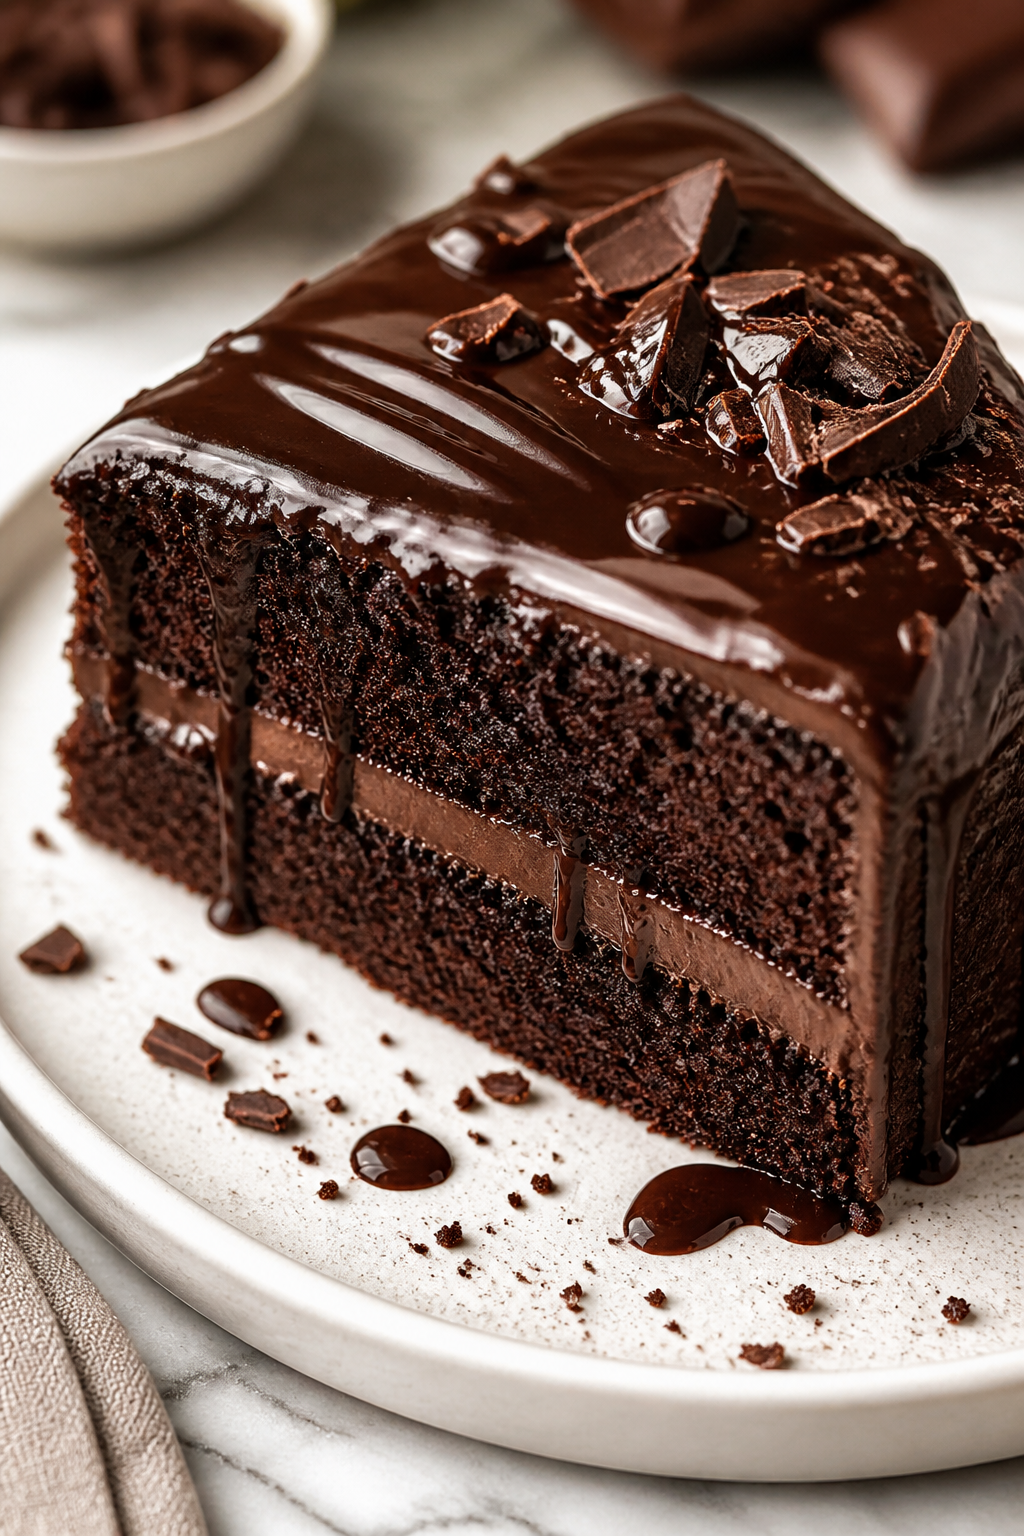
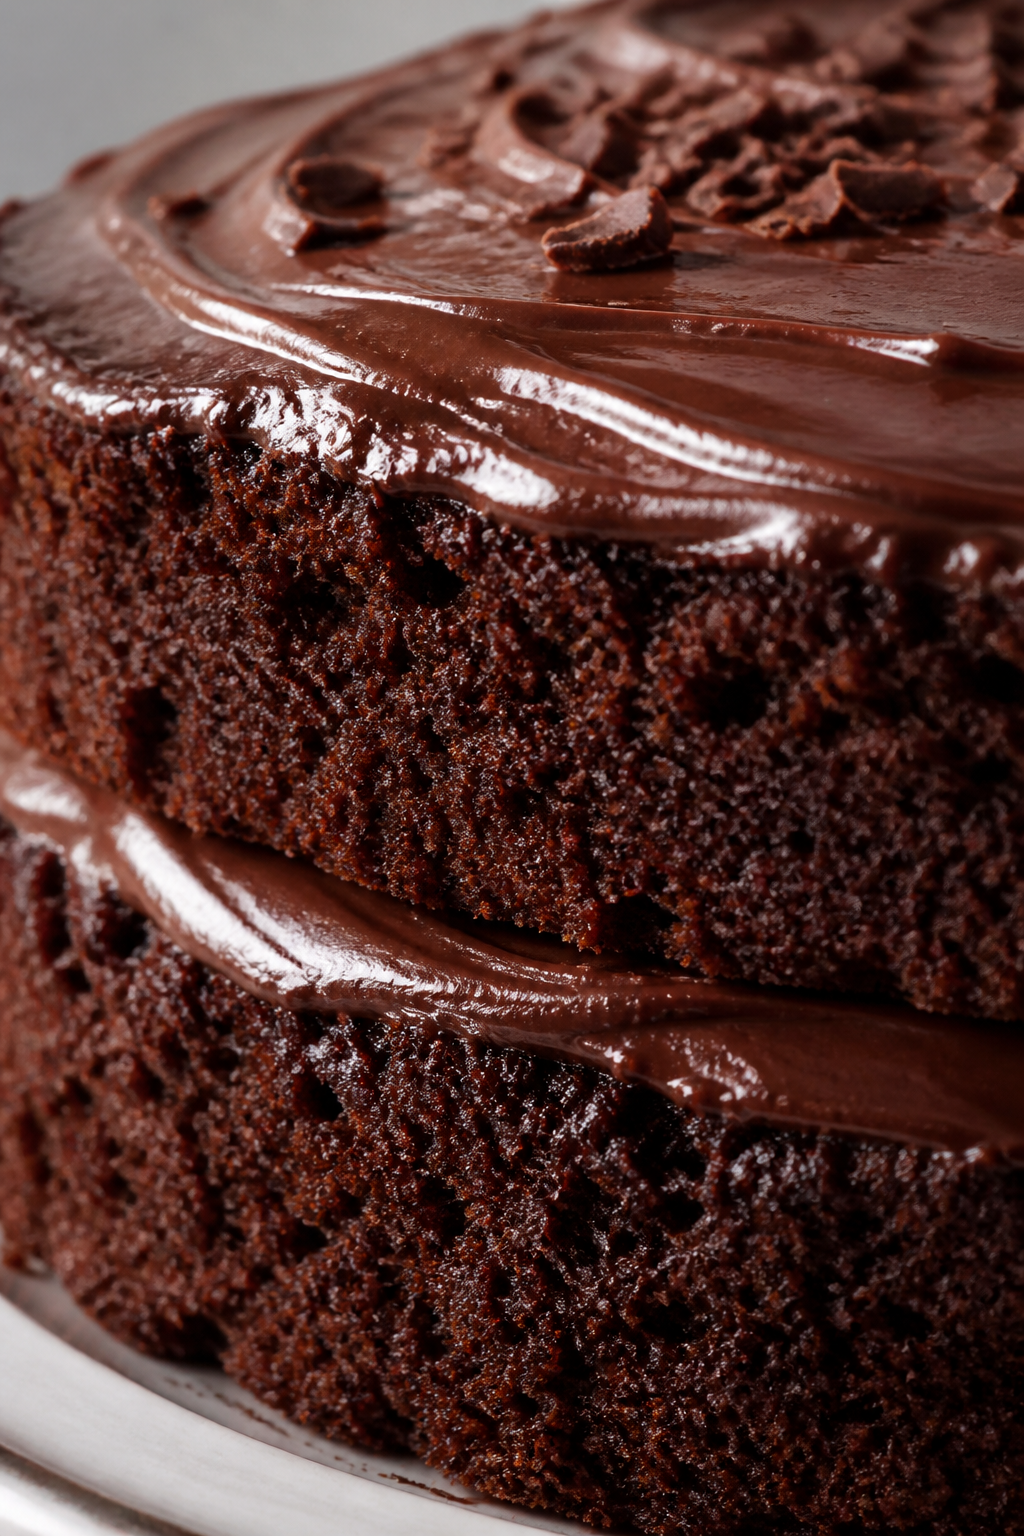
This chocolate cake is incredibly moist and rich, yet only needs five simple ingredients. It’s perfect for last-minute celebrations or when you want a quick homemade treat. Super beginner-friendly and so satisfying!
Introduction
I remember the first time I stumbled upon this chocolate cake recipe — it was one of those lazy Sunday afternoons when I wanted something sweet but didn’t want to spend hours in the kitchen. What I love about this cake is how simple it is: just five common ingredients, yet it turns out incredibly moist and rich every time. Unlike some chocolate cakes that are dense or dry, this one has a light crumb with a deep chocolate flavor that feels comforting and indulgent.
The trick I learned is to sift the cocoa powder and flour together, which helps avoid lumps and gives the cake a smoother texture. Also, using room temperature milk makes mixing easier and the batter silkier. I’ve tried many chocolate cake recipes, but this one stands out because it’s forgiving — even if you’re a beginner, it’s hard to mess up. The finished cake has a tender crumb and a subtle chocolate bitterness that pairs perfectly with a dusting of powdered sugar or your favorite frosting.
If you’re ever in a pinch and need a quick dessert, this cake is a lifesaver. It’s perfect for birthdays, casual get-togethers, or just a cozy night in. I hope you’ll enjoy making it as much as I do — it’s become a staple in my kitchen and a favorite among my family and friends.
What You'll Need
One 9-inch round cake, 8 servings
- 1 cup all-purpose flour, sifted
- 1 cup granulated sugar
- 1/2 cup unsweetened cocoa powder
- 1 teaspoon baking powder
- 1 cup milk, room temperature
How To Do It
Step 1
Preheat your oven to 350°F (175°C) and grease a 9-inch round cake pan with butter or non-stick spray. This step is important because a properly greased pan prevents the cake from sticking and ensures even baking. You can also line the bottom with parchment paper for extra insurance. Make sure your oven is fully preheated before putting the cake in, as this helps the cake rise properly and bake evenly without drying out.
⏱ Time: 10 minutes
✓ Doneness: Oven is at steady 350°F, pan is evenly greased and ready
Step 2
In a large bowl, sift together the all-purpose flour, cocoa powder, and baking powder. Sifting removes lumps and aerates the dry ingredients, which contributes to a lighter texture in the final cake. Take your time here; skipping this step can lead to uneven pockets of cocoa or flour, affecting the crumb and flavor.
⏱ Time: 5 minutes
✓ Doneness: Dry ingredients are fully combined, smooth, and lump-free
Step 3
Add the granulated sugar to the sifted dry ingredients and mix gently to combine. This ensures the sugar distributes evenly, which helps with the cake’s sweetness balance. Avoid over-mixing at this stage to keep the batter light. Mixing just until combined is key to a tender crumb.
⏱ Time: 2 minutes
✓ Doneness: Sugar is well incorporated without clumps
Step 4
Pour in the room temperature milk and stir gently with a spatula or wooden spoon. Using milk that’s not cold helps the ingredients blend smoothly without clumping. Stir just until the batter comes together — overmixing can develop gluten in the flour, making the cake tough instead of soft and moist.
⏱ Time: 3 minutes
✓ Doneness: Batter is smooth, glossy, and just combined
Step 5
Pour the batter into the prepared cake pan and gently smooth the top with a spatula. This helps the cake bake evenly and look neat. Avoid tapping the pan too hard because it can cause air bubbles to collapse, leading to a denser texture.
⏱ Time: 2 minutes
✓ Doneness: Batter evenly spread, surface smooth without bubbles
Step 6
Bake the cake in the preheated oven for about 28-32 minutes. Don’t open the oven door during the first 20 minutes to avoid sudden temperature drops that can cause the cake to sink. Around 28 minutes, test doneness by inserting a toothpick in the center — it should come out clean or with a few moist crumbs.
⏱ Time: 30 minutes
✓ Doneness: Toothpick inserted in center comes out mostly clean
Step 7
Once baked, remove the cake from the oven and let it cool in the pan for 10 minutes. Cooling in the pan allows the cake to set and makes it easier to remove without breaking. After 10 minutes, run a knife around the edges and invert the cake onto a wire rack to cool completely. This prevents sogginess by letting air circulate underneath.
⏱ Time: 15 minutes
✓ Doneness: Cake releases easily from the pan and cools on rack
Step 8
If you want, dust the cooled cake with powdered sugar or top with your favorite frosting. A simple dusting highlights the cake’s rich chocolate flavor without overpowering it. Frosting adds sweetness and moisture, but the cake is delicious even plain. Serve at room temperature for the best texture and flavor.
⏱ Time: 5 minutes
✓ Doneness: Cake surface decorated and ready to serve
Step 9
Slice the cake with a clean, sharp knife for neat pieces. Wiping the knife between cuts helps keep slices tidy and prevents crumbs from smearing. Enjoy immediately or store leftovers properly to keep the cake moist.
⏱ Time: 2 minutes
✓ Doneness: Clean cake slices with minimal crumbs
Variations
Add Espresso for a Mocha Twist
Mix in 1 tablespoon of instant espresso powder with the dry ingredients to enhance the chocolate flavor with a subtle coffee note. This creates a richer, more complex cake perfect for coffee lovers.
Note: Espresso powder dissolves easily and doesn’t add liquid, so no adjustments needed. Just ensure it’s well mixed with dry ingredients.
Use Almond Milk for Dairy-Free Version
Swap whole milk with unsweetened almond milk to make this cake dairy-free. The texture remains moist, though slightly less rich. Great for those with lactose intolerance or vegan diets.
Note: Almond milk has less fat, so the crumb may be a bit lighter. Don’t overmix to keep softness.
Add Chocolate Chips for Extra Gooeyness
Fold 1/2 cup of semi-sweet chocolate chips into the batter before baking for melty pockets of chocolate. This makes the cake extra indulgent and fun to eat.
Note: Coat chips lightly in flour before folding in to prevent sinking to the bottom.
Top with Whipped Cream and Fresh Berries
Instead of frosting, serve slices with fresh whipped cream and a handful of berries for a light, refreshing finish. It balances the cake’s richness with fruity brightness.
Note: Add toppings just before serving to keep whipped cream fresh and berries vibrant.
Make Mini Cupcakes Instead of a Cake
Portion the batter into lined muffin tins to bake mini chocolate cupcakes. Adjust baking time to 15-18 minutes. Perfect for parties or portion control.
Note: Smaller portions bake faster; check doneness early to avoid overbaking.
Pro Tips
Always sift your dry ingredients together before mixing.
Sifting not only removes lumps but also aerates the flour and cocoa, which helps create a lighter, more tender crumb. It ensures even distribution of baking powder, preventing uneven rising or dense spots.
Use room temperature milk for mixing.
Cold milk can cause the batter to seize or mix unevenly, leading to lumps or dense texture. Room temperature milk blends smoothly, resulting in a consistent batter and better cake rise.
Don’t overmix the batter once you add the milk.
Overmixing develops gluten strands in the flour, making the cake tough and chewy rather than soft and moist. Stir gently just until combined for the best texture.
Preheat your oven fully before baking.
Starting with a hot oven ensures the cake rises quickly and evenly. If the oven is too cool, the cake may bake unevenly, resulting in a dense or sunken center.
Let the cake cool in the pan briefly before removing.
Cooling in the pan allows the cake to firm up slightly, making it easier to remove without breaking apart. Removing it too soon can cause it to crumble.
Use a wire rack to cool the cake completely.
Cooling on a wire rack prevents moisture from building up underneath, which can make the bottom soggy. It helps maintain a tender yet firm texture.
Test doneness with a toothpick, not by timer alone.
Ovens vary, so checking with a toothpick ensures the cake is perfectly baked. A clean or slightly crumbed toothpick means it’s done; wet batter means it needs more time.
Common Mistakes to Avoid
Skipping sifting the cocoa and flour
Why it happens Many assume sifting is optional or time-consuming, so they skip it to save time.
Fix Take the extra few minutes to sift. This step removes lumps and aerates the dry ingredients, helping the cake rise evenly and have a smooth texture.
Using cold milk straight from the fridge
Why it happens People often forget to prep ingredients ahead or don’t realize temperature matters.
Fix Let the milk sit out for about 30 minutes before mixing. Room temperature milk blends better and prevents lumps, improving batter consistency.
Overmixing the batter after adding liquids
Why it happens It’s easy to keep stirring thinking it makes the batter smoother.
Fix Mix just until combined. Overmixing develops gluten, resulting in a dense, tough cake instead of a moist, tender one.
Opening the oven door too early or too often
Why it happens Curiosity or impatience leads to checking too soon.
Fix Avoid opening the oven door until at least 20 minutes have passed. This keeps the temperature steady and prevents the cake from sinking.
Not greasing the pan well enough
Why it happens Rushing or assuming non-stick pans don’t need greasing.
Fix Grease the pan thoroughly and consider lining the bottom with parchment paper. This prevents sticking and keeps the cake intact when removing.
Nutrition
Per Serving:
Nutritional values are estimates and may vary based on specific ingredients used.
Storage & Tips
Room Temperature
This cake can be safely kept at room temperature covered tightly with plastic wrap or in an airtight container for up to 2 days. Keeping it covered prevents it from drying out. If left uncovered, the cake will start to lose moisture and become stale quickly.
Refrigerator
Store leftover cake in an airtight container in the fridge for up to 5 days. The cake may become slightly firmer when chilled, so it’s best served at room temperature. You can let it sit out for 30 minutes before serving or warm gently in the microwave for 10-15 seconds.
Freezer
Wrap the cake tightly in plastic wrap and then aluminum foil or place in a freezer-safe container. Freeze for up to 3 months. To thaw, transfer to the fridge overnight and then bring to room temperature before serving to restore moisture and texture.
Reheating
Reheat slices gently in the microwave for 15-20 seconds or wrap in foil and warm in a 300°F oven for 10 minutes. Adding a small splash of milk or covering loosely helps keep the cake moist. Avoid overheating as it can dry out the cake.
Make Ahead
You can prepare the batter a few hours ahead and keep it refrigerated, then bake fresh when ready. Alternatively, bake the cake the day before, cool completely, and store covered at room temperature or in the fridge. This helps flavors develop and saves time on serving day.
FAQ
Can I substitute butter for milk in this recipe?
Butter can add richness but replacing milk entirely with butter will change the batter’s consistency and moisture level. If substituting, use melted butter plus a little water or another liquid to maintain the right texture. Milk provides both moisture and fat, so replacing it requires balancing those elements for a tender cake.
Why is my chocolate cake dry even following the recipe?
Dry cake often results from overbaking or overmixing the batter. Make sure to check the cake a few minutes before the timer, and mix just until ingredients are combined. Also, ensure your oven temperature is accurate; an oven thermometer can help. Using fresh ingredients and proper measuring also makes a big difference.
Can I use Dutch-processed cocoa powder instead of natural?
Dutch-processed cocoa is less acidic and won’t react properly with baking powder, which may affect rise and texture. To use Dutch-processed cocoa, substitute baking powder with baking soda and add an acidic ingredient like buttermilk or vinegar. Otherwise, stick to natural cocoa for this recipe.
How can I make this cake vegan?
To veganize, replace milk with plant-based milk like almond or oat, and substitute baking powder with a mix of baking soda plus an acid (like lemon juice). Since this recipe doesn’t contain eggs, the swap is easier. You might also add a tablespoon of oil or applesauce for extra moisture.
What’s the best way to store leftover cake?
Store leftover cake in an airtight container at room temperature for up to 2 days or in the fridge for up to 5 days. Wrapping it well prevents drying out. For longer storage, freeze tightly wrapped for up to 3 months and thaw in the fridge before serving.
Can I double this recipe for a larger cake?
Yes, doubling is straightforward. Use a larger pan or two pans to ensure even baking. Baking time will increase slightly, so start checking doneness at the original time and add more as needed. Avoid overcrowding the oven for best results.
Why does my cake sink in the middle?
Sinking often happens if the oven door is opened too early, causing a temperature drop, or if the batter is overmixed or too wet. Also, expired baking powder can reduce rising power. Ensure proper mixing, fresh ingredients, and avoid opening the oven until the cake is mostly set.
Can I add frosting to this cake?
Absolutely! This cake pairs well with many frostings like chocolate ganache, cream cheese frosting, or simple buttercream. Just make sure the cake is completely cool before frosting to prevent melting or sliding.
Final Thoughts
I hope you enjoy baking and sharing this simple, moist chocolate cake as much as I do. Don’t forget to let me know how it turns out — happy baking!