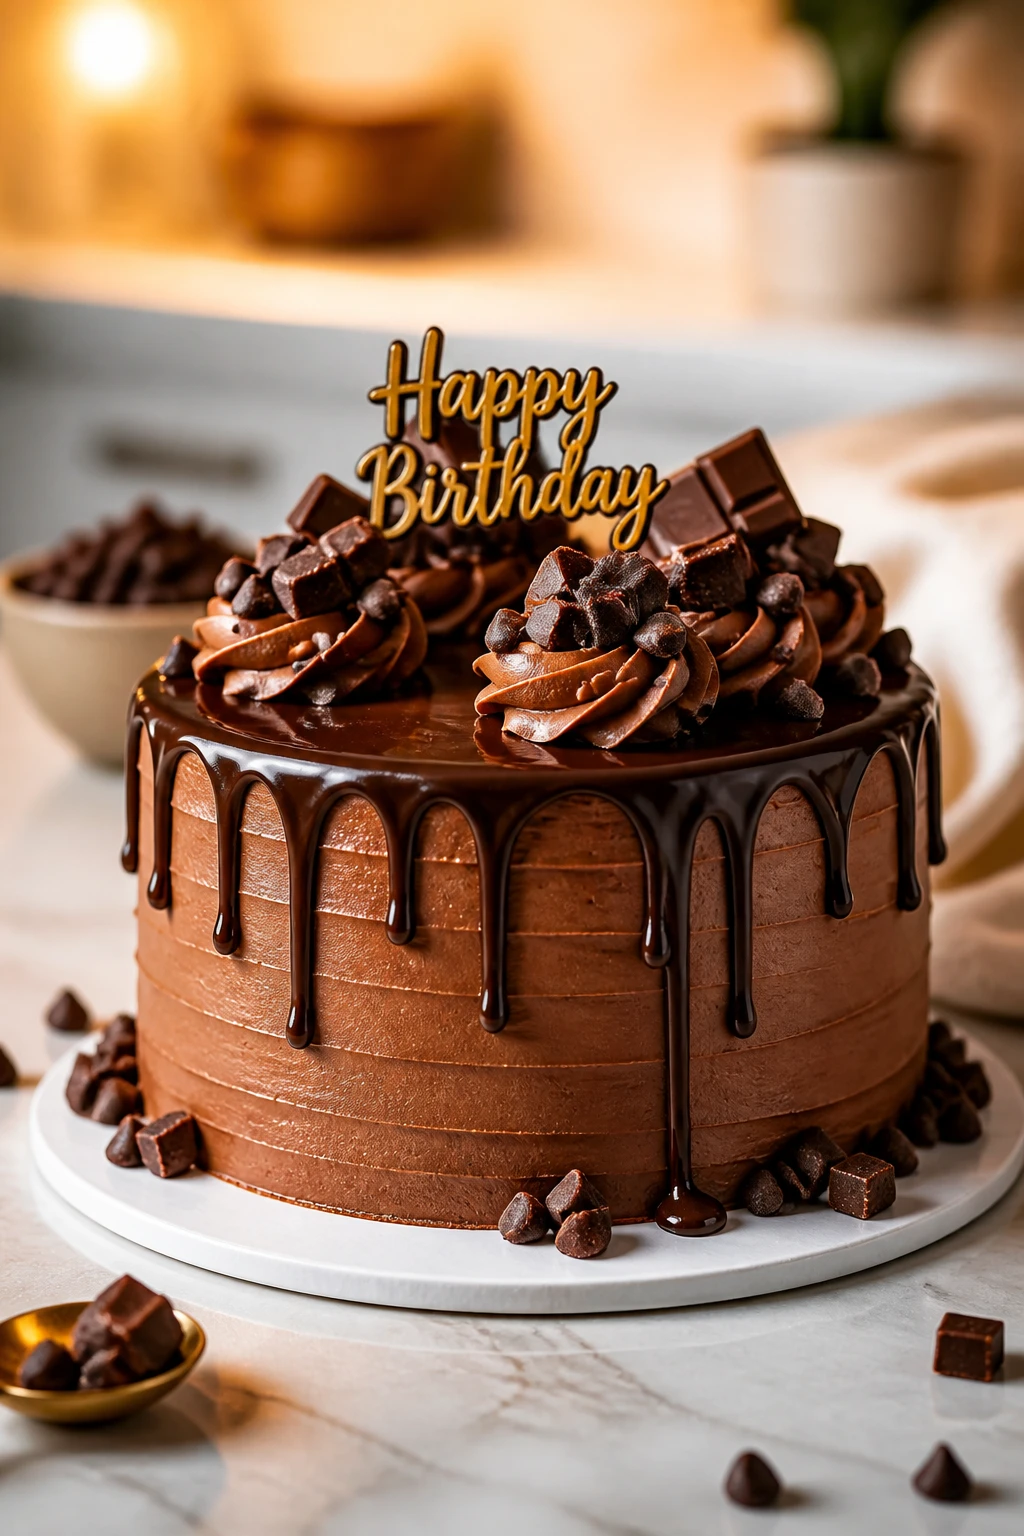
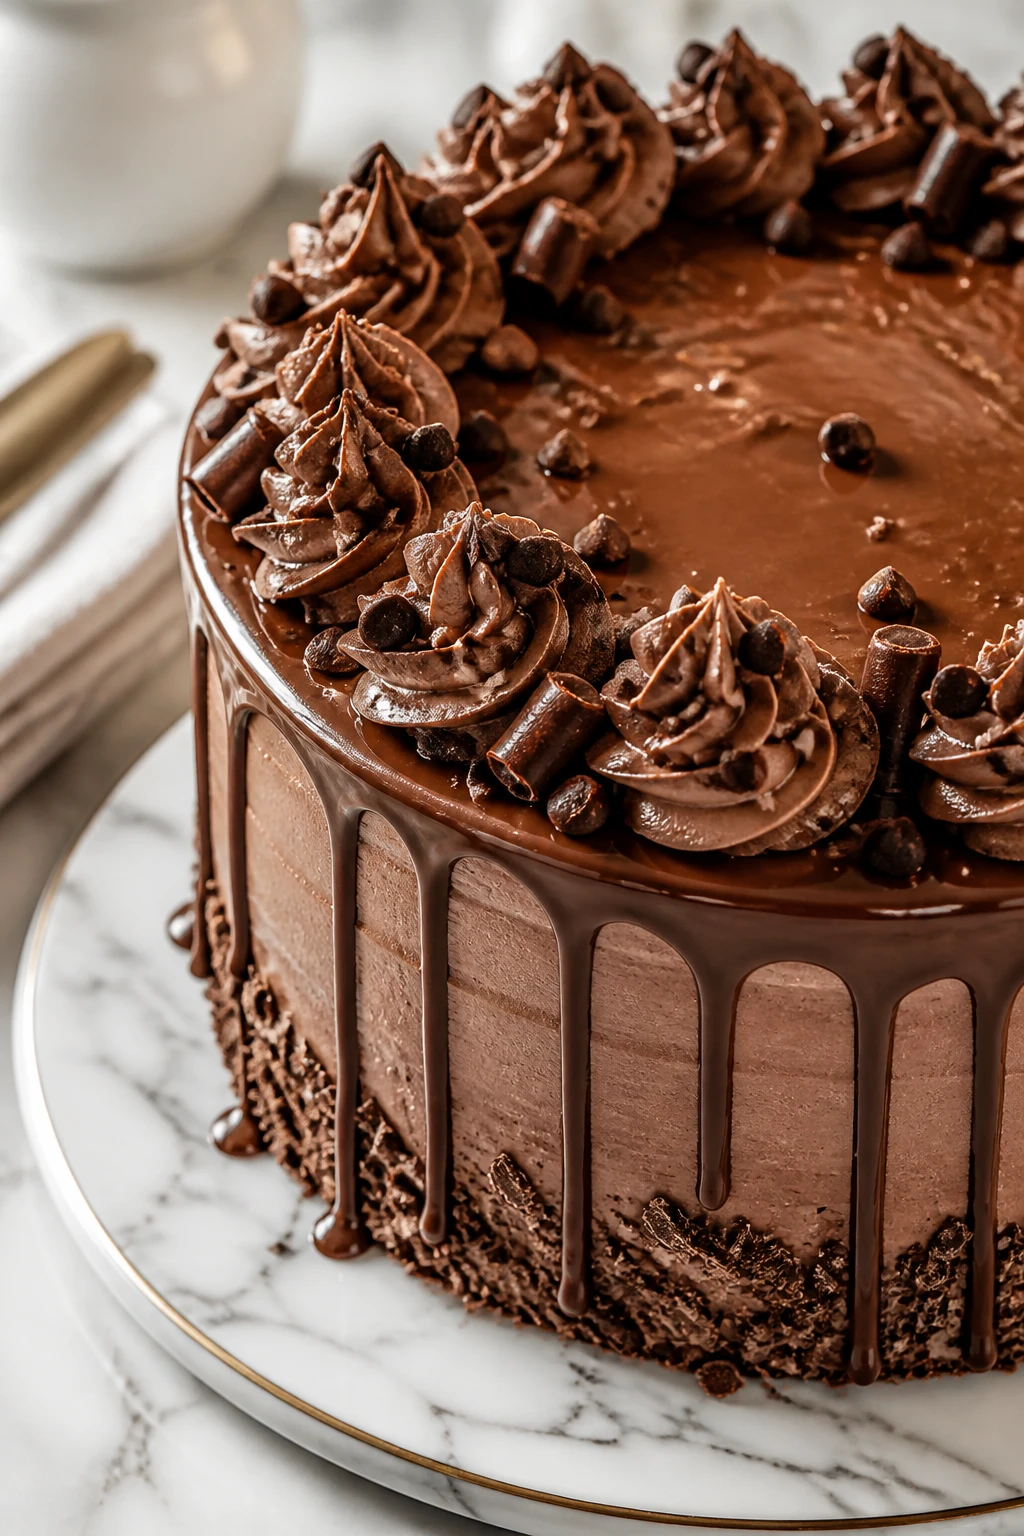
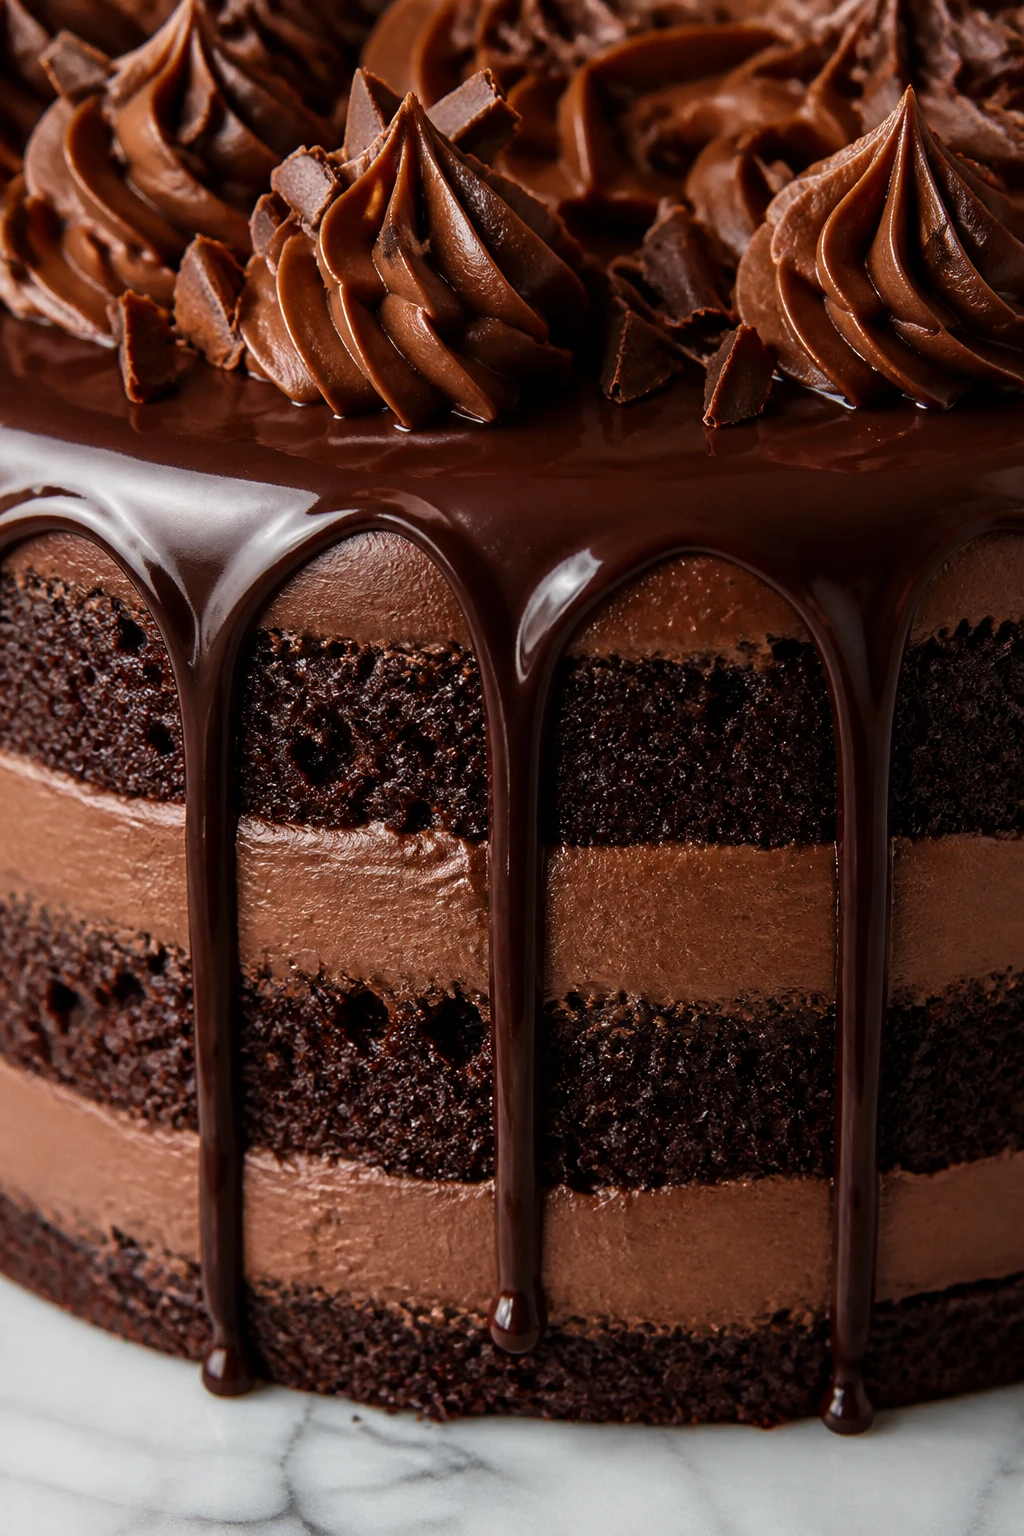
This chocolate drip birthday cake is my go-to for when I need something impressive but fast. The silky ganache drip is the secret that makes it look fancy without the fuss. Great for surprise parties or sweet cravings!
Introduction
I first made this chocolate drip birthday cake when I needed a last-minute dessert that still looked like I’d spent hours on it. Honestly, it was a bit of a happy accident — I was short on time but wanted something special for a friend’s birthday. The trick I learned is that the ganache drip makes everything look elegant and fancy, even if the cake itself is straightforward. I also like to mix boiling water into the batter to make the cake extra moist and tender. This version feels rich but not overwhelming, and the glossy ganache drip is always the star of the show. It’s perfect for anyone who wants a crowd-pleaser without the stress or complicated decorating skills. Plus, it’s surprisingly simple to pull off, and the result is a chocolate lover’s dream — moist layers with that silky, shiny ganache that slowly drips down the sides. I think this cake will become your go-to for birthdays or any time you want to impress with minimal fuss.
What You'll Need
One 9-inch round cake, 8 servings
- 2 cups all-purpose flour, sifted
- 1 ¾ cups granulated sugar
- ¾ cup unsweetened cocoa powder
- 1 ½ teaspoons baking powder
- 1 ½ teaspoons baking soda
- 1 teaspoon salt
- 2 large eggs, room temperature
- 1 cup whole milk, room temperature
- ½ cup vegetable oil
- 2 teaspoons vanilla extract
- 1 cup boiling water
- 8 ounces semi-sweet chocolate, chopped
- 1 cup heavy cream
How To Do It
Step 1
Preheat your oven to 350°F (175°C). Grease and flour two 9-inch round cake pans to prevent sticking. This step ensures your cakes release easily after baking, so don’t skip it or your cake might break during removal. Using parchment paper rounds at the bottom can also help for a clean release.
⏱ Time: 10
✓ Doneness: Pans are well greased and floured with no dry spots visible.
Step 2
In a large mixing bowl, sift together the flour, sugar, cocoa powder, baking powder, baking soda, and salt. Sifting helps aerate the dry ingredients and prevents lumps, which leads to a smoother cake batter and lighter crumb.
⏱ Time: 5
✓ Doneness: Dry ingredients are well combined with no clumps.
Step 3
Add the eggs, milk, vegetable oil, and vanilla extract to the dry ingredients. Beat with an electric mixer on medium speed until smooth and fully combined. This helps to emulsify the fats and liquids, creating a uniform batter that bakes evenly.
⏱ Time: 3
✓ Doneness: Batter is smooth, glossy, and homogenous with no streaks.
Step 4
Slowly pour the boiling water into the batter while mixing on low speed. The batter will be thin — this is normal and actually helps create a moist, tender crumb. Don’t skip this step or your cake might end up dry.
⏱ Time: 2
✓ Doneness: Batter is thin but smooth with no lumps.
Step 5
Divide the batter evenly between the prepared pans. Tap the pans gently on the countertop to release any air bubbles, which helps prevent holes or tunnels in the cake layers.
⏱ Time: 5
✓ Doneness: Batter is evenly distributed and surfaces are smooth.
Step 6
Bake in the preheated oven for 30-35 minutes. Check doneness by inserting a toothpick in the center; it should come out clean or with a few moist crumbs. Avoid overbaking to keep the cake moist.
⏱ Time: 30
✓ Doneness: Toothpick inserted in center comes out mostly clean.
Step 7
Let the cakes cool in the pans for 10 minutes, then invert onto wire racks to cool completely. Cooling in the pan too long can cause sogginess; cooling on racks prevents moisture buildup and keeps the cake texture perfect.
⏱ Time: 20
✓ Doneness: Cakes are completely cool to the touch and firm.
Step 8
To make the ganache, heat the heavy cream until it just starts to simmer. Pour it over the chopped chocolate and let sit for 2-3 minutes before stirring gently until smooth. This method melts the chocolate perfectly without burning it, creating a glossy ganache.
⏱ Time: 10
✓ Doneness: Ganache is smooth, shiny, and lump-free.
Step 9
Place one cake layer on a serving plate, spread a thin layer of ganache or frosting if desired, then top with the second layer. Pour the ganache over the top, letting it drip naturally down the sides. Use a spoon to control the drips if needed. Chill briefly to set the ganache before serving.
⏱ Time: 15
✓ Doneness: Ganache is glossy with smooth drips down the cake sides.
Variations
Salted Caramel Drip
Swap the chocolate ganache drip for a homemade salted caramel sauce. The sweet-salty combo pairs beautifully with the rich chocolate cake, adding a layer of complexity and a sticky, glossy finish.
Note: Caramel sauce is thinner than ganache; chill the cake before drizzling to prevent excessive running.
Berry Cream Filling
Add a fresh berry compote or whipped cream mixed with mashed berries between the cake layers for a fruity contrast that cuts through the richness of the chocolate.
Note: Ensure the filling is well-chilled and thick to prevent sogginess or sliding layers.
Vegan Chocolate Drip Cake
Use plant-based milk, flax eggs, and coconut oil to make this cake vegan-friendly. Replace heavy cream with full-fat coconut milk for the ganache drip.
Note: Vegan ganache may set differently; chill longer to achieve a good drip consistency.
Espresso Infused
Add 1 tablespoon of instant espresso powder to the boiling water before mixing it into the batter. This enhances the chocolate flavor with a subtle coffee note that deepens the overall taste.
Note: Espresso powder dissolves quickly; make sure it’s fully dissolved to avoid gritty texture.
Nutty Crunch Topping
Sprinkle chopped toasted hazelnuts or almonds on top of the ganache drip before it sets. This adds a crunchy texture and nutty flavor contrast to the smooth chocolate.
Note: Add nuts while ganache is still warm but not hot to ensure they stick without sinking.
Pro Tips
Use room temperature eggs and milk for better batter emulsification.
Cold ingredients can cause the batter to curdle or mix unevenly, resulting in a dense or uneven crumb. Room temperature ingredients blend smoothly, trapping air for a lighter texture.
Don’t overmix the batter once the flour is added.
Overmixing develops gluten, making the cake tough instead of tender. Mix just until combined to keep the crumb soft and moist.
Let the ganache cool slightly before pouring it on the cake.
Hot ganache will be too runny and can melt the frosting or cake layers. Waiting until it thickens slightly ensures controlled drips and a glossy finish.
Chill the cake layers before assembling and adding ganache.
Cold cake layers prevent the ganache from melting or soaking in too quickly, preserving the drip design and texture.
Use a spoon or piping bag to control ganache drips if needed.
Controlling the drip helps achieve a neat look and prevents the ganache from pooling too much on one side.
Sift your dry ingredients to avoid lumps and ensure even mixing.
Lumps of cocoa or flour can cause uneven baking and create dense spots in the cake.
Tap your cake pans after pouring batter to release air bubbles.
Air bubbles can cause holes or tunnels in the cake crumb, affecting texture and appearance.
Common Mistakes to Avoid
Skipping the boiling water step
Why it happens Some people think adding hot water is unusual and skip it, fearing it will ruin the batter.
Fix Don’t skip the boiling water; it’s crucial for blooming the cocoa and achieving moistness. Add it slowly while mixing to ensure proper incorporation without cooking the eggs.
Pouring ganache while it’s too hot
Why it happens Eager to finish, many pour ganache immediately, causing it to run off too quickly.
Fix Let the ganache cool until it’s thickened but still pourable. Test by dripping a spoonful on the cake edge before pouring fully.
Not greasing pans properly
Why it happens Rushing prep leads to uneven greasing or skipping parchment paper.
Fix Grease and flour pans thoroughly or use parchment rounds to prevent sticking and ensure clean cake release.
Overbaking the cake
Why it happens Following baking times blindly without checking doneness.
Fix Start checking at 30 minutes with a toothpick. Remove as soon as it comes out clean or with moist crumbs to keep cake tender.
Mixing dry and wet ingredients too vigorously
Why it happens Trying to make batter perfectly smooth can lead to overmixing.
Fix Mix just until combined after adding dry ingredients to avoid tough cake texture.
Nutrition
Per Serving:
Nutritional values are estimates and may vary based on specific ingredients used.
Storage & Tips
Room Temperature
This cake can safely sit at room temperature for up to 2 days if covered loosely with a cake dome or plastic wrap to prevent drying out.
Refrigerator
Store in an airtight container or cover tightly with plastic wrap for up to 4 days. The ganache may firm up in the fridge; let the cake come to room temperature before serving for best texture.
Freezer
Wrap the cake tightly in plastic wrap and then aluminum foil to freeze for up to 3 months. Thaw in the refrigerator overnight to avoid condensation. Ganache texture remains stable after freezing.
Reheating
If desired, warm slices gently in a microwave for 10-15 seconds or at low oven temperature (300°F) for a few minutes. Avoid overheating as it can melt the ganache or dry the cake. Add a splash of cream if ganache seems dry.
Make Ahead
Bake cake layers up to 2 days in advance and keep wrapped tightly at room temperature. Make ganache fresh on the day of assembly for best drip texture, or prepare ganache 1 day ahead and rewarm gently before use.
FAQ
Can I use butter instead of oil in this recipe?
Yes, but keep in mind butter solidifies at room temperature, which can make the cake less moist and tender than oil-based versions. If you substitute, melt the butter and cool it before mixing to mimic oil’s moisture retention.
What if my ganache is too thick or too thin for dripping?
If it’s too thick, gently warm it in short bursts until pourable but not hot. If too thin, refrigerate for 10-15 minutes to thicken slightly. The right consistency should drip slowly but hold shape on the cake.
Can I make this cake gluten-free?
Absolutely! Replace the all-purpose flour with a gluten-free blend that includes xanthan gum or similar binder. Baking times may vary slightly, so start checking a few minutes earlier.
How do I get the ganache to drip evenly?
Use a spoon or piping bag to apply ganache around the edges, controlling drips. Pour leftover ganache on top and smooth gently. Chilling the cake before dripping helps control the flow.
Can I use milk chocolate instead of semi-sweet?
You can, but milk chocolate has more sugar and milk solids, which makes ganache sweeter and softer. You might need to adjust cream ratios slightly to get the right drip thickness.
Is it okay to freeze the whole assembled cake?
Yes, but wrap it well to prevent freezer burn. Ganache holds up well in the freezer, but texture might be slightly softer after thawing. Thaw slowly in the fridge overnight for best results.
What’s the best way to level cake layers?
Use a serrated knife or cake leveler to trim the domed tops off cooled cakes for flat, even layers. This helps with stable stacking and neat ganache drips.
Can I add frosting under the ganache drip?
Definitely! A thin layer of buttercream or cream cheese frosting adds flavor and helps the ganache stick better. Just chill the frosted cake before adding ganache.
Final Thoughts
I hope you love making this chocolate drip birthday cake as much as I do! It’s a simple way to impress and celebrate — don’t forget to share how yours turns out!