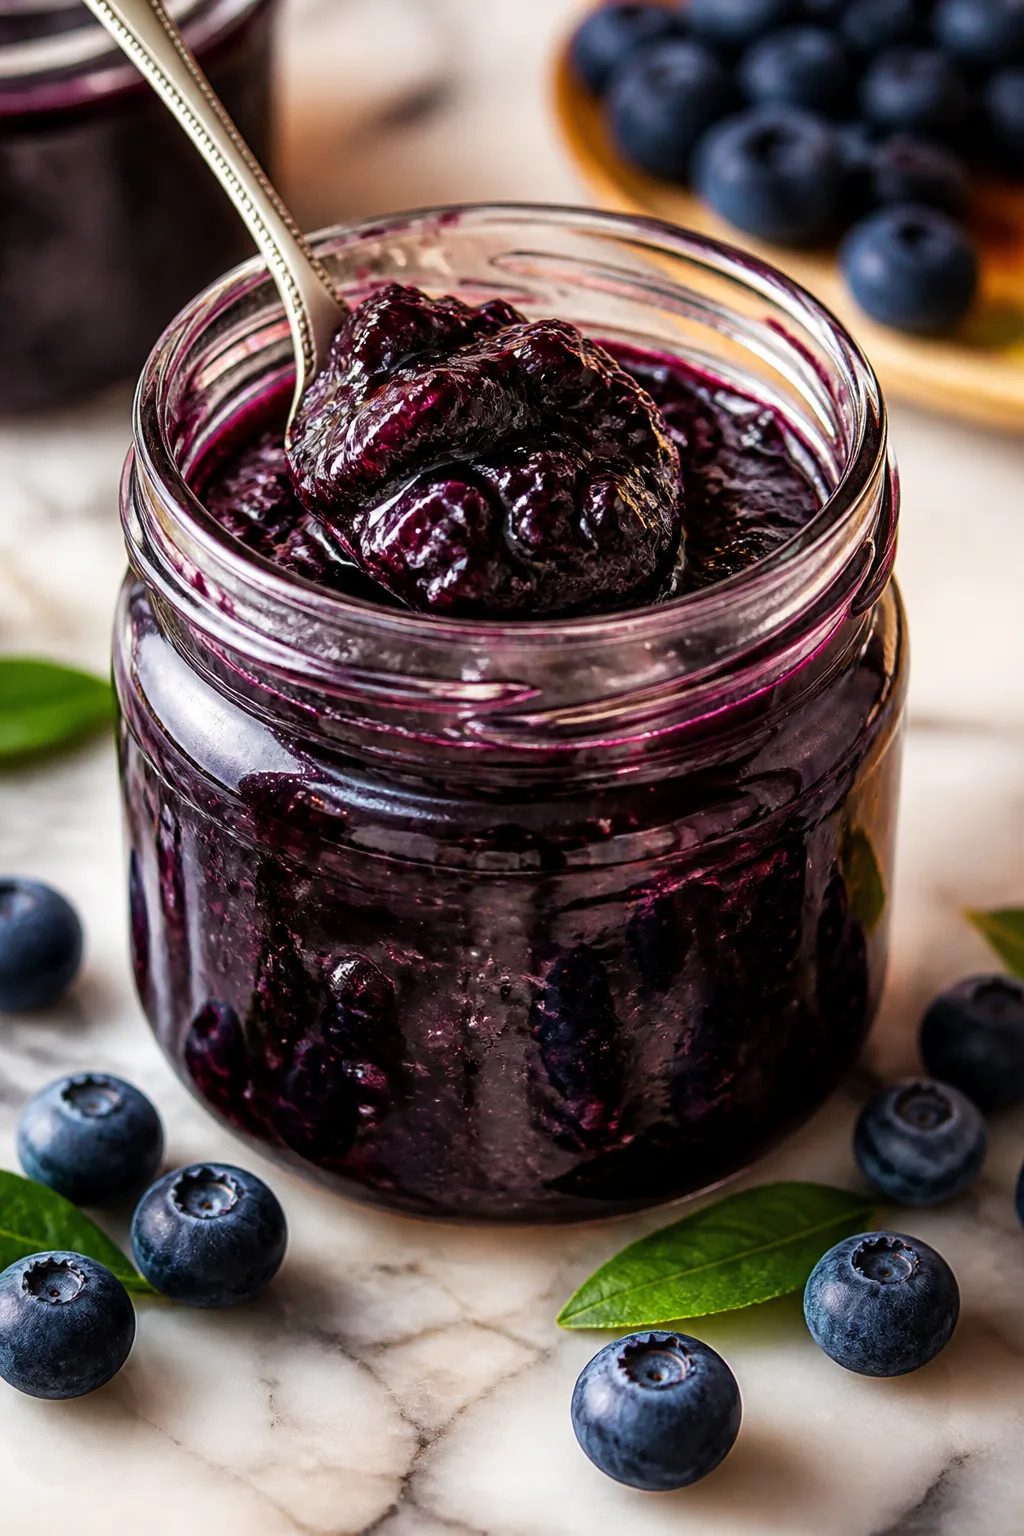
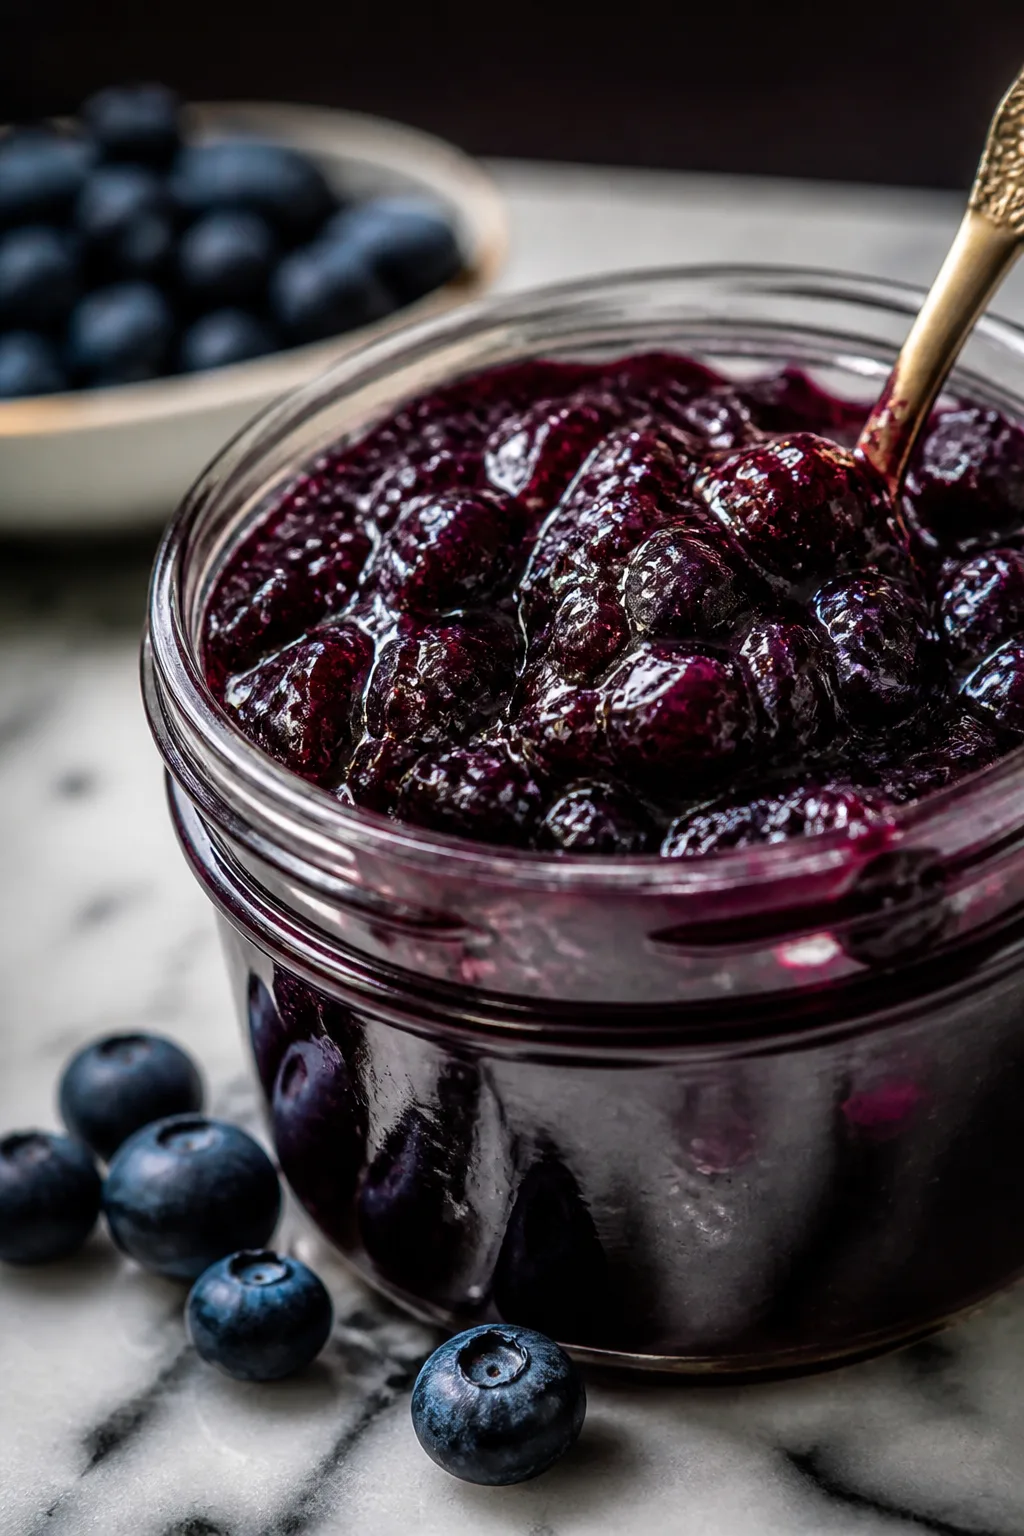
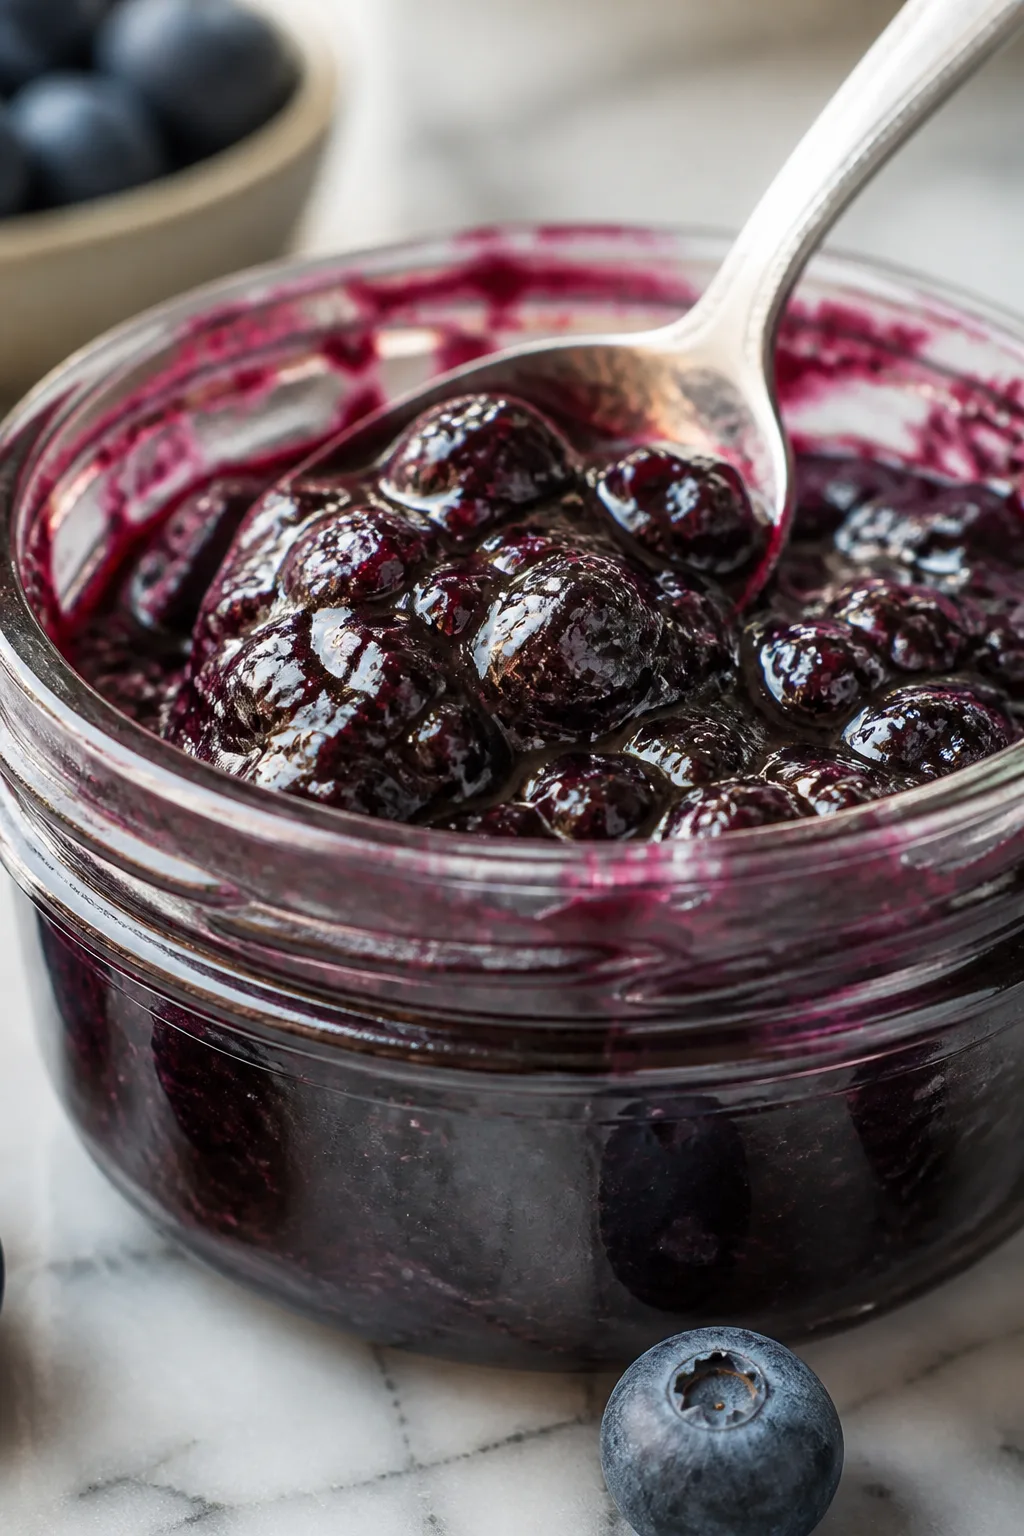
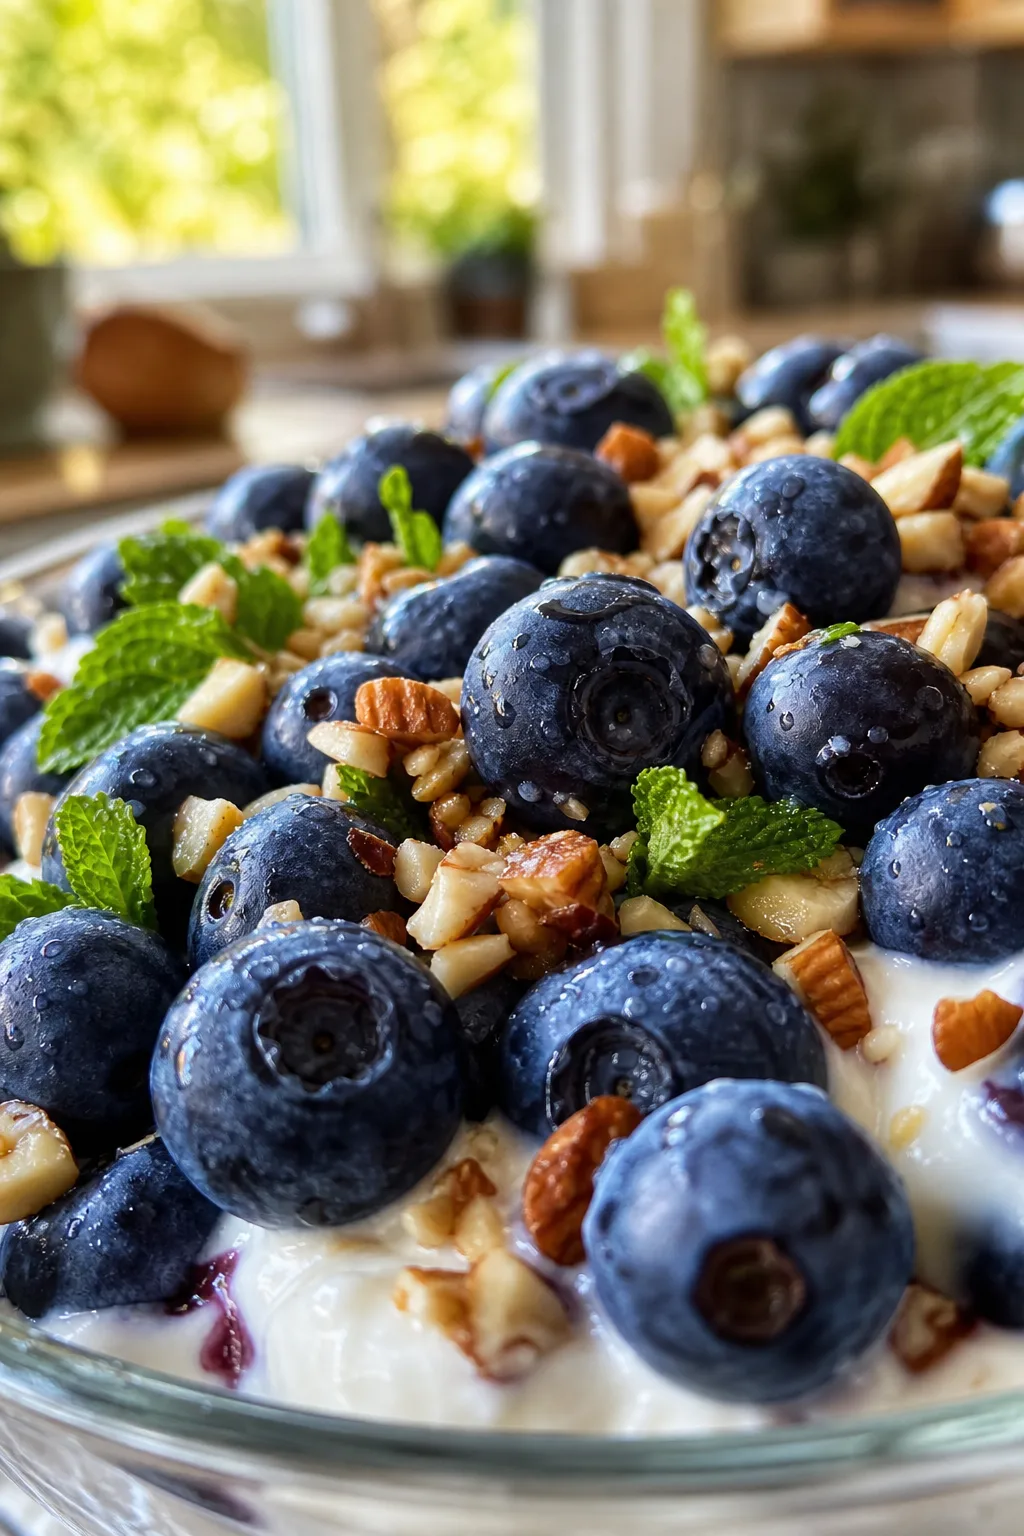
This blueberry jam bursts with fresh berry flavor and a hint of lemon zest that makes it feel like summer all year. I love spooning it over my morning yogurt or spreading it thick on toast. So simple and naturally sweet!
Introduction
I first made this blueberry jam when I had an overabundance of fresh berries from the farmer’s market last summer. I wanted something that really let the berries shine without being too sweet or heavy. Adding lemon zest was a happy accident — it brightens the jam and cuts through the natural sweetness beautifully. I like this version because it’s simple and doesn’t rely on pectin or additives, just pure fruit and sugar. The trick I learned is to gently simmer the berries so they break down naturally, releasing their juices and thickening without burning or becoming too jelly-like. The finished jam is thick but spreadable, with a vibrant color and a fresh, tangy flavor that wakes up any breakfast. It’s perfect spooned over yogurt or slathered on warm toast. Honestly, it’s become a staple in my kitchen and a favorite gift for friends. Making jam feels like capturing a little bit of summer in a jar, and this one gets rave reviews every time!
What You'll Need
Approximately 3 cups, 4 servings
- 4 cups fresh blueberries, rinsed
- 1 1/2 cups granulated sugar
- 2 tablespoons fresh lemon juice
- 1 teaspoon lemon zest
- 1/4 teaspoon salt
How To Do It
Step 1
Start by rinsing the blueberries gently under cold water to remove any dirt or stems. Pat them dry with a clean towel to avoid excess moisture which can dilute the jam. Place the berries in a large, heavy-bottomed saucepan to ensure even heat distribution and prevent scorching during cooking. This step is crucial because fresh, clean berries give the jam its vibrant flavor and color. Avoid washing the berries too far in advance to keep them fresh and firm.
⏱ Time: 10
✓ Doneness: Berries appear plump and clean, ready to cook without excess water pooling.
Step 2
Add the granulated sugar, lemon juice, lemon zest, and salt to the saucepan with the blueberries. Stir gently to combine. Let the mixture sit for about 10 minutes to allow the sugar to start drawing out the juice from the berries. This maceration step helps release natural pectin and flavors, which is key for thickening the jam without added pectin. Rushing this process can result in a thinner jam or uneven sweetness.
⏱ Time: 10
✓ Doneness: You’ll notice the mixture becoming syrupy and the sugar dissolving completely.
Step 3
Place the saucepan over medium heat and bring the mixture to a gentle boil. Stir frequently with a wooden spoon to prevent the jam from sticking to the bottom and burning. The goal is to gently break down the berries and allow the liquid to reduce and thicken. Avoid boiling vigorously as this can cause the jam to become too thick or caramelize the sugars, altering the fresh flavor. Maintain a steady simmer for the best texture.
⏱ Time: 15
✓ Doneness: Jam should bubble gently and thicken; berries will break down visibly.
Step 4
As the jam simmers, use a potato masher or the back of a spoon to crush some of the berries. This releases more juice and helps create a balanced texture with some whole berry pieces remaining for interest. Don’t over-mash; you want a mix of textures to keep it feeling fresh and homemade. This technique is what sets apart a rustic jam from a smooth jelly.
⏱ Time: 5
✓ Doneness: Mixture thickens and has a chunky, spreadable consistency.
Step 5
To test if the jam is ready, place a small spoonful on a chilled plate and tilt it. If the jam wrinkles and doesn’t run off quickly, it’s done. If it’s too runny, continue simmering and test every few minutes. This step is important because jam thickening can vary depending on berry ripeness and sugar content. Be patient and avoid overcooking to preserve fresh flavor and color.
⏱ Time: 5
✓ Doneness: Jam wrinkles on the plate and holds shape when tilted.
Step 6
Once the jam has reached the right thickness, remove the saucepan from heat. Let it cool slightly before transferring to sterilized jars. This cooling period helps the jam set further and prevents steam buildup which can cause jar seals to fail. Always use clean, hot jars to avoid contamination and extend shelf life.
⏱ Time: 5
✓ Doneness: Jam is thick but still pourable and aromatic with fresh lemon notes.
Step 7
Pour the warm jam into sterilized jars, leaving about 1/4 inch of headspace at the top. Seal tightly with lids and let the jars cool to room temperature. You can store the jam in the fridge for immediate use or process in a water bath for longer shelf life. Proper sealing is key to prevent spoilage and maintain freshness.
⏱ Time: 5
✓ Doneness: Jars sealed properly with no leaks or cracks.
Step 8
Label your jars with the date and store in the refrigerator if you plan to use within a few weeks. For long-term storage, process the jars in a boiling water bath for 10 minutes to create a vacuum seal. This step isn’t necessary if you plan to consume the jam quickly but is essential for pantry storage.
⏱ Time: 10
✓ Doneness: Labels are clear; jars are cool and sealed tightly.
Step 9
Before serving, give the jam a good stir to mix any settled fruit and syrup. Spread on warm toast, swirl into yogurt, or use in desserts. The fresh lemon zest will still be noticeable, giving each bite a bright, tangy lift. Enjoy your homemade sunshine in a jar!
⏱ Time: 2
✓ Doneness: Jam is smooth, vibrant, and ready to enjoy.
Variations
Spiced Blueberry Jam with Cinnamon and Clove
Add a small cinnamon stick and 2-3 whole cloves during simmering for a warm, cozy twist on classic blueberry jam. This variation pairs beautifully with toast or cheese plates and adds depth without overpowering the berries.
Note: Remove the whole spices before jarring to avoid gritty texture and bitterness.
Blueberry and Vanilla Bean Jam
Split a vanilla bean and scrape seeds into the jam as it cooks for a rich, aromatic flavor. The vanilla complements the tartness of the blueberries and makes this jam feel extra special.
Note: Simmer gently to preserve the delicate vanilla aroma.
Sugar-Free Blueberry Jam with Honey
Replace granulated sugar with an equal amount of honey for a natural sweetener alternative. The flavor will be slightly different but still deliciously sweet and spreadable, perfect for those avoiding refined sugar.
Note: Honey can caramelize faster, so reduce cooking heat slightly.
Blueberry and Lavender Jam
Infuse the jam with 1 tablespoon of dried culinary lavender buds during cooking for a floral note that’s subtle and sophisticated. Great for pairing with scones or tea time treats.
Note: Strain out lavender buds before bottling to keep texture smooth.
Chunky Blueberry Jam with Whole Berries
Stir in an extra cup of whole blueberries at the end of cooking to add texture and bursts of fresh fruit in every bite. This version feels extra homemade and rustic.
Note: Gently fold in berries to avoid breaking them up.
Pro Tips
Use a heavy-bottomed saucepan to prevent burning.
A thick-bottomed pan distributes heat evenly and reduces the risk of hot spots that can scorch the jam. Burnt sugar or fruit ruins the flavor and color, so this simple equipment choice helps ensure a smooth, delicious result.
Don’t rush the simmering process; low and slow is best.
Cooking the jam gently allows the berries to break down naturally and the sugars to reduce without caramelizing. High heat can cause bitterness and dark color, while too short a cooking time results in runny jam that won’t set properly.
Macerate the berries with sugar before cooking.
Letting the berries sit with sugar for 10-15 minutes draws out juices and starts breaking down the fruit. This releases natural pectin and sweetens the mixture evenly, which is essential for a good gel and balanced flavor.
Test jam thickness on a chilled plate.
The cold plate test shows how the jam will set once cooled. If it wrinkles and doesn’t run off, it’s ready. This simple sensory test is more reliable than timing alone, especially with fruit variability.
Sterilize jars and lids thoroughly before filling.
Proper sterilization prevents bacteria growth and spoilage, extending shelf life and keeping your jam safe and flavorful. Use hot, clean jars and lids for best results.
Add lemon zest finely to avoid bitterness.
Zesting too deeply into the white pith can add a bitter taste. Using a fine grater and only the colorful outer skin ensures a fresh, bright citrus flavor without unwanted bitterness.
Store jam in the fridge if you don’t water bath can.
Refrigeration slows spoilage and keeps the jam fresh up to a few weeks. Water bath canning is needed for long-term shelf stability but isn’t required for immediate use.
Common Mistakes to Avoid
Starting with wet or unwashed berries
Why it happens People often wash berries too far ahead or don’t dry them well, thinking it’s better to clean thoroughly.
Fix Wash berries gently just before cooking and pat dry completely. Excess water dilutes the jam and can prevent proper thickening. Handle berries carefully to avoid bruising.
Boiling the jam too hard
Why it happens In a rush, it’s tempting to crank up the heat to speed cooking.
Fix Maintain a steady simmer instead of a rolling boil. High heat can burn sugars and cause bitterness and dark color. Stir often to prevent sticking.
Skipping the jam thickness test
Why it happens Relying on cooking time alone leads to inconsistent results because fruit and sugar vary.
Fix Use the chilled plate test to check for proper set. If jam is too runny, cook a little longer and retest.
Adding too much lemon zest or pith
Why it happens Trying to get a stronger lemon flavor but accidentally including bitter white pith.
Fix Use a fine zester and only the outer colored peel. Avoid the white underside to keep flavor bright and fresh.
Not sterilizing jars properly
Why it happens Rushing the canning process or skipping sterilization to save time.
Fix Sterilize jars and lids by boiling or using the oven method to prevent spoilage and extend shelf life.
Nutrition
Per Serving:
Nutritional values are estimates and may vary based on specific ingredients used.
Storage & Tips
Room Temperature
Jam can be safely kept at room temperature for up to 12 hours if covered tightly to avoid contamination. However, it’s best to refrigerate soon after opening to preserve freshness.
Refrigerator
Store jam in an airtight container in the refrigerator for up to 3 weeks. The flavor remains fresh but the texture may thicken slightly when cold. Bring to room temperature or warm gently before serving if desired.
Freezer
Jam can be frozen for up to 3 months. Use freezer-safe containers leaving headspace for expansion. Thaw in the refrigerator overnight and stir well before serving to restore texture.
Reheating
If jam becomes too thick after refrigeration, warm gently in a small saucepan over low heat, stirring occasionally. Avoid boiling to preserve fresh flavors. Add a splash of water if needed to loosen consistency.
Make Ahead
You can prepare the jam up to 2 days ahead and store it in sterilized jars in the refrigerator. On serving day, bring jars to room temperature or warm gently to restore spreadability and flavor.
FAQ
Can I use frozen blueberries instead of fresh?
Yes, frozen blueberries work well but usually release more water, so you might need to cook the jam a bit longer to achieve the right thickness. Also, the color may be slightly darker, but flavor remains delicious.
What if my jam doesn’t set?
Jam setting depends on natural pectin, sugar, and acid balance. If it’s too runny, try cooking it longer to reduce more liquid. Adding a bit of commercial pectin or lemon juice can also help improve gel formation.
How do I sterilize jars properly?
Wash jars and lids in hot soapy water, rinse well, then boil them in water for 10 minutes or place in a 225°F oven for 20 minutes. Use tongs to handle hot jars to keep them sterile.
Can I reduce the sugar in this recipe?
Reducing sugar is possible but it affects preservation and texture. Less sugar may result in a thinner jam and shorter shelf life. Consider using a tested low-sugar pectin if you want a less sweet jam.
Why add lemon zest to jam?
Lemon zest adds fresh citrus oils that brighten the flavor and add complexity. It also balances the sweetness naturally without making the jam taste lemony or sour.
How long does homemade jam last?
Unopened and properly sealed jam can last up to a year stored in a cool, dark place. Once opened, keep it refrigerated and consume within 3 weeks for best flavor and safety.
Can I use this jam for baking?
Absolutely! This jam works great as a filling for cakes, pastries, or thumbprint cookies. Its fresh flavor and texture hold up well when baked.
What’s the best way to store leftover jam?
Keep leftover jam refrigerated in a clean, airtight container. Use a clean spoon each time to avoid introducing bacteria that can spoil the jam.
Final Thoughts
I hope you enjoy making and sharing this fresh blueberry jam as much as I do. Don’t forget to tell me how yours turns out—I’d love to hear your jam stories!