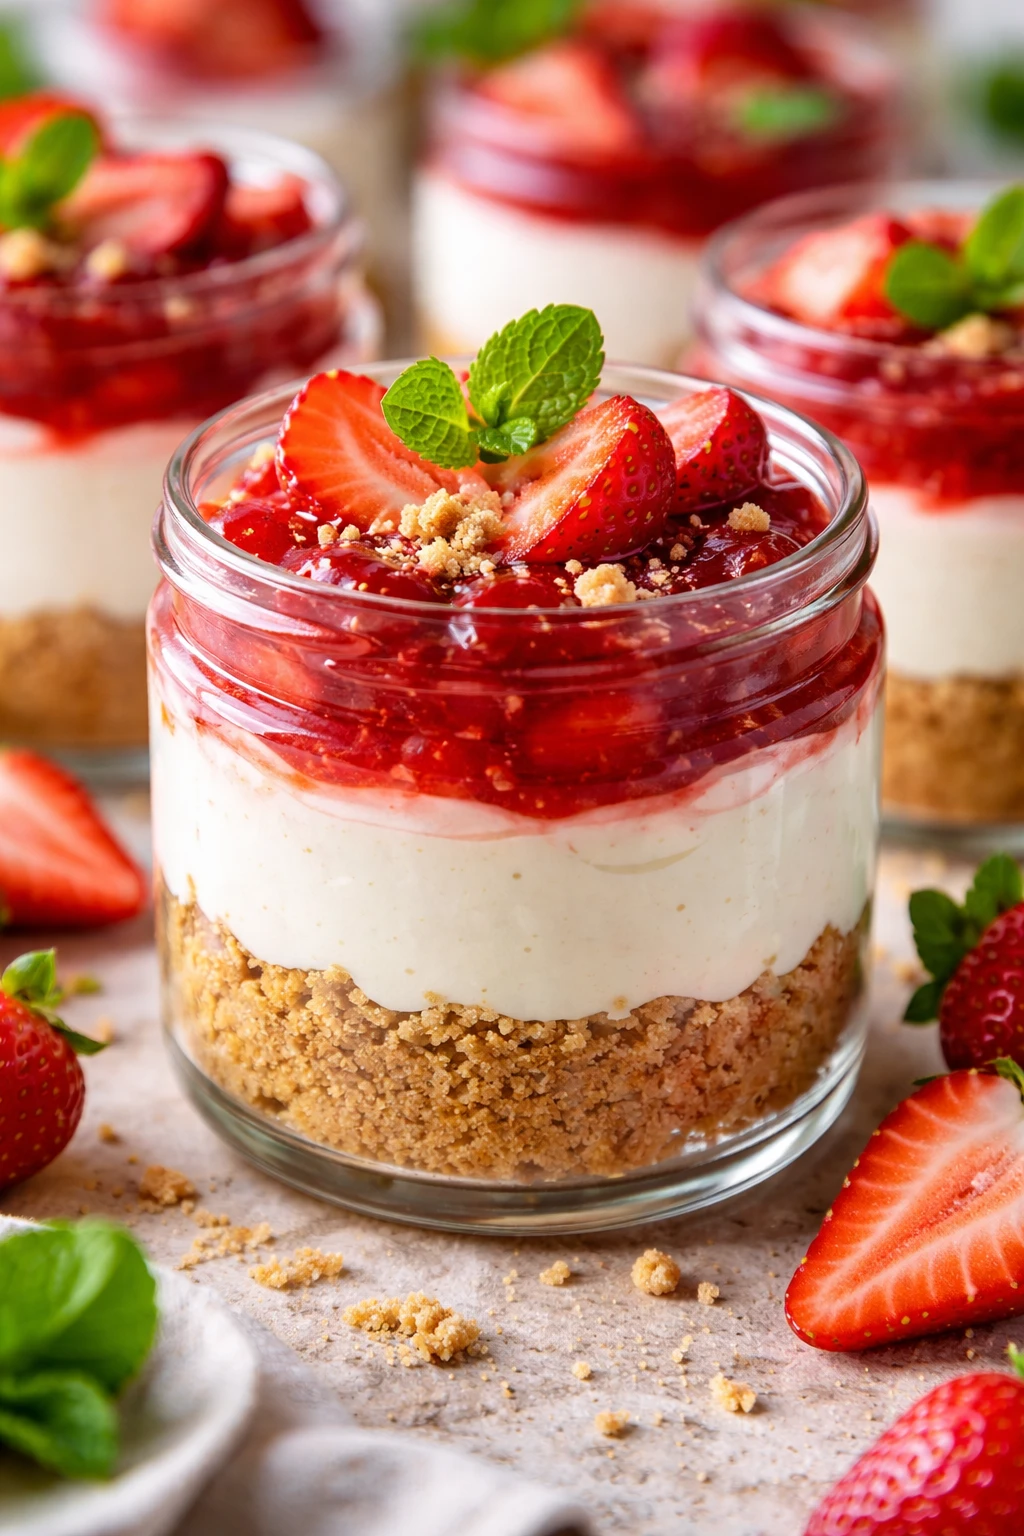
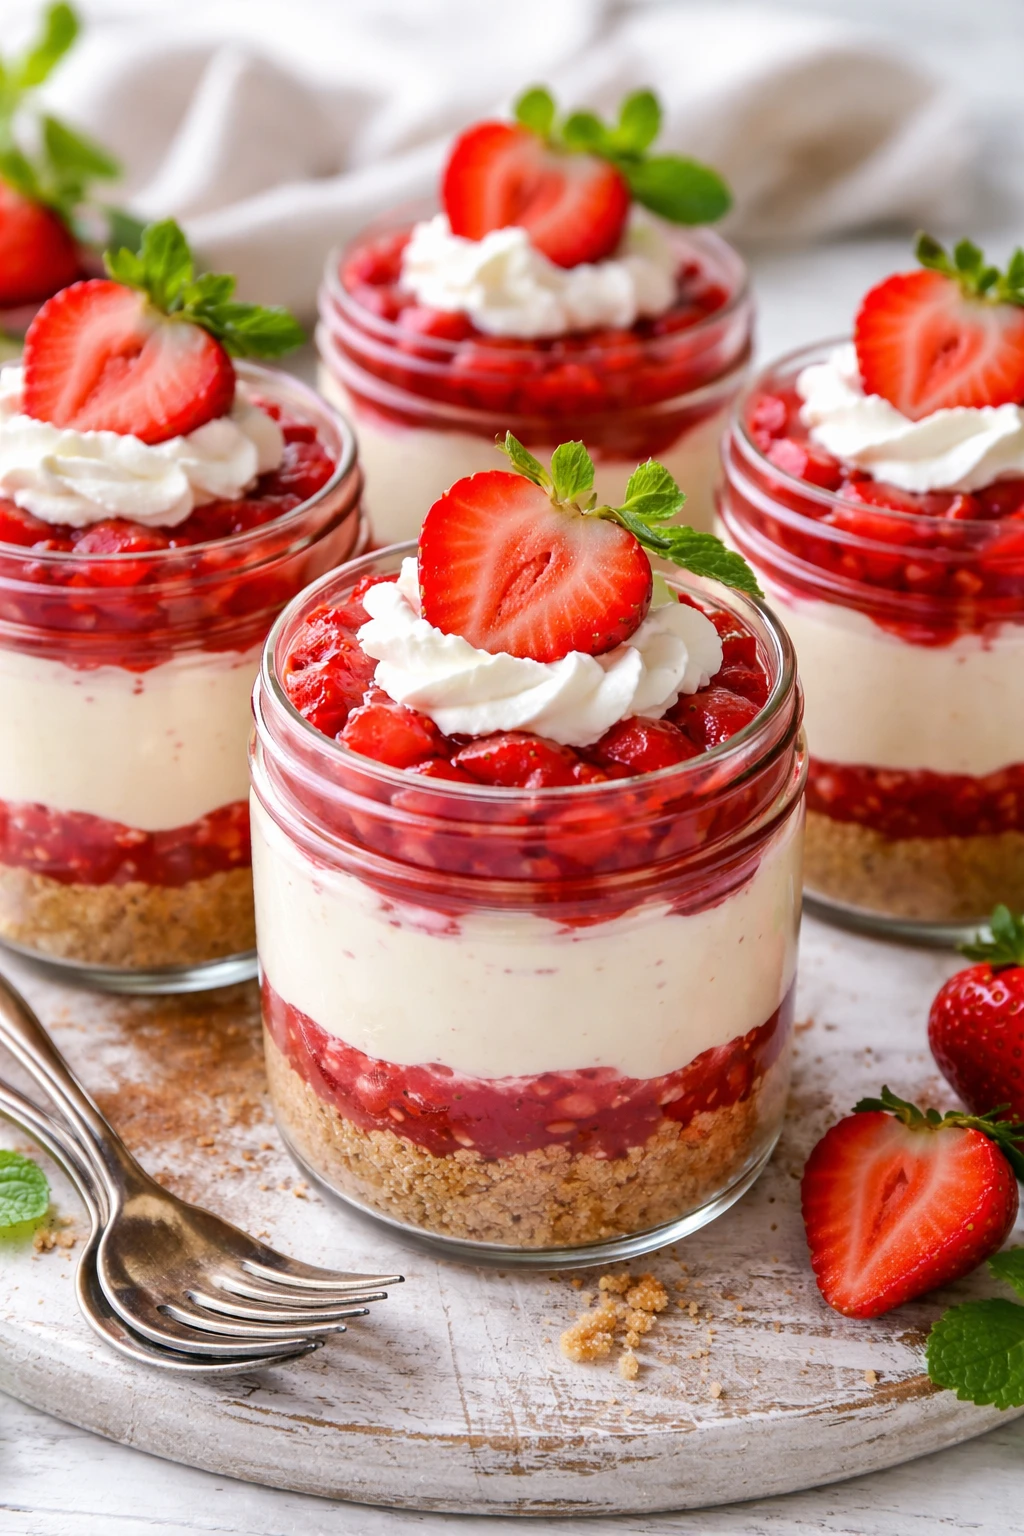
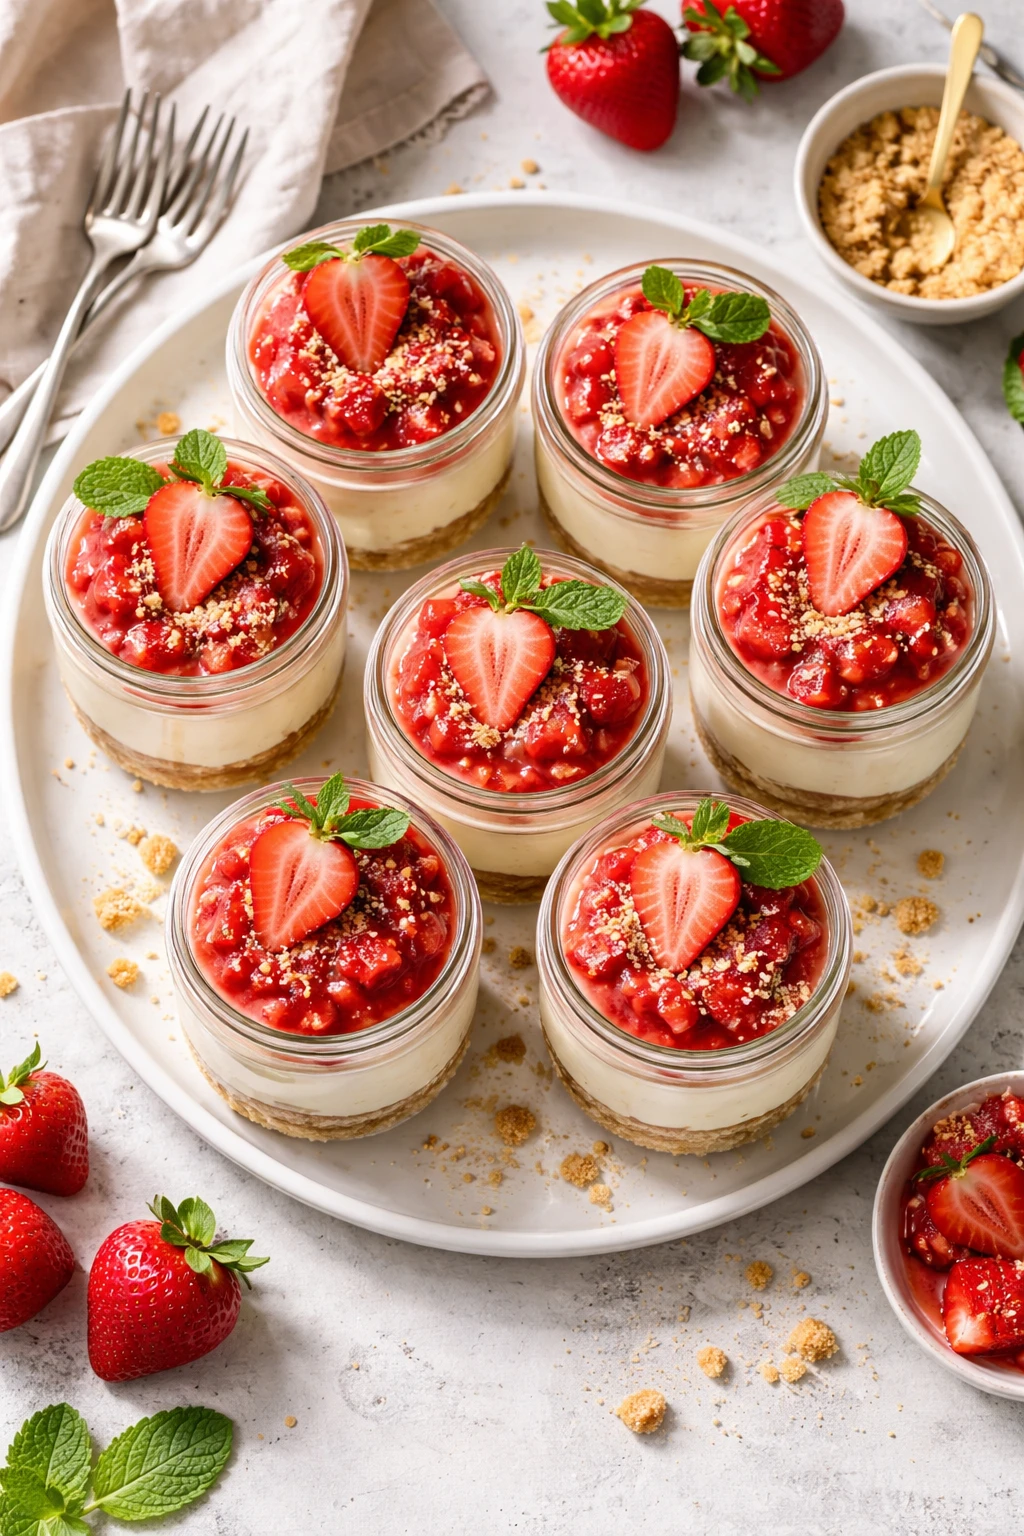
These no bake strawberry cheesecake jars are my go-to summer dessert—super creamy, fresh, and so easy to whip up. The graham cracker crumbs soak up just enough moisture for that perfect texture. Great for parties or a sweet treat anytime!
Introduction
I first stumbled upon this no bake strawberry cheesecake jar recipe one hot summer when I wanted dessert but didn’t want to heat up the kitchen. It’s quickly become a favorite in my family because it’s so light and fresh yet indulgently creamy. What sets this version apart is the quick soak of the graham cracker crumbs in melted butter, which gives just the right amount of moisture without making the crust soggy. Also, whipping the cream cheese with powdered sugar and vanilla until silky smooth before folding in whipped cream creates that perfect fluffy texture. I’ve tried other no bake cheesecakes that turn out dense or overly sweet, but this one balances everything beautifully. The fresh strawberries add a lovely natural sweetness and a pop of color that makes it feel special. The jars are great for serving at summer parties or even just as an easy weeknight treat when you want something sweet but not heavy. Once you make these, you’ll find yourself reaching for this recipe again and again—trust me, it’s a keeper!
What You'll Need
4 individual cheesecake jars
- 1 cup graham cracker crumbs, finely crushed
- 2 tablespoons unsalted butter, melted
- 8 ounces cream cheese, softened
- 1/2 cup powdered sugar
- 1 teaspoon vanilla extract
- 1 cup heavy cream, cold
- 1 cup fresh strawberries, chopped
- Additional whole strawberries for garnish
How To Do It
Step 1
Start by mixing the graham cracker crumbs with the melted butter in a bowl. This step is crucial because the butter binds the crumbs together, creating a crust that holds its shape without baking. Mix until the crumbs are evenly coated and slightly clumpy. Avoid adding too much butter, or the crust will be soggy. The goal is a crumbly but firm texture that becomes the perfect base in the jars.
⏱ Time: 5 minutes
✓ Doneness: Crumbs look evenly moistened and hold together when pressed
Step 2
Divide the crumb mixture evenly among your serving jars and press down gently but firmly with the back of a spoon or your fingers to form a compact base. This pressing step is important because it ensures the crust won’t crumble when you eat it. If you press too lightly, the crust will fall apart; too hard, and it becomes too dense.
⏱ Time: 3 minutes
✓ Doneness: Crust is flat and compacted without gaps or loose crumbs
Step 3
In a large mixing bowl, beat the softened cream cheese using an electric mixer on medium speed until smooth and creamy. This step is key to avoid lumps and achieve that silky texture. Start slow to prevent splattering, then increase speed. If your cream cheese isn’t fully softened, you’ll get clumps that don’t blend well.
⏱ Time: 3-4 minutes
✓ Doneness: Cream cheese is completely smooth with no visible lumps
Step 4
Add the powdered sugar and vanilla extract to the cream cheese and continue beating until fully combined. The powdered sugar sweetens the filling without being grainy, so make sure to sift it if it’s clumpy. Mixing well at this stage ensures a balanced sweetness and smooth consistency.
⏱ Time: 2 minutes
✓ Doneness: Mixture is smooth, glossy, and evenly sweetened
Step 5
In a separate chilled bowl, whip the heavy cream until stiff peaks form. Using cold cream and a chilled bowl is essential here—it helps the cream whip faster and hold its shape. Overwhipping will turn it grainy, so stop as soon as stiff peaks appear.
⏱ Time: 5 minutes
✓ Doneness: Whipped cream holds firm peaks without drooping
Step 6
Gently fold the whipped cream into the cream cheese mixture using a spatula. The folding technique is important to keep the filling light and airy. Use slow, sweeping motions to combine without deflating the whipped cream. If you stir too vigorously, the filling will become dense.
⏱ Time: 3 minutes
✓ Doneness: Filling is light, fluffy, and uniform in color
Step 7
Stir the chopped fresh strawberries into the filling gently, reserving a few for garnish. Adding the berries last prevents them from breaking down and keeps the filling fresh and colorful. If you mix too much, the berries will release juice and make the filling watery.
⏱ Time: 2 minutes
✓ Doneness: Strawberries are evenly distributed without mushiness
Step 8
Spoon the cheesecake filling over the graham cracker crust in each jar, filling them almost to the top. Level the surface with a spatula or the back of a spoon for a clean finish. Filling the jars evenly makes for a pretty presentation and balanced bites.
⏱ Time: 4 minutes
✓ Doneness: Jars are filled uniformly, with smooth, level tops
Step 9
Top each jar with the reserved whole strawberries for garnish. Chill the jars in the refrigerator for at least 2 hours before serving to let the flavors meld and the filling set. This chilling step is crucial for the cheesecake to firm up and develop its signature creamy texture.
⏱ Time: 2 hours minimum
✓ Doneness: Filling is set and firm but still creamy to the touch
Variations
Mixed Berry No Bake Cheesecake Jars
Swap out strawberries for a mix of blueberries, raspberries, and blackberries for a colorful twist. The combination adds complexity and different bursts of sweetness and tartness. Great for berry lovers wanting variety.
Note: Use fresh berries and fold them in gently at the end to avoid releasing extra juice that can thin the filling.
Lemon Zest No Bake Cheesecake
Add 1 tablespoon of fresh lemon zest and 1 tablespoon lemon juice to the cream cheese mixture for a bright, citrusy flavor. This lightens the richness and adds a refreshing note, perfect for spring and summer.
Note: Mix lemon zest and juice into the cream cheese before folding in whipped cream to ensure even flavor distribution.
Chocolate Swirl No Bake Cheesecake Jars
Melt 2 ounces of dark chocolate and swirl it gently into the filling before spooning into jars. Chocolate adds richness and a beautiful marbled effect, elevating the dessert for special occasions.
Note: Allow the melted chocolate to cool slightly so it doesn’t melt the whipped cream when folding.
Vegan No Bake Strawberry Cheesecake
Use vegan cream cheese and coconut cream whipped to stiff peaks instead of heavy cream. The crust can be made with vegan butter or coconut oil. This version is dairy-free but still creamy and delicious.
Note: Chill coconut cream overnight and scoop the solid part for whipping to mimic heavy cream texture.
Peanut Butter No Bake Cheesecake Jars
Add 1/4 cup creamy peanut butter to the cream cheese mixture for a nutty twist. Pair with chopped peanuts on top for crunch. This variation is indulgent with a rich, savory-sweet flavor.
Note: Warm peanut butter slightly to soften before mixing to ensure smooth incorporation.
Pro Tips
Make sure the cream cheese is fully softened before mixing.
Softened cream cheese blends smoothly with powdered sugar and vanilla, preventing lumps. If it’s too cold, you’ll get clumps that don’t dissolve, resulting in a grainy texture and uneven sweetness.
Use cold heavy cream and chill your mixing bowl before whipping.
Cold cream whips faster and holds peaks longer, which is essential for a fluffy filling. A warm bowl or cream will take longer to whip and won’t hold stiff peaks, making the filling dense.
Fold whipped cream gently into the cream cheese mixture.
Folding preserves the air incorporated into the whipped cream. Stirring or beating aggressively will deflate it, resulting in a dense, heavy cheesecake instead of a light and airy one.
Press the graham cracker crust firmly into the jars.
Firm pressing compacts the crumbs so the crust sets well and doesn’t crumble when eaten. Lightly pressed crumbs won’t hold together, making the dessert messy and less enjoyable.
Chill the jars for at least 2 hours before serving.
Chilling allows the butter in the crust to solidify and the filling to firm up. Serving too soon means the cheesecake will be runny and lack the creamy texture cheesecake is known for.
Reserve some strawberries for garnish on top.
Garnishing adds a beautiful fresh touch and a pop of color, making the dessert more inviting. It also gives a hint of what’s inside and adds a fresh burst of flavor in every bite.
Use powdered sugar instead of granulated sugar.
Powdered sugar dissolves completely into the filling, ensuring a smooth texture. Granulated sugar would remain grainy and disrupt the creaminess of the cheesecake.
Common Mistakes to Avoid
Using cold cream cheese without softening
Why it happens Many assume cream cheese can be mixed straight from the fridge, but this causes lumps.
Fix Let cream cheese sit at room temperature for 30-60 minutes until soft. You can speed this up by microwaving in short bursts (5-10 seconds) but be careful not to melt it.
Overwhipping the cream
Why it happens Beginners sometimes think stiffer is better and whip past peaks.
Fix Stop whipping as soon as stiff peaks form. If you go further, the cream will turn grainy and start separating into butter and liquid, ruining the texture.
Not pressing the crust firmly
Why it happens People often just sprinkle crumbs loosely, thinking it’s fine.
Fix Use the back of a spoon or fingers to press crumbs firmly into the jar. This compacts the crust and prevents it from falling apart when eating.
Mixing berries too early
Why it happens Adding berries too soon causes them to break down and release juice.
Fix Fold strawberries in gently at the end, right before filling jars, to keep the filling fresh and prevent watery texture.
Skipping the chilling step
Why it happens Impatience or lack of planning leads to serving immediately.
Fix Plan ahead and chill for at least 2 hours to let the filling set and flavors meld. This results in a creamy, firm cheesecake texture.
Nutrition
Per Serving:
Nutritional values are estimates and may vary based on specific ingredients used.
Storage & Tips
Room Temperature
These cheesecake jars should not be left at room temperature for more than 2 hours due to dairy content. Always cover them with lids or plastic wrap if you need to keep them out briefly.
Refrigerator
Store the jars in an airtight container or covered with lids in the fridge for up to 3 days. The crust stays crisp and the filling maintains its creamy texture. Serve chilled for best taste.
Freezer
Freeze the jars for up to 1 month. Wrap each jar tightly with plastic wrap and then foil to prevent freezer burn. Thaw overnight in the fridge before serving. Texture may slightly soften but still delicious.
Reheating
No reheating needed—serve chilled. If you prefer, let sit at room temperature for 10-15 minutes before eating to soften the filling slightly.
Make Ahead
Prepare the crust and filling 1-2 days ahead and assemble the jars just before chilling. Alternatively, assemble fully and chill overnight to save time on serving day.
FAQ
Can I use regular sugar instead of powdered sugar?
Powdered sugar dissolves better and keeps the filling smooth. Using regular sugar might leave a grainy texture because it doesn’t dissolve completely in the cream cheese mixture. If you only have granulated sugar, try processing it in a blender to make it finer before using.
How long do these cheesecake jars last in the fridge?
They keep well for up to 3 days when stored in airtight containers. After that, the crust may start to soften and the filling texture can change. For best taste and texture, enjoy within the first two days.
Can I make these jars ahead and freeze them?
Yes, you can freeze the assembled jars for up to one month. Wrap them tightly to prevent freezer burn. Thaw overnight in the fridge before serving. The texture might be slightly softer but still tasty. Avoid freezing if you plan to garnish with fresh strawberries.
Is it okay to use frozen strawberries?
Frozen strawberries release extra moisture when thawed, which can make the filling watery. If you must use frozen, drain them well and pat dry before folding into the filling. Fresh berries are best for texture and flavor.
How can I make the crust less crumbly?
Be sure to press the crust firmly into the jars and use enough melted butter to bind the crumbs. If the crust is too crumbly, add a little more melted butter next time, but don’t overdo it or it will become soggy.
Can I use low-fat cream cheese or heavy cream?
Low-fat versions often contain stabilizers and water that affect texture, making the filling less creamy and more watery. For the best results, use full-fat cream cheese and heavy cream to achieve that rich, smooth consistency.
Why is my filling dense and not fluffy?
It’s usually caused by overmixing after adding whipped cream, which deflates the air bubbles. Always fold in whipped cream gently and stop mixing as soon as it’s combined to keep the filling light.
Can I make this recipe vegan?
Yes, swap cream cheese for vegan cream cheese and heavy cream for chilled coconut cream whipped to stiff peaks. Use vegan butter or coconut oil for the crust. The texture will be slightly different but still delicious and creamy.
Final Thoughts
Give these no bake strawberry cheesecake jars a try—you’ll love how fresh and creamy they are! Don’t forget to share your creations with me, I can’t wait to see your takes on this summer favorite.