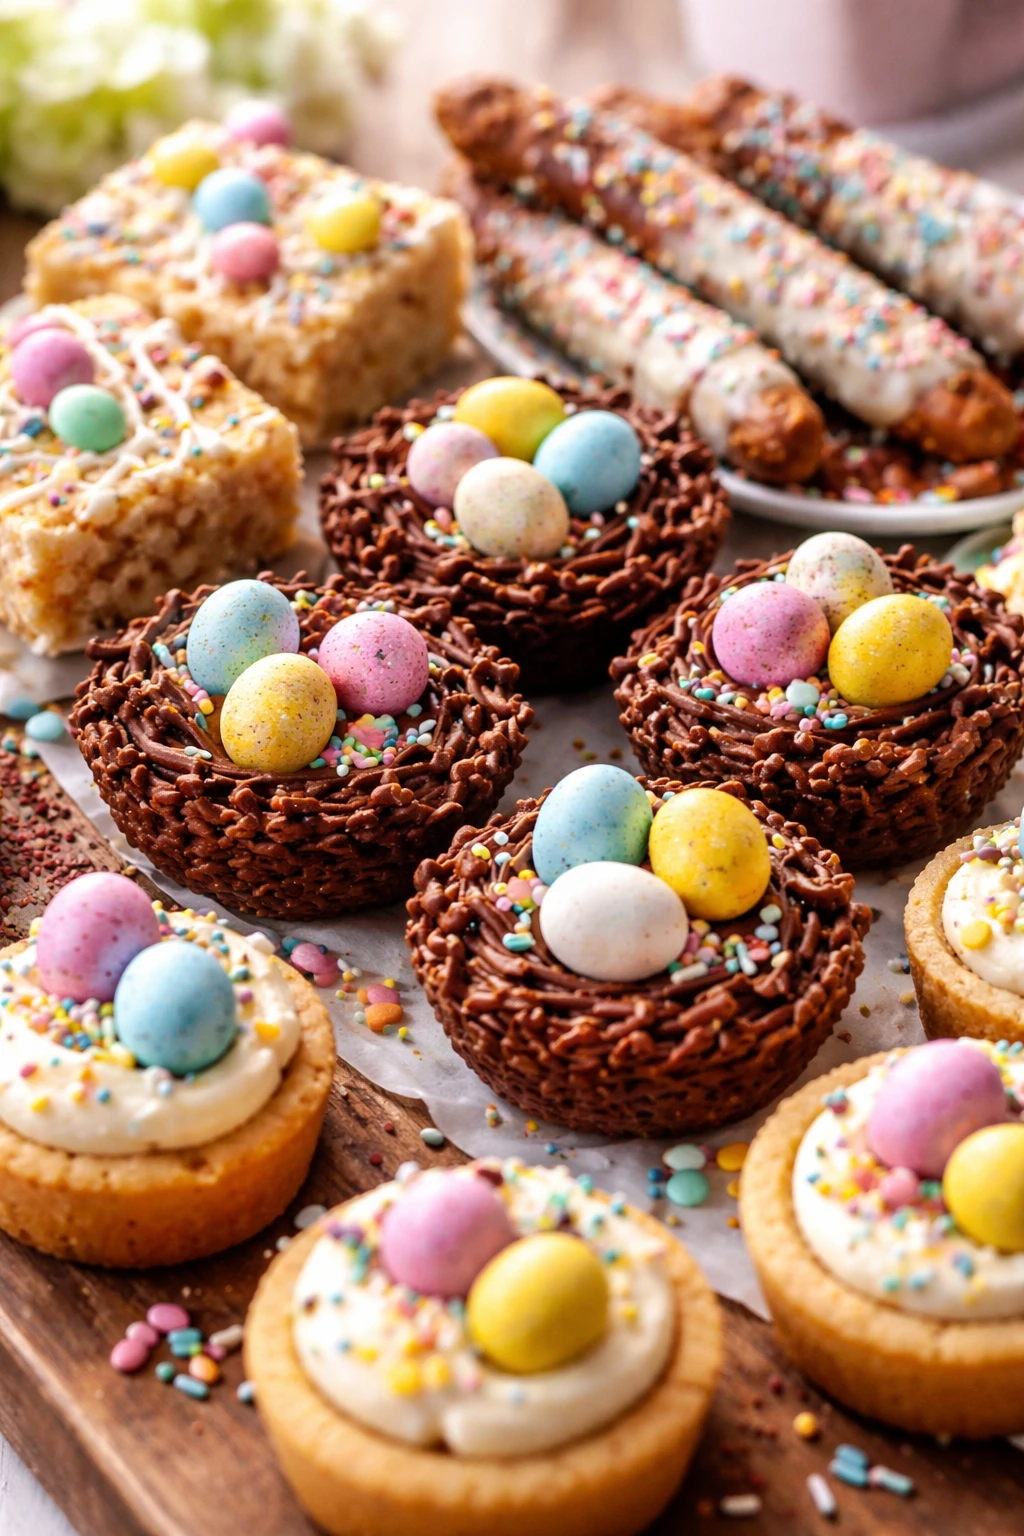
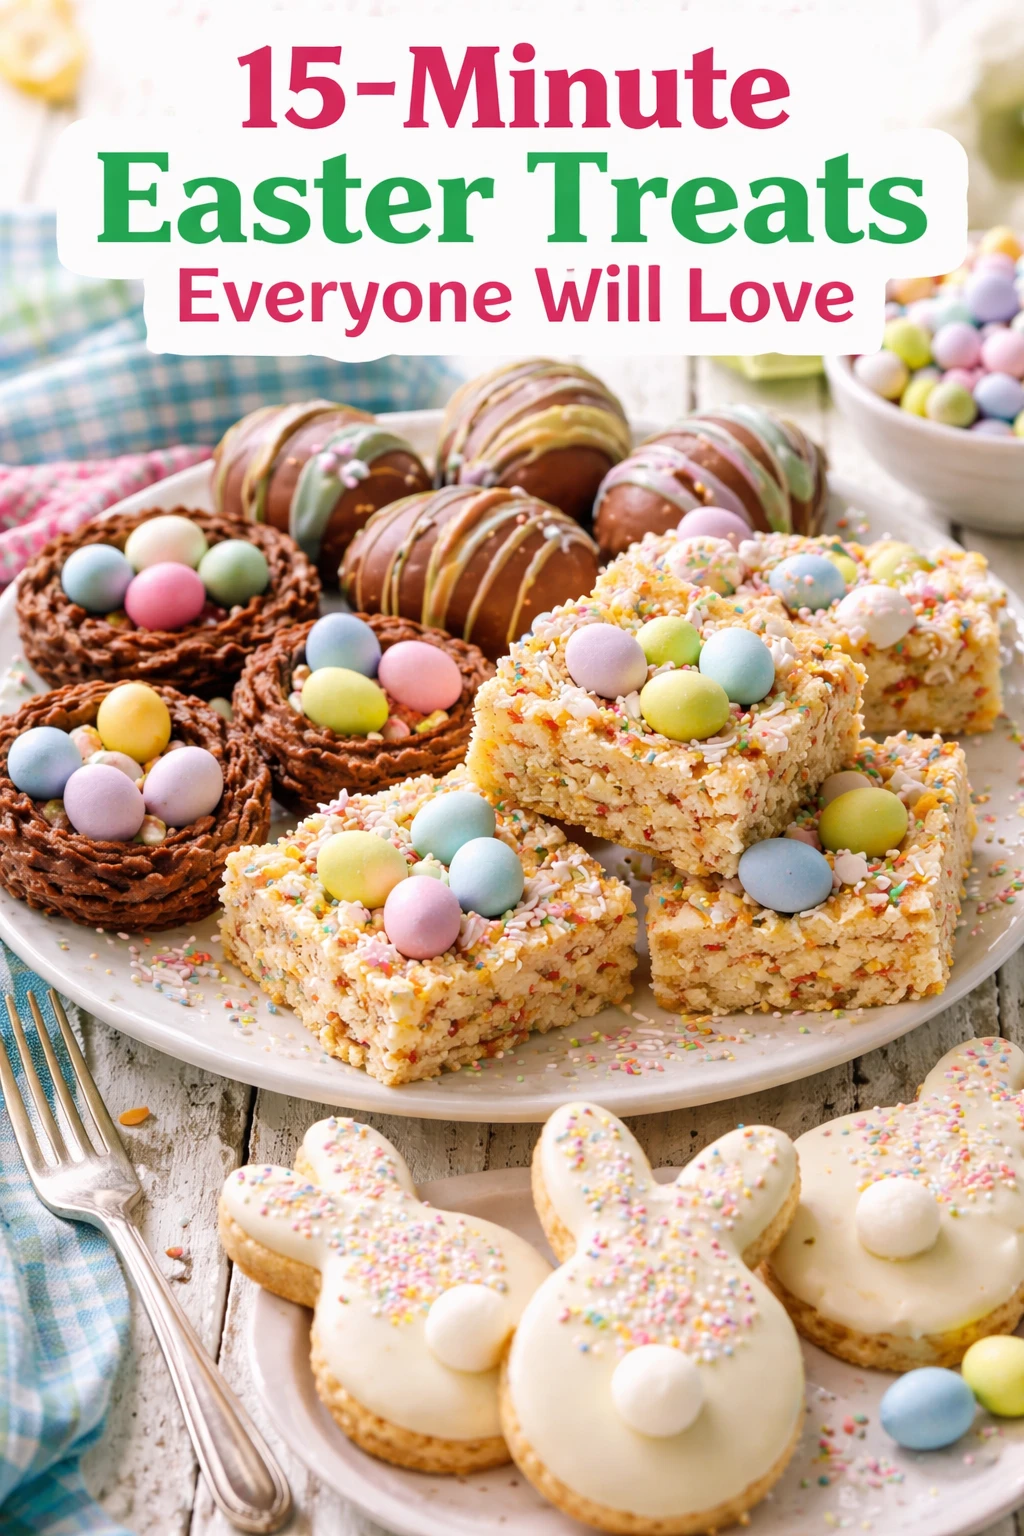
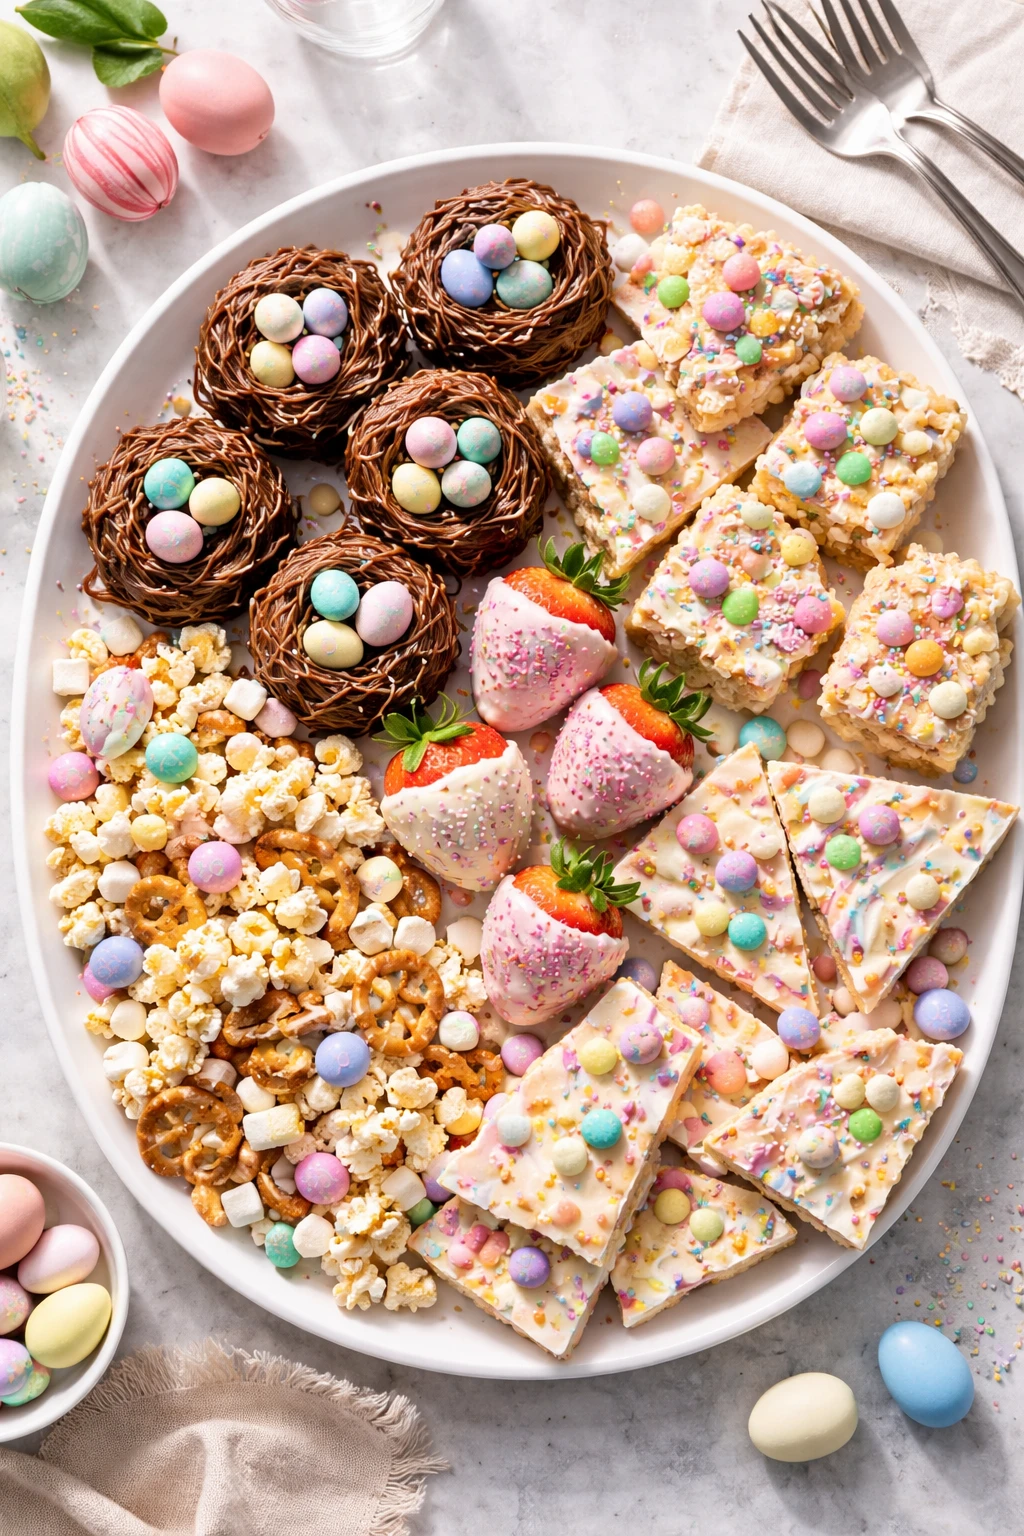
These Easter treats whip up fast with simple ingredients and cheerful colors. Perfect for last-minute celebrations or family fun, they bring a sweet festive vibe to your table in no time.
Introduction
I first made these Easter treats when I realized I forgot to prepare something festive for a last-minute family gathering. Honestly, I didn’t expect much, but they turned out to be a hit! What I love about this recipe is how simple and quick it is — you only need a few ingredients and about 15 minutes. The secret is melting the marshmallows just right with butter to get that perfect sticky texture that holds the cereal together without making it soggy. Plus, adding vanilla gives a subtle warmth that makes the treats taste homemade, not store-bought. The colorful sprinkles or little edible decorations make them look festive and fun, perfect for kids to help decorate. They’re light, crunchy, and sweet — great as a snack or dessert during Easter brunch or an afternoon party. I think you’ll find this recipe super handy when you want something cheerful but don’t want to fuss over complicated baking. Just a quick mix, some playful decorating, and you’re set for a joyful holiday treat!
How To Do It
Step 1
Start by melting the butter in a large saucepan over low heat. Low heat is key here to prevent the butter from browning or burning, which would affect the flavor. Once melted, add the mini marshmallows and stir gently but continuously. The marshmallows will begin to melt and become gooey — don’t rush this step because uneven melting can cause lumps. Stir until you have a smooth, sticky mixture. This marshmallow base acts like glue for the cereal, so it’s important it’s fully melted but not overheated.
⏱ Time: 5
✓ Doneness: The mixture should be glossy and smooth with no visible marshmallow lumps.
Step 2
Remove the pan from heat and stir in the vanilla extract. This adds a lovely depth to the sweetness and balances the flavors. Next, immediately add the crispy rice cereal and fold it in gently but thoroughly. Make sure every piece is coated with the marshmallow mixture to help the treats hold their shape. If you mix too roughly, the cereal can crush and make the texture dense instead of light and airy.
⏱ Time: 2
✓ Doneness: The cereal should look evenly coated and slightly glossy without clumps.
Step 3
Transfer the mixture into a buttered or parchment-lined square pan. Use a spatula to press it down evenly but don’t compact it too much, or the treats will be too dense. The goal is to keep some airiness for a nice crunch. Pressing firmly also helps the treats hold together once cooled. If you skip this step, they might fall apart when cut.
⏱ Time: 3
✓ Doneness: The surface should be smooth and evenly pressed with no gaps.
Step 4
While the mixture is still warm, sprinkle your colorful decorations or sprinkles on top. Press them lightly into the surface so they stick but don’t crush the treats. This is where you can get creative — I love using pastel-colored sprinkles or small candy eggs for Easter vibes. Waiting too long to add them means they won’t adhere well.
⏱ Time: 2
✓ Doneness: Decorations look evenly distributed and gently embedded on top.
Step 5
Let the treats cool at room temperature for about 30 minutes or until firm. Cooling is important because it allows the marshmallow mixture to set and bind everything together. If you try to cut them too soon, they’ll be sticky and fall apart. You can also pop them in the fridge to speed up the process, but letting them cool naturally gives the best texture.
⏱ Time: 30
✓ Doneness: The treats feel firm to the touch and hold their shape when lifted.
Step 6
Once cooled, use a sharp knife to cut into squares or fun shapes. Clean your knife between cuts to prevent sticking and get neat edges. If you want to get creative, use cookie cutters to make Easter-themed shapes like bunnies or eggs. Just press gently to avoid breaking the treats.
⏱ Time: 5
✓ Doneness: Cuts should be clean with minimal crumbling.
Step 7
Serve immediately or store in an airtight container at room temperature. These treats hold up well for a couple of days but are best fresh for maximum chewiness and crispness. If they get a bit hard, you can microwave them for a few seconds to soften.
⏱ Time: 1
✓ Doneness: Treats remain firm but chewy when served.
Step 8
To mix things up, try folding in mini chocolate chips or chopped nuts with the cereal for extra texture and flavor. Add these only after mixing in the vanilla but before pressing into the pan. This adds a fun surprise inside each bite without complicating the recipe.
⏱ Time: 1
✓ Doneness: Add-ins are evenly distributed without sinking.
Step 9
For a gluten-free version, ensure you use certified gluten-free crispy rice cereal. This swap doesn’t change the method but lets everyone enjoy these festive treats safely. Always check the label to avoid hidden gluten.
⏱ Time: 1
✓ Doneness: Texture and appearance remain consistent with original recipe.
Variations
Chocolate Chip Easter Treats
Fold mini chocolate chips into the cereal mixture before pressing into the pan. This adds bursts of melty chocolate flavor and a bit of texture contrast that kids love.
Note: Add chips off heat to prevent melting them completely and altering the texture.
Peanut Butter Marshmallow Treats
Stir in 1/2 cup creamy peanut butter with the melted butter and marshmallows for a nutty twist. These treats have a richer flavor and a slightly denser texture but stay soft and chewy.
Note: Mix peanut butter in thoroughly to ensure even flavor and consistency.
Gluten-Free Crispy Treats
Use certified gluten-free crispy rice cereal to make these safe for gluten-sensitive guests. The texture and flavor remain the same, making it an easy swap.
Note: Check labels carefully to avoid cross-contamination.
Vegan Easter Treats
Replace butter with coconut oil and use vegan marshmallows. This keeps the recipe plant-based while maintaining the sticky, chewy texture and festive look.
Note: Vegan marshmallows melt slightly differently, so melt gently and stir continuously.
Fruit-Infused Easter Treats
Add dried cranberries or chopped dried apricots for a chewy, tangy surprise. This variation adds natural sweetness and a little color contrast.
Note: Fold fruit in after mixing cereal to avoid sogginess.
Pro Tips
Use low heat when melting marshmallows and butter to avoid scorching.
Marshmallows contain sugar that can burn easily at high temperatures, leading to a bitter taste and grainy texture. Low heat ensures smooth melting and a glossy mixture that binds the cereal well.
Press the mixture firmly but not too hard into the pan.
Pressing evenly helps the treats hold together, but over-compressing crushes the cereal, resulting in dense, hard treats. The right amount of pressure maintains lightness and crunch.
Add vanilla extract after removing from heat.
Vanilla’s delicate aroma compounds evaporate at high heat, so adding it off-heat preserves flavor, giving the treats a richer, homemade taste.
Use a buttered spatula or parchment paper to press and smooth the mixture.
This prevents sticking and helps achieve a smooth surface for even cutting and decorating, improving presentation and ease of handling.
Cool treats completely before cutting.
Cutting warm treats leads to stickiness and crumbling. Cooling allows the marshmallow matrix to set, making neat, clean cuts easier.
Clean your knife between cuts to avoid sticking.
Sticky marshmallow residue on the knife causes rough edges and tearing. Wiping the blade keeps cuts smooth and attractive.
Use fresh marshmallows for best melting and texture.
Stale marshmallows dry out and don’t melt evenly, resulting in a lumpy or grainy mixture that won’t bind the cereal properly.
Common Mistakes to Avoid
Melting marshmallows on high heat.
Why it happens People often rush melting to save time, not realizing marshmallows burn quickly.
Fix Melt marshmallows on low heat, stirring constantly. This prevents burning and ensures a smooth, sticky base essential for binding.
Pressing the mixture too hard in the pan.
Why it happens Trying to compact the treats for firmness can crush the cereal.
Fix Press gently but firmly, just enough to hold the shape without crushing. This keeps treats light and crunchy.
Cutting treats before they cool.
Why it happens Impatience or wanting to serve immediately leads to sticky, crumbly pieces.
Fix Allow at least 30 minutes to cool fully at room temperature. If in a hurry, chill briefly in the fridge.
Skipping vanilla extract.
Why it happens Sometimes it’s overlooked as optional, but it adds important flavor depth.
Fix Add vanilla off-heat to enhance overall taste and give a homemade touch.
Using stale or old marshmallows.
Why it happens People use what’s on hand without checking freshness.
Fix Use fresh, soft marshmallows for smooth melting and better texture. If marshmallows are stale, the mixture may be lumpy.
Nutrition
Per Serving:
Nutritional values are estimates and may vary based on specific ingredients used.
Storage & Tips
Room Temperature
These treats keep well at room temperature for up to 2 days if stored in an airtight container. Avoid leaving them uncovered as they can dry out or become sticky from humidity.
Refrigerator
Store in an airtight container for up to 5 days. Refrigeration can make them firmer and slightly less chewy, so bring to room temperature before serving for best texture.
Freezer
Freeze treats wrapped tightly in plastic wrap and stored in a freezer bag for up to 2 months. To thaw, leave at room temperature for 30-60 minutes. Avoid microwaving frozen treats as it can affect texture.
Reheating
If treats become hard, microwave for 10-15 seconds to soften. Avoid overheating or they’ll become too sticky and lose shape. A splash of milk can help restore softness if needed.
Make Ahead
You can prepare the marshmallow mixture and cereal up to one day ahead, pressing it into the pan and storing it covered in the fridge. Add decorations just before serving to keep them fresh and colorful.
FAQ
Can I use regular-sized marshmallows instead of mini ones?
Yes, but you’ll need to chop regular marshmallows into smaller pieces for even melting. Mini marshmallows melt more quickly and evenly, which helps achieve the right sticky texture without lumps.
How do I prevent the treats from sticking to my hands when pressing?
Lightly butter your hands or use a piece of parchment paper to press the mixture. This prevents sticking and helps you press evenly without ruining the texture.
Can I add food coloring to the marshmallow mixture?
Yes, you can add a few drops of food coloring to the melted marshmallows before mixing in the cereal. Stir quickly and thoroughly for even color, but avoid adding too much liquid as it can affect texture.
What’s the best way to store leftovers?
Store leftovers in an airtight container at room temperature for up to 2 days, or in the fridge for up to 5 days. Keep them sealed to prevent drying out or becoming sticky.
Can I make these treats nut-free?
Absolutely! This recipe is naturally nut-free as long as you use nut-free cereal and decorations. Always check labels if allergies are a concern.
How do I keep the sprinkles from melting or bleeding color?
Add sprinkles right after pressing the mixture while it’s warm but not hot. This helps them stick without melting. Avoid using decorations that aren’t heat-stable to prevent color bleeding.
Can I add nuts or chocolate chips?
Yes, fold in mini chocolate chips or chopped nuts after mixing in the vanilla and before pressing. This adds texture and flavor without changing the basic method.
What should I do if the marshmallows don’t melt smoothly?
Make sure you’re using low heat and stirring constantly. If lumps remain, remove from heat and keep stirring off-heat as residual warmth melts them. Avoid overheating to prevent graininess.
Final Thoughts
Give these quick Easter treats a try for your next celebration — they’re easy, fun, and sure to bring smiles! Don’t forget to share how yours turned out.