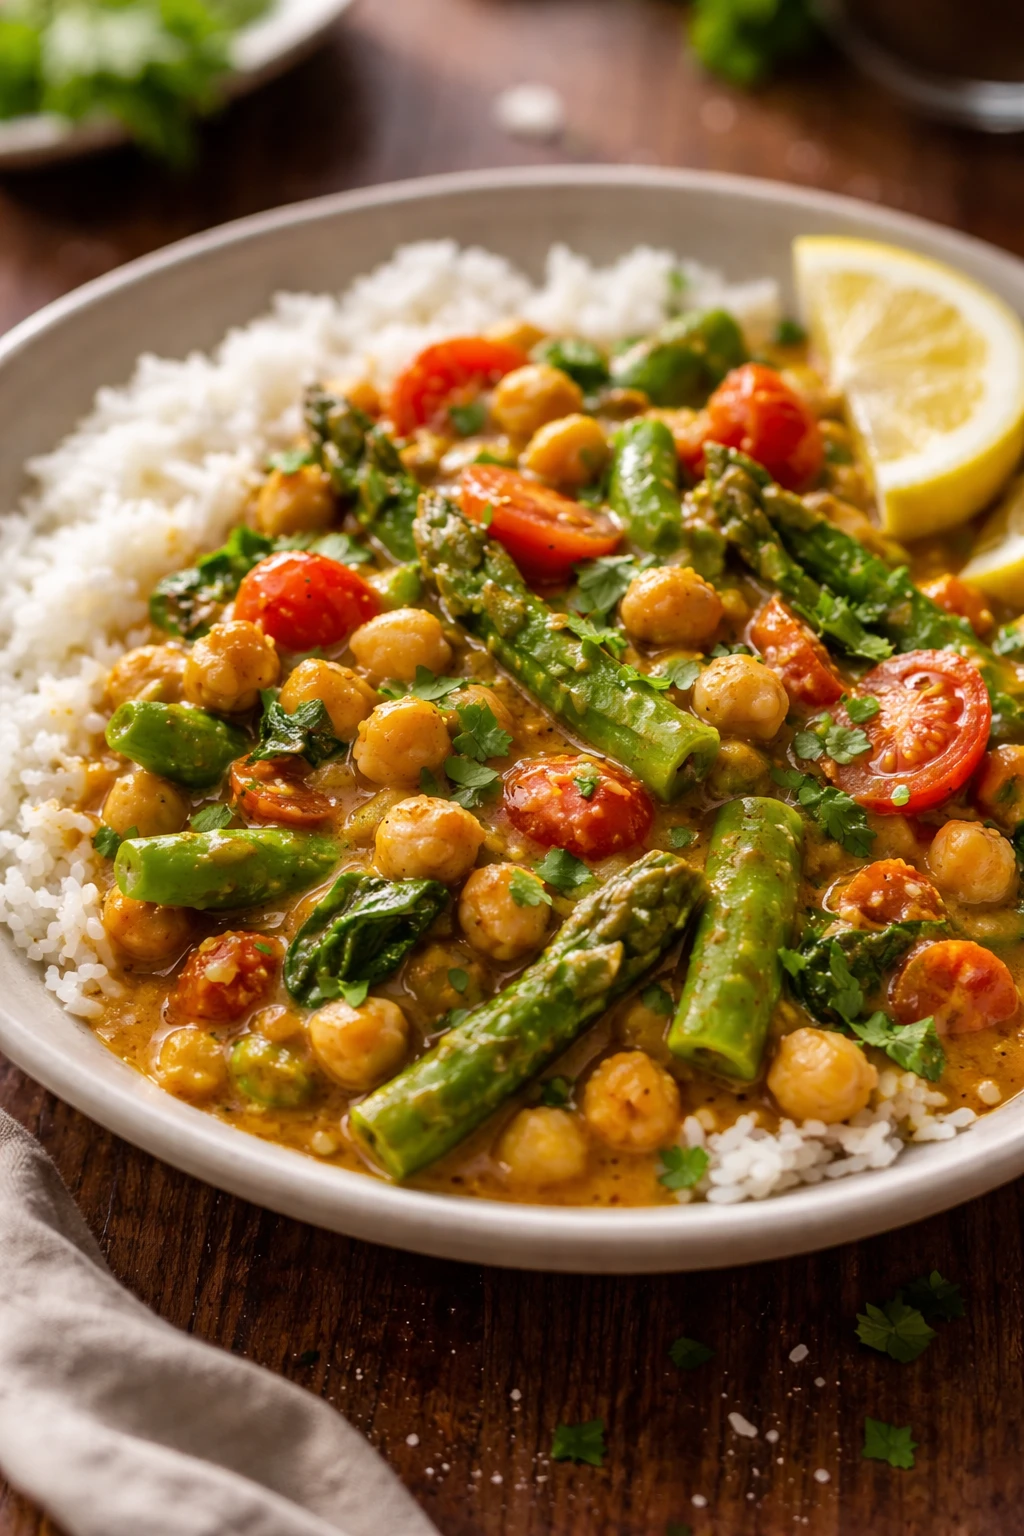
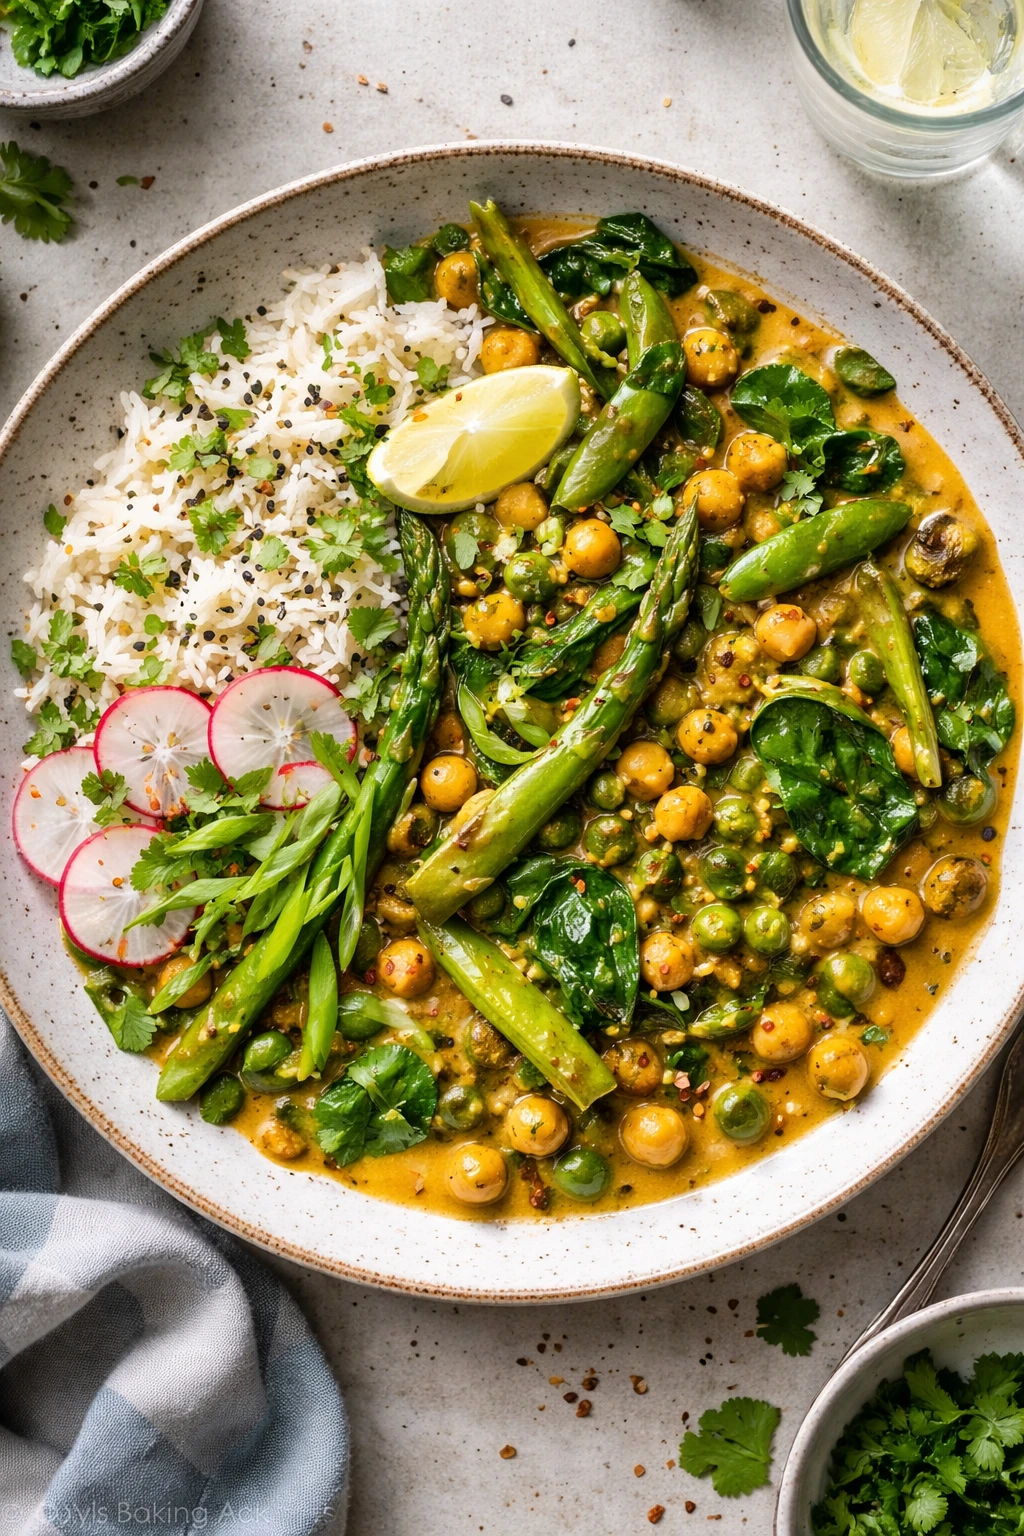
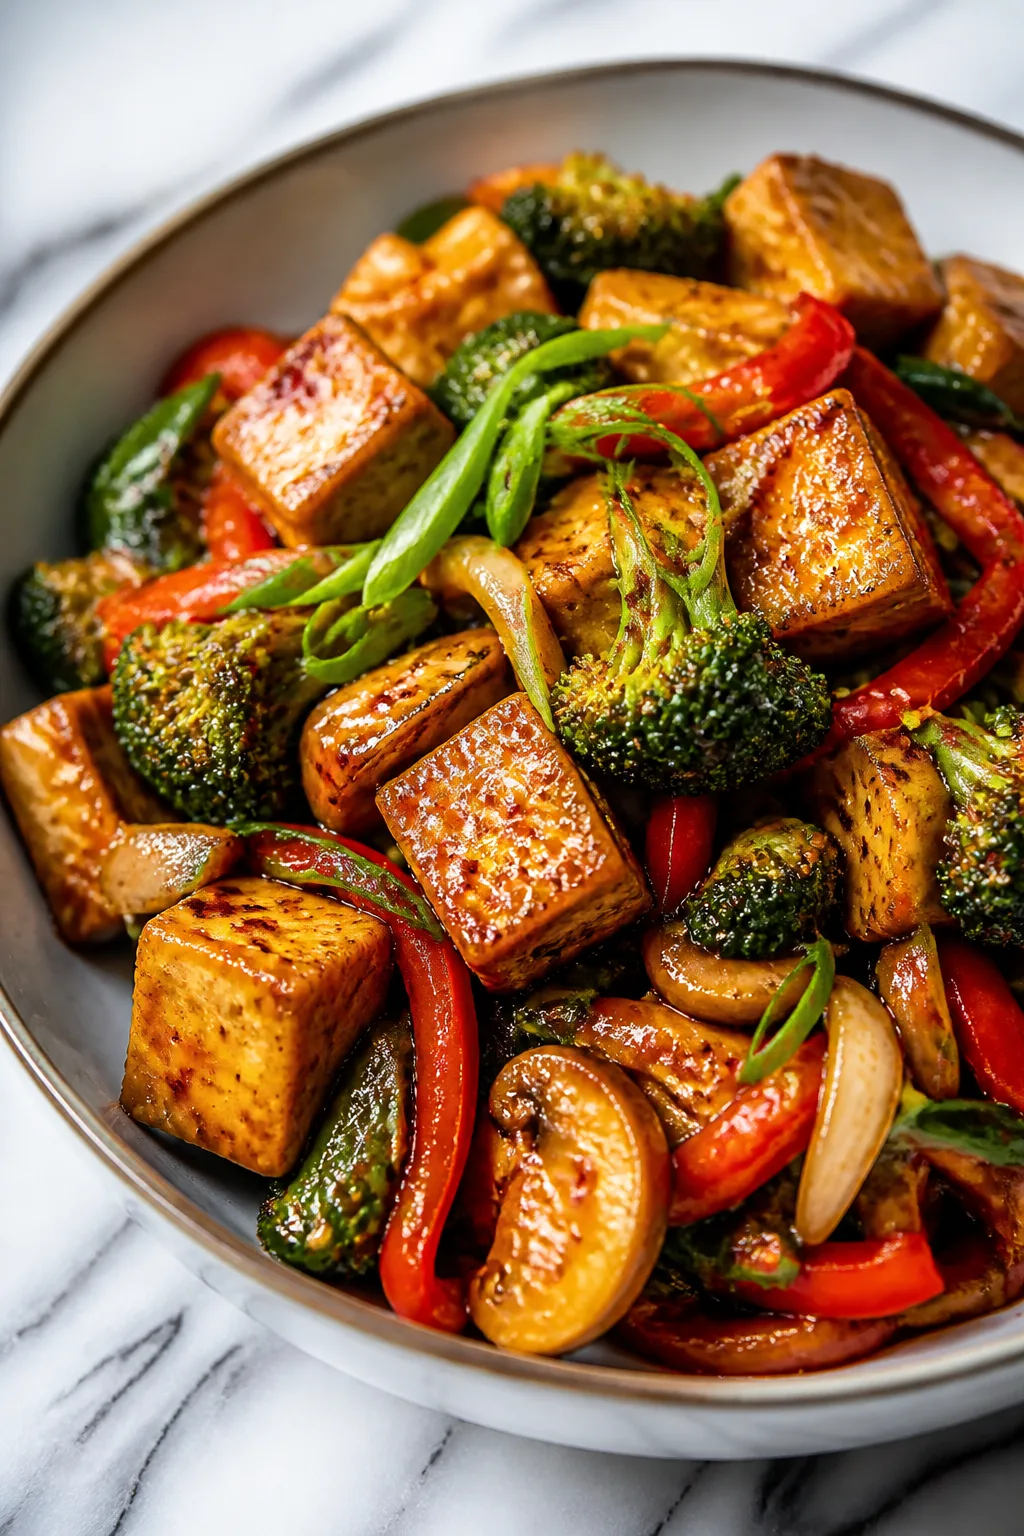
This vibrant vegan chickpea curry is packed with fresh spring veggies and warming spices. It’s super easy to make and perfect for a cozy weeknight dinner when you want comfort without the hassle.
Introduction
I first stumbled upon this vegan chickpea curry on a chilly spring evening when I craved something comforting but light. I’d tried a few curry recipes before, but they often felt heavy or took forever to prepare. This version is different — it’s vibrant, fresh, and surprisingly quick. What makes it stand out is how I toss in fresh spring veggies right at the end, keeping their bright colors and crisp textures. Plus, I use whole spices like cumin seeds toasted at the start, which really deepens the flavor without extra effort. I remember the first time I made it, the kitchen filled with the warm aroma of ginger and garam masala, and my family couldn’t stop asking for seconds. The sauce is silky and aromatic, with just enough kick from chili powder to keep things interesting but not overwhelming. It’s perfect for a busy weeknight when you want something wholesome but fuss-free. Serve it over fluffy basmati rice, and you’ve got a meal that’s nourishing, cozy, and absolutely satisfying. Honestly, it’s become one of my go-to dinners when I want something plant-based yet full of flavor. I think you’ll love how easy it is to make and how fresh it tastes every time.
How To Do It
Step 1
Start by heating the olive oil in a large pan over medium heat. Once hot, add the cumin seeds and toast them for about 30 seconds until they release a nutty aroma. This step is crucial because toasting whole spices unlocks their essential oils and deepens the flavor base of your curry. Be careful not to burn them, as burnt spices will taste bitter and ruin the dish. Watching for a faint popping sound and a fragrant scent is your cue to proceed.
⏱ Time: 3
✓ Doneness: You’ll smell a warm, earthy fragrance and see the cumin seeds darken slightly without burning.
Step 2
Add the chopped onions to the pan and sauté on medium heat until they turn translucent and soft, about 5-7 minutes. Stir frequently to prevent browning, as you want a gentle caramelization that adds sweetness without bitterness. This slow cooking of onions creates a rich, flavorful base for the curry without overpowering the delicate spices. Rushing this step or increasing heat too much can cause uneven cooking and harsh burnt bits in your sauce.
⏱ Time: 7
✓ Doneness: Onions should be soft, glossy, and lightly golden but not browned or crispy.
Step 3
Stir in the minced garlic and grated ginger, cooking for about 1-2 minutes until fragrant. This quick cooking releases their pungent, zesty flavors into the oil, which infuses the entire curry. Don’t skip this step or add them too early, as burnt garlic tastes bitter and harsh. Keep the heat moderate and stir constantly to avoid sticking or burning.
⏱ Time: 2
✓ Doneness: You’ll notice a fresh, spicy aroma and see the garlic just starting to turn golden.
Step 4
Now add the ground turmeric, garam masala, and chili powder to the pan. Stir well to coat the onion mixture evenly with the spices. Toasting ground spices briefly in the hot oil helps bloom their flavors, making the curry more fragrant and layered. Cook for about 1 minute, but watch carefully to prevent burning, which dulls the spices and adds bitterness.
⏱ Time: 1
✓ Doneness: The mixture should smell warm and spicy, and the oil may take on a slightly reddish hue.
Step 5
Pour in the diced tomatoes with their juices and stir to combine. Increase the heat slightly and let the mixture simmer for 5-7 minutes until the tomatoes break down and create a thick sauce. This simmering melds the spices and softens the acidity of the tomatoes, balancing the curry’s flavor. Stir occasionally to prevent sticking and check for the sauce thickening to a stew-like consistency.
⏱ Time: 7
✓ Doneness: Sauce should be thick, glossy, and rich with no large chunks of tomato remaining.
Step 6
Add the vegetable broth and chickpeas to the pan. Stir well and bring to a gentle simmer. Let it cook uncovered for 10-12 minutes to allow the chickpeas to absorb flavors and the sauce to thicken further. Avoid boiling rapidly, as this can toughen the chickpeas and thin the sauce. A steady simmer lets everything meld together beautifully.
⏱ Time: 12
✓ Doneness: The chickpeas will look plump and the sauce slightly reduced and creamy.
Step 7
Add the green beans, carrot slices, and peas to the curry. Stir gently and cook for another 5-7 minutes until the veggies are tender but still have a slight bite. Adding fresh veggies late keeps them bright and crisp, contrasting the creamy chickpeas and rich sauce. Overcooking will turn them mushy and dull the vibrant colors, so keep an eye on texture.
⏱ Time: 7
✓ Doneness: Veggies should be tender enough to pierce with a fork but still vibrant and slightly firm.
Step 8
Taste the curry and season with salt as needed. Salt enhances all the flavors and balances the spices. Remember to add it gradually and taste frequently because too much salt can’t be undone. If the curry tastes flat, a pinch of salt usually brightens it up nicely.
⏱ Time: 2
✓ Doneness: The flavors should taste balanced, rich, and well-rounded without being salty.
Step 9
Turn off the heat and stir in freshly chopped cilantro for a fresh, herbal finish. Serve immediately over warm basmati rice for a comforting, wholesome meal. The cilantro adds a pop of color and brightness that lifts the entire dish. If you let the curry sit too long before serving, the veggies might lose their crispness, so try to plate it right away.
⏱ Time: 1
✓ Doneness: Bright green cilantro flecks scattered on top and steaming rice ready to enjoy.
Variations
Spicy Coconut Chickpea Curry
Add 1 cup coconut milk and increase chili powder for a creamier, spicier curry with tropical notes. The coconut milk adds richness and balances the heat, making the dish extra comforting.
Note: Simmer the curry gently after adding coconut milk to prevent curdling and maintain a silky texture.
Chickpea and Spinach Curry
Stir in 3 cups fresh spinach leaves just before finishing the curry. Spinach wilts quickly and adds a lovely green color and mild flavor that complements the spices perfectly.
Note: Add spinach last and cook only 2-3 minutes to keep it bright and tender.
Roasted Sweet Potato Chickpea Curry
Roast diced sweet potatoes until caramelized and add them to the curry for a sweet, hearty twist. This adds a lovely texture contrast and natural sweetness that pairs beautifully with spices.
Note: Roast sweet potatoes at 425°F for 25-30 minutes until golden before adding to the curry.
Chickpea Curry with Cauliflower and Peas
Swap some veggies for cauliflower florets and peas for a classic combo. Cauliflower soaks up the sauce and adds a subtle nutty flavor, while peas provide sweetness and color.
Note: Add cauliflower early with the broth since it takes longer to cook than peas.
Chickpea Curry with Brown Rice
Serve the curry over nutty brown rice instead of basmati for a heartier, fiber-rich meal. Brown rice adds a chewy texture that pairs well with creamy curry sauce.
Note: Cook brown rice according to package instructions; it requires longer cooking time than basmati.
Pro Tips
Toast your whole spices first in oil before adding other ingredients.
Toasting whole spices like cumin seeds releases their essential oils, creating a deeper, more complex flavor base. Skipping this step results in a flatter taste, as the spices won’t infuse the oil or the dish as effectively.
Add fresh vegetables towards the end of cooking to keep their crunch.
Fresh veggies retain their vibrant color and slight bite when added late, which adds textural contrast and visual appeal. Overcooking them makes the curry dull and mushy, losing freshness.
Simmer the curry gently rather than boiling rapidly.
A gentle simmer allows chickpeas to absorb flavors and the sauce to thicken slowly. Boiling aggressively can toughen chickpeas and cause the sauce to thin out, ruining texture and taste.
Use fresh garlic and ginger minced finely for the best aroma.
Fresh aromatics release essential oils that add pungency and warmth. Using pre-minced or powdered versions compromises flavor and can make the curry taste dull.
Rinse canned chickpeas well before adding.
Rinsing removes excess sodium and any metallic taste from the canning liquid, resulting in a cleaner, fresher flavor and better texture in the final dish.
Season gradually with salt and taste often.
Salt enhances all flavors but too much can’t be undone. Adding it in stages helps achieve a perfectly balanced taste and prevents over-seasoning.
Serve immediately after cooking with fresh cilantro garnish.
Fresh herbs lose their brightness quickly when heated. Adding cilantro last preserves its vibrant flavor and color, making the dish more appetizing.
Common Mistakes to Avoid
Burning the spices at the start
Why it happens Many cooks leave the heat too high or don’t watch the spices carefully, causing them to burn quickly and taste bitter.
Fix Use medium heat and watch closely when toasting spices. Remove from heat as soon as they release aroma and darken slightly to avoid bitterness.
Overcooking fresh vegetables
Why it happens Adding veggies too early or cooking too long results in mushy, dull-colored vegetables that lose their fresh appeal.
Fix Add fresh veggies towards the end of cooking and simmer just until tender-crisp to maintain color and texture.
Skipping the onion caramelization
Why it happens Rushing or skipping sautéing onions leads to a flat base lacking sweetness and depth.
Fix Cook onions slowly until soft and translucent for a natural sweetness that enriches the curry.
Not rinsing canned chickpeas
Why it happens Canning liquid can have a metallic or salty taste that affects the curry’s flavor.
Fix Drain and rinse chickpeas under cold water to remove unwanted flavors and excess sodium.
Adding salt all at once
Why it happens Over-salting happens because cooks add too much salt early without tasting.
Fix Add salt in small increments while tasting frequently to achieve balanced seasoning.
Nutrition
Per Serving:
Nutritional values are estimates and may vary based on specific ingredients used.
Storage & Tips
Room Temperature
This chickpea curry can safely sit at room temperature for up to 2 hours if covered. Beyond that, refrigerate promptly to prevent spoilage.
Refrigerator
Store in an airtight container for up to 4 days. The curry thickens as it chills; reheat gently with a splash of water or broth to loosen the sauce. Flavors may deepen overnight but fresh veggies can soften.
Freezer
Freeze in airtight containers for up to 3 months. To avoid freezer burn, cool completely before freezing and seal tightly. Thaw overnight in the fridge and reheat on the stove with a little liquid to restore creaminess.
Reheating
Reheat gently on the stovetop over low-medium heat, stirring occasionally. Add a splash of vegetable broth or water if the sauce has thickened too much. Avoid high heat to prevent burning or drying out.
Make Ahead
You can prepare the curry sauce up to 2 days ahead and store it in the fridge without the fresh vegetables. Add and cook the veggies fresh on the day you serve to keep their texture crisp.
FAQ
Can I use dried chickpeas instead of canned?
Yes! If using dried chickpeas, soak them overnight and cook until tender before adding to the curry. This improves texture and flavor but requires extra prep time. Using canned chickpeas is quicker and convenient.
How can I make this curry spicier?
Increase the chili powder or add fresh chopped green chilies when sautéing the onions. You can also sprinkle cayenne pepper for extra heat. Adjust gradually and taste as you go to avoid overpowering the dish.
What can I substitute for garam masala?
If you don’t have garam masala, use a mix of ground cinnamon, cumin, coriander, and cardamom in equal parts. While not identical, this blend mimics the warm, complex flavor profile of garam masala.
Can I make this curry in a slow cooker?
Yes, but add fresh vegetables during the last 30 minutes to avoid overcooking. Use sautéed onions and toasted spices for best flavor before transferring to the slow cooker for a long, gentle simmer.
Is it okay to use frozen vegetables?
Frozen peas work well, but green beans and carrots may become mushy. If using frozen, add them later in cooking and reduce simmering time to preserve texture.
How do I store leftovers properly?
Store leftovers in airtight containers in the fridge for up to 4 days. Reheat gently with a splash of broth to restore sauce consistency. For longer storage, freeze in portions.
Can I add coconut milk to this recipe?
Absolutely! Adding coconut milk makes the curry creamier and mellows spices. Add it after tomatoes and simmer gently to avoid curdling.
What’s the best rice to serve with this curry?
Basmati rice is traditional and fluffy, pairing perfectly with the curry’s flavors. You can also use brown rice or quinoa for a heartier option.
Final Thoughts
I hope you try this vibrant vegan chickpea curry soon—it’s become a favorite in my kitchen for good reason! Don’t forget to share how it turns out; I’d love to hear your thoughts.