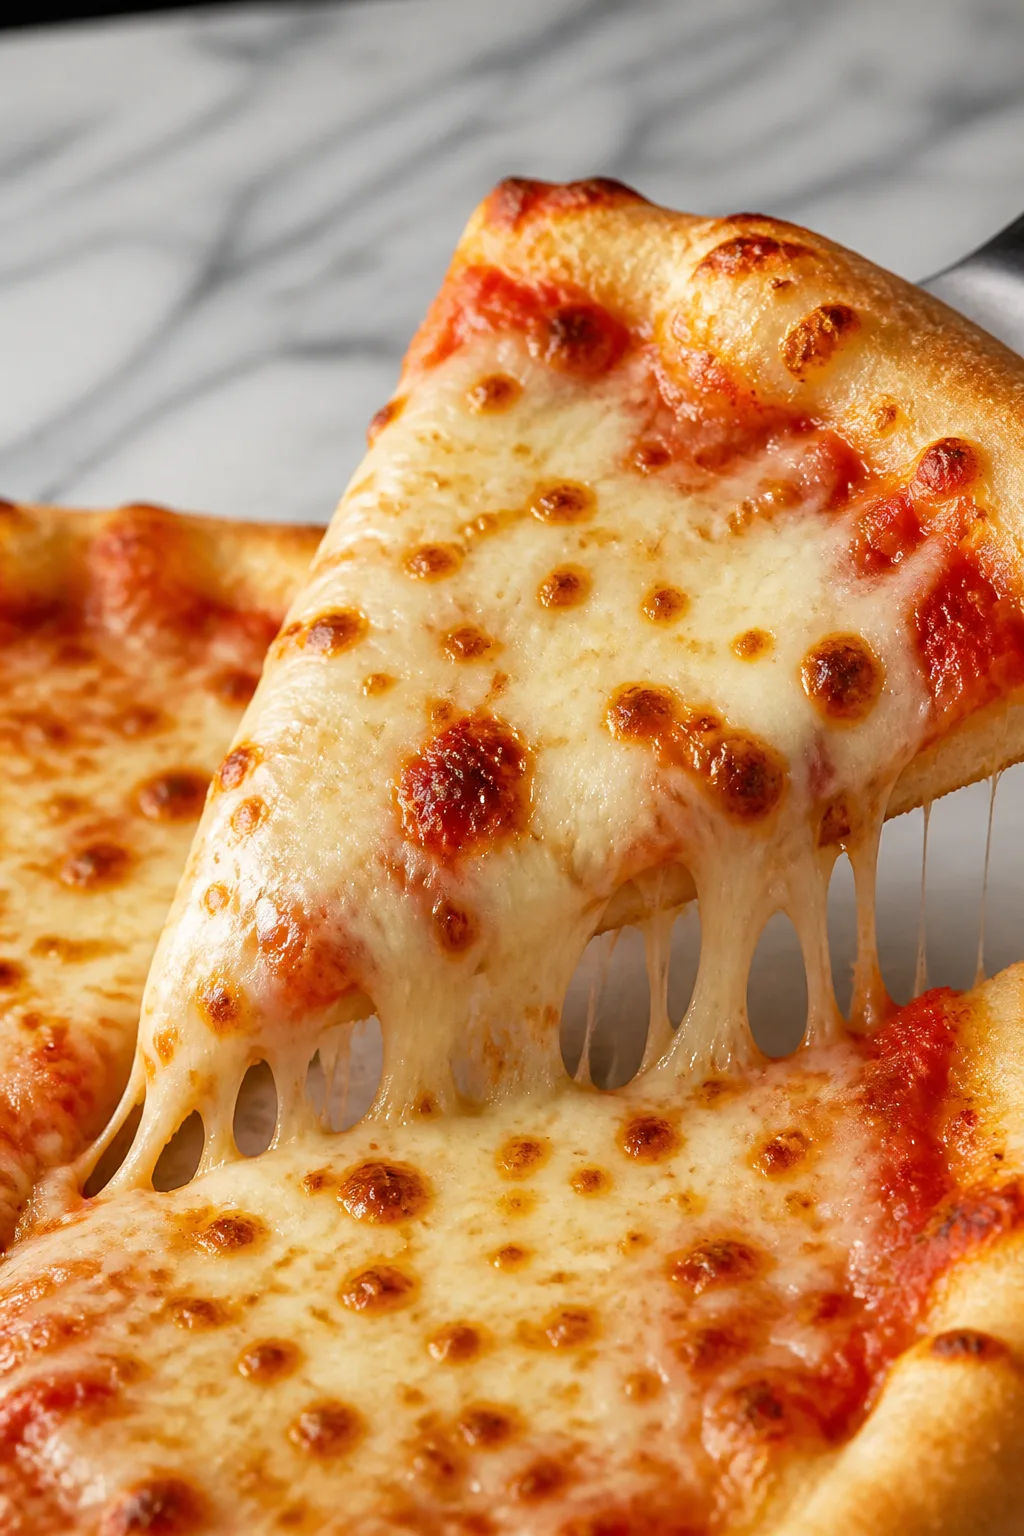
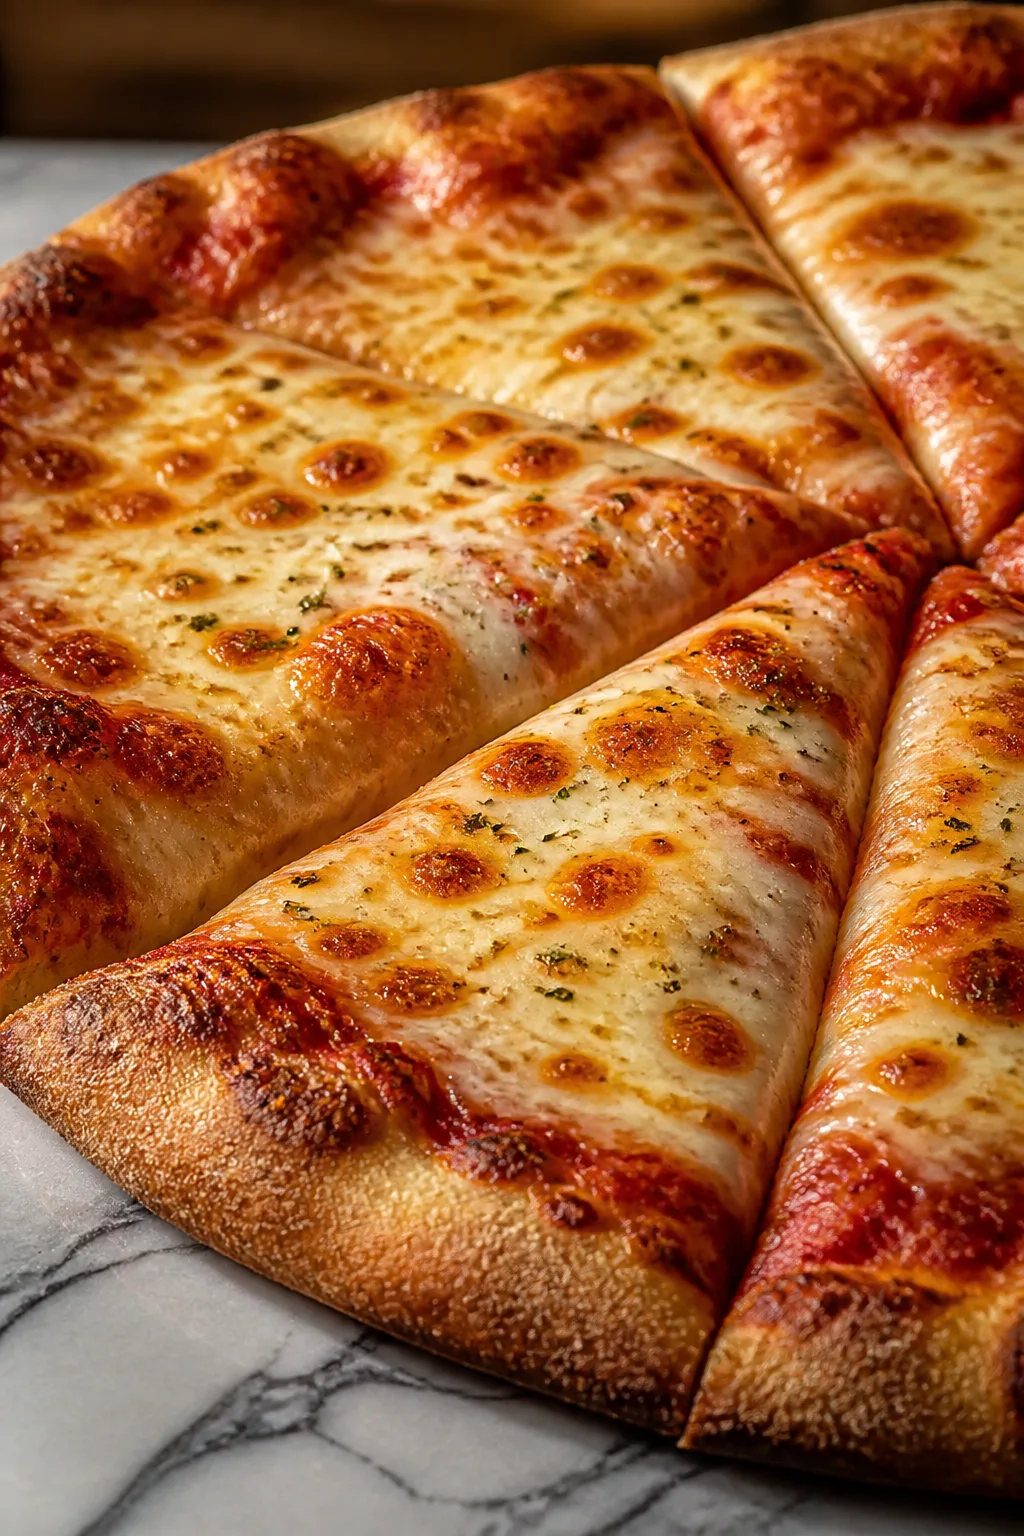
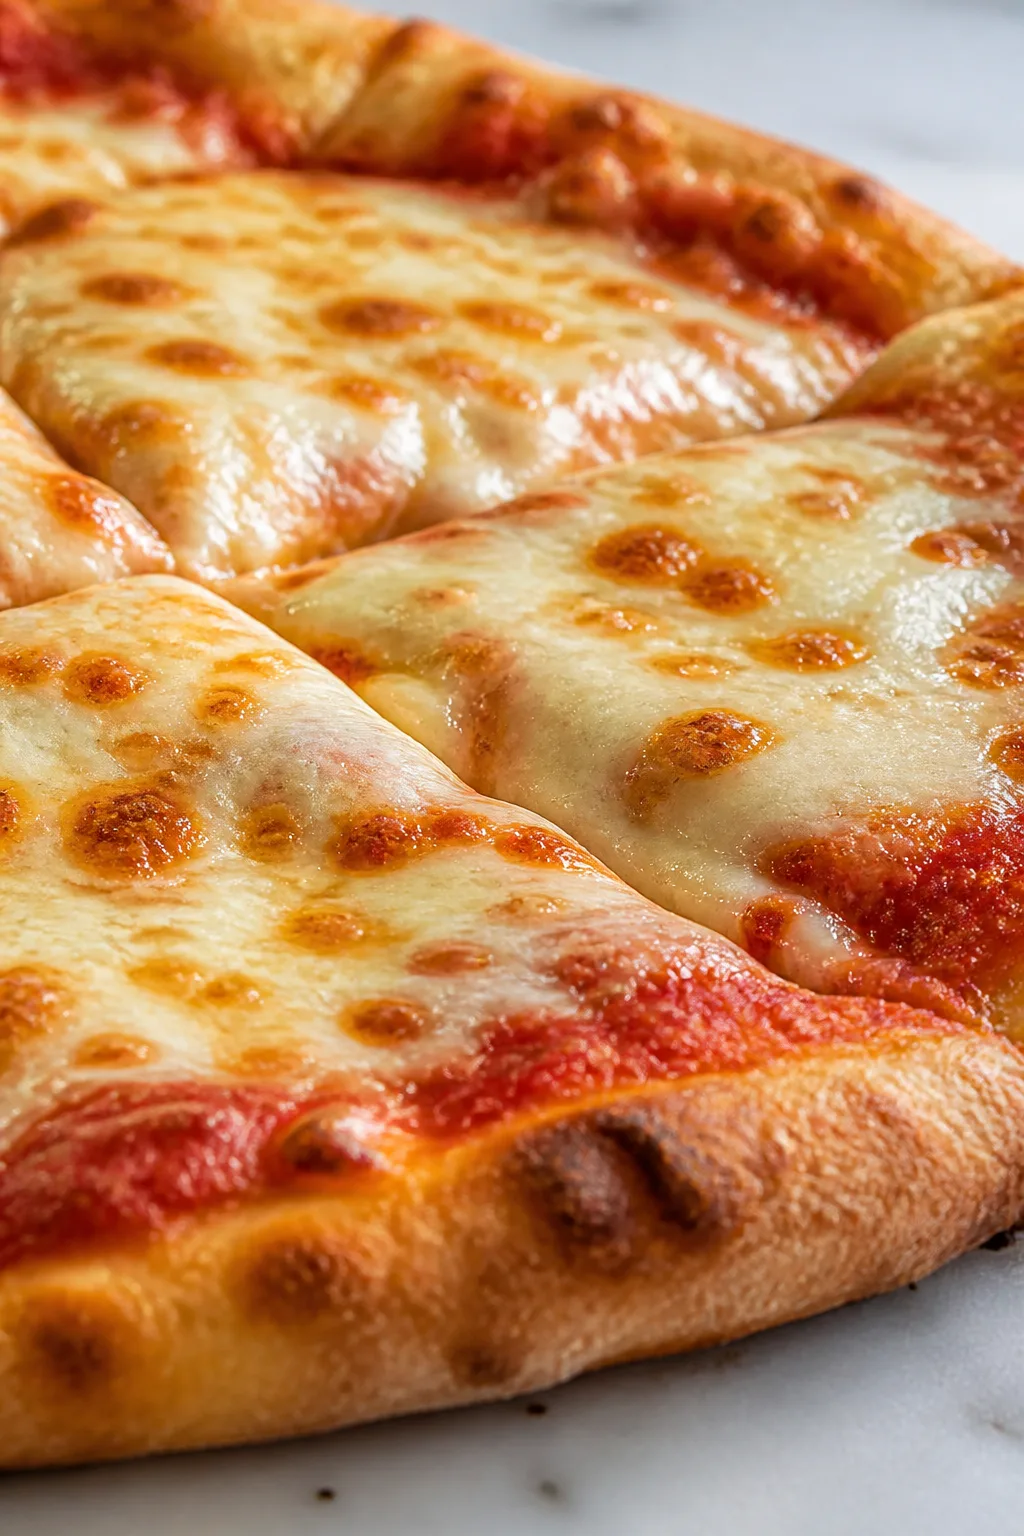
This cheese pizza is the ultimate comfort food. The crispy crust pairs perfectly with gooey melted cheese and a rich tomato sauce. I love making it any cozy night in!
Introduction
I still remember the first time I made this cheese pizza from scratch — it was a bit of a kitchen experiment that surprised me! Most homemade pizzas I tried before had either a soggy crust or bland sauce, but this recipe nails the perfect balance of crispy crust and rich, melty cheese. What makes it stand out is the simple dough recipe that’s easy to handle even for beginners. I learned that letting the dough rise slowly makes all the difference in texture. Also, I like to use a hot oven and a pizza stone if I have one, which really crisps up the bottom without drying out the toppings. The sauce is straightforward but flavorful, letting the cheese shine. When it comes out of the oven, you get that golden bubbly cheese that pulls apart with every slice — honestly, it feels like a little slice of heaven. This pizza is perfect for casual dinners, movie nights, or whenever you crave something cozy and satisfying. I’m excited to share this with you because it’s become a staple in my kitchen and always a crowd-pleaser.
What You'll Need
One 12-inch pizza, serves 4
- 2 1/4 teaspoons active dry yeast (1 packet), room temperature
- 1 1/2 cups warm water (around 110°F/43°C)
- 3 1/2 cups all-purpose flour, plus extra for dusting
- 2 tablespoons olive oil, plus extra for greasing
- 1 teaspoon salt
- 1 teaspoon sugar
- 1 cup tomato sauce (preferably homemade or good quality canned)
- 2 cups shredded mozzarella cheese
- 1/2 teaspoon dried oregano
- Fresh basil leaves (optional, for garnish)
How To Do It
Step 1
Start by proofing the yeast: combine the active dry yeast with warm water (about 110°F or 43°C) and a teaspoon of sugar in a small bowl. Stir gently and let it sit for 5-10 minutes until foamy. This step is crucial because it activates the yeast, ensuring your dough will rise properly. If the mixture doesn’t foam, your yeast might be dead, so it’s best to start over with fresh yeast.
⏱ Time: 10 minutes
✓ Doneness: Yeast mixture is bubbly and foamy on top
Step 2
In a large mixing bowl, combine the flour and salt. Make a well in the center and pour in the yeast mixture along with 2 tablespoons of olive oil. Stir with a wooden spoon or your hands until a shaggy dough forms. Then, turn it out onto a floured surface and knead for about 8-10 minutes until smooth and elastic. Kneading develops gluten, which gives the crust its chewy texture, so don’t rush this step.
⏱ Time: 10 minutes
✓ Doneness: Dough is smooth, elastic, and springs back when poked
Step 3
Lightly oil a large bowl and place the dough inside, turning it once to coat with oil. Cover with a clean kitchen towel or plastic wrap and let it rise in a warm spot for 1 to 1.5 hours until doubled in size. This slow fermentation deepens the flavor and improves texture. Avoid rushing this step by using too much heat, which can kill the yeast or produce off flavors.
⏱ Time: 1 to 1.5 hours
✓ Doneness: Dough has doubled in size and feels airy
Step 4
Preheat your oven to 500°F (260°C) and place a pizza stone or baking sheet inside to heat up. This high temperature is key to getting a crispy crust quickly without drying out the toppings. If you don’t have a pizza stone, a heavy baking sheet turned upside down works well too.
⏱ Time: 30 minutes
✓ Doneness: Oven and stone are fully preheated and very hot
Step 5
Once risen, punch down the dough gently to release air bubbles. Turn it onto a floured surface and shape it into a 12-inch circle by stretching with your hands or rolling gently with a rolling pin. If the dough resists and snaps back, let it rest for 5 minutes to relax the gluten. Don’t overwork it or the crust will become tough.
⏱ Time: 5-7 minutes
✓ Doneness: Dough is stretched evenly with no thin spots
Step 6
Transfer the dough to a piece of parchment paper to make it easier to slide onto the hot stone. Spread the tomato sauce evenly over the surface, leaving about a half-inch border for the crust. Using too much sauce can make the crust soggy, so keep it thin but flavorful.
⏱ Time: 3-5 minutes
✓ Doneness: Sauce is evenly coated without pooling or dripping
Step 7
Sprinkle the shredded mozzarella generously over the sauce. Add a pinch of dried oregano for a subtle herb flavor. The cheese should cover the sauce well but not be piled too thickly, or it won’t melt evenly.
⏱ Time: 3 minutes
✓ Doneness: Cheese is evenly distributed and starts to soften
Step 8
Carefully slide the parchment paper with the pizza onto the hot pizza stone or baking sheet in the oven. Bake for about 10-12 minutes until the crust is golden and crispy and the cheese is bubbly and slightly browned. Keep an eye on it near the end to avoid burning.
⏱ Time: 10-12 minutes
✓ Doneness: Crust is golden brown and cheese bubbles with light browning
Step 9
Remove the pizza from the oven and let it rest for a couple of minutes. Garnish with fresh basil leaves if you like. Resting allows the cheese to set slightly, making it easier to slice without the toppings sliding off.
⏱ Time: 2-3 minutes
✓ Doneness: Pizza is warm but toppings are set, basil looks fresh
Variations
Whole Wheat Cheese Pizza
Swap half the all-purpose flour for whole wheat flour for a nuttier, earthier flavor and added fiber. The crust will be denser but still delicious and wholesome.
Note: Whole wheat absorbs more water, so add an extra tablespoon or two of water during mixing to keep dough soft.
Garlic Herb Cheese Pizza
Add minced garlic and fresh herbs like rosemary or thyme to the dough or sprinkle on top with the cheese for an aromatic twist that complements the classic flavors.
Note: Add garlic during the sauce spread or mix finely chopped herbs into the dough for even flavor distribution.
Spicy Cheese Pizza
Mix red pepper flakes into the sauce or sprinkle on top before baking for a subtle heat kick. Works great if you love a little spice with your comfort food.
Note: Adjust heat level to taste; too much can overpower the cheese and tomato balance.
Vegan Cheese Pizza
Use your favorite plant-based cheese alternative and olive oil in the dough. The crust and sauce remain the same, making this a great option for dairy-free diets.
Note: Vegan cheeses melt differently; consider adding a light spray of oil to help browning.
Stuffed Crust Cheese Pizza
Before baking, fold string cheese or mozzarella sticks into the edges of the dough for a fun, gooey stuffed crust variation that’s sure to impress kids and adults alike.
Note: Seal the edges well to prevent cheese from leaking during baking.
Pro Tips
Let the dough rise slowly in the fridge overnight if you have time.
Cold fermentation slows down yeast activity, allowing flavors to develop more fully and improving the dough’s texture. This results in a more flavorful crust that’s chewy with a nice open crumb. If you skip this, the dough will still work but be less complex in taste.
Use a pizza stone or an inverted baking sheet preheated in the oven.
A hot surface mimics the effect of a pizza oven by cooking the crust quickly from below, creating a crisp base without drying out the toppings. Baking on a cold surface leads to a dense, undercooked crust.
Don’t overload the pizza with sauce or cheese.
Too much sauce or cheese can weigh down the crust and prevent it from cooking properly, resulting in sogginess. A balanced amount ensures the crust crisps up and the toppings melt evenly.
Use a high oven temperature, around 500°F (260°C).
High heat cooks the pizza quickly, which is essential for a crispy crust and bubbly cheese. Lower temperatures make the pizza dry out or cook unevenly.
Allow the dough to rest if it resists stretching.
Resting relaxes the gluten, making the dough easier to shape without tearing. Without rest, the dough snaps back and is frustrating to work with.
Use parchment paper to transfer the pizza to the oven.
It makes sliding the pizza onto the hot stone much easier and prevents sticking. Without it, the dough can lose shape or stick to the peel or baking surface.
Let the pizza rest a few minutes after baking before slicing.
This helps the cheese set slightly and prevents toppings from sliding off. Cutting immediately can make a mess and reduce enjoyment.
Common Mistakes to Avoid
Using water that’s too hot to activate yeast
Why it happens Many cooks assume hotter water speeds up yeast activation, but water above 130°F can kill yeast cells.
Fix Always measure water temperature with a thermometer or test by touch—warm but not hot (about 110°F). If yeast doesn’t foam, start over with fresh yeast and correct water temp.
Skipping the dough rising step or rushing it
Why it happens Impatience or misunderstanding how yeast works leads to skipping proofing or using shortcuts.
Fix Give the dough enough time to double in size at room temperature. If short on time, use warm but not hot environment to speed rise slightly but don’t rush.
Adding too much sauce or cheese
Why it happens More toppings seem better but overloads the crust and prevents crisping.
Fix Use a thin layer of sauce and moderate cheese. This balances moisture and prevents soggy crust.
Not preheating the oven or pizza stone fully
Why it happens Skipping preheat to save time or forgetfulness.
Fix Preheat oven and stone for at least 30 minutes to ensure high heat for crisp crust and even cooking.
Rolling dough too thin or thick
Why it happens Lack of experience or preference leads to inconsistent thickness.
Fix Aim for about 12-inch diameter with even thickness. Too thin tears easily; too thick bakes unevenly.
Nutrition
Per Serving:
Nutritional values are estimates and may vary based on specific ingredients used.
Storage & Tips
Room Temperature
Pizza can be safely kept at room temperature for up to 2 hours covered loosely with foil or a clean cloth to prevent drying out. Beyond this, refrigeration is recommended to prevent spoilage.
Refrigerator
Store leftover pizza in an airtight container or wrapped tightly in plastic wrap for up to 3 days. The crust may lose some crispness but flavors remain good. Reheat in the oven for best texture or microwave for convenience.
Freezer
Freeze pizza slices wrapped tightly in plastic wrap and foil for up to 2 months. To thaw, leave in the fridge overnight or reheat directly from frozen in a hot oven to restore crispness.
Reheating
Reheat pizza in a preheated 375°F (190°C) oven on a baking sheet for 7-10 minutes to crisp crust and melt cheese. Avoid microwave reheating if possible, as it can make crust soggy. Add a splash of water on a pan below to keep cheese moist if needed.
Make Ahead
Prepare the dough a day ahead and refrigerate it for slow fermentation. Assemble the pizza just before baking. Alternatively, pre-bake the crust slightly and refrigerate before adding toppings and finishing baking.
FAQ
Can I use instant yeast instead of active dry yeast?
Yes, instant yeast can be used and it often doesn’t require proofing. Use about 25% less than active dry yeast called for. Mix it directly with flour. The dough will rise faster, so keep an eye on it to avoid over-proofing.
How do I prevent a soggy pizza crust?
Use a hot oven and preheated stone or baking sheet to crisp the bottom quickly. Spread sauce thinly and avoid watery toppings. Also, don’t overload cheese and bake the pizza fully until golden. Letting it rest before slicing helps too.
Can I make the dough ahead of time?
Absolutely! Refrigerate the dough overnight for better flavor and texture. Just bring it to room temperature before shaping. This slow fermentation enhances taste and makes the dough easier to work with.
What’s the best way to store leftover pizza?
Wrap leftovers tightly and refrigerate within 2 hours of cooking. Store in the fridge for up to 3 days. Reheat in the oven for best texture or microwave if short on time.
Why is my dough sticky and hard to work with?
Sticky dough usually means too much water or insufficient flour kneading. Add flour gradually during kneading but don’t overdo it or dough will be tough. Also, ensure you knead long enough to develop gluten.
How do I get a bubbly, golden cheese topping?
Bake at a high temperature (around 500°F) so cheese melts quickly and browns lightly. Using low-moisture mozzarella helps prevent excess water. Keep an eye on the pizza near the end of baking to avoid burning.
Can I use fresh mozzarella instead of shredded?
Yes, but fresh mozzarella has higher moisture. Pat it dry well to avoid soggy crust and use slightly less. It gives a creamier texture but the pizza might be less crispy.
What’s the best flour for pizza dough?
All-purpose flour works well for this recipe, balancing chewiness and tenderness. Bread flour with higher protein gives a chewier crust, while cake or pastry flour will be too soft and crumbly.
Final Thoughts
I hope you love this classic cheese pizza as much as I do! Give it a try and let me know how it turns out — nothing beats homemade pizza night.