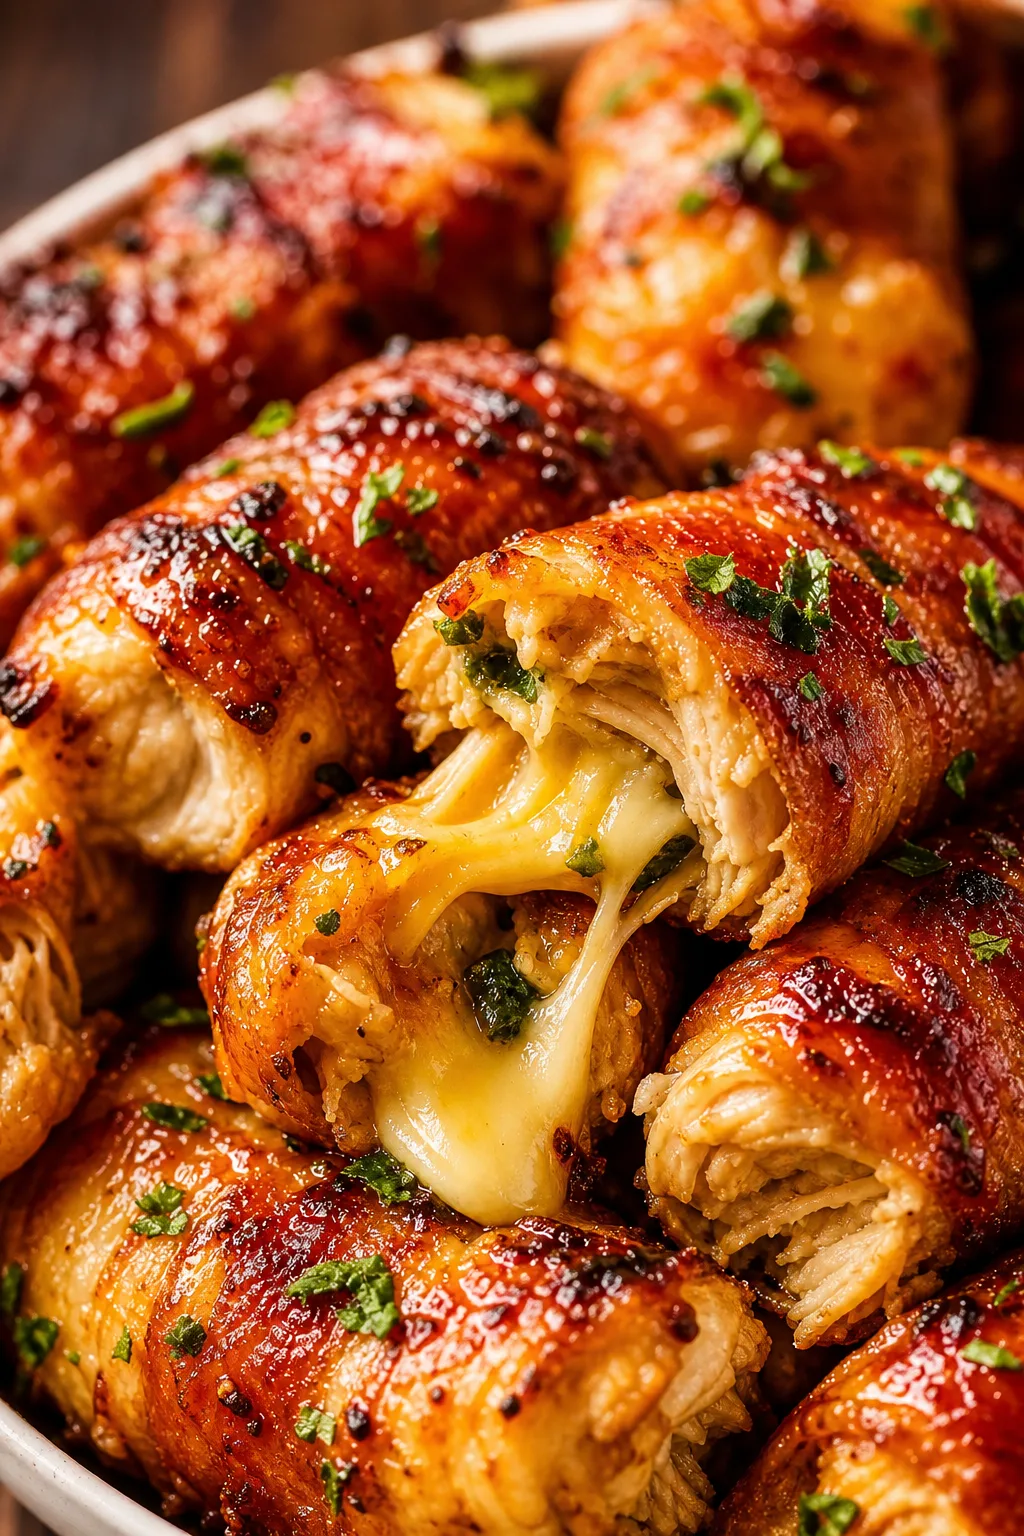
These chicken thighs come out juicy and tender thanks to the Duo Crisp Instant Pot, with a golden, crispy skin from the crisping lid. The garlic herb glaze adds a fresh, vibrant touch. Perfect for a quick weeknight dinner!
Introduction
I first discovered this recipe when I got my Duo Crisp Instant Pot, and honestly, it changed the way I cook chicken thighs forever. Before, I struggled to get that crispy skin without drying out the meat, but this method nails it every time. What makes it different? Pressure cooking locks in all the juices, and then the crisping lid finishes the skin to golden perfection. I love how the garlic herb glaze adds a fresh punch without overpowering the chicken’s natural flavor. Plus, it’s super quick — perfect for those busy weeknights when you want something comforting but don’t have hours to spend in the kitchen. I remember the first time I tried it, I was worried the skin wouldn’t crisp up, but the secret is to really pat the chicken dry before seasoning and not skip the crisping step. The result is juicy, tender chicken with that irresistible crunch on top. It’s become a family favorite, and I hope you’ll love it as much as we do!
How To Do It
Step 1
Start by patting your chicken thighs completely dry with paper towels. This step is crucial because moisture on the skin will steam the chicken instead of crisping it. Next, mix together the salt, pepper, and smoked paprika, then rub this seasoning evenly over each thigh. The paprika adds a subtle smoky depth that really elevates the flavor. Take your time here — well-seasoned chicken is the foundation of a great dish. Avoid rushing this step or the seasoning won't penetrate properly, which can leave the chicken bland.
⏱ Time: 10 minutes
✓ Doneness: Chicken skin feels dry to the touch and is evenly coated with the spice rub
Step 2
Turn your Duo Crisp Instant Pot to the 'Sauté' function and heat the olive oil until shimmering but not smoking. Carefully place the chicken thighs skin-side down and sear for about 3-4 minutes until the skin is golden brown and releases easily from the pot. This initial sear locks in flavor and starts the Maillard reaction, which gives that delicious crust. Don’t crowd the pot — do this in batches if needed. If you skip this, the chicken won’t develop that deep flavor and texture you want.
⏱ Time: 5 minutes
✓ Doneness: Skin is golden brown and crisp, chicken releases easily from the pot surface
Step 3
Remove the chicken and set aside. Pour in the chicken broth and use a wooden spoon to scrape up any browned bits stuck to the bottom of the pot. These bits are packed with flavor and help prevent burning during pressure cooking. Return the chicken to the pot, skin-side up, arranging them so they’re not overlapping. Proper spacing helps the pressure cook evenly. If you rush this, you risk uneven cooking or a burnt bottom.
⏱ Time: 3 minutes
✓ Doneness: Broth is simmering gently, browned bits are loosened from pot bottom
Step 4
Seal the instant pot lid and set to pressure cook on high for 10 minutes. This step cooks the chicken through and keeps it tender and juicy by cooking it under steam pressure. Don’t skip the natural release for a few minutes after cooking – it helps the juices redistribute inside the meat, making it moist and flavorful. Quick release right away can cause the chicken to toughen or dry out.
⏱ Time: 10 minutes pressure cook + 5 minutes natural release
✓ Doneness: Pressure indicator drops and chicken feels tender when pierced with fork
Step 5
Carefully remove the pressure lid and switch to the crisping lid. Brush the tops of the chicken thighs with the melted butter mixed with minced garlic, parsley, and thyme. This glaze adds a fresh herbaceous flavor and helps the skin crisp up beautifully. The butter also promotes browning. Spread it evenly but don’t soak the chicken or the skin will steam instead of crisp.
⏱ Time: 5 minutes
✓ Doneness: Chicken skin looks glossy with herb butter glaze
Step 6
Set the Duo Crisp to 'Air Crisp' at 400°F for 10 minutes. This final step crisps the skin to golden perfection while keeping the meat juicy inside. Keep an eye on the chicken during this step — if it browns too quickly, reduce the temperature slightly. The crisping lid mimics an air fryer, giving you that crunchy texture without frying. Rushing this step or skipping it means losing the signature crispy skin everyone loves.
⏱ Time: 10 minutes
✓ Doneness: Skin is deeply golden, crispy, and crackly to the touch
Step 7
Once crisped, remove the chicken thighs and let them rest for 5 minutes before serving. Resting lets the juices settle back into the meat, so they don’t all run out when you cut into it. This step is often overlooked but is key for juicy chicken. Tent loosely with foil to keep warm but avoid steaming the skin.
⏱ Time: 5 minutes
✓ Doneness: Chicken is warm throughout and juices run clear when cut
Step 8
While the chicken rests, pour the remaining juices from the pot into a small saucepan. Simmer gently to reduce slightly, creating a simple pan sauce packed with flavor. You can add a splash more butter or fresh herbs if you want it richer. This sauce is a great way to use every bit of flavor left behind and adds moisture to each bite.
⏱ Time: 5 minutes
✓ Doneness: Sauce thickens slightly and tastes concentrated
Step 9
Serve the chicken thighs with the pan sauce drizzled over the top and garnish with extra fresh parsley if you like. Pair with your favorite sides — I love roasted veggies or a simple salad. The crispy skin, tender meat, and bright garlic herb flavors make this a meal everyone will ask for again. Enjoy!
⏱ Time: Immediate
✓ Doneness: Dish looks vibrant and inviting with glossy sauce and herbs
Variations
Spicy Cajun Crispy Chicken
Swap smoked paprika for Cajun seasoning and add a pinch of cayenne pepper to the rub for a spicy kick. Use fresh cilantro instead of parsley for a different herb flavor. Expect a bolder, spicier flavor with the same juicy texture.
Note: Be mindful of cayenne quantity to avoid overpowering heat. Crisping time remains the same.
Lemon Rosemary Chicken Thighs
Add fresh lemon zest and rosemary to the herb butter glaze for a bright, fragrant twist. This variation adds a citrusy freshness that pairs beautifully with the crispy skin.
Note: Lemon juice can be added after crisping to preserve brightness without steaming the skin.
Honey Garlic Glazed Chicken
Mix honey into the garlic herb butter glaze for a sweet-savory flavor. This creates a sticky, caramelized finish on the chicken skin that’s irresistible.
Note: Monitor closely during air crisping as sugar can burn quickly; reduce temperature if needed.
Asian-Inspired Crispy Chicken
Replace the herb butter glaze with a mixture of soy sauce, ginger, garlic, and sesame oil. Garnish with green onions and sesame seeds for an umami-packed meal with a crispy finish.
Note: Use less liquid glaze to avoid steaming; brush lightly before crisping.
Herb and Parmesan Crusted Chicken
Add grated Parmesan cheese mixed with herbs to the butter glaze before crisping. This adds a nutty, cheesy crust that complements the crispy skin and juicy meat.
Note: Parmesan browns quickly; watch closely during crisping to prevent burning.
Pro Tips
Pat the chicken skin very dry before seasoning.
Moisture on the skin creates steam during cooking, preventing it from crisping properly. Dry skin ensures the Maillard reaction happens efficiently, resulting in that perfect golden crust everyone loves.
Don’t skip the initial sear on sauté mode.
Searing develops complex flavor compounds and starts the browning process. It also tightens the skin, which helps it stay crispy after pressure cooking.
Use fresh herbs in the butter glaze for maximum flavor.
Fresh herbs release essential oils and bright flavors that dried herbs can’t match. They also add a beautiful color contrast to the rich chicken skin.
Give the chicken a natural pressure release for at least 5 minutes.
This allows the meat fibers to relax and reabsorb juices, making the chicken more tender and moist instead of drying out from a quick release.
Brush the herb butter glaze evenly but don’t soak the chicken before crisping.
Too much moisture from the glaze can steam the skin instead of crisping it. A thin, even coat promotes perfect browning and flavor.
Keep an eye on the chicken during the air crisp step.
Ovens and air crisp functions vary, so watching prevents burning. If it browns too fast, reduce the temperature slightly to maintain juiciness inside while crisping outside.
Let the chicken rest after cooking before slicing.
Resting lets juices redistribute throughout the meat, preventing them from spilling out and keeping each bite juicy and tender.
Common Mistakes to Avoid
Skipping the drying step of the chicken skin
Why it happens Many cooks underestimate how important dry skin is for crisping and just season the chicken straight away.
Fix Always pat your chicken thighs thoroughly with paper towels before seasoning. This removes excess moisture that would otherwise cause the skin to steam instead of crisp during cooking.
Rushing the pressure release
Why it happens Impatience leads to quick release, but this can toughen the meat.
Fix Allow the instant pot to naturally release pressure for at least 5 minutes after cooking. This gentle cooldown lets the juices settle and keeps the chicken tender.
Overcrowding the pot during searing or pressure cooking
Why it happens Trying to cook everything at once to save time.
Fix Sear chicken thighs in batches if needed to ensure even browning. Arrange pieces so they aren’t touching during pressure cooking to promote even heat distribution.
Applying too much butter glaze before crisping
Why it happens Thinking more butter equals more flavor and crispness.
Fix Use just enough melted butter with herbs to coat the skin lightly. Excess moisture can cause steaming and prevent crisping.
Not watching the chicken during the crisping step
Why it happens Distracted cooks assume the air crisp will finish perfectly without monitoring.
Fix Check the chicken a few minutes before the crisping time ends to avoid burning. Adjust temperature if needed for even browning.
Nutrition
Per Serving:
Nutritional values are estimates and may vary based on specific ingredients used.
Storage & Tips
Room Temperature
Chicken thighs can be safely kept at room temperature for up to 2 hours if covered loosely with foil or a clean towel. Beyond that, bacteria growth increases, so refrigerate promptly.
Refrigerator
Store leftover chicken in an airtight container in the fridge for up to 3 days. The skin may lose some crispness but reheating in the air crisp lid or oven can help restore it. Avoid microwaving if possible, as it makes skin soggy.
Freezer
Freeze cooked chicken thighs wrapped tightly in plastic wrap and foil or in a freezer-safe container for up to 3 months. To thaw, move to the fridge overnight. Reheat using the air crisp lid or oven to regain crisp skin.
Reheating
Reheat in the Duo Crisp Instant Pot using the air crisp function at 375°F for 5-7 minutes, checking frequently to avoid drying out. Adding a splash of broth can help maintain moisture. Avoid microwave reheating to keep skin crispy.
Make Ahead
You can pressure cook the chicken and prepare the herb butter glaze 1-2 days ahead. Store chicken and glaze separately in the fridge. On serving day, apply glaze and use the air crisp lid to finish and crisp the skin just before serving.
FAQ
Can I use boneless chicken thighs instead of bone-in?
You can use boneless thighs, but cooking time may be shorter and they might not be as juicy. Bone-in thighs help retain moisture and add flavor during pressure cooking, so I recommend them for best results.
What if I don’t have the Duo Crisp Instant Pot, can I use a regular Instant Pot?
You can pressure cook the chicken in a regular Instant Pot, but you’ll need to crisp the skin separately in a hot oven or skillet. The Duo Crisp’s air crisp lid makes it easier to get that golden crust without extra pans.
How do I prevent the chicken skin from sticking during searing?
Make sure your oil is hot before adding chicken and don’t move the thighs too soon. Let the skin brown and naturally release from the pot surface to avoid tearing.
What’s the best way to store leftover chicken?
Store leftovers in an airtight container in the fridge for up to 3 days. To maintain crisp skin, reheat using the air crisp lid or oven rather than microwave.
Can I make this recipe gluten-free?
Yes, this recipe is naturally gluten-free as long as you use gluten-free chicken broth and check your spice labels to avoid any hidden gluten.
How do I know when the chicken is fully cooked?
The pressure cooking time ensures thorough cooking, but you can check with a meat thermometer — it should read 165°F (74°C) in the thickest part of the thigh.
Can I double this recipe for a larger group?
You can double the ingredients but be mindful not to overcrowd the pot during searing or pressure cooking. Cook in batches if needed to maintain even cooking and crisping.
Final Thoughts
I hope you give these crispy Duo Crisp Instant Pot chicken thighs a try soon—they’re a total game changer. Let me know how they turn out and what sides you paired with them!