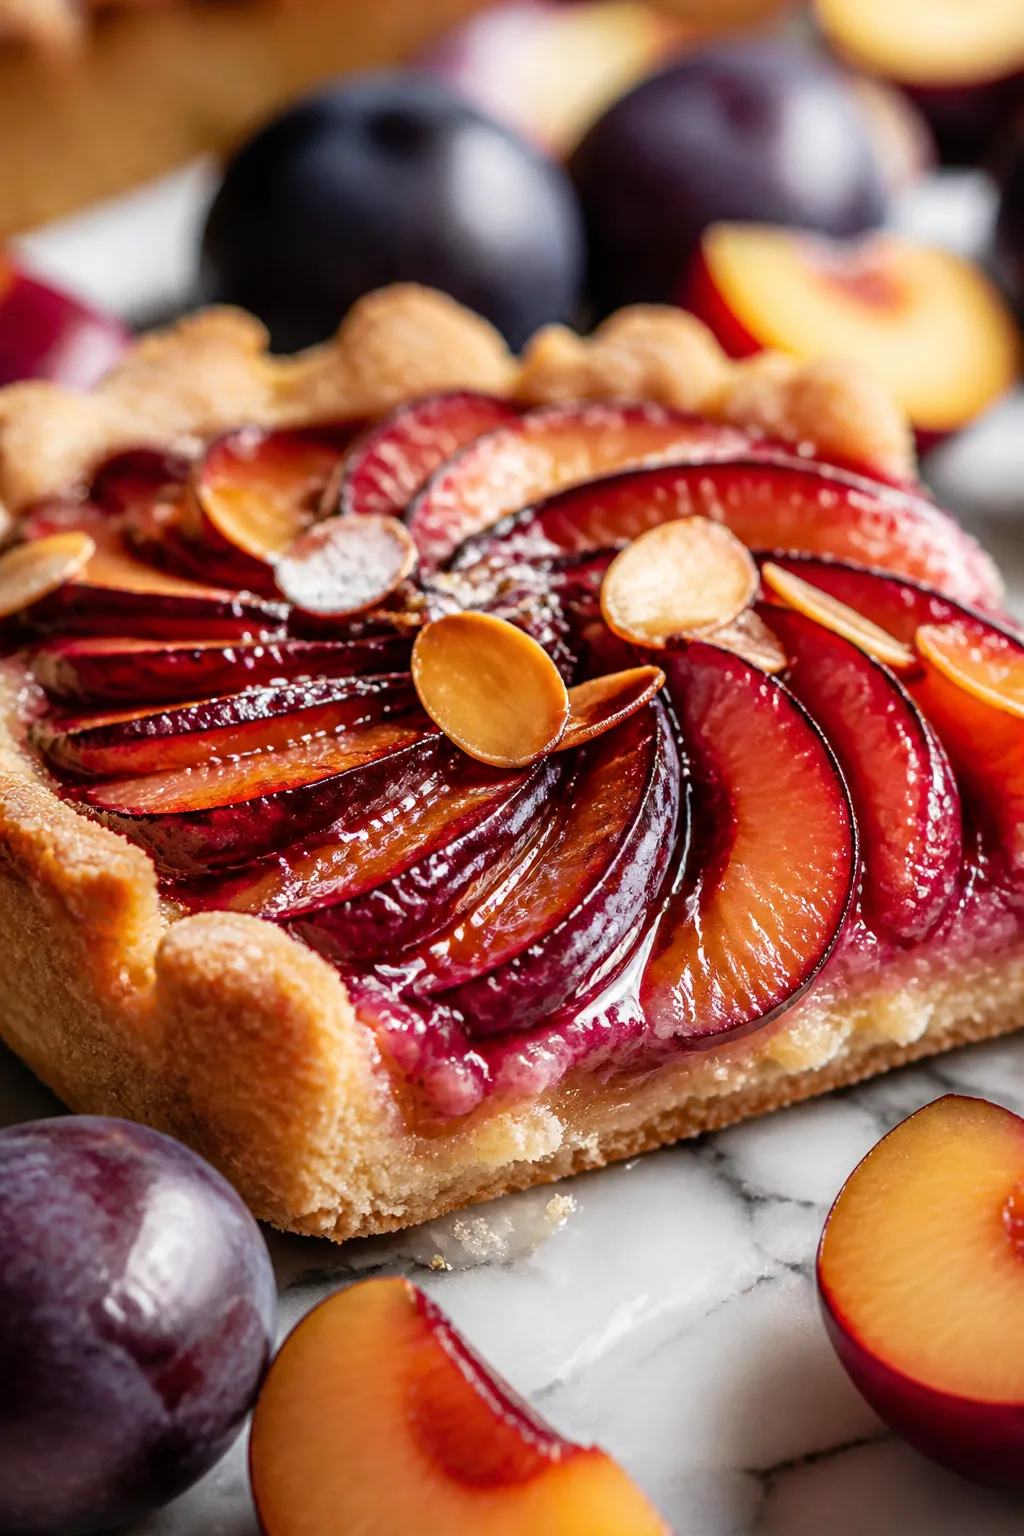
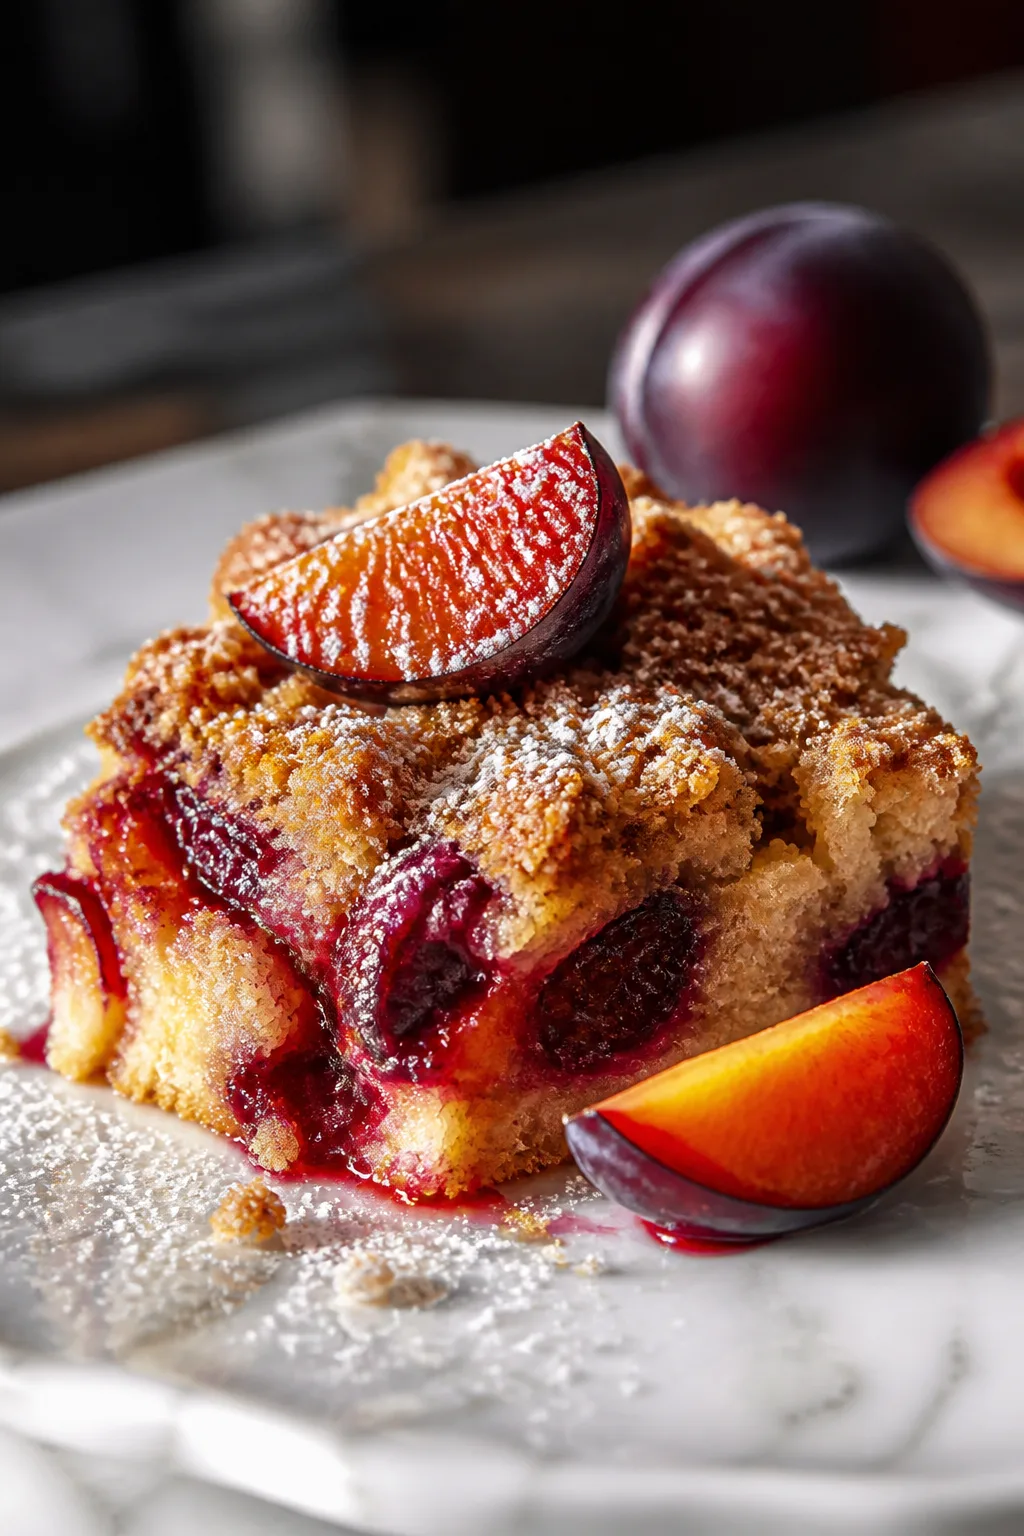
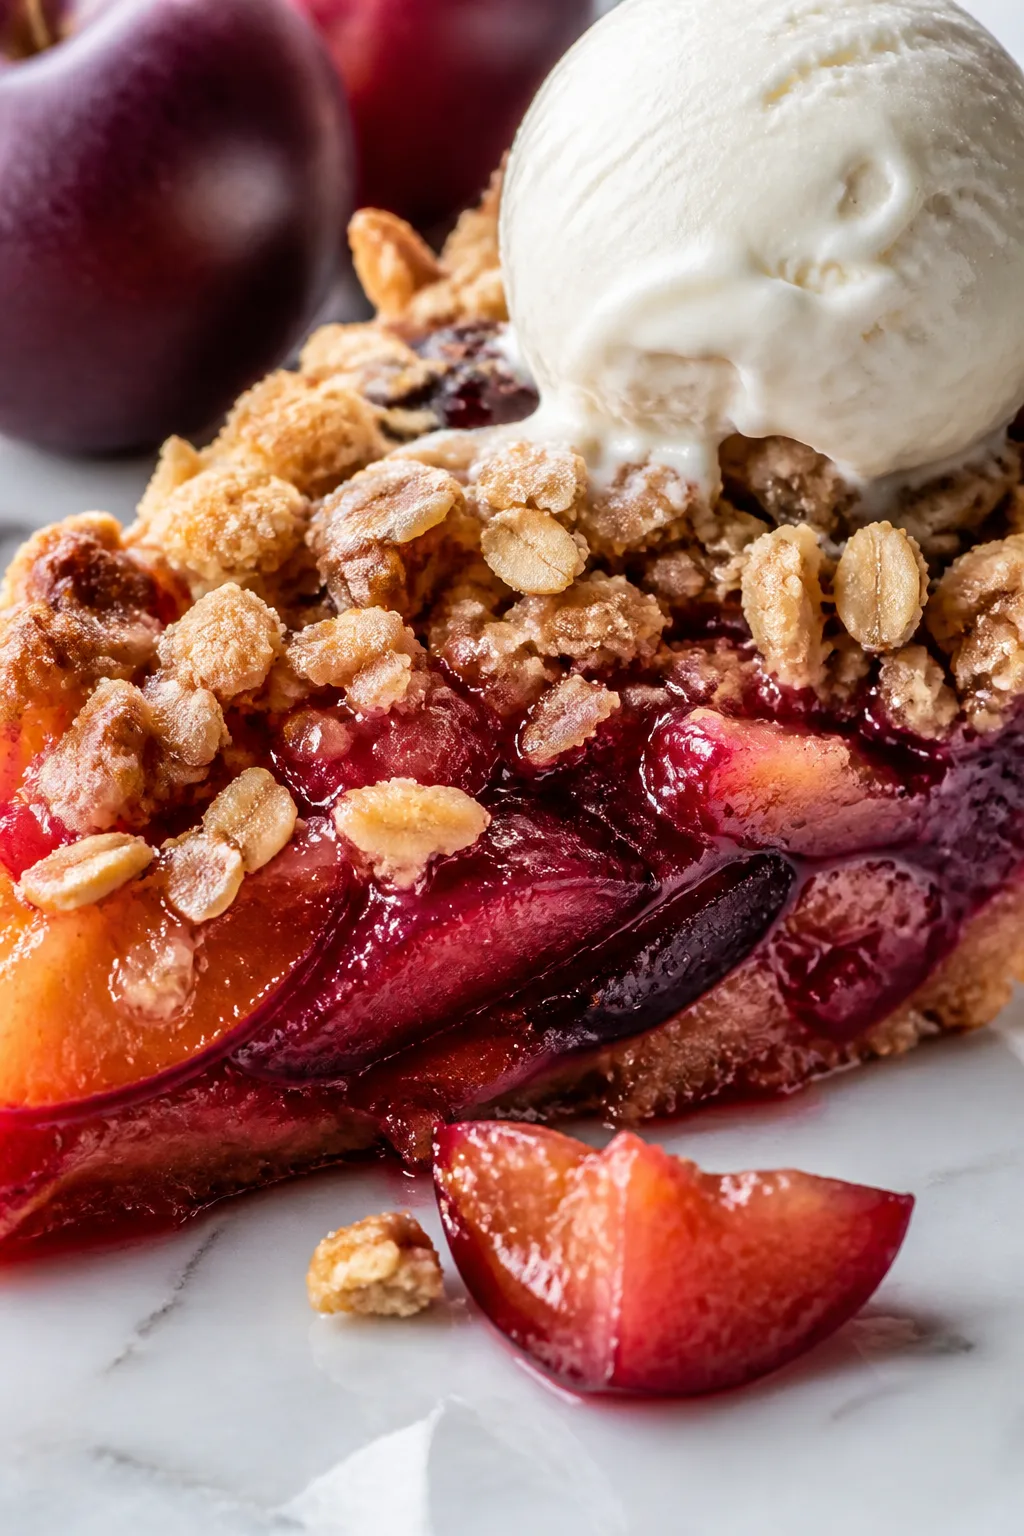
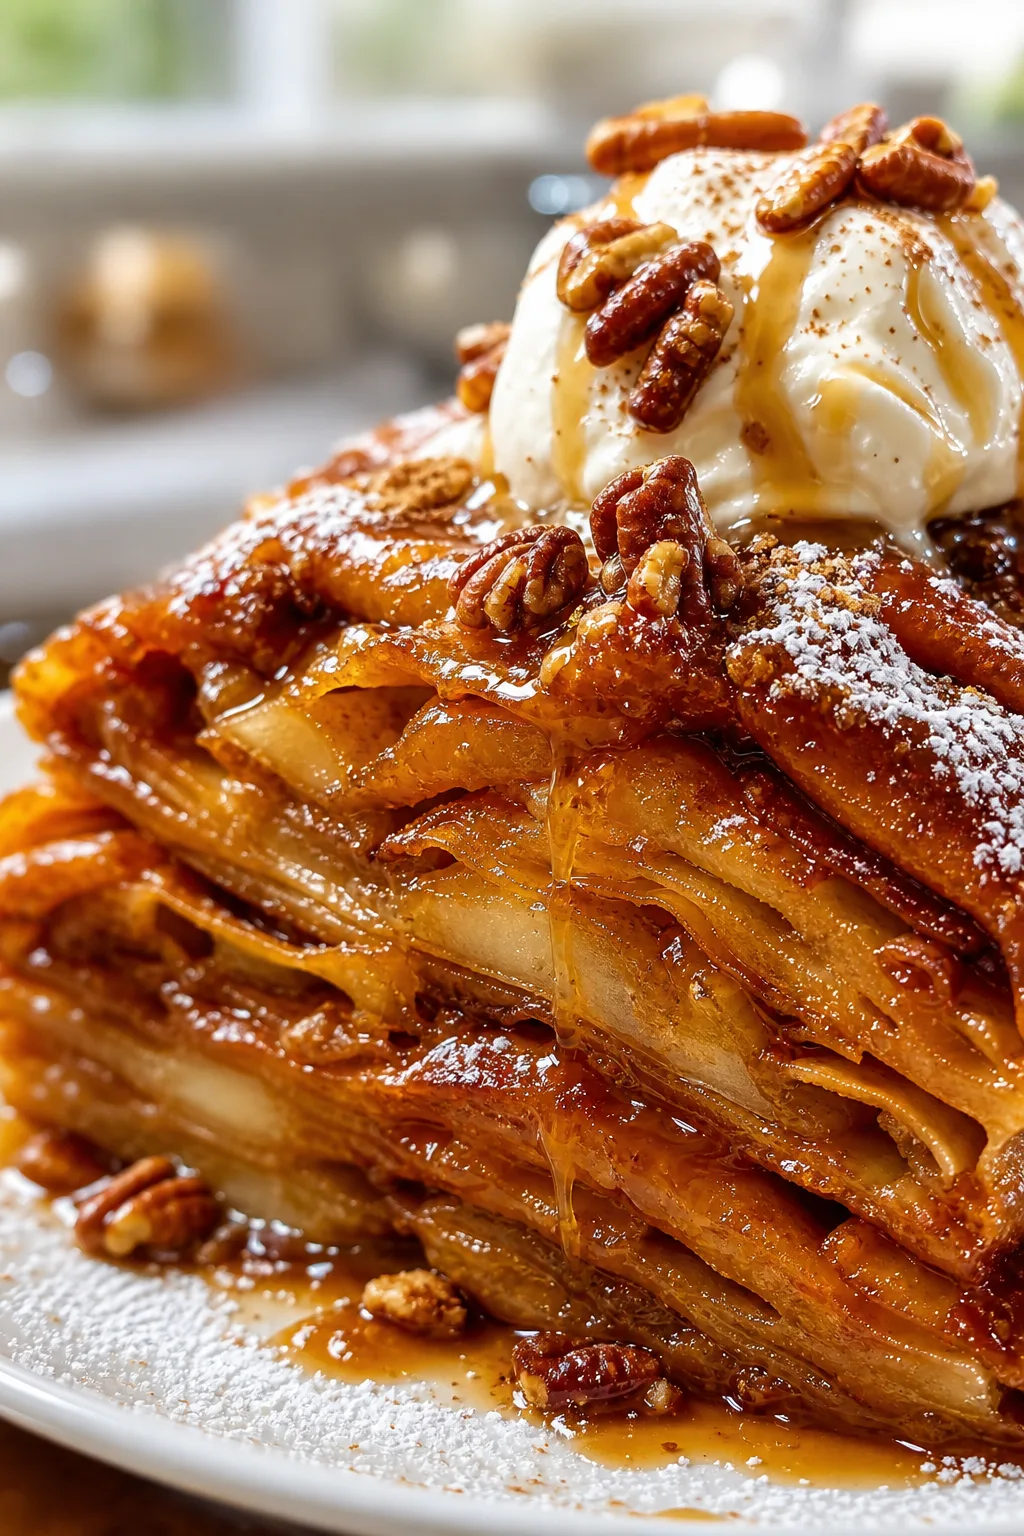
This plum crisp is my go-to for summer nights. Juicy plums get baked under a crunchy, buttery oat topping that’s just the right mix of sweet and tart. Perfect for sharing with friends or cozy solo treats!
Introduction
I first made this plum crisp a few summers ago when my local farmer’s market was overflowing with juicy, ripe plums. Honestly, I wasn’t sure how to use that many plums, but I wanted something simple and homey — not too fussy. This recipe has become a favorite because it highlights the natural sweetness and tang of fresh plums without drowning them in sugar. Plus, the buttery oat topping adds a lovely crunch that contrasts perfectly with the tender fruit beneath. One trick I learned was to toss the plums with lemon juice and vanilla before baking; it really brightens the flavors and keeps the fruit from turning dull. When it comes out of the oven, the crisp is bubbling and golden, smelling irresistible — it’s the kind of dessert that makes everyone ask for seconds. I love serving it warm with a scoop of vanilla ice cream for extra indulgence, but it’s also great on its own. This plum crisp is a simple, rustic dessert that’s perfect for summer evenings or casual weekend get-togethers. It’s easy enough for a weeknight but special enough for guests, and I think you’ll love how it celebrates fresh fruit in such an honest way.
How To Do It
Step 1
Preheat your oven to 350°F (175°C). In a large bowl, combine the sliced plums with granulated sugar, lemon juice, and vanilla extract. Toss gently to coat the fruit evenly. This step is crucial because the lemon juice adds brightness and prevents the plums from oxidizing and losing their vibrant color. Letting the mixture sit for 10 minutes allows the sugar to start drawing out the juices, which will help create a juicy filling when baked. Avoid stirring too aggressively to keep the fruit slices intact.
⏱ Time: 10 minutes
✓ Doneness: Plums should look glossy and slightly softened, with sugar dissolved.
Step 2
In a separate bowl, mix the rolled oats, flour, brown sugar, cinnamon, and salt. Add the cold, cubed butter and use your fingers or a pastry cutter to blend it into the dry ingredients until the mixture resembles coarse crumbs. This technique is important because small bits of butter create pockets of richness and flakiness when baked, leading to a tender, crumbly topping. If you rush this or the butter melts too much, the topping can become greasy or dense instead of crisp.
⏱ Time: 5 minutes
✓ Doneness: Topping looks crumbly with small pea-sized butter pieces visible.
Step 3
Transfer the plum mixture into a greased 9x13-inch baking dish, spreading it into an even layer. This ensures the fruit cooks evenly and the juices don’t pool too much on one side. An even layer also helps the topping bake uniformly without burning in spots. Avoid overcrowding the dish as this can cause sogginess.
⏱ Time: 3 minutes
✓ Doneness: Fruit layer is evenly spread without gaps or clumps.
Step 4
Sprinkle the oat topping evenly over the plums, covering the entire surface. Don’t press it down; keeping it loose helps the topping bake crisp and golden rather than dense and chewy. If the topping is too thick in some areas, it might stay doughy instead of crunchy. Aim for a uniform layer about 1/2 inch thick.
⏱ Time: 2 minutes
✓ Doneness: Topping covers the fruit completely and looks crumbly.
Step 5
Bake the crisp in the preheated oven for 35 to 40 minutes. You want the topping to turn a deep golden brown and the fruit filling to be bubbly around the edges. This bubbling is a sign that the fruit has released its juices and the sugar has caramelized slightly, creating that luscious, jammy texture. Avoid opening the oven door too often, as it can lower the temperature and extend cooking time.
⏱ Time: 35-40 minutes
✓ Doneness: Topping is golden brown and fruit juices bubble visibly.
Step 6
Remove the crisp from the oven and let it cool for at least 10 minutes before serving. This resting time helps the juices thicken slightly so the crisp isn’t runny when you scoop it out. Also, the topping firms up a bit as it cools, giving you that perfect contrast of textures. If you serve it too hot, the filling will be very liquid and hard to plate neatly.
⏱ Time: 10 minutes
✓ Doneness: Fruit filling thickens slightly and topping firms up.
Step 7
Serve the plum crisp warm, ideally with a scoop of vanilla ice cream or a dollop of whipped cream. The cold creaminess pairs beautifully with the warm, tangy fruit and crunchy topping, creating a lovely balance. If you prefer, you can also enjoy it at room temperature or chilled, but the textures and flavors are most vibrant when warm.
⏱ Time: Immediate
✓ Doneness: Ice cream melts slightly against the warm crisp, enhancing flavors.
Step 8
If you have leftovers, cover the crisp tightly with plastic wrap or foil and store in the fridge. Reheat gently in the oven before serving to bring back the crisp topping texture. Avoid microwaving as it can make the topping soggy. Reheating in the oven at 325°F for 10-15 minutes works best.
⏱ Time: 10-15 minutes reheating
✓ Doneness: Topping regains some crunch and filling is warm.
Step 9
For a deeper flavor, try mixing in a pinch of ground ginger or nutmeg to the oat topping before baking. These warm spices complement the plums beautifully and add complexity without overpowering the fruit. Adding spices is optional but highly recommended if you want to elevate the crisp for holiday meals or special occasions.
⏱ Time: Optional step during topping prep
✓ Doneness: Aromatic spices blend subtly into the topping.
Variations
Spiced Plum and Apple Crisp
Add 2 cups of peeled, sliced apples to the plums for extra texture and sweetness. Increase cinnamon to 1 1/2 teaspoons and add 1/4 teaspoon ground cloves for warmth. The apples create a firmer filling and the spices deepen the flavor, making it perfect for fall.
Note: Apples release less juice than plums, so you may need to bake an extra 5 minutes to get bubbling.
Gluten-Free Plum Crisp
Replace all-purpose flour with an equal amount of almond flour or a gluten-free baking blend. Use certified gluten-free oats to keep the topping crisp. This swap maintains the dessert’s texture and flavor without gluten.
Note: Almond flour can brown faster, so watch the topping closely to avoid burning.
Vegan Plum Crisp
Use coconut oil or vegan butter instead of dairy butter, and substitute brown sugar with coconut sugar for a slightly different sweetness. This version still yields a rich, crumbly topping and juicy filling without animal products.
Note: Coconut oil melts faster, so chill the topping mixture before baking to keep texture.
Plum Crisp with Nutty Topping
Add 1/2 cup chopped walnuts or pecans to the oat topping for extra crunch and flavor. Toast the nuts lightly before mixing to enhance their nuttiness. This variation adds complexity and a pleasing texture contrast.
Note: Nuts can brown quickly; stir halfway through baking if needed.
Spiked Plum Crisp
For adults, add 2 tablespoons of bourbon or brandy to the plum mixture before baking. The alcohol cooks off but leaves a warm, rich flavor that pairs beautifully with the fruit’s tartness.
Note: Alcohol increases liquid slightly; bake until juices bubble and topping is golden.
Pro Tips
Use a mix of plum varieties if possible for complexity.
Different plums vary in sweetness and acidity, so combining them creates a more balanced flavor profile. This also affects the texture, as some plums hold their shape better while others become juicier, contributing to a luscious filling.
Chill your baking dish before adding the topping.
A cold dish helps the topping stay crisp longer by slowing the melting of butter. This results in a more distinct crumbly texture rather than a greasy, dense layer.
Don’t skip the resting time after baking.
Allowing the crisp to cool for at least 10 minutes lets the fruit juices thicken and the topping firm up. Serving immediately can result in runny filling and a less satisfying texture contrast.
Cut butter into small cubes and keep it cold.
Cold butter creates pockets of steam as it melts, producing a flaky, crumbly topping. Warm butter blends too much with the flour and oats, making the topping dense.
Add a pinch of cinnamon or nutmeg for extra warmth.
Warm spices enhance the natural sweetness of the plums and add depth to the overall flavor without overpowering the fruit’s freshness.
Use fresh lemon juice instead of bottled.
Fresh lemon juice has a brighter, cleaner acidity that preserves the fruit’s color and flavor better than bottled varieties, which can sometimes taste bitter or dull.
Serve with vanilla ice cream or whipped cream.
The cold creaminess contrasts beautifully with the warm, tart fruit and crunchy topping, elevating the dessert experience and balancing the flavors.
Common Mistakes to Avoid
Using overripe or mushy plums
Why it happens People often grab whatever fruit is available without checking ripeness, assuming all plums behave the same in baking.
Fix Choose plums that are ripe but still firm to maintain structure during baking. If your plums are very soft, reduce sugar slightly and bake for less time to avoid a watery filling.
Not cutting cold butter into the topping properly
Why it happens Rushing or using melted butter leads to a greasy topping with poor texture.
Fix Keep butter chilled and use your fingers or a pastry cutter to quickly incorporate it into the dry ingredients until crumbly. Work fast to prevent melting.
Skipping the lemon juice
Why it happens Some think lemon juice isn’t necessary or forget it, leading to dull, brown fruit after baking.
Fix Always toss the fruit with fresh lemon juice to brighten flavor and prevent oxidation. It’s a small step with big impact.
Adding too much sugar
Why it happens Trying to make the dessert very sweet can overpower the natural plum flavor and cause excess syrup.
Fix Stick to the recommended sugar amount or taste the fruit first. Adjust sugar based on plum sweetness to keep balance.
Overbaking the crisp
Why it happens Leaving it in too long dries out the topping and can burn the edges.
Fix Check for bubbling fruit and golden topping at 35 minutes, then remove promptly. Use visual cues rather than just time.
Nutrition
Per Serving:
Nutritional values are estimates and may vary based on specific ingredients used.
Storage & Tips
Room Temperature
The plum crisp can safely sit at room temperature for up to 2 hours when covered loosely with foil or a clean kitchen towel. Beyond this, the risk of bacterial growth increases, especially because of the fruit filling.
Refrigerator
Store leftovers in an airtight container in the fridge for up to 4 days. The topping may soften slightly, but reheating in the oven restores some crispness. The flavors often deepen after a day, making it delicious cold or warmed.
Freezer
Freeze the crisp in a freezer-safe container for up to 3 months. Wrap tightly with plastic wrap and foil to prevent freezer burn. Thaw overnight in the fridge then reheat in the oven to restore texture.
Reheating
Reheat leftovers in a 325°F oven for 10-15 minutes until warmed through and topping crisps back up. Avoid microwaving as it makes the topping soggy. Add a splash of water or lemon juice to the fruit if it seems dry.
Make Ahead
You can prepare the plum filling and topping separately up to 2 days ahead. Store the fruit mixture in the fridge and keep the topping in an airtight container. Assemble and bake just before serving for best texture.
FAQ
Can I use frozen plums for this recipe?
Yes, but thaw and drain frozen plums well before using to avoid excess water making the crisp soggy. You might also reduce added sugar slightly since frozen fruit can be sweeter or more watery depending on the brand.
What if I don’t have rolled oats?
You can substitute quick oats but the topping will be less chewy and more crumbly. Avoid steel-cut oats as they won’t soften properly during baking.
How do I make the topping extra crunchy?
Make sure your butter is cold and cut into small pieces. Also, avoid packing the topping down; keep it loose so it crisps up well. Baking uncovered helps too.
Can I make this crisp gluten-free?
Absolutely! Use gluten-free flour blends and certified gluten-free oats. Almond flour is a great substitute but watch the topping closely to prevent burning as it browns faster.
What’s the best way to serve plum crisp?
Warm from the oven with vanilla ice cream or whipped cream is classic. You can also enjoy it at room temperature or even cold, though the textures and flavors are best warm.
Can I prepare the crisp ahead of time?
Yes, you can assemble it and refrigerate for up to 24 hours before baking. Just add a few extra minutes to the baking time if baking from cold.
Why is my crisp watery after baking?
This usually happens if the fruit is too juicy or not enough thickener is used. Tossing the fruit with sugar and lemon juice helps, as does baking until juices bubble. You can also add a tablespoon of cornstarch next time to absorb excess liquid.
Can I add other fruits to the crisp?
Definitely! Apples, berries, or peaches work well combined with plums. Just adjust sugar and baking time as needed since different fruits release different amounts of juice.
Final Thoughts
I hope you enjoy this plum crisp as much as my family does! It’s a simple way to celebrate fresh fruit, so give it a try and let me know how it turns out!