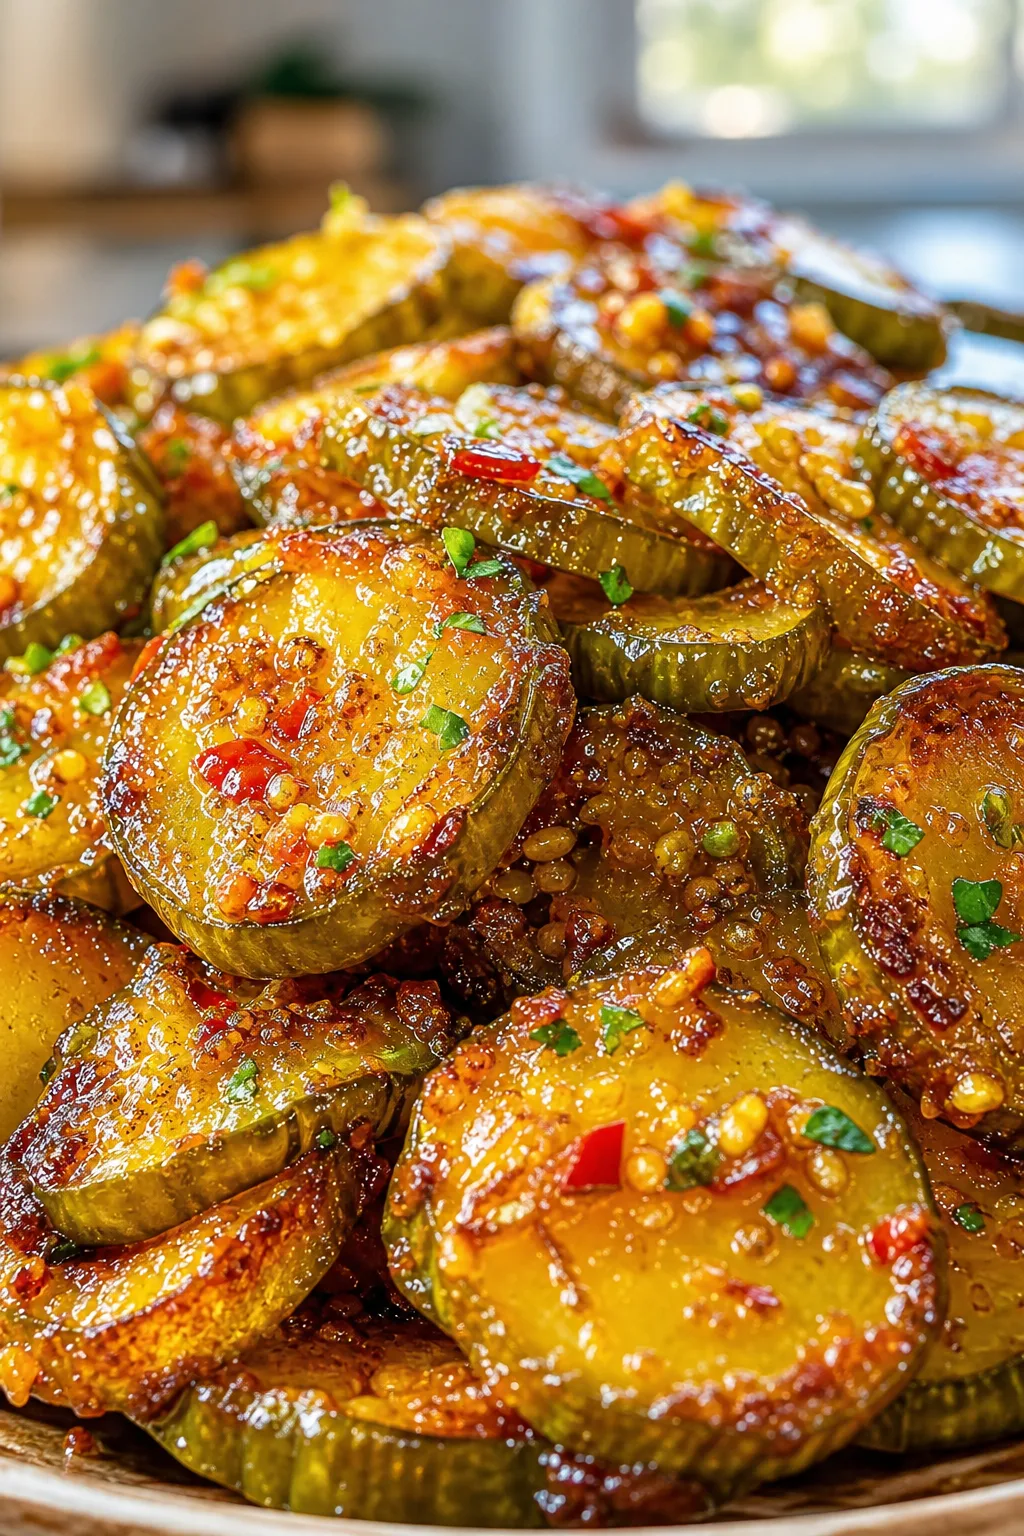
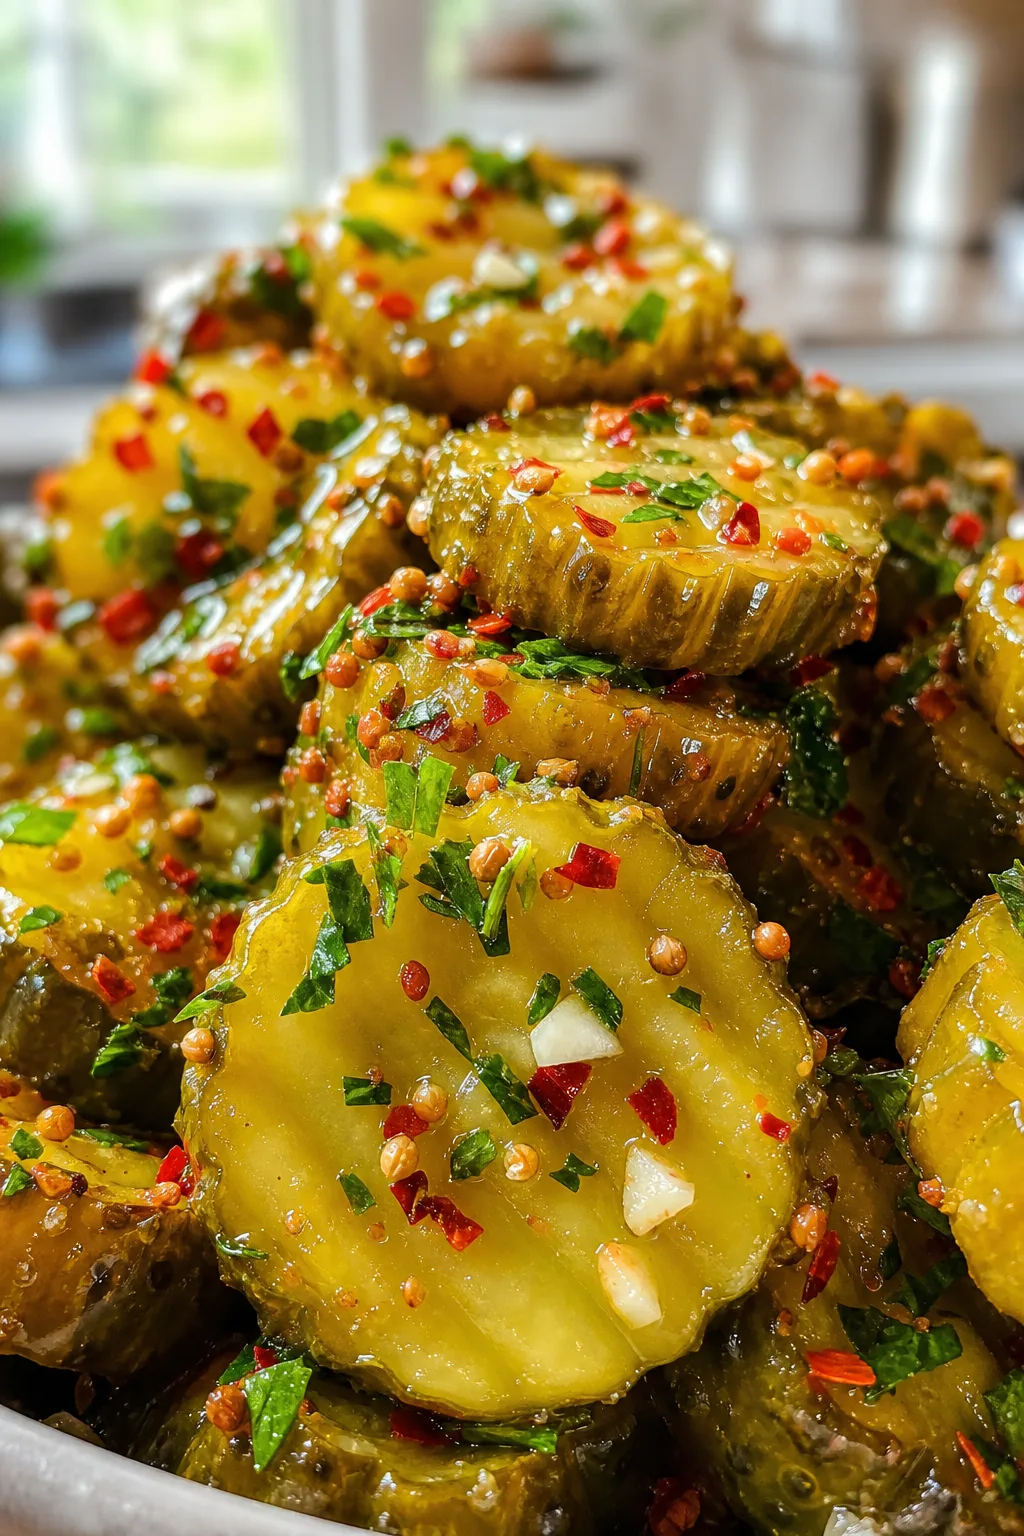
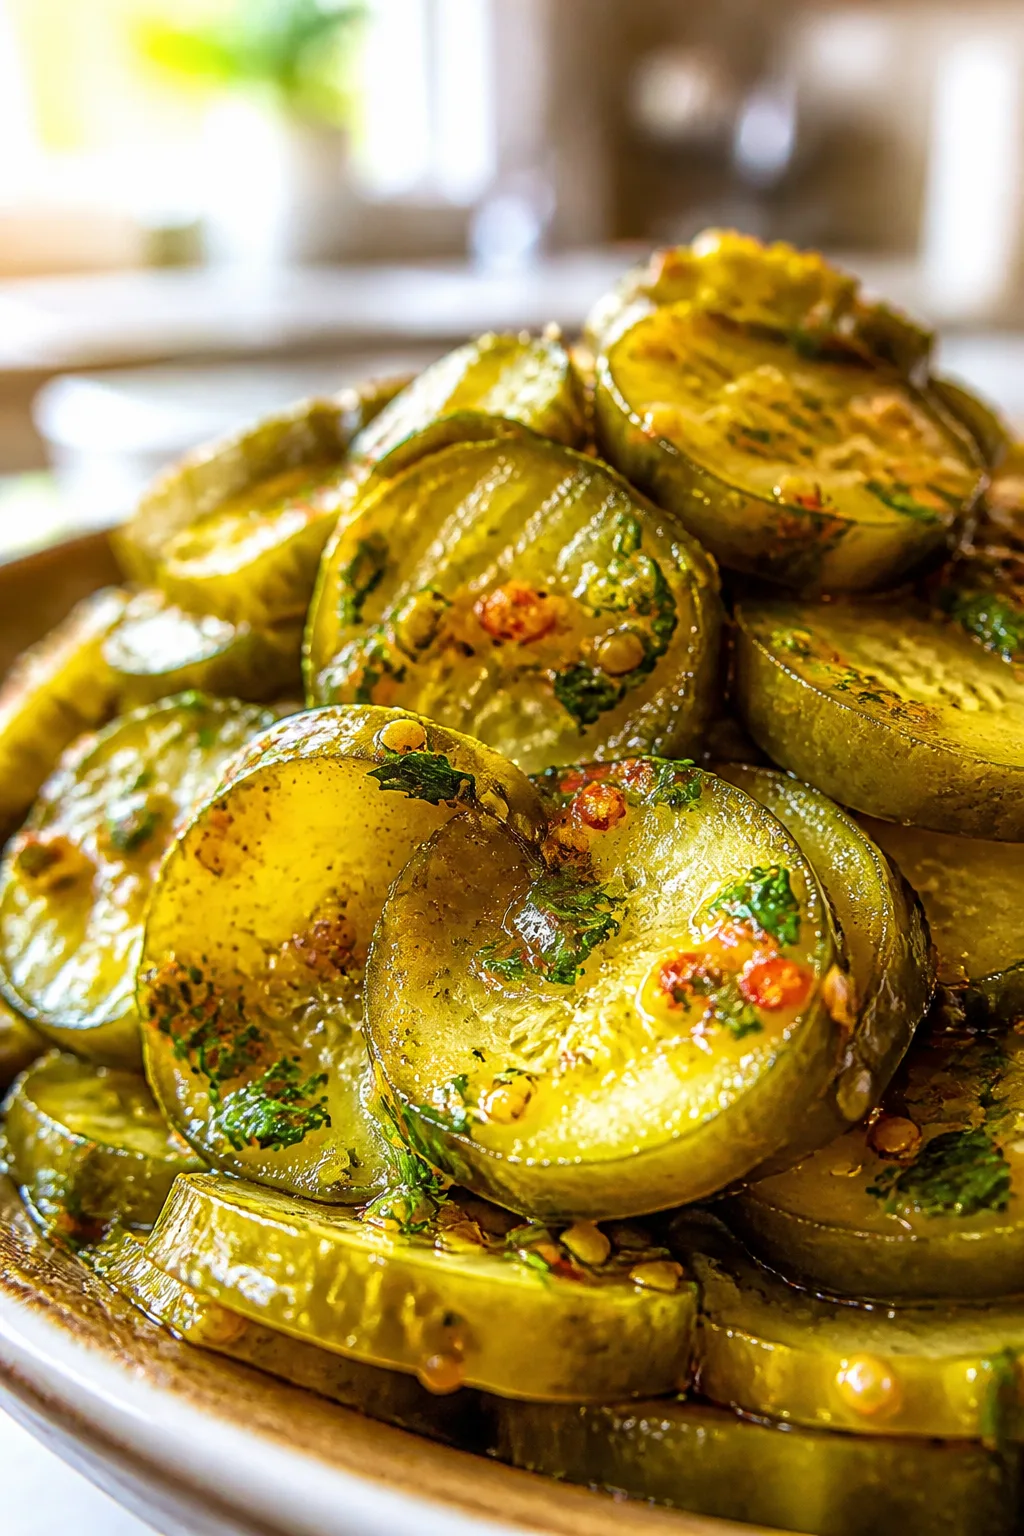
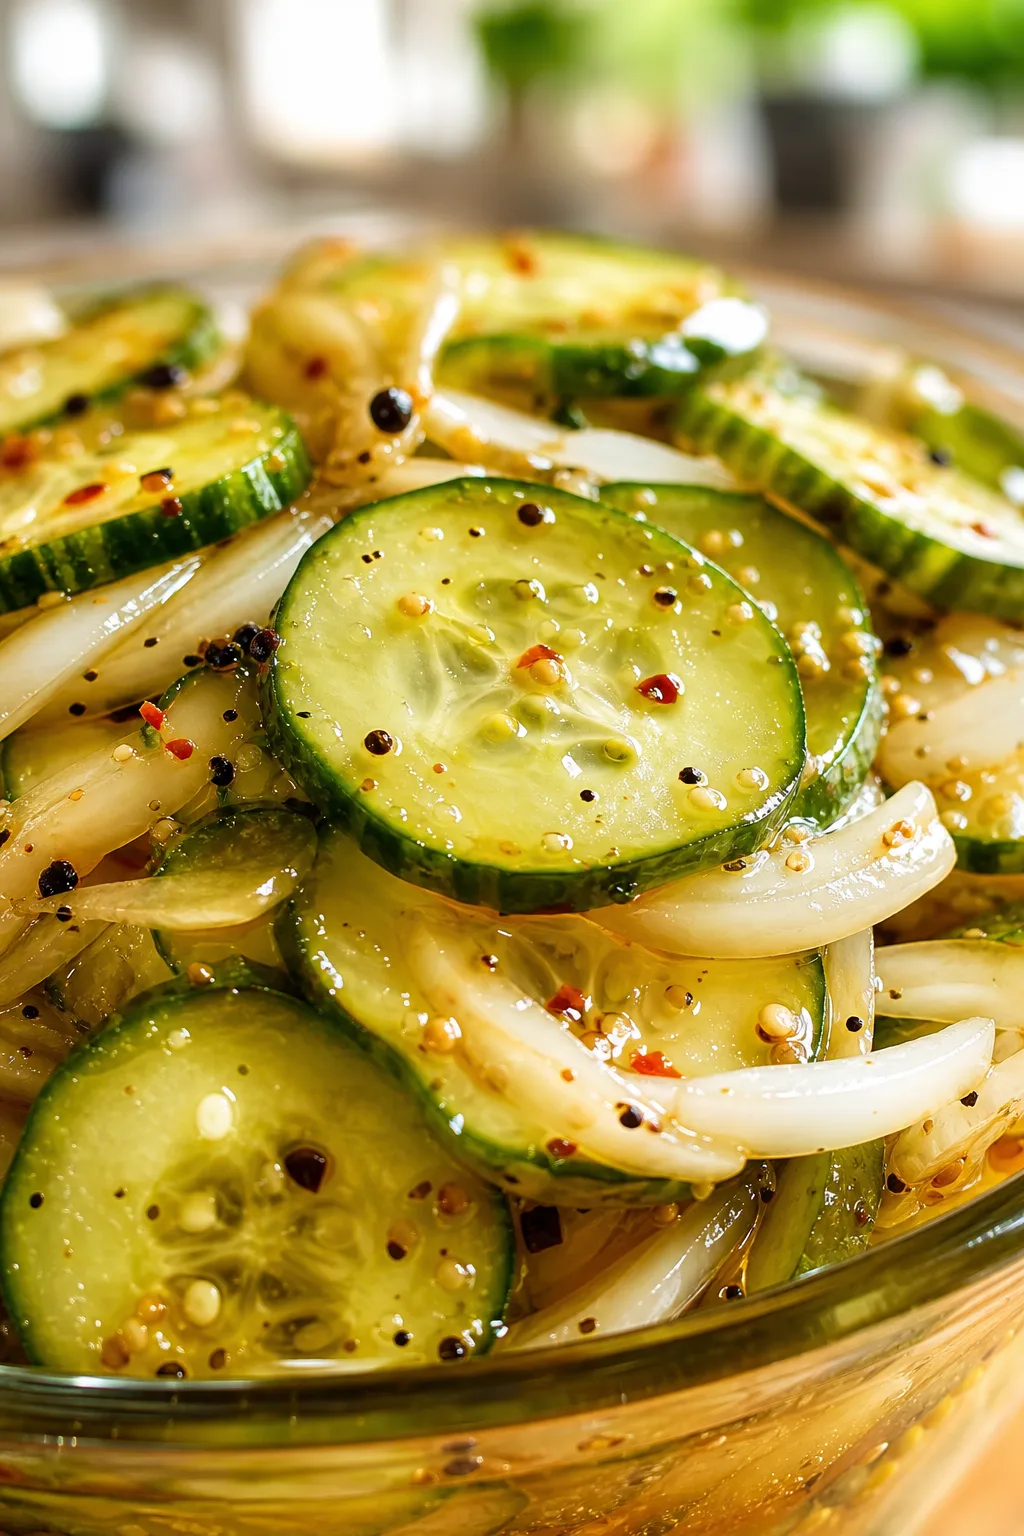
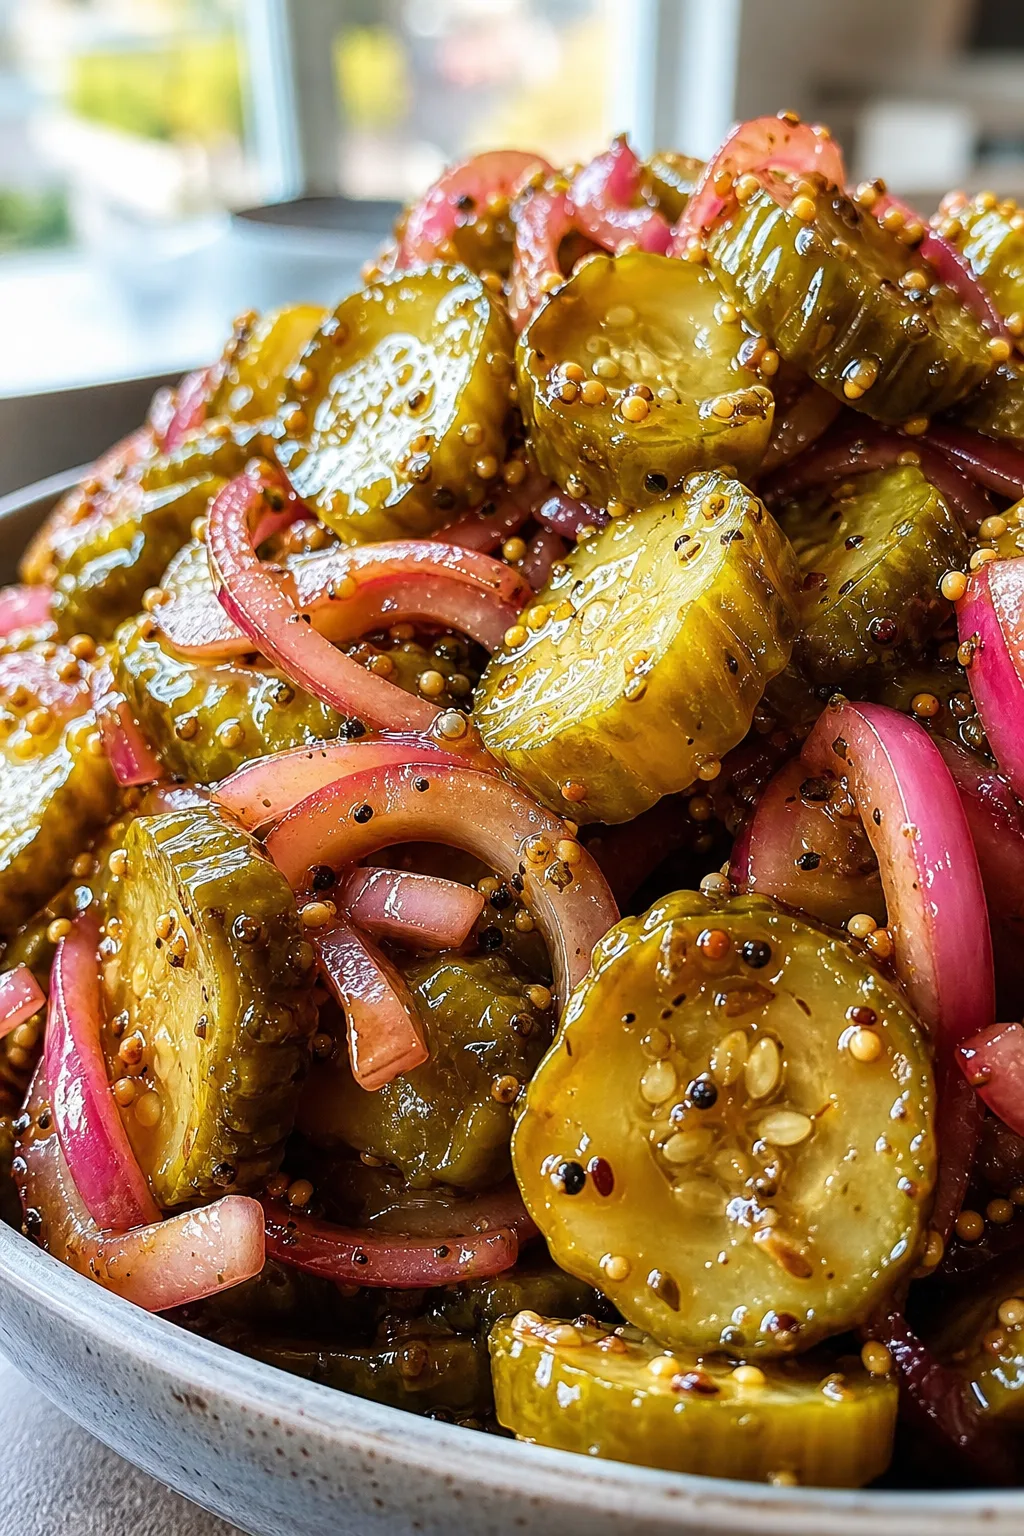
These homemade canned pickles are delightfully crisp and tangy thanks to fresh dill and a simple brine. They keep well for months and are perfect for snacking or jazzing up sandwiches anytime.
Introduction
I first tried making canned pickles a few years back after my grandma handed me her jar of homemade delights. It was a game changer — those pickles were crunchy, tangy, and simply unforgettable. Since then, I've tweaked the recipe to make it easier and more reliable for busy home cooks like me, without losing that classic dill flavor. One trick I learned is to use fresh dill and keep the cucumbers cold right up until canning; it really helps keep them crisp. Another secret is the balance between vinegar, salt, and a touch of sugar in the brine — it brightens the flavor without being too sharp. The finished pickles are satisfyingly crunchy with a perfect tang, great for snacking, sandwiches, or even as gifts. Plus, they store beautifully, so you can enjoy them all year long. I love how simple ingredients come together to create something so delicious and comforting.
What You'll Need
Approximately 4 pints of pickles, 4 servings
- 4 cups water, filtered
- 2 cups white vinegar (5% acidity)
- 3 tablespoons kosher salt
- 2 tablespoons sugar
- 4 cloves garlic, peeled
- 4 teaspoons dill seeds or 4 fresh dill sprigs
- 8 small pickling cucumbers, washed
- 1 teaspoon black peppercorns
How To Do It
Step 1
Start by sterilizing your jars and lids to ensure safe preservation. Place jars in boiling water for 10 minutes or run them through a hot dishwasher cycle without detergent. This step prevents bacteria growth and keeps your pickles fresh longer. Don’t skip this — even the best recipe won’t save you from spoilage if jars aren’t clean and sterile.
⏱ Time: 15 minutes
✓ Doneness: Jars are hot to the touch and visibly clean with no residue.
Step 2
Prepare your cucumbers by washing them thoroughly and trimming off the blossom ends. The blossom end contains enzymes that can cause softening, so removing it helps keep pickles crunchy. Keep cucumbers cold in the fridge until you're ready to pack them to maintain their firmness.
⏱ Time: 5 minutes
✓ Doneness: Cucumbers are clean, trimmed, and chilled.
Step 3
Make the brine by combining water, white vinegar, kosher salt, and sugar in a pot. Bring it to a boil, stirring until salt and sugar dissolve completely. This hot brine will infuse flavor and preserve the pickles. Boiling also helps kill any microbes and softens the cucumbers slightly for better flavor absorption.
⏱ Time: 10 minutes
✓ Doneness: Brine is clear and boiling with no grainy salt or sugar.
Step 4
Pack each sterilized jar tightly with cucumbers, garlic cloves, dill sprigs or seeds, and black peppercorns. Packing firmly minimizes air pockets, which can cause spoilage. The garlic adds a subtle pungency while dill gives the classic pickle aroma. Peppercorns add a gentle spice note.
⏱ Time: 10 minutes
✓ Doneness: Jars are tightly packed but not crushed; aromatics evenly distributed.
Step 5
Pour the hot brine over the cucumbers in each jar, leaving about ½ inch headspace at the top. This space allows for expansion during processing and prevents overflow. Make sure cucumbers are fully submerged to avoid mold. Use a non-metallic utensil to remove air bubbles by gently pressing around the jar sides.
⏱ Time: 5 minutes
✓ Doneness: Brine covers cucumbers fully with no trapped air bubbles.
Step 6
Wipe rims of jars with a clean cloth to remove any brine residue that could prevent sealing. Place lids and rings on jars, tightening rings fingertip tight to avoid leaks but allow air to escape during processing. Proper sealing is key to safely preserving your pickles.
⏱ Time: 5 minutes
✓ Doneness: Jar rims are clean; lids are snug but not over-tightened.
Step 7
Process jars in a boiling water bath for 10 minutes. The water should cover jars by at least an inch. This heat treatment kills any remaining bacteria and creates a vacuum seal as jars cool. Keep the water at a rolling boil for the entire time to ensure safety.
⏱ Time: 10 minutes
✓ Doneness: Jars have been submerged in boiling water for the full time.
Step 8
Remove jars carefully with a jar lifter and place them on a towel to cool undisturbed for 12-24 hours. You’ll hear the satisfying 'pop' sound as jars seal. Avoid moving jars during cooling to prevent seal failure.
⏱ Time: 12-24 hours
✓ Doneness: Lids have concave shape and don’t flex when pressed.
Step 9
Check seals after cooling. Any jars that didn’t seal properly should be refrigerated and eaten soon. Store sealed jars in a cool, dark place for at least 2 weeks before opening to develop full flavor. Patience here really pays off!
⏱ Time: 2 weeks minimum
✓ Doneness: Jars remain sealed and show no signs of spoilage.
Variations
Spicy Pickles
Add 1-2 sliced jalapeños or a teaspoon of red pepper flakes to the jars for a spicy kick. This variation adds heat that pairs wonderfully with the tangy brine, perfect for those who like a little fire in their snacks.
Note: Spicy ingredients can intensify during pickling, so start mild if unsure. Keep an eye on pepper quantity to balance heat.
Bread and Butter Pickles
Increase sugar to ½ cup and add 1 teaspoon mustard seeds and 1 sliced onion to the brine. This creates a sweeter, tangy pickle with a mild onion flavor, great for burgers and sandwiches.
Note: Higher sugar content requires careful monitoring of boiling time to avoid caramelization.
Garlic Lover’s Pickles
Double the garlic cloves for a robust garlicky flavor. This is perfect if you love pungent, savory pickles that stand out as a snack or condiment.
Note: More garlic can overpower, so balance with fresh dill and peppercorns.
Herb-Infused Pickles
Add fresh herbs like thyme, rosemary, or bay leaves along with dill for a complex herbal aroma. This adds depth and a gourmet touch to your pickles.
Note: Herbs should be fresh and used sparingly to avoid bitterness.
Quick Refrigerator Pickles
Skip canning and store in the fridge for up to 2 weeks. These pickles are crisp and fresh but less shelf-stable, perfect for quick snacks without the fuss of canning.
Note: No boiling water bath needed; use sterilized jars and keep refrigerated.
Pro Tips
Keep cucumbers cold until packing to maximize crunch.
Cold cucumbers have firmer cell walls and less enzymatic activity, which helps them stay crisp throughout the canning process. If cucumbers warm up too much, they soften and can yield soggy pickles.
Remove the blossom end of each cucumber before pickling.
The blossom end contains enzymes that degrade pectin, a key component in the cucumber's structure. Trimming this end prevents softening and keeps the pickles crunchy.
Use a rolling boil during water bath canning to ensure safety.
Maintaining a full rolling boil kills harmful bacteria and creates a vacuum seal. If the water temperature drops, jars may not seal properly, risking spoilage.
Don’t over-tighten jar lids before processing.
Lids need to be tight enough to stay on but loose enough to let air escape during boiling. Over-tightening can prevent proper sealing and cause jars to crack.
Let pickles sit for at least two weeks before eating.
This resting time allows flavors to meld and the cucumbers to absorb the brine fully. Eating too soon results in less flavorful pickles.
Use non-iodized kosher salt for the cleanest flavor.
Iodized salt can cause discoloration and off-flavors. Kosher salt dissolves evenly and keeps the brine clear.
Check seals after cooling and refrigerate unsealed jars.
Sometimes jars fail to seal. Refrigerating unsealed jars prevents spoilage and lets you enjoy the pickles safely in a shorter timeframe.
Common Mistakes to Avoid
Skipping sterilizing jars before canning.
Why it happens Some cooks assume boiling the jars during canning is enough, but residual bacteria can survive and spoil the batch.
Fix Always sterilize jars and lids in boiling water or a hot dishwasher cycle before packing. This extra step prevents contamination and extends shelf life.
Not removing blossom ends of cucumbers.
Why it happens It’s easy to overlook this small step because it seems insignificant, but those ends contain enzymes that cause softening.
Fix Trim off the blossom ends before pickling to maintain crispness. It only takes seconds but makes a big difference.
Using vinegar with less than 5% acidity.
Why it happens Some assume any vinegar will work, but acidity is key for preservation.
Fix Use only vinegar labeled 5% acidity to ensure safety and proper flavor balance.
Over-tightening lids before processing.
Why it happens People think tighter is better to prevent leaks, but this can trap air inside and prevent seals.
Fix Screw lids on fingertip tight to allow air to escape during boiling and form a vacuum seal.
Rushing to eat pickles immediately after canning.
Why it happens Excited cooks want to taste their pickles right away but flavors need time to develop.
Fix Wait at least two weeks for the best flavor and texture before opening jars.
Nutrition
Per Serving:
Nutritional values are estimates and may vary based on specific ingredients used.
Storage & Tips
Room Temperature
Once sealed, pickles can safely keep at room temperature in a cool, dark pantry for up to one year. Always store jars away from direct sunlight and heat sources to preserve flavor and texture.
Refrigerator
After opening, store pickles in the refrigerator in their brine for up to 2 months. Flavors may mellow over time, but they remain delicious. For best crunch, consume within the first few weeks.
Freezer
Freezing pickles is not recommended as it compromises their crisp texture. If needed, you can freeze the brine separately, but cucumbers will become mushy upon thawing.
Reheating
Pickles are typically eaten cold or at room temperature. No reheating is necessary. If you want warm pickles, briefly heat on the stovetop to preserve texture.
Make Ahead
You can prepare the brine and sterilize jars 1-2 days ahead. Keep cucumbers refrigerated and pack just before canning for maximum freshness. Pickles improve in flavor after a resting period post-canning.
FAQ
Can I use regular table salt instead of kosher salt?
Table salt contains anti-caking agents and iodine, which can cloud the brine and affect flavor. If you must use table salt, reduce the amount by about half due to its finer grain, but kosher salt is preferred for best results.
How do I know if my jars sealed properly?
After cooling, press the center of each lid. If it doesn’t flex up and down and has a concave shape, it’s sealed. If the lid pops or moves, the jar didn’t seal and should be refrigerated and consumed soon.
Can I use flavored vinegar for the brine?
It’s best to use plain white vinegar with 5% acidity. Flavored vinegars can alter the taste and color of your pickles, sometimes unpredictably. Stick to standard vinegar for classic results.
Why should I remove the blossom end of cucumbers?
The blossom end contains enzymes that break down pectin, causing the pickles to soften. Removing it helps maintain a firm, crunchy texture throughout storage.
How long should I wait before eating canned pickles?
For best flavor, wait at least two weeks after canning. This allows the cucumbers to absorb the brine and aromatics fully, resulting in tastier pickles.
Can I reuse jars and lids for pickling?
You can reuse jars if they’re not chipped or cracked, but always use new lids to ensure a proper seal. Old lids may not seal correctly and can risk spoilage.
What if my pickles turn out soft?
Soft pickles often result from using overripe cucumbers, skipping the blossom end removal, or improper canning temperature. Use firm cucumbers, keep them cold, and follow processing times carefully.
Can I add other spices to the recipe?
Absolutely! Mustard seeds, coriander, or red pepper flakes work well. Just add them in small amounts to avoid overpowering the classic dill flavor.
Final Thoughts
I hope you enjoy making these crunchy, tangy homemade pickles as much as I do. Give the recipe a try and let me know how your jars turn out!