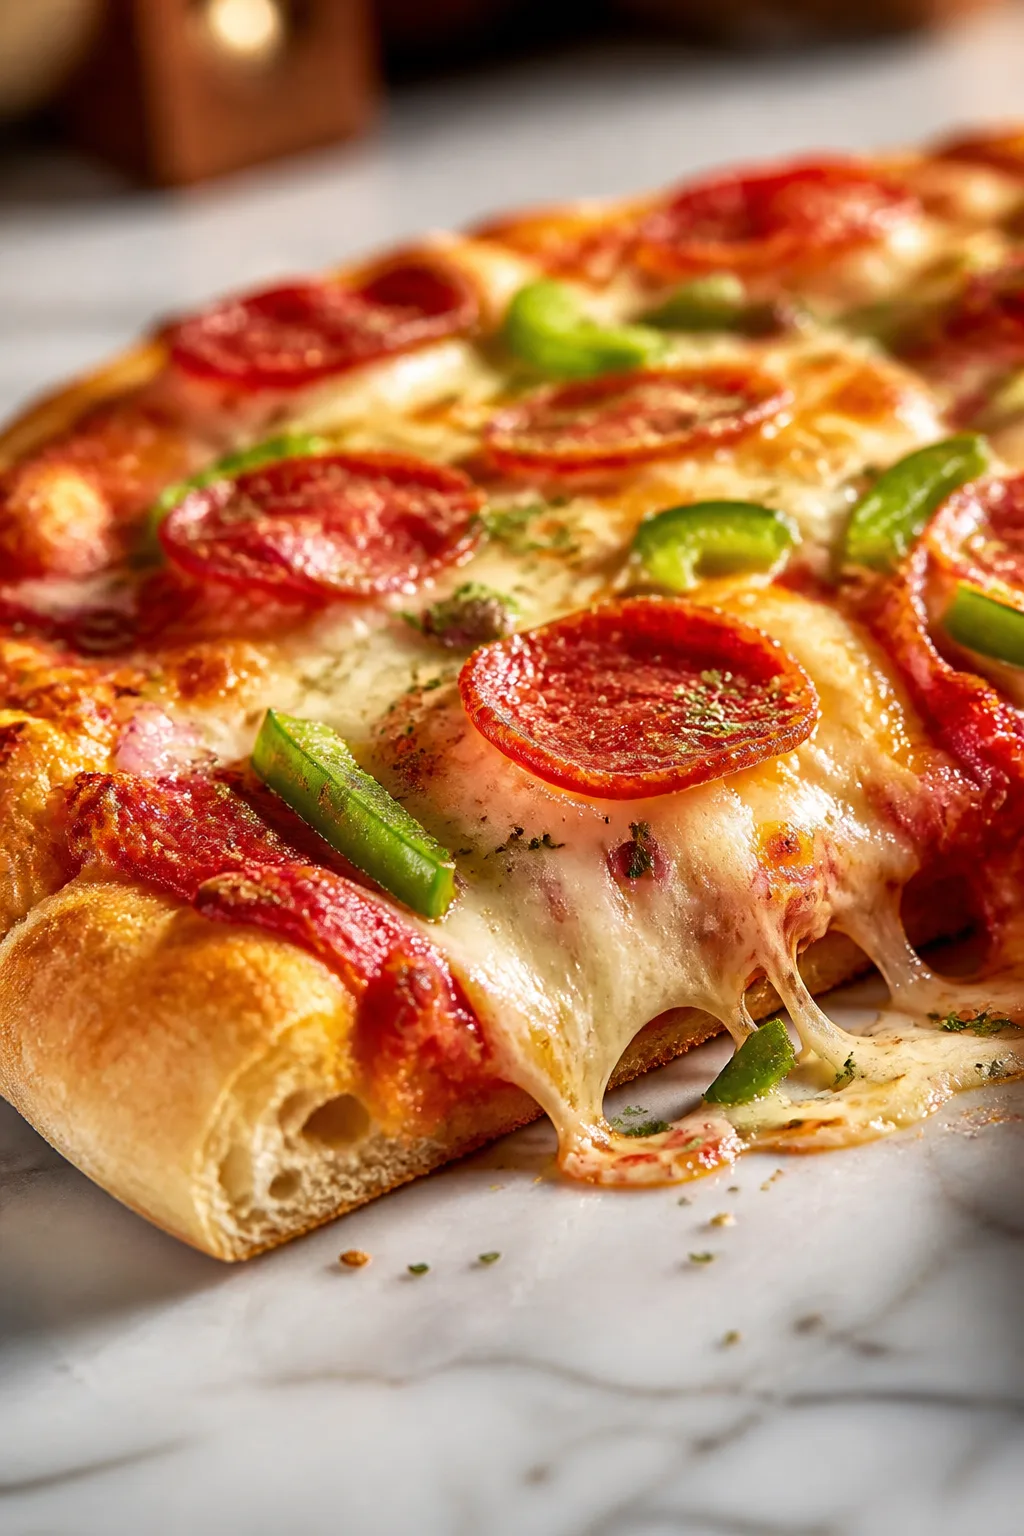
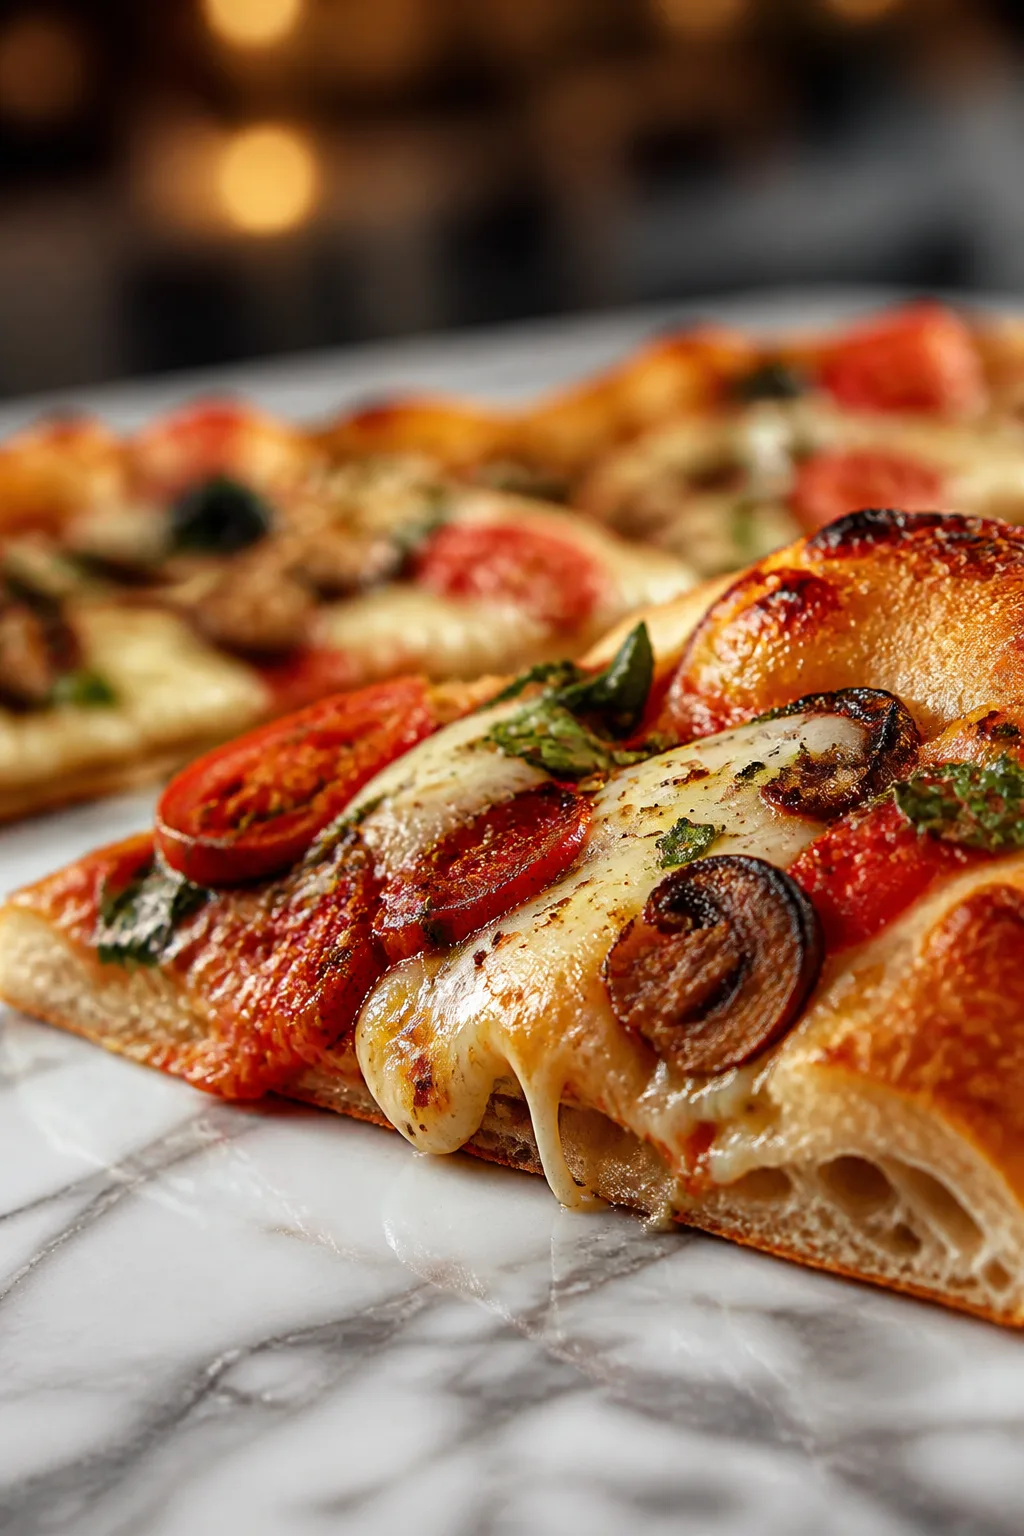
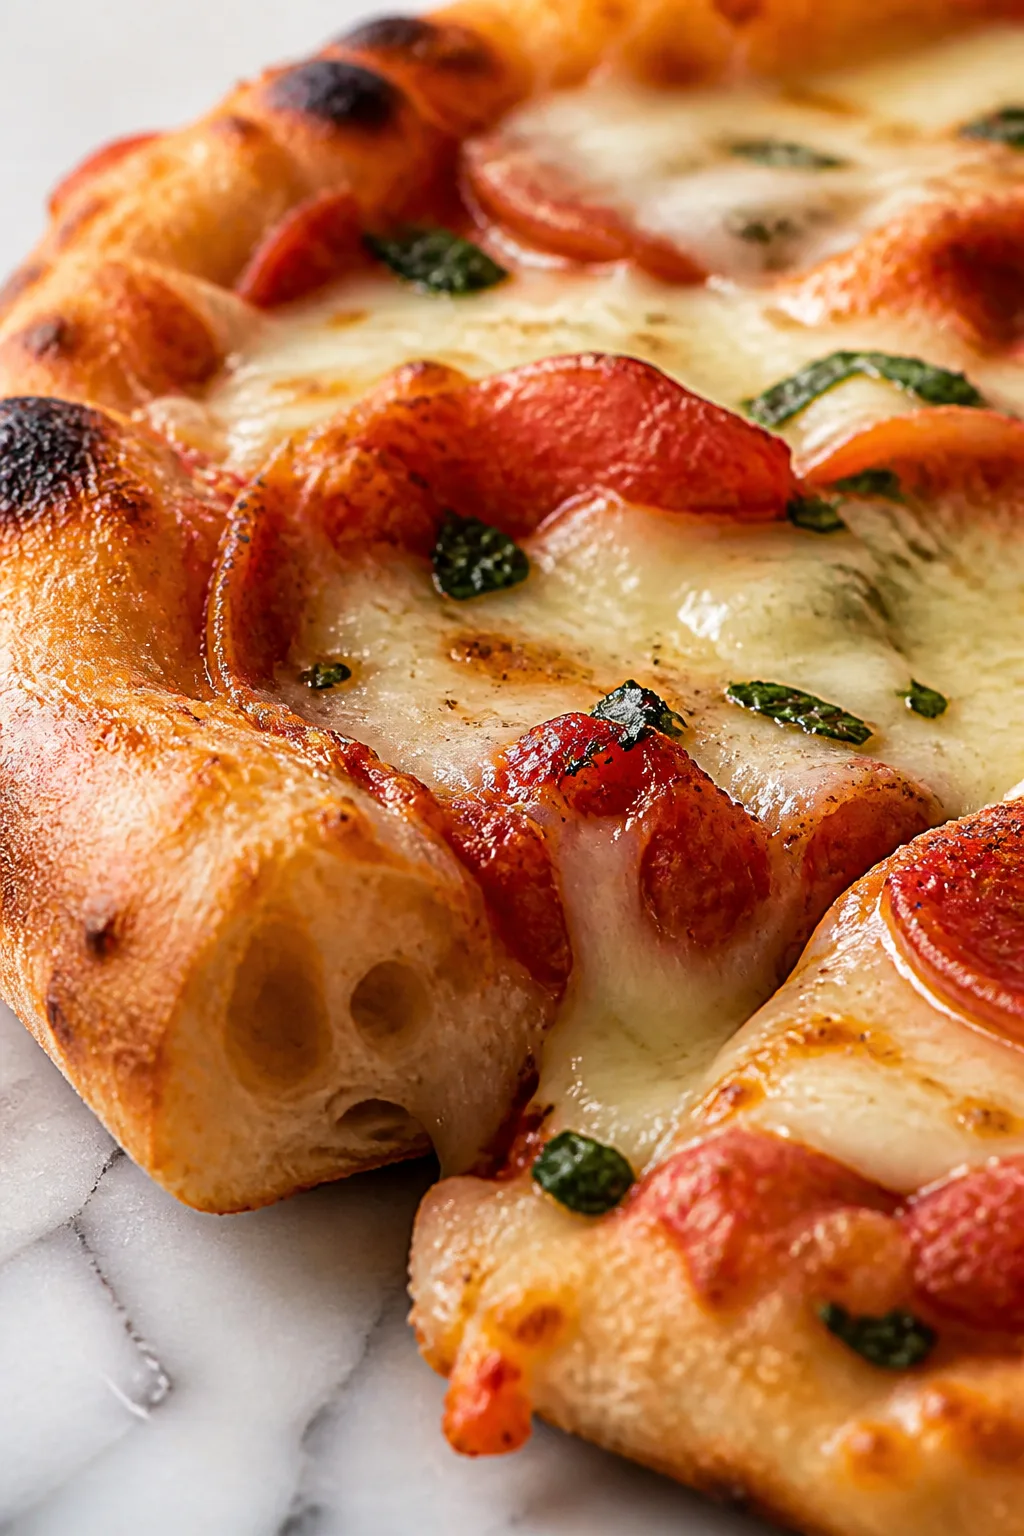
This homemade pizza recipe is super simple and perfect for casual dinners or weekend fun. The dough is easy to make, and fresh toppings make it taste amazing. Great for a laid-back night with family!
Introduction
I remember the first time I tried making pizza at home—it was a bit of a disaster. The dough was tough, the toppings slid off, and it just didn’t taste right. But after a few tries, I discovered a simple dough recipe that's forgiving and easy to work with. What makes this version different? Well, the trick is letting the yeast bloom properly in warm water with sugar, which gives the dough a lovely airy texture without any complicated kneading techniques. Also, I’ve found that using fresh, high-quality toppings really makes the pizza pop, especially fresh basil added right after baking. The result is a thin-crust pizza that's crisp on the edges but soft and chewy inside, with vibrant, fresh flavors. It’s become our go-to for casual dinners or weekend fun with the kids, and I love how everyone can customize their slices. Plus, it’s surprisingly quick to pull together, so you can enjoy homemade pizza without the fuss or waiting forever. I think you’ll love how approachable and tasty this recipe is—give it a try and see how it changes your pizza nights!
What You'll Need
One 12-inch pizza, serves 4
- 2 1/4 teaspoons active dry yeast (one packet), room temperature
- 1 1/2 cups warm water (about 110°F)
- 3 1/2 cups all-purpose flour, plus extra for dusting
- 2 tablespoons olive oil, plus extra for greasing
- 1 teaspoon salt
- 1 teaspoon sugar
- 1/2 cup tomato sauce
- 2 cups shredded mozzarella cheese
- Fresh basil leaves, for topping
- Your choice of toppings: sliced tomatoes, pepperoni, mushrooms, bell peppers
How To Do It
Step 1
Start by activating your yeast. In a small bowl, combine the warm water (about 110°F) with the sugar and yeast. Stir gently and let it sit for 5-10 minutes until it becomes frothy and bubbly. This step is crucial because it shows the yeast is alive and ready to work. If it doesn’t bubble, your yeast might be old or the water too hot or cold, which can stop the dough from rising properly.
⏱ Time: 10 minutes
✓ Doneness: Yeast mixture should look foamy and bubbly on the surface.
Step 2
In a large mixing bowl, combine the flour and salt. Make a well in the center and pour in the activated yeast mixture and olive oil. Mix with a wooden spoon or your hands until the dough begins to come together. Don’t rush this step—mixing slowly helps develop the gluten, which gives the dough its chewy texture. If the dough feels too sticky, add a little more flour, a tablespoon at a time.
⏱ Time: 5-7 minutes
✓ Doneness: Dough forms a rough ball that holds together without sticking excessively.
Step 3
Turn the dough onto a lightly floured surface and knead it for about 8-10 minutes. The goal here is to stretch and strengthen the gluten strands, which will give you a smooth and elastic dough. Knead by pushing the dough away with the heel of your hand, folding it back, and repeating. If the dough’s too sticky, dust with a bit more flour but try not to add too much, or it might become tough.
⏱ Time: 8-10 minutes
✓ Doneness: Dough should be smooth, elastic, and slightly tacky but not sticky.
Step 4
Lightly oil a large bowl and place your dough inside, turning it once to coat with oil. Cover the bowl with a clean kitchen towel or plastic wrap and let the dough rise in a warm, draft-free spot for 1-1.5 hours, or until it has doubled in size. This rising phase allows the yeast to ferment, creating those lovely air bubbles that make the crust light and airy.
⏱ Time: 1-1.5 hours
✓ Doneness: Dough should double in size and look puffy.
Step 5
Preheat your oven to 475°F (245°C) and if you have a pizza stone, place it inside to heat up. Punch down the dough gently to release excess air, then transfer it to a floured surface. Roll or stretch the dough into a 12-inch circle. Take your time here; stretching instead of rolling keeps the dough’s air pockets intact, which helps the crust stay light when baked.
⏱ Time: 10 minutes
✓ Doneness: Dough is about 12 inches in diameter and evenly stretched without holes.
Step 6
Transfer the dough to a parchment-lined baking sheet or a pizza peel if using a stone. Spread the tomato sauce evenly over the dough, leaving about an inch border around the edges. Don’t overload with sauce, or the crust can get soggy. The sauce brings moisture and tanginess that balances the richness of the cheese and toppings.
⏱ Time: 5 minutes
✓ Doneness: Sauce evenly spread, leaving a clean edge around the dough.
Step 7
Sprinkle the shredded mozzarella evenly over the sauce. Add your favorite toppings—think sliced tomatoes, pepperoni, mushrooms, or bell peppers. Remember, less is more here; too many toppings can weigh down the crust and prevent it from baking evenly.
⏱ Time: 5 minutes
✓ Doneness: Cheese and toppings are evenly distributed without clumps.
Step 8
Bake the pizza in the preheated oven for 12-15 minutes. If using a pizza stone, slide the pizza directly onto it for a crisper crust. Keep an eye on the edges—they should turn golden brown and the cheese should be bubbly and slightly browned. This high heat triggers the Maillard reaction, creating those delicious crispy spots and deep flavors.
⏱ Time: 12-15 minutes
✓ Doneness: Crust is golden and crisp; cheese is melted and bubbly with brown spots.
Step 9
Remove the pizza from the oven and immediately scatter fresh basil leaves on top. Let it rest for a couple of minutes before slicing. This resting time helps the cheese set slightly, so it doesn’t slide off, and the fresh basil adds a burst of aroma and flavor right before serving.
⏱ Time: 2-3 minutes
✓ Doneness: Basil leaves look vibrant; pizza cools slightly but still warm.
Variations
Gluten-Free Pizza
Swap the all-purpose flour for a gluten-free blend designed for baking. Use a bit of xanthan gum if your blend doesn’t have it to help with dough elasticity. Expect a slightly different texture—less chewy but still tasty. Use the same topping ideas for a naturally gluten-free meal.
Note: Gluten-free dough won’t rise as much and is more fragile, so handle gently and consider baking on parchment paper.
Whole Wheat Pizza
Replace half or all the all-purpose flour with whole wheat flour for a nuttier flavor and more fiber. The dough will be denser and less stretchy, so knead a bit longer and add a touch more water if needed. It’s a wholesome twist that still bakes up nicely.
Note: Whole wheat absorbs more water, so adjust hydration carefully to avoid dry dough.
Spicy Pepperoni Pizza
Add sliced spicy pepperoni and a sprinkle of crushed red pepper flakes to the toppings for a kick. You can also mix a little chili powder into the tomato sauce. It’s a fun way to add heat without overwhelming the fresh flavors.
Note: Spicy toppings release oils that can darken quickly, so watch baking time closely to avoid burning.
Vegetarian Delight
Load up your pizza with colorful veggies like roasted bell peppers, mushrooms, onions, and olives. Pre-roasting vegetables helps reduce moisture and intensifies flavor. This version is fresh, vibrant, and satisfying without meat.
Note: Pre-cook watery vegetables to prevent soggy crust and uneven baking.
White Garlic Pizza
Skip the tomato sauce and spread a thin layer of garlic-infused olive oil and ricotta cheese on the dough. Top with mozzarella and fresh herbs for a creamy, garlicky alternative that’s rich and comforting.
Note: Without tomato sauce’s acidity, balance flavors with herbs and a sprinkle of salt.
Pro Tips
Use warm water around 110°F to activate yeast.
Yeast is sensitive to temperature. Water that’s too hot kills the yeast, while water that’s too cold won’t activate it properly. The right temperature encourages fermentation, producing carbon dioxide that makes the dough rise and become airy.
Don’t skip kneading the dough for at least 8 minutes.
Kneading develops gluten, which gives dough its stretch and chewiness. Under-kneaded dough won’t trap gas bubbles well, resulting in a dense crust. Kneading aligns protein strands so the dough can rise properly and bake with a light texture.
Let the dough rise in a warm, draft-free spot until doubled.
Yeast fermentation slows or stops in cold or drafty environments. A warm space helps yeast produce gas efficiently, giving the dough volume and flavor. Skipping or rushing this step leads to flat, dense pizza crust.
Preheat your oven and pizza stone for the best crust.
A hot baking surface mimics professional ovens, crisping the crust quickly and evenly. This high heat triggers the Maillard reaction, producing golden brown color and complex flavors. Baking on a cold surface can result in soggy or undercooked dough.
Stretch the dough gently instead of rolling it out.
Stretching preserves the air bubbles created during rising, which keeps the crust light and airy. Rolling can push out those bubbles, leading to a denser texture. Gentle handling helps maintain that perfect chewy bite.
Use fresh toppings sparingly for even cooking.
Too many toppings add moisture and weight, preventing the crust from crisping. Fresh, well-chosen toppings balance flavor and texture, ensuring each slice cooks evenly without sogginess or heaviness.
Add fresh basil after baking for vibrant flavor.
Cooking basil at high heat dulls its bright aroma and taste. Adding it after baking preserves its freshness and adds a wonderful herbal note that complements the rich cheese and tangy sauce.
Common Mistakes to Avoid
Using water that’s too hot or cold for yeast activation.
Why it happens Many cooks guess water temperature or just use tap water without checking. This can kill the yeast or fail to activate it, leading to no rise.
Fix Use a kitchen thermometer or test water temperature by touch—it should feel warm, not hot. Aim for about 110°F to ensure yeast blooms properly and your dough rises well.
Not kneading the dough enough.
Why it happens Kneading takes effort and time, so it’s tempting to rush or skip it. Without enough kneading, gluten doesn’t develop, resulting in tough or dense crust.
Fix Set a timer for 8-10 minutes and use proper technique—push, fold, and turn the dough. You’ll feel it become smooth and elastic when ready.
Overloading the pizza with toppings.
Why it happens It’s tempting to add lots of cheese and toppings for flavor, but too much moisture weighs down the dough and prevents crisping.
Fix Stick to a moderate amount of toppings and avoid watery vegetables unless pre-cooked. This balance helps the crust bake evenly and stay crisp.
Baking on a cold or low-temperature surface.
Why it happens Not preheating the oven or skipping a pizza stone leads to uneven, soggy crust because the dough doesn’t get enough direct heat.
Fix Always preheat your oven to at least 475°F and use a pizza stone or heavy baking sheet to mimic a hot surface for crisp crust.
Adding fresh herbs before baking.
Why it happens Some think herbs should be baked in, but high heat destroys their flavor and aroma.
Fix Add fresh basil or other herbs right after baking to keep their brightness and enhance the pizza’s flavor.
Nutrition
Per Serving:
Nutritional values are estimates and may vary based on specific ingredients used.
Storage & Tips
Room Temperature
This pizza is best enjoyed fresh but can safely sit out for up to 2 hours covered with a clean towel to prevent drying. Beyond that, bacteria growth increases, so refrigerate leftovers promptly.
Refrigerator
Store leftover pizza in an airtight container or wrapped tightly in plastic wrap for up to 3 days. The crust may lose some crispness but reheats well. Reheat in the oven or toaster oven for best texture, or eat cold for a quick snack.
Freezer
Wrap pizza slices tightly in plastic wrap and aluminum foil to prevent freezer burn. Freeze for up to 2 months. Thaw overnight in the fridge before reheating to preserve texture and flavor.
Reheating
Reheat pizza in a preheated oven at 375°F for 8-10 minutes or in a skillet over medium heat to restore crispness. Avoid microwaving as it can make the crust soggy. Add a splash of water in the skillet and cover briefly to melt cheese evenly.
Make Ahead
Prepare the dough a day ahead and refrigerate it covered to develop flavor. Roll out and top the pizza on the day of serving. This saves prep time and enhances the dough’s taste and texture. Assemble toppings just before baking to keep them fresh.
FAQ
Can I use instant yeast instead of active dry yeast?
Yes, you can substitute instant yeast for active dry yeast. Use about 25% less instant yeast since it’s more concentrated, and you can mix it directly with flour without proofing in water. This can speed up the process, but proofing yeast first helps ensure it’s active.
What if my dough doesn’t rise?
If your dough doesn’t rise, it could be due to inactive yeast, water that’s too hot or cold, or environmental factors like a very cold room. Make sure your yeast is fresh, water is warm (around 110°F), and let the dough rise in a warm place. Trying again with fresh ingredients usually fixes this.
Can I freeze the dough before baking?
Absolutely! After kneading, let the dough rise once, then punch it down and wrap tightly in plastic wrap before freezing. Thaw in the refrigerator overnight and let it come to room temperature before shaping and baking. This is a great way to prep ahead.
How do I get a crispier crust?
Use a pizza stone or a preheated baking steel if possible, and bake at a high temperature (475°F or higher). Avoid too many wet toppings and stretch the dough gently to preserve air pockets. Also, avoid overcrowding the oven to maintain consistent heat.
Can I substitute the mozzarella with another cheese?
Mozzarella melts beautifully and has a mild flavor, but you can mix in provolone, fontina, or even a bit of cheddar for different flavors. Keep in mind that cheeses with higher fat content melt differently and may alter texture and taste.
Why is my pizza dough tough instead of chewy?
Tough dough usually means over-kneading or adding too much flour. Knead just until smooth and elastic, and add flour gradually to keep the dough slightly tacky. Also, letting the dough rest properly helps gluten relax, preventing toughness.
What’s the best way to roll out pizza dough?
I recommend gently stretching the dough with your hands instead of using a rolling pin. This preserves the air bubbles created during rising, keeping the crust light. If you use a rolling pin, roll lightly and avoid pressing too hard.
How do I prevent my pizza from getting soggy?
Use a thicker tomato sauce and avoid watery toppings. Pre-cook vegetables like mushrooms or peppers to reduce moisture. Baking on a hot surface like a pizza stone also helps evaporate moisture quickly, giving you a crisp crust.
Final Thoughts
I hope you enjoy making this easy homemade pizza as much as my family does! Give it a try, and don’t forget to share your delicious results with friends and family.