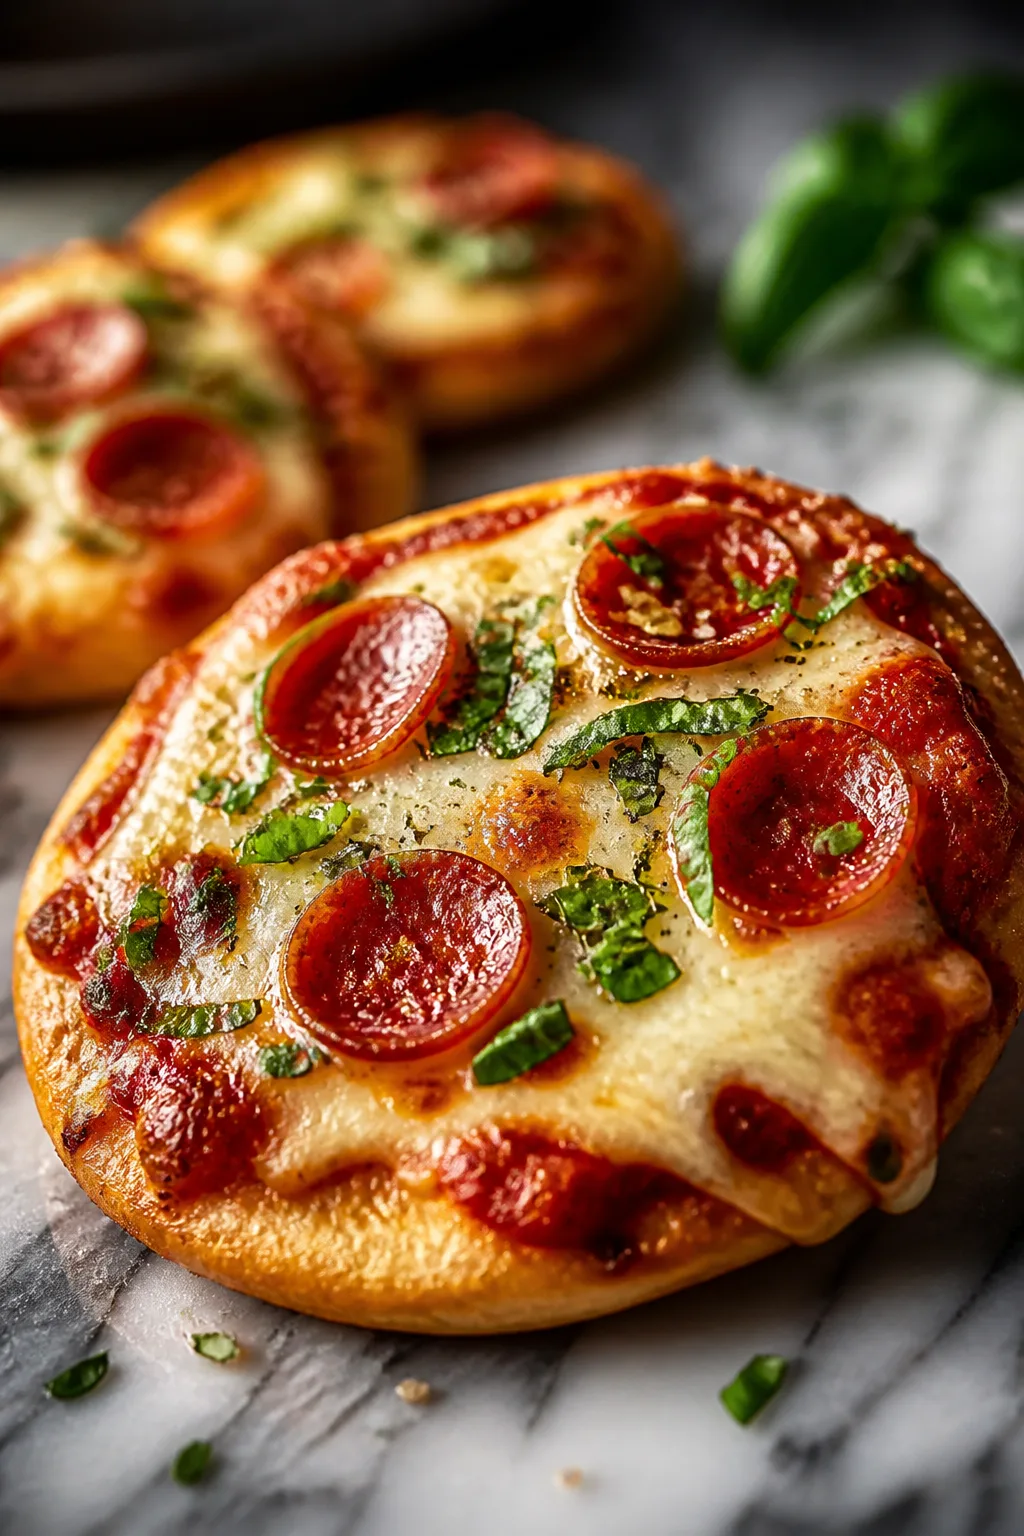
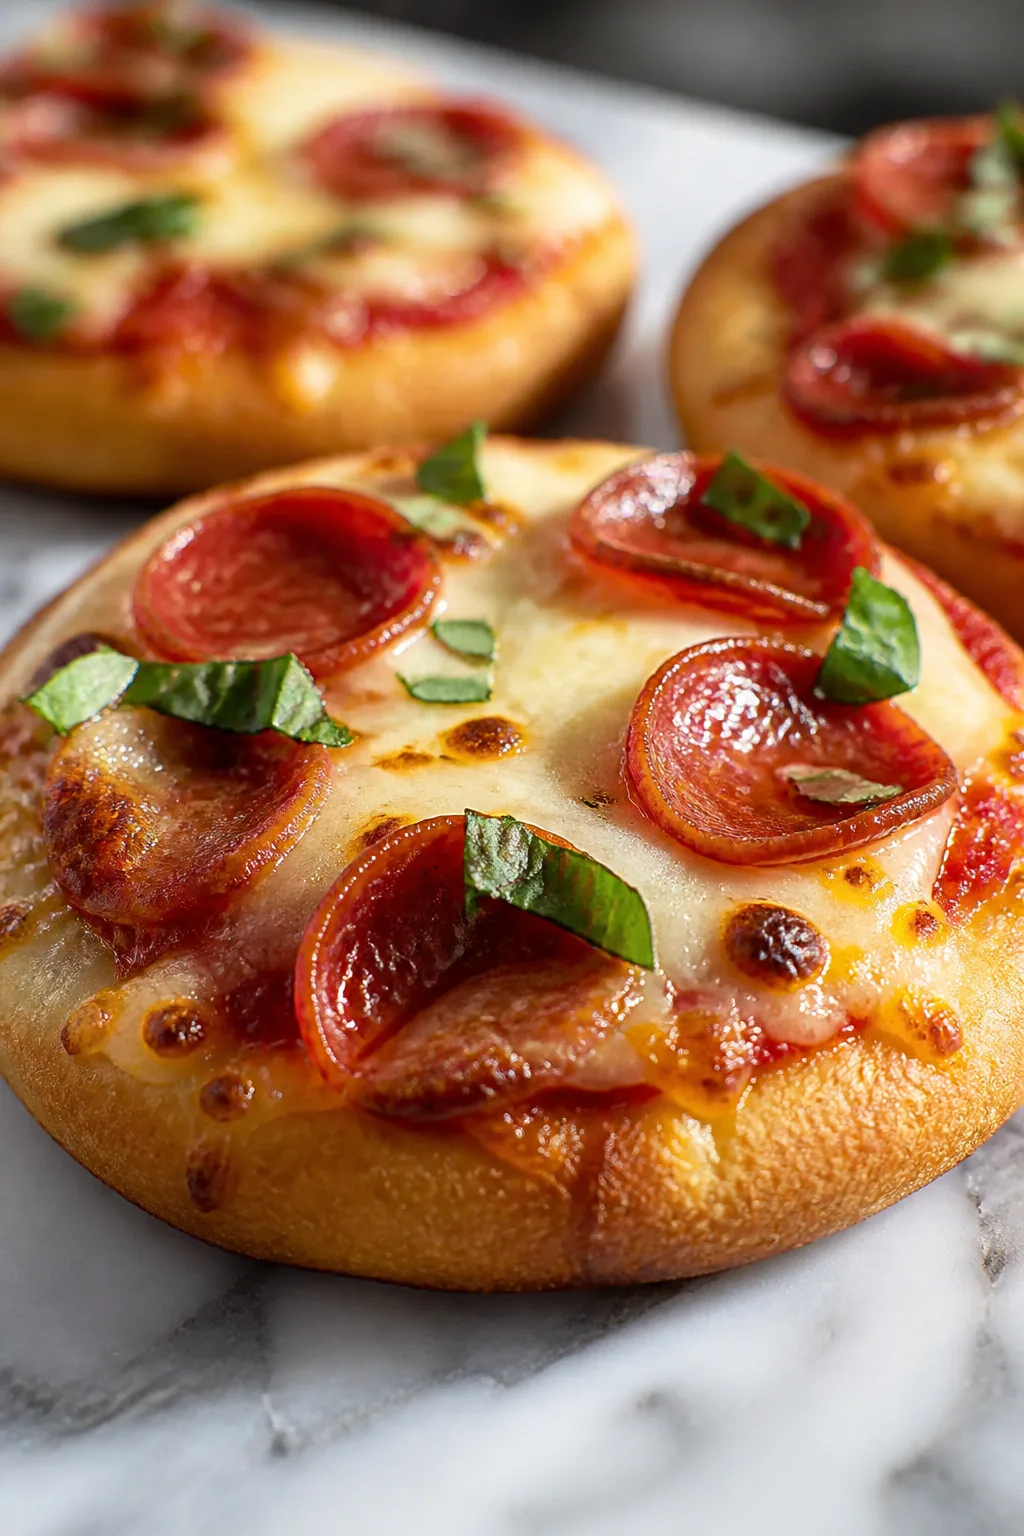
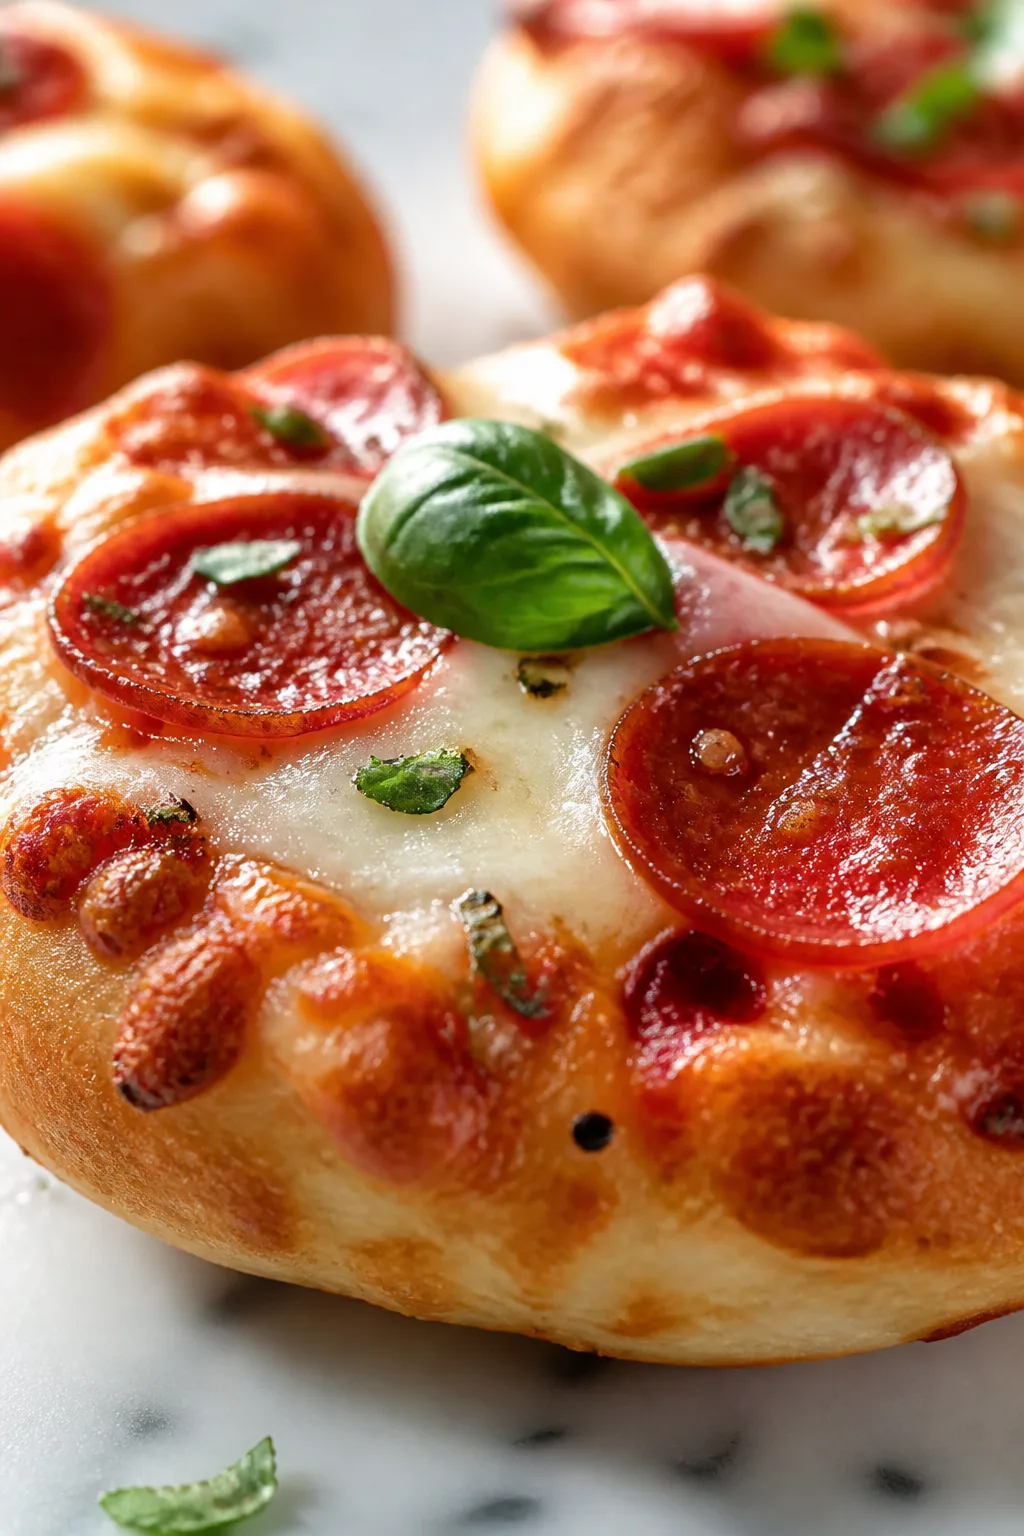
These mini pizzas are perfect for quick dinners or fun snacks. I use a simple homemade dough that crisps beautifully every time. Great for customizing with your favorite toppings!
Introduction
I first made these mini pizzas when I wanted a fun meal that everyone in my family could customize, and they quickly became a favorite. What I love about this recipe is how simple the dough is—it crisps up beautifully without any fancy ingredients or long rising times. The trick I learned early on was to use warm water to activate the yeast just right and to let the dough rest for at least 10 minutes before shaping. That little pause makes the dough easier to work with and gives the crust a nice chew without being tough. Over the years, I’ve experimented with toppings, but the base dough and sauce remain the same because they’re just perfect. When these come out of the oven, the crust is golden and crispy, the cheese is melty, and the toppings are perfectly cooked. It’s the kind of meal that feels casual but totally satisfying. Plus, mini pizzas are great whether it’s a quick weeknight dinner or a weekend snack with friends. I think you’ll love how easy and fun this recipe is to make!
What You'll Need
Makes 8 mini pizzas, serves 4
- 2 1/4 teaspoons active dry yeast (1 packet), room temperature
- 1 cup warm water (about 110°F)
- 2 1/2 cups all-purpose flour, plus extra for dusting
- 1 teaspoon salt
- 1 tablespoon olive oil, plus extra for greasing
- 1/2 cup tomato sauce
- 1 1/2 cups shredded mozzarella cheese
- Toppings of your choice (pepperoni, bell peppers, olives, mushrooms, etc.)
How To Do It
Step 1
Start by activating the yeast: combine the warm water with the active dry yeast in a small bowl. Stir gently and let it sit for about 5 minutes until it becomes frothy. This step is crucial because it tells you the yeast is alive and ready to work. If nothing happens, your yeast might be expired. The warmth of the water wakes up the yeast, which helps the dough rise later. Don’t use water that’s too hot or you’ll kill the yeast, and too cold won’t activate it properly.
⏱ Time: 5 minutes
✓ Doneness: The mixture should be bubbly and frothy on top, indicating active yeast.
Step 2
In a large mixing bowl, whisk together the flour and salt. Then add the olive oil and the yeast mixture. Stir with a wooden spoon until the dough starts to come together. It will be sticky—that’s okay. This rough mixing helps hydrate the flour evenly. Avoid adding too much extra flour here; sticky dough leads to a lighter crust. If you rush this step or don’t mix thoroughly, the dough can be uneven and tough.
⏱ Time: 3-5 minutes
✓ Doneness: Dough should form a sticky ball and pull away slightly from the sides of the bowl.
Step 3
Turn the dough out onto a floured surface and knead it for about 8-10 minutes. Use the heel of your hand to push the dough away, fold it back, and rotate. Kneading develops gluten, which gives the dough its chewy texture and elasticity. If you skip kneading or don’t do it long enough, the crust will be dense and crumbly. If the dough is too sticky, lightly dust with flour, but avoid adding too much.
⏱ Time: 8-10 minutes
✓ Doneness: The dough should be smooth, elastic, and slightly tacky but not sticky.
Step 4
Lightly grease a clean bowl with olive oil and place the dough inside, turning once to coat with oil. Cover the bowl with a damp cloth or plastic wrap and let the dough rest in a warm spot for 30 minutes to 1 hour. This resting time allows the dough to rise and develop flavor. If you skip this, your crust will be flat and less flavorful. The yeast ferments sugars and creates air bubbles that make the dough light.
⏱ Time: 30-60 minutes
✓ Doneness: The dough should double in size and feel puffy to the touch.
Step 5
Preheat your oven to 475°F (245°C) and line a baking sheet with parchment paper. Once the dough has risen, punch it down gently to release excess air. Divide the dough into 8 equal pieces and roll each into a small ball. Then, flatten each ball into a circle about 5-6 inches wide. Keeping the size consistent helps them bake evenly. Don’t roll too thin or the crust will be brittle; too thick and it won’t crisp well.
⏱ Time: 10 minutes
✓ Doneness: Mini pizza bases should be evenly shaped circles about 1/4 inch thick.
Step 6
Spread about 1 tablespoon of tomato sauce evenly over each mini pizza base, leaving a small border around the edges. This prevents sogginess at the crust. Using too much sauce can make the dough soggy and underbaked. The sauce adds moisture and flavor, so don’t skip it!
⏱ Time: 5 minutes
✓ Doneness: Sauce should cover the base without pooling or dripping over the edges.
Step 7
Sprinkle about 2 tablespoons of shredded mozzarella cheese over the sauce on each mini pizza. Cheese melts and browns beautifully, giving that classic gooey texture. Use good quality mozzarella for best results. You can also mix cheeses for more flavor, but too much can weigh down the crust.
⏱ Time: 3 minutes
✓ Doneness: Cheese layer should be even and cover most of the sauce.
Step 8
Add your favorite toppings now—pepperoni, sliced mushrooms, olives, bell peppers, or fresh basil work great. Avoid overloading the pizzas or they won’t cook evenly and the crust might stay soggy. Less is more when it comes to toppings on mini pizzas.
⏱ Time: 5 minutes
✓ Doneness: Toppings should be evenly distributed without piling too high.
Step 9
Bake the mini pizzas in the preheated oven for 12-15 minutes, rotating the tray halfway through for even cooking. You want the crust golden and crispy, cheese melted and bubbly with slight browning. If you bake too long, the crust can dry out or burn. Watch closely near the end and remove when bubbly and golden.
⏱ Time: 12-15 minutes
✓ Doneness: Crust is golden, cheese is melted with some brown spots, and toppings look cooked.
Variations
Gluten-Free Mini Pizzas
Swap all-purpose flour with a gluten-free flour blend designed for baking. Add a teaspoon of xanthan gum if your blend doesn’t include it to mimic gluten’s texture. Expect a slightly different crust texture—more crumbly but still tasty and perfect for gluten-free diets.
Note: Gluten-free doughs don’t rise as much and are less elastic, so handle gently and avoid over-kneading.
Whole Wheat Mini Pizzas
Replace half or all of the all-purpose flour with whole wheat flour for a nuttier flavor and more fiber. The crust will be denser and more rustic. Add a bit more water as whole wheat absorbs more moisture.
Note: Knead a bit longer to develop gluten and let the dough rise longer for better texture.
Spicy Mini Pizzas
Add crushed red pepper flakes to the tomato sauce and top with sliced jalapeños or pepperoni. This gives a nice heat kick without overpowering the other flavors. Great for those who like their pizza with a little zing!
Note: Keep the spicy toppings moderate to prevent them from burning during baking.
White Garlic Sauce Mini Pizzas
Swap out tomato sauce for a creamy garlic sauce made from butter, garlic, and cream cheese. Top with mozzarella and spinach or mushrooms for a rich, savory twist that’s perfect for garlic lovers.
Note: Bake at the same temperature but watch closely for sauce bubbling and cheese browning.
Vegan Mini Pizzas
Use a plant-based cheese substitute and olive oil-based dough. Top with vegetables like roasted peppers, olives, and artichokes. This version is dairy-free and still full of flavor.
Note: Vegan cheeses melt differently; add them toward the end of baking if needed to avoid drying out.
Pro Tips
Use warm water (not hot) when activating yeast.
Water around 110°F activates yeast without killing it, allowing fermentation to start properly. Too hot will kill the yeast, stopping the rise, while too cold slows activation and can lead to flat dough.
Don’t add too much flour during kneading.
Adding excess flour makes the dough tough and dry. A slightly sticky dough leads to a lighter, airier crust after baking because it keeps moisture and gluten elasticity intact.
Let the dough rest and rise in a warm spot.
Yeast ferments best in warm conditions, producing gas bubbles that make the dough light and flavorful. Cold or drafty spots can slow or stop rising.
Preheat the oven fully before baking.
High, consistent heat is crucial to crisp the crust quickly and melt the cheese. An underheated oven leads to soggy crust and uneven cooking.
Use parchment paper to prevent sticking.
Parchment paper ensures easy transfer and cleanup. It prevents dough from sticking to the baking sheet, preserving the crust’s texture.
Don’t overload toppings.
Too many toppings add moisture and weight, preventing the crust from crisping and causing uneven cooking.
Rotate the baking tray halfway through cooking.
Ovens often have hot spots; rotating ensures even browning and cooking of all pizzas.
Common Mistakes to Avoid
Using water that is too hot or cold for yeast activation.
Why it happens People often guess water temperature instead of measuring, leading to killing or under-activating yeast.
Fix Use a kitchen thermometer or test water temperature by hand — it should feel warm but not hot. This ensures the yeast activates fully for proper rise.
Adding too much flour during kneading.
Why it happens Sticky dough feels hard to handle, so cooks add extra flour to compensate.
Fix Try kneading with lightly floured hands instead of adding flour to the dough. A slightly sticky dough yields a better texture after baking.
Skipping the dough resting/rising time.
Why it happens Impatience or tight schedules make people rush to bake immediately.
Fix Allow at least 30 minutes for the dough to rise in a warm spot. This develops flavor and texture.
Overloading toppings on mini pizzas.
Why it happens Wanting to add variety or more flavor leads to piling on too many ingredients.
Fix Keep toppings light and evenly spread to prevent soggy crust and uneven cooking.
Not preheating the oven fully.
Why it happens Some start baking as soon as the oven is warm enough to save time.
Fix Wait until the oven reaches 475°F before baking. This ensures proper crust crisping and cheese melting.
Nutrition
Per Serving:
Nutritional values are estimates and may vary based on specific ingredients used.
Storage & Tips
Room Temperature
Mini pizzas can be safely kept at room temperature for up to 2 hours when covered loosely to avoid drying out. Beyond that, bacteria growth increases, so refrigeration is recommended.
Refrigerator
Store leftover mini pizzas in an airtight container for up to 3 days. The crust may soften when cold but reheats well to regain crispness. Serve reheated or cold depending on preference.
Freezer
Wrap mini pizzas individually in plastic wrap and place in a freezer-safe bag or container. Freeze for up to 2 months. Thaw overnight in the fridge before reheating to preserve texture.
Reheating
Reheat mini pizzas in a preheated oven at 375°F for 8-10 minutes to restore crisp crust and melty cheese. Avoid microwaving as it can make the crust soggy. A splash of water on a baking tray can help keep toppings moist.
Make Ahead
Prepare the dough and shape mini pizza bases 1 day ahead. Store bases covered in the fridge. Assemble toppings and bake on the day of serving for freshest results.
FAQ
Can I use instant yeast instead of active dry yeast?
Yes, instant yeast can be used and it doesn’t require proofing in warm water. You can mix it directly with the flour and other dry ingredients. Instant yeast tends to act faster, so keep an eye on rising times to avoid overproofing.
What if my dough is too sticky to handle?
A slightly sticky dough is normal and helps create a tender crust. Dust your hands and work surface lightly with flour, but avoid adding too much flour as it makes the crust tough. Knead gently to develop gluten without drying out the dough.
How do I make the crust crispier?
Bake at a high temperature (475°F) and use a preheated baking sheet or pizza stone to transfer heat quickly. Avoid too many wet toppings and don’t overload the sauce. Thinly rolled bases also crisp better.
Can I prepare the dough in advance?
Absolutely! You can make the dough up to 24 hours ahead and keep it in the fridge covered. This slow fermentation adds flavor. Bring it to room temperature before shaping for easier handling.
What’s the best way to store leftover mini pizzas?
Store leftovers in an airtight container in the refrigerator for up to 3 days. Reheat in the oven to restore crispness. For longer storage, freeze wrapped tightly and thaw before reheating.
Can I use pre-made pizza dough?
Yes, pre-made dough works fine and saves time. Just make sure it’s thawed and rested properly before shaping. The homemade dough in this recipe gives a fresher taste and better texture, but pre-made is a convenient alternative.
How can I prevent the crust from getting soggy?
Don’t overload with sauce or toppings, and bake at a high temperature to crisp the crust quickly. Using parchment paper or a pizza stone helps with even heat distribution, preventing sogginess.
Can I make these mini pizzas vegan?
Yes! Use a vegan cheese substitute and olive oil-based dough. Load up with veggies and herbs for flavor. Baking time remains the same, but watch vegan cheese melting as it can differ from dairy cheese.
Final Thoughts
Give these mini pizzas a try — they’re fun, easy, and delicious! I’d love to hear how your version turns out, so don’t forget to share your toppings and tips.