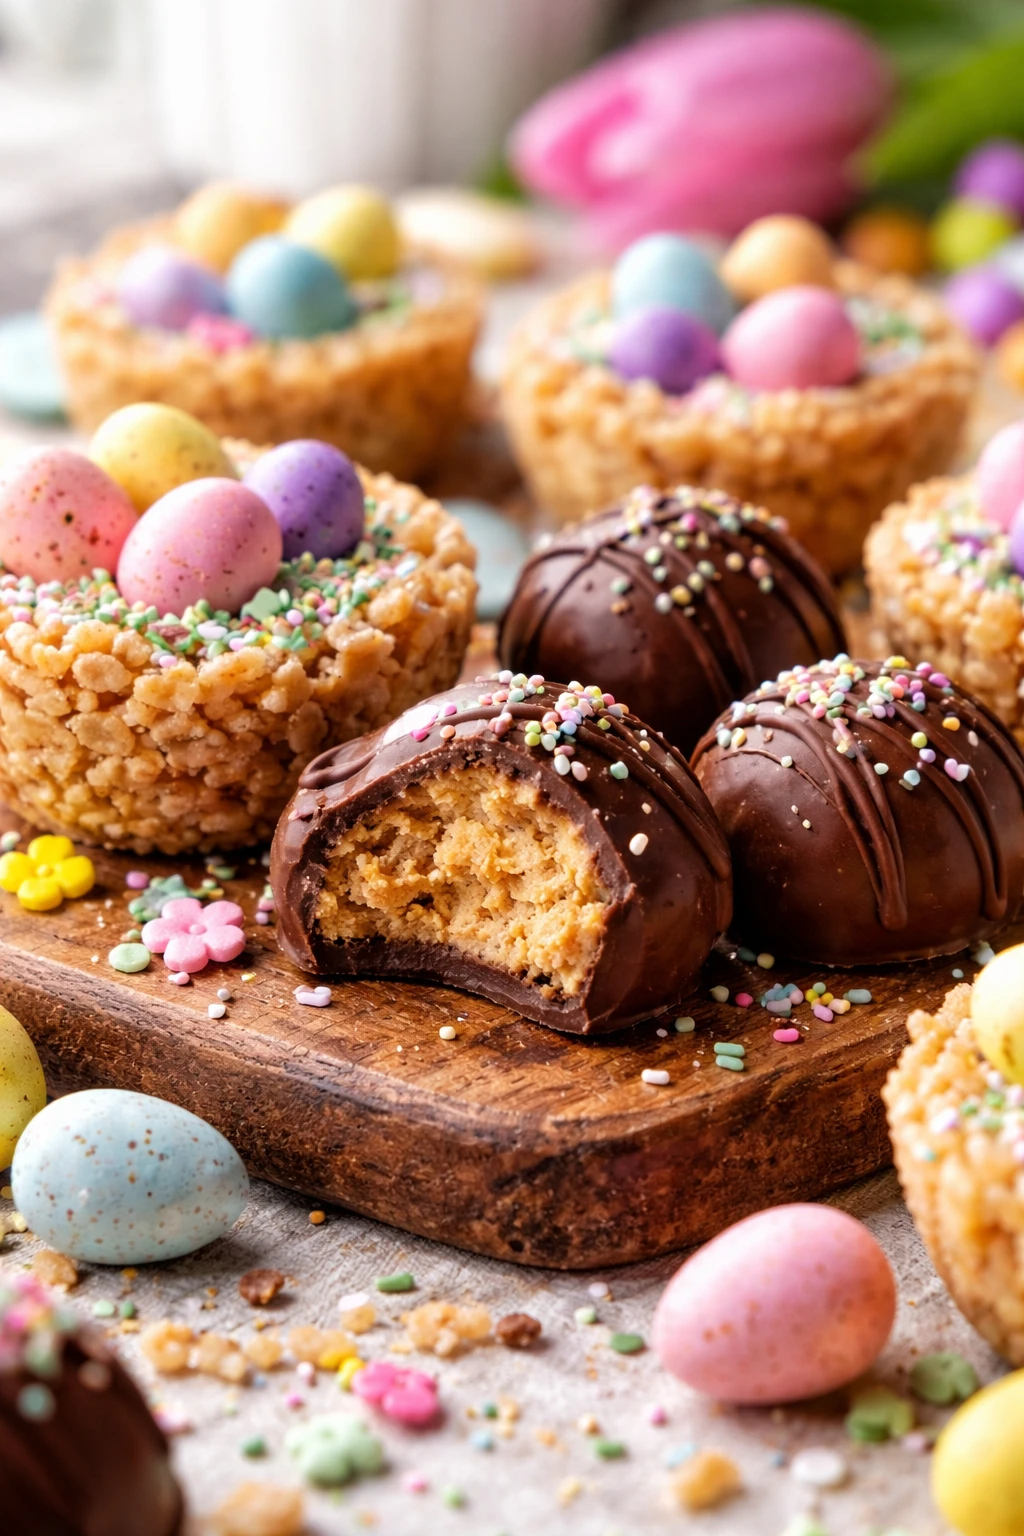
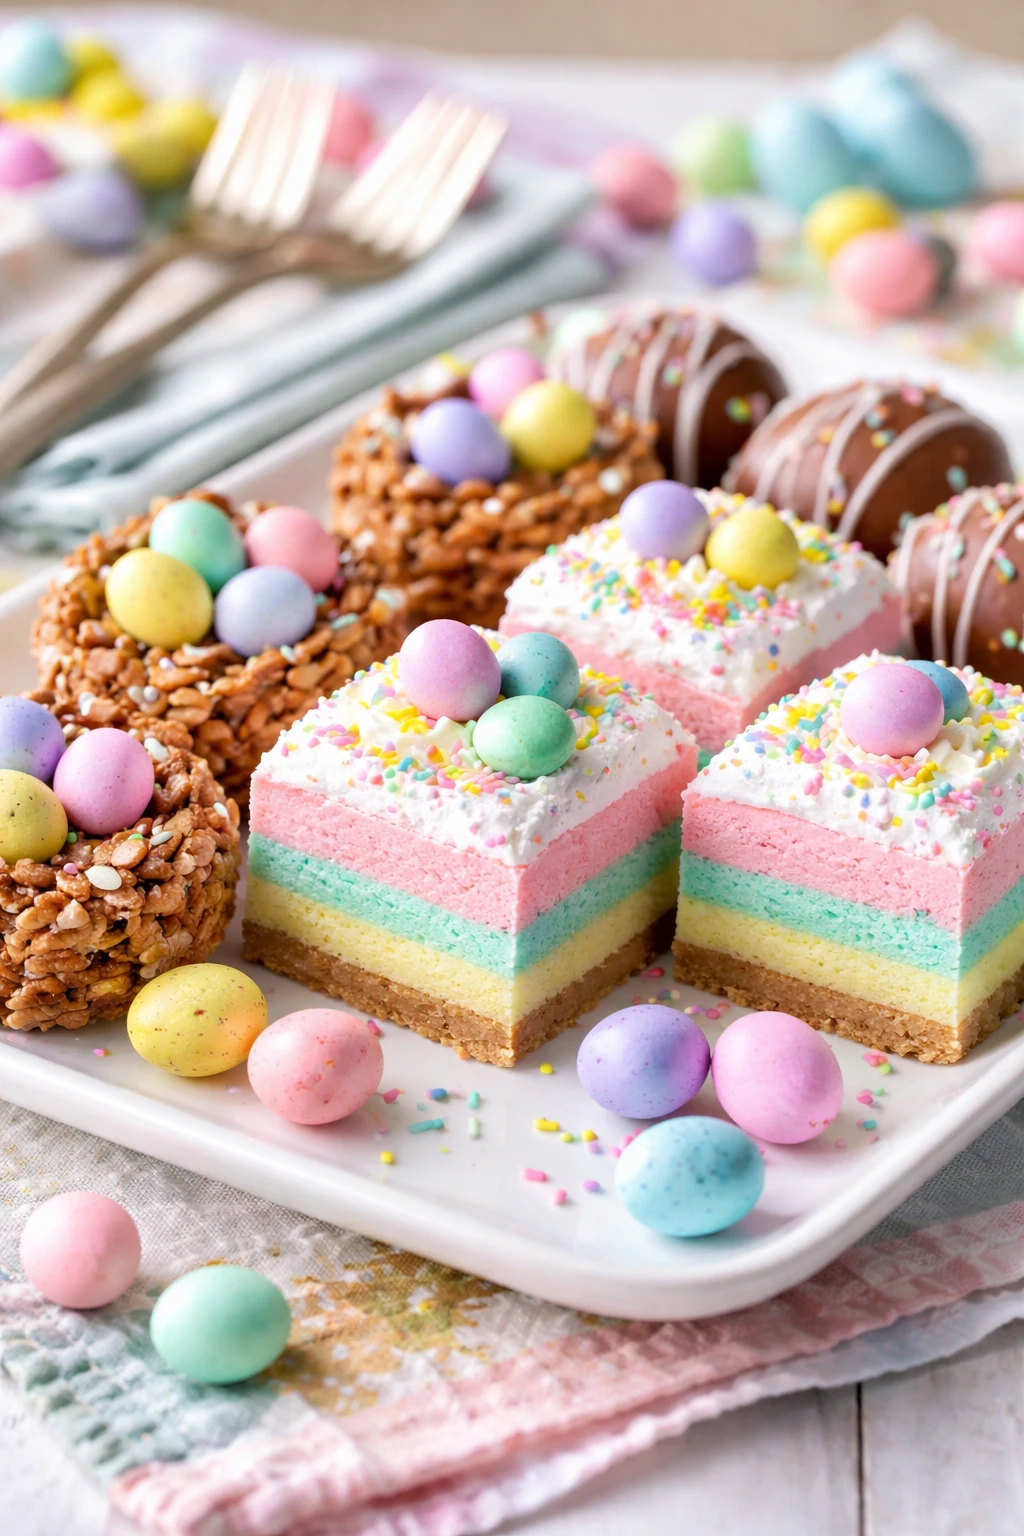
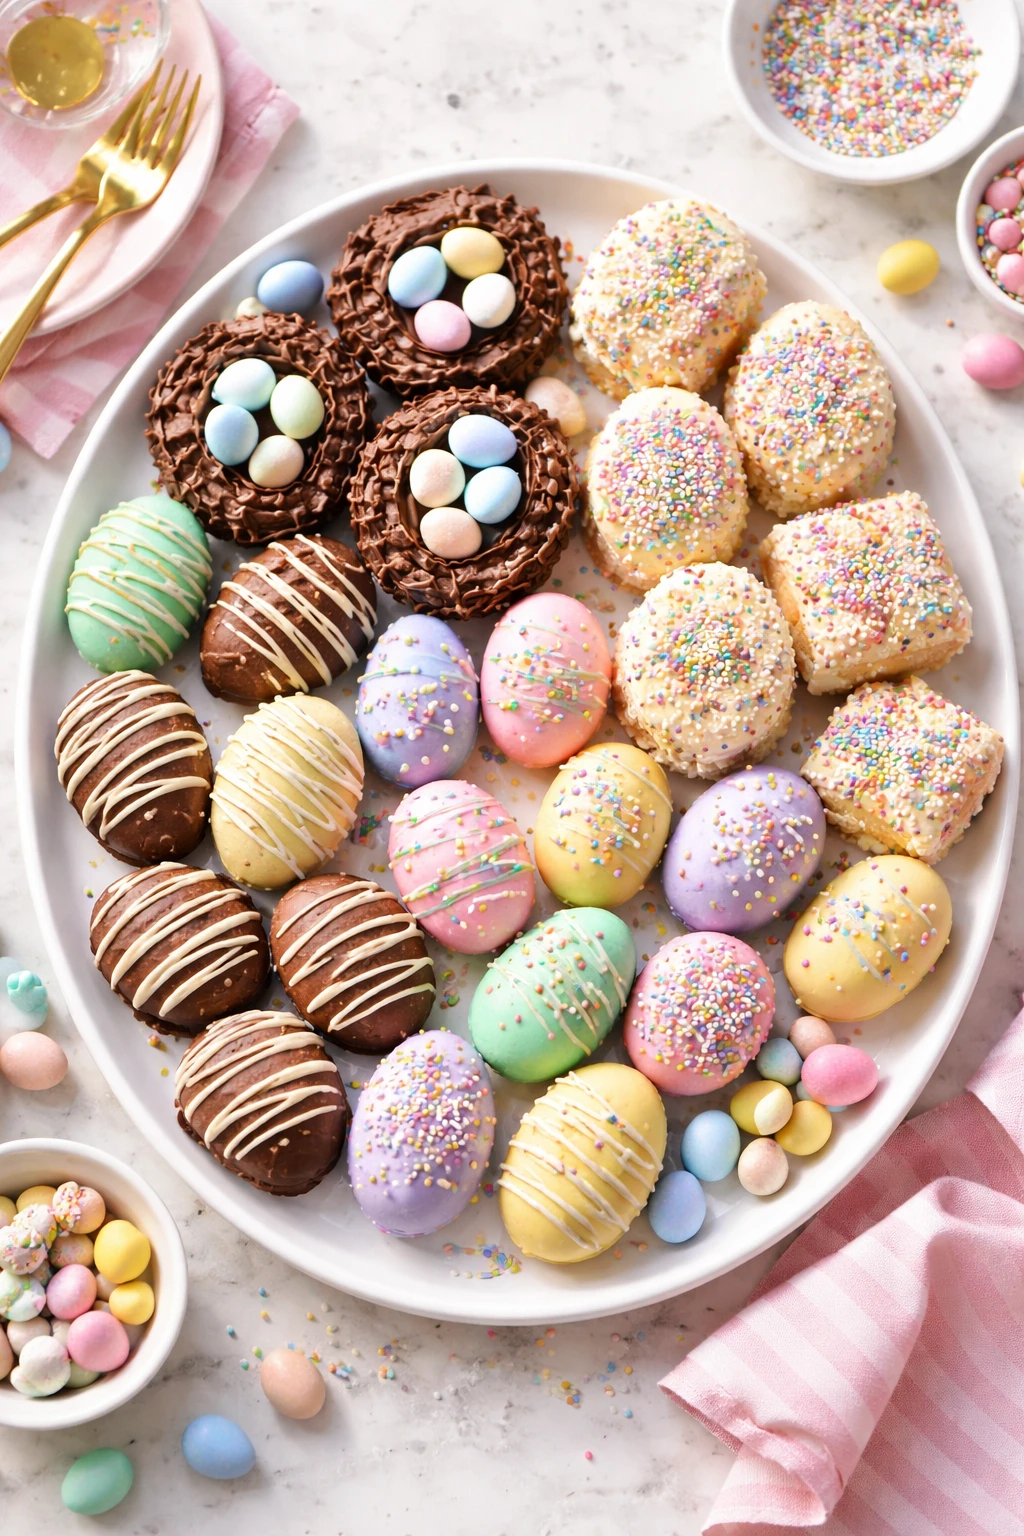
These no-bake Easter sweets come together in minutes using simple pantry staples and a fun mix-in for texture. Perfect for last-minute treats or gifting during spring celebrations!
Introduction
I first stumbled upon this no-bake Easter sweets recipe when I needed a quick treat to bring to a last-minute spring gathering. I was pressed for time but still wanted something festive and homemade. These sweets are a lifesaver because they come together in about 10 minutes with no oven required. What makes this recipe special is the combination of creamy peanut butter and honey that binds the oats perfectly, plus the surprise texture from mini chocolate chips and dried fruit. I’ve tried a few versions before, but the trick I learned is to warm the peanut butter and honey just enough to make mixing easier without overheating, which keeps the flavor fresh and the texture just right. The result is chewy, slightly sweet bites that feel indulgent but are made from wholesome ingredients. They’re perfect for sharing at Easter brunch, gifting in little bags, or just enjoying as an easy snack. Honestly, I love how fuss-free they are and how kids and adults alike go crazy for them. If you want a simple, crowd-pleasing dessert that’s also a bit healthier, give these a try—you won’t regret it!
What You'll Need
Approximately 12 bite-sized sweets
- 2 cups rolled oats, dry
- 1 cup creamy peanut butter
- 1/2 cup honey
- 1 teaspoon vanilla extract
- 1/2 cup mini chocolate chips
- 1/4 cup chopped dried apricots or cranberries
How To Do It
Step 1
Start by warming the peanut butter and honey together in a small saucepan over low heat. Stir constantly to prevent burning and ensure they blend smoothly. This step is crucial because warming softens the peanut butter, making it easier to mix evenly with the oats and other ingredients. Be careful not to overheat or boil the mixture, as this can change the flavor and texture. Aim for a warm, pourable consistency that’s thick but smooth.
⏱ Time: 3 minutes
✓ Doneness: The mixture should be glossy, combined, and easy to stir without lumps.
Step 2
Remove the peanut butter and honey mixture from heat and stir in the vanilla extract. The vanilla adds depth and a subtle aromatic sweetness that balances the peanut butter's richness. Mixing it in while the blend is still warm helps the flavor infuse evenly throughout the sweets.
⏱ Time: 1 minute
✓ Doneness: Vanilla aroma is noticeable and the mixture is homogenous.
Step 3
In a large mixing bowl, combine the rolled oats, mini chocolate chips, and chopped dried apricots or cranberries. Toss them together so the chocolate chips and fruit are evenly distributed. This ensures each bite has a bit of texture and sweetness from the mix-ins.
⏱ Time: 2 minutes
✓ Doneness: Ingredients are well combined with a colorful distribution of chips and fruit.
Step 4
Pour the warm peanut butter and honey mixture over the dry ingredients. Using a sturdy spoon or spatula, mix thoroughly until every oat flake is coated. This binding step is key to helping the sweets hold together once set. If mixing by hand, use your fingers to press the mixture firmly for better cohesion.
⏱ Time: 3 minutes
✓ Doneness: The mixture sticks together when pressed and looks evenly coated.
Step 5
Line a square baking pan (about 8x8 inches) with parchment paper. Transfer the mixture into the pan and press it down firmly and evenly using the back of a spoon or your hands. Compacting the mixture well helps the sweets set firmly and hold their shape when cut.
⏱ Time: 3 minutes
✓ Doneness: Surface is smooth and compacted without loose bits.
Step 6
Place the pan in the refrigerator for at least 30 minutes to allow the sweets to firm up. Chilling solidifies the peanut butter and honey binder, making the treats easy to cut and handle. Skipping this step can result in crumbly bites that fall apart.
⏱ Time: 30 minutes
✓ Doneness: The mixture feels firm to the touch and holds its shape.
Step 7
Once chilled, lift the parchment paper out of the pan and place on a cutting board. Using a sharp knife, cut the slab into approximately 12 small squares or bars. Clean the knife between cuts to keep edges neat.
⏱ Time: 5 minutes
✓ Doneness: Squares hold together cleanly without crumbling.
Step 8
Store the no-bake sweets in an airtight container in the fridge until ready to serve. This keeps them fresh and chewy. They’re great served cold or at room temperature, depending on your preference.
⏱ Time: N/A
✓ Doneness: Sweets maintain their texture and flavor over several days.
Step 9
Optional: For a festive touch, drizzle melted white chocolate over the top before chilling or sprinkle with shredded coconut. This adds a pretty finish and extra flavor layer, perfect for gifting or party trays.
⏱ Time: 5 minutes
✓ Doneness: Even drizzle or sprinkle covers the top attractively and sets when chilled.
Variations
Nut-Free Version
Replace peanut butter with sunflower seed butter and use maple syrup instead of honey to make this recipe nut-free and vegan-friendly. The texture remains chewy and the flavor is just as delicious with a subtle nutty twist from the seed butter.
Note: Sunflower seed butter may be slightly thinner, so you might need a touch more to bind the oats well. Adjust quantity carefully to maintain firmness.
Chocolate Lover’s Delight
Add 2 tablespoons of cocoa powder to the peanut butter and honey mixture for a rich chocolate flavor. You can also sprinkle extra mini chocolate chips on top before chilling for a decadent finish.
Note: Cocoa powder absorbs moisture; consider slightly reducing the oats or adding a splash more honey to keep the right consistency.
Tropical Twist
Swap dried apricots for chopped dried pineapple and add shredded coconut to the oats for a bright, tropical flavor. This variation brings a fresh, fruity vibe perfect for spring or summer snacking.
Note: Coconut flakes add texture but can absorb moisture, so press mixture extra firmly before chilling.
Protein-Packed Boost
Mix in a scoop of vanilla protein powder with the oats to increase protein content. This makes the sweets a great post-workout snack without sacrificing taste or texture.
Note: Protein powder can dry out the mixture, so add a little extra honey or peanut butter to maintain chewiness.
Spiced Easter Treats
Add a teaspoon of cinnamon and a pinch of nutmeg to the dry ingredients for a warm, cozy twist. These spices complement the peanut butter and fruit beautifully and add a festive flair.
Note: Spices don’t affect texture but enhance aroma and flavor, making the sweets feel more seasonal.
Pro Tips
Warm the peanut butter and honey gently to avoid burning.
Heating these ingredients slowly over low heat preserves their natural flavors and prevents bitterness from overheating. This step ensures they blend smoothly and coat the oats properly, which is crucial for the sweets holding together.
Press the mixture firmly into the pan before chilling.
Compactting the mixture removes air pockets and helps the ingredients bind tightly, resulting in a firmer texture that holds its shape well when cut. Loose packing leads to crumbly sweets that fall apart easily.
Use parchment paper to line your pan.
Parchment paper prevents sticking and makes it easy to lift the entire slab out for cutting. This keeps edges clean and reduces waste, making serving and storage simpler.
Refrigerate sweets for at least 30 minutes before slicing.
Chilling solidifies the peanut butter and honey binder. Cutting too soon results in sticky, unformed pieces that crumble. The cold temperature helps sweets firm up and enhances their chewiness.
Clean your knife between cuts for neat edges.
Wiping the knife prevents sticky buildup that can tear or crumble the sweets, ensuring each piece looks tidy and professional, which is especially nice if gifting or serving guests.
Customize mix-ins to suit your taste or dietary needs.
Swapping nuts, seeds, or dried fruits lets you tailor the recipe while preserving the core binding technique. Just keep the oat-to-binder ratio balanced for best texture.
Store sweets in an airtight container in the fridge.
This keeps them fresh and chewy for several days. Exposure to air dries them out, making them hard and less enjoyable to eat.
Common Mistakes to Avoid
Overheating the peanut butter and honey mixture
Why it happens Sometimes cooks turn the heat too high to speed things up, not realizing this can burn the mixture or change its flavor.
Fix Always warm the mixture over low heat and stir constantly. Remove from heat as soon as ingredients are combined and smooth to preserve flavor and texture.
Not pressing the mixture firmly into the pan
Why it happens It’s easy to just scoop the mixture in and call it done without compacting it.
Fix Use the back of a spoon or your hands to press the mixture down tightly, ensuring it holds together well after chilling.
Cutting the sweets before they’re fully chilled
Why it happens Impatience or forgetting the chilling step leads to crumbly, sticky pieces.
Fix Refrigerate for at least 30 minutes. The sweets should feel firm to the touch before slicing.
Using the wrong type of oats
Why it happens Some use instant or steel-cut oats thinking they’ll work the same.
Fix Stick to old-fashioned rolled oats for the right texture and binding ability.
Skipping vanilla extract
Why it happens People sometimes omit vanilla thinking it’s optional.
Fix Vanilla adds depth and balances sweetness. Don’t skip it for best flavor.
Nutrition
Per Serving:
Nutritional values are estimates and may vary based on specific ingredients used.
Storage & Tips
Room Temperature
These no-bake sweets can be kept at room temperature for up to 4 hours if covered tightly to avoid drying out. However, they’re best stored chilled to maintain texture and freshness.
Refrigerator
Store in an airtight container for up to 5 days. The sweets stay chewy and delicious when chilled. You can serve them cold or let them sit at room temperature for 10 minutes before eating to soften slightly.
Freezer
Freeze the sweets in a sealed container or freezer bag for up to 2 months. To prevent freezer burn, wrap the sweets tightly in plastic wrap before placing them in the container. Thaw overnight in the fridge for best texture.
Reheating
No reheating needed since these are no-bake treats. If you prefer them softer, let sit at room temperature for 15–20 minutes before eating. Avoid microwaving as it can make the texture greasy or too soft.
Make Ahead
You can prepare the mixture and press it into the pan a day ahead, then chill overnight. Cut into squares just before serving to keep edges neat and texture fresh.
FAQ
Can I substitute peanut butter with almond butter?
Yes, almond butter works well as a substitute and gives a slightly different but delicious flavor. Just make sure it’s creamy and not too oily, as too much oil can make the mixture greasy and harder to set.
What if I don’t have honey? Can I use maple syrup?
Maple syrup is a great alternative, though it’s a bit thinner than honey. You might need to add slightly more peanut butter or oats to achieve the right binding consistency.
How do I make these treats vegan?
Use maple syrup instead of honey and swap peanut butter for a nut or seed butter that’s vegan-friendly. Just watch the consistency to ensure they hold together well.
Can I add nuts or seeds for extra crunch?
Absolutely! Chopped nuts or seeds add great texture and nutrition. Just fold them into the dry ingredients and adjust the binder slightly if needed.
Why are my sweets crumbly and falling apart?
This usually means the mixture wasn’t pressed firmly enough or not chilled long enough. Make sure to compact the mixture tightly and refrigerate for at least 30 minutes before cutting.
Can I use quick oats instead of rolled oats?
Quick oats tend to be too fine and can make the texture mushy. Rolled oats are best for maintaining chewiness and structure in these no-bake sweets.
How long do these treats last?
Stored in the fridge, they last about 5 days. For longer storage, freeze them for up to 2 months and thaw in the fridge before serving.
Can I add spices like cinnamon or nutmeg?
Yes, adding warm spices can enhance the flavor and give a cozy twist. Start with small amounts like 1/2 to 1 teaspoon and adjust to taste.
Final Thoughts
Give these no-bake Easter sweets a try—they’re quick, tasty, and perfect for spring celebrations. I’d love to hear how yours turn out, so don’t forget to share your results!