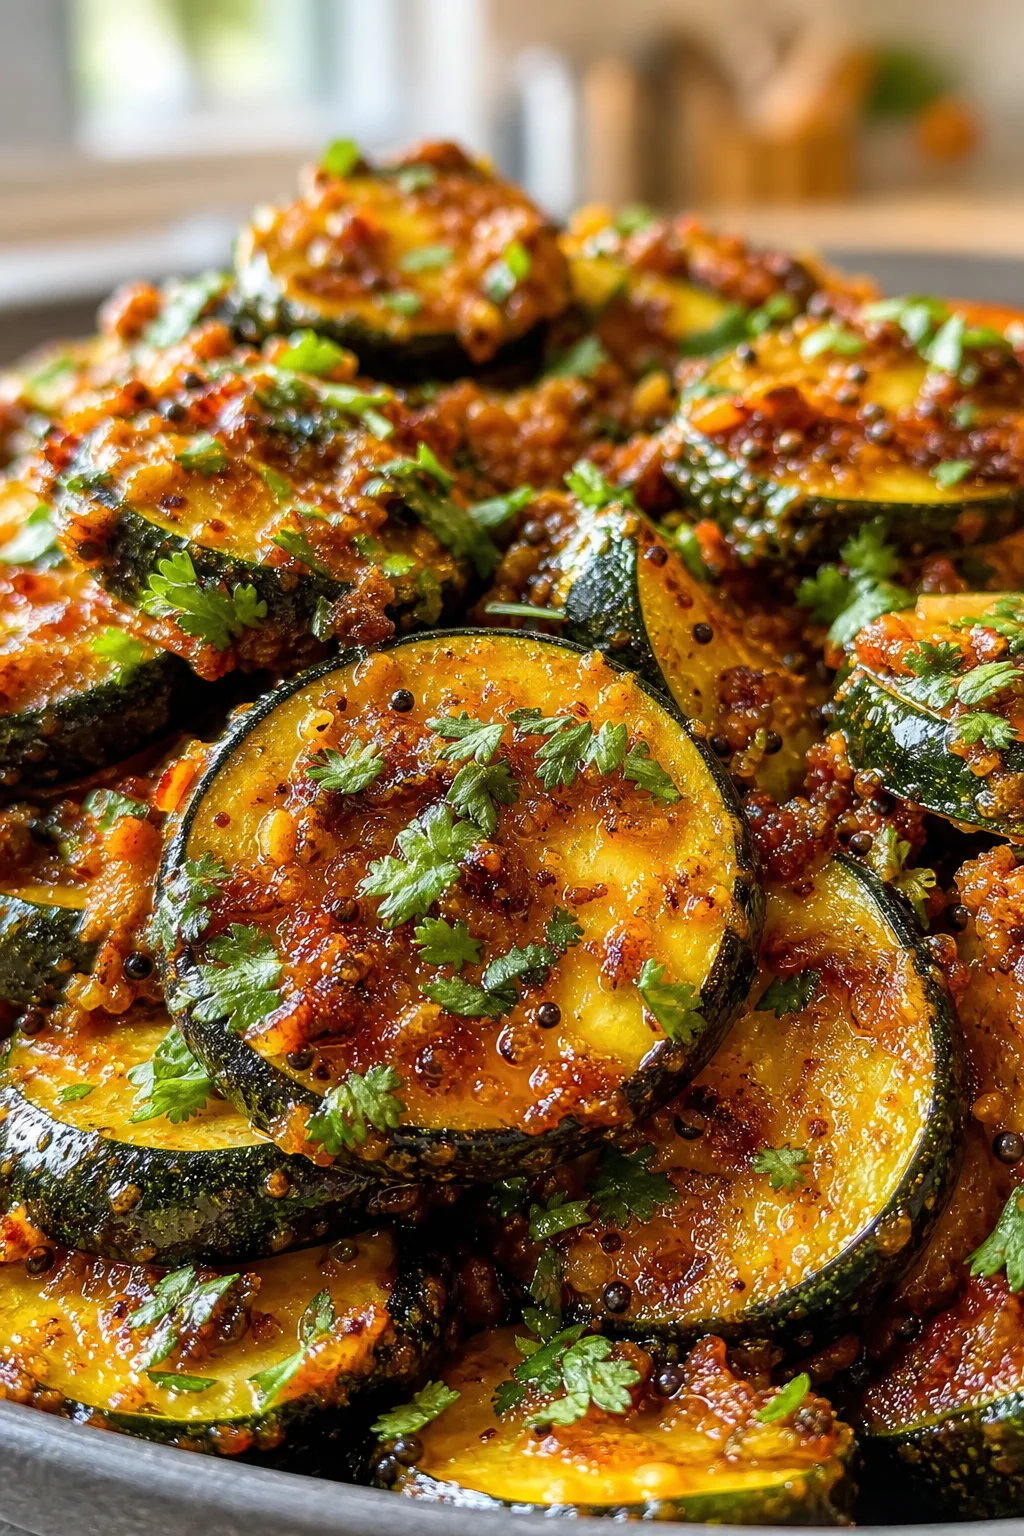
This one-pot chili is a total game changer for feeding friends without the fuss. Loaded with bold spices and hearty beans, it simmers all together for a rich, comforting dish. Perfect for game days or casual hangouts!
Introduction
I first made this one-pot party chili a few years ago when I needed something hearty and easy for a casual get-together. Honestly, I was tired of juggling multiple pots and pans and wanted a recipe that delivered big on flavor without the fuss. This chili quickly became a favorite because it’s packed with spices and all the good stuff—beans, peppers, and tender ground beef—all simmered together in one pot. The trick I learned is to brown the beef just right and let the chili simmer slowly to develop deep, rich flavors. I also love adding a splash of beef broth to keep everything juicy and tender. The finished chili is thick, comforting, and perfect for feeding a crowd. Plus, cleanup is a breeze, which is always a win in my book! Whether it’s game day or a casual evening with friends, this recipe hits the spot every time. I think you’ll love how easy it is to make and how delicious it tastes.
How To Do It
Step 1
Heat olive oil in a large heavy-bottomed pot over medium heat. Once shimmering, add diced onions and cook, stirring occasionally, until softened and translucent, about 5 minutes. This step is crucial because it builds the flavor base; properly softened onions release their natural sweetness and meld into the chili, enhancing the overall depth. Avoid browning or burning them, which can add bitterness.
⏱ Time: 5
✓ Doneness: Onions are soft and translucent but not browned
Step 2
Add minced garlic and diced bell peppers to the pot. Cook for another 3-4 minutes until the peppers soften slightly and the garlic becomes fragrant. This step helps release the aromatic oils in garlic and softens the peppers to blend seamlessly into the chili's texture. Rushing this can leave raw garlic flavor and crunchy peppers, which disrupts the smoothness of the dish.
⏱ Time: 4
✓ Doneness: Garlic is fragrant and peppers are tender but still hold shape
Step 3
Increase heat to medium-high and add the ground beef, breaking it up with a wooden spoon. Brown the meat thoroughly, about 7-8 minutes, stirring occasionally. Browning meat creates Maillard reactions that develop savory, complex flavors essential for a rich chili. Avoid overcrowding the pot which causes steaming instead of browning, resulting in less flavor.
⏱ Time: 8
✓ Doneness: Meat is fully browned with no pink spots and some browned bits sticking to the pot
Step 4
Stir in chili powder, cumin, smoked paprika, and cayenne pepper if using. Cook the spices with the meat for about 2 minutes, stirring constantly. Toasting spices in fat helps release their essential oils, boosting aroma and depth. Skipping this step can leave spices tasting flat or raw.
⏱ Time: 2
✓ Doneness: Spices smell fragrant and blend evenly with the meat
Step 5
Pour in the crushed tomatoes, kidney beans, black beans, and beef broth. Stir well to combine. The tomatoes add acidity and body, while the beans provide texture and heartiness. The broth ensures the chili doesn’t dry out during simmering. Mixing everything evenly now ensures consistent flavor throughout.
⏱ Time: 5
✓ Doneness: Ingredients are evenly mixed and the pot is starting to bubble lightly
Step 6
Bring the chili to a gentle boil, then reduce heat to low and cover partially with a lid. Let it simmer for 30 minutes, stirring occasionally. Simmering allows flavors to meld and the chili to thicken. Keeping the lid slightly off prevents too much moisture buildup, maintaining a perfect consistency. Don’t rush this step; flavor improves with time.
⏱ Time: 30
✓ Doneness: Chili thickens slightly and aromas deepen
Step 7
Taste and season with salt and freshly ground black pepper as needed. Adjust seasoning slowly—it's easier to add more than to fix over-seasoning. Proper seasoning balances the acidity of tomatoes and the richness of meat and beans, making all flavors pop.
⏱ Time: 3
✓ Doneness: Balanced, well-rounded flavor with no single ingredient overpowering
Step 8
Turn off heat and let the chili rest for 5 minutes before serving. Resting helps flavors settle and the chili to thicken just a bit more. Plus, it makes serving easier since it’s not too hot or liquidy.
⏱ Time: 5
✓ Doneness: Chili is thickened slightly and aromas are inviting
Step 9
Serve garnished with freshly chopped cilantro and your favorite toppings like shredded cheese, sour cream, or chopped green onions. The fresh herbs add brightness and a pop of color, balancing the warm spices. Offering toppings lets everyone customize their bowl, making it even more fun for parties.
⏱ Time: 2
✓ Doneness: Chili looks vibrant with colorful garnishes
Variations
Vegetarian One-Pot Chili
Skip the ground beef and add extra beans, diced zucchini, and mushrooms for a hearty vegetarian chili. Use vegetable broth instead of beef broth. This version is just as filling and packed with flavor, perfect for plant-based eaters or meatless nights.
Note: Simmer a bit longer to soften veggies fully and deepen flavors since there’s no meat.
Spicy Chipotle Chili
Add chopped chipotle peppers in adobo sauce and a teaspoon of smoked paprika for a smoky, spicy kick. This variation adds layers of heat and smokiness that elevate the chili’s complexity for those who like it hot.
Note: Start with less chipotle, then add more to taste to control heat level.
Slow Cooker Party Chili
Brown meat and sauté veggies on the stove, then transfer all ingredients to a slow cooker. Cook on low for 6-8 hours or high for 3-4 hours. This hands-off approach is perfect for busy days and yields tender, melded flavors.
Note: Add beans and tomatoes after sautéing, then cook low and slow for best results.
Turkey and Black Bean Chili
Swap ground beef for lean ground turkey for a lighter chili. Turkey pairs wonderfully with black beans and the same spice blend, offering a leaner yet flavorful alternative that’s great for weeknights.
Note: Turkey cooks faster and can dry out, so don’t overcook and add broth as needed.
Chili Mac and Cheese
Stir cooked elbow macaroni into the finished chili and top with shredded cheddar cheese. Bake briefly until bubbly and golden for a comforting, kid-friendly twist on classic chili.
Note: Cook pasta al dente before mixing to prevent mushiness after baking.
Pro Tips
Brown the beef in batches if needed to avoid overcrowding the pan.
Overcrowding traps moisture and causes the meat to steam rather than brown, which prevents the Maillard reaction that develops rich, savory flavors essential for a tasty chili.
Simmer chili gently with the lid partially on rather than boiling hard.
A gentle simmer allows flavors to meld and the chili to thicken slowly without evaporating all the liquid or toughening the meat and beans.
Rinse canned beans before adding them to the chili.
Rinsing removes excess sodium and starch, preventing the chili from becoming too salty or thick, and helps keep the beans’ texture intact.
Add spices to the meat after browning it, then cook briefly.
Cooking spices in fat releases their essential oils, enhancing aroma and flavor. Adding them too early or skipping this step leads to flat, less vibrant chili.
Let the chili rest off heat before serving.
Resting allows the flavors to meld and the chili to thicken slightly, improving taste and texture.
Use fresh garlic instead of pre-minced for more vibrant flavor.
Fresh garlic has a brighter, more complex flavor that elevates the chili, while pre-minced can be dull or bitter.
Garnish with fresh cilantro or green onions to add brightness.
Fresh herbs add a pop of color and fresh flavor that balances the rich, spicy chili, making it more visually appealing and tasty.
Common Mistakes to Avoid
Not browning the meat properly
Why it happens Many cooks rush this step or overcrowd the pan, assuming the meat will cook through anyway.
Fix Cook the beef in batches if needed, and don’t stir too often. Let it brown undisturbed to develop flavor and texture.
Skipping toasting spices with the meat
Why it happens Some may add spices directly to the pot without cooking them first, missing out on flavor development.
Fix Add spices after the meat is browned and cook for 1-2 minutes to release their essential oils.
Using canned beans without rinsing
Why it happens It’s easy to forget or skip rinsing canned beans, leading to excess salt and starch in the chili.
Fix Always drain and rinse beans under cold water before adding to the pot for cleaner flavor and better texture.
Simmering chili at too high heat
Why it happens In a hurry, cooks might crank up the heat to speed cooking, causing evaporation and toughening ingredients.
Fix Keep the chili at a gentle simmer with the lid partially on to allow flavors to develop and prevent drying out.
Not seasoning chili at the end
Why it happens Some assume the canned ingredients provide enough salt, so they skip tasting and adjusting.
Fix Always taste near the end and adjust salt and pepper gradually to balance acidity and spice.
Nutrition
Per Serving:
Nutritional values are estimates and may vary based on specific ingredients used.
Storage & Tips
Room Temperature
This chili can safely sit out for up to 2 hours if covered loosely to prevent contamination. Beyond that, bacteria growth can increase, so refrigerate promptly.
Refrigerator
Store leftover chili in an airtight container for up to 4 days. The flavors often deepen after a day. Reheat gently on the stove or microwave until steaming hot. The texture may thicken, so add a splash of broth or water if needed.
Freezer
Freeze chili in airtight, freezer-safe containers or heavy-duty bags for up to 3 months. To avoid freezer burn, remove as much air as possible. Thaw overnight in the refrigerator and reheat thoroughly before serving.
Reheating
Reheat chili over medium heat on the stovetop, stirring occasionally. Add a splash of broth or water if it’s too thick. Avoid boiling vigorously as this can toughen beans and meat. Microwave reheating is fine; cover and stir halfway through.
Make Ahead
You can prepare the chili base up to 2 days ahead and refrigerate. Reheat gently and adjust seasoning before serving. For even better flavor, make it a day in advance to allow the spices and ingredients to meld fully.
FAQ
Can I use ground turkey instead of beef?
Absolutely! Ground turkey is a great lean alternative. Just be careful not to overcook it as it can dry out faster than beef. You might want to add a bit more broth to keep the chili moist.
How can I make this chili spicier?
Add more cayenne pepper, diced jalapeños, or chipotle peppers in adobo sauce. Start with small amounts and taste as you go to avoid overpowering the dish.
Can I prepare this chili in a slow cooker?
Yes! Brown the meat and sauté veggies first, then transfer everything to the slow cooker. Cook on low for 6-8 hours or high for 3-4 hours. Add beans and tomatoes during the initial transfer for best flavor melding.
What’s the best way to store leftover chili?
Store in airtight containers in the fridge for up to 4 days or freeze for up to 3 months. Reheat gently with a splash of broth to restore texture and moisture.
Can I use dried beans instead of canned?
You can, but you’ll need to soak and cook them fully before adding to the chili. This prevents undercooked beans and ensures they absorb flavors well.
How do I prevent the chili from being too watery?
Simmer uncovered or partially covered to reduce excess liquid. Also, avoid adding too much broth initially; start with less and add if needed.
Can I make this chili vegetarian?
Yes! Simply omit the meat and add extra beans and veggies like mushrooms or zucchini. Use vegetable broth instead of beef broth.
Why is my chili bitter sometimes?
Overcooked garlic or burnt onions can cause bitterness. Make sure to cook aromatics gently and avoid burning spices during toasting.
Final Thoughts
Give this one-pot party chili a try — it’s easy, flavorful, and perfect for feeding friends. I can’t wait to hear how you like it!