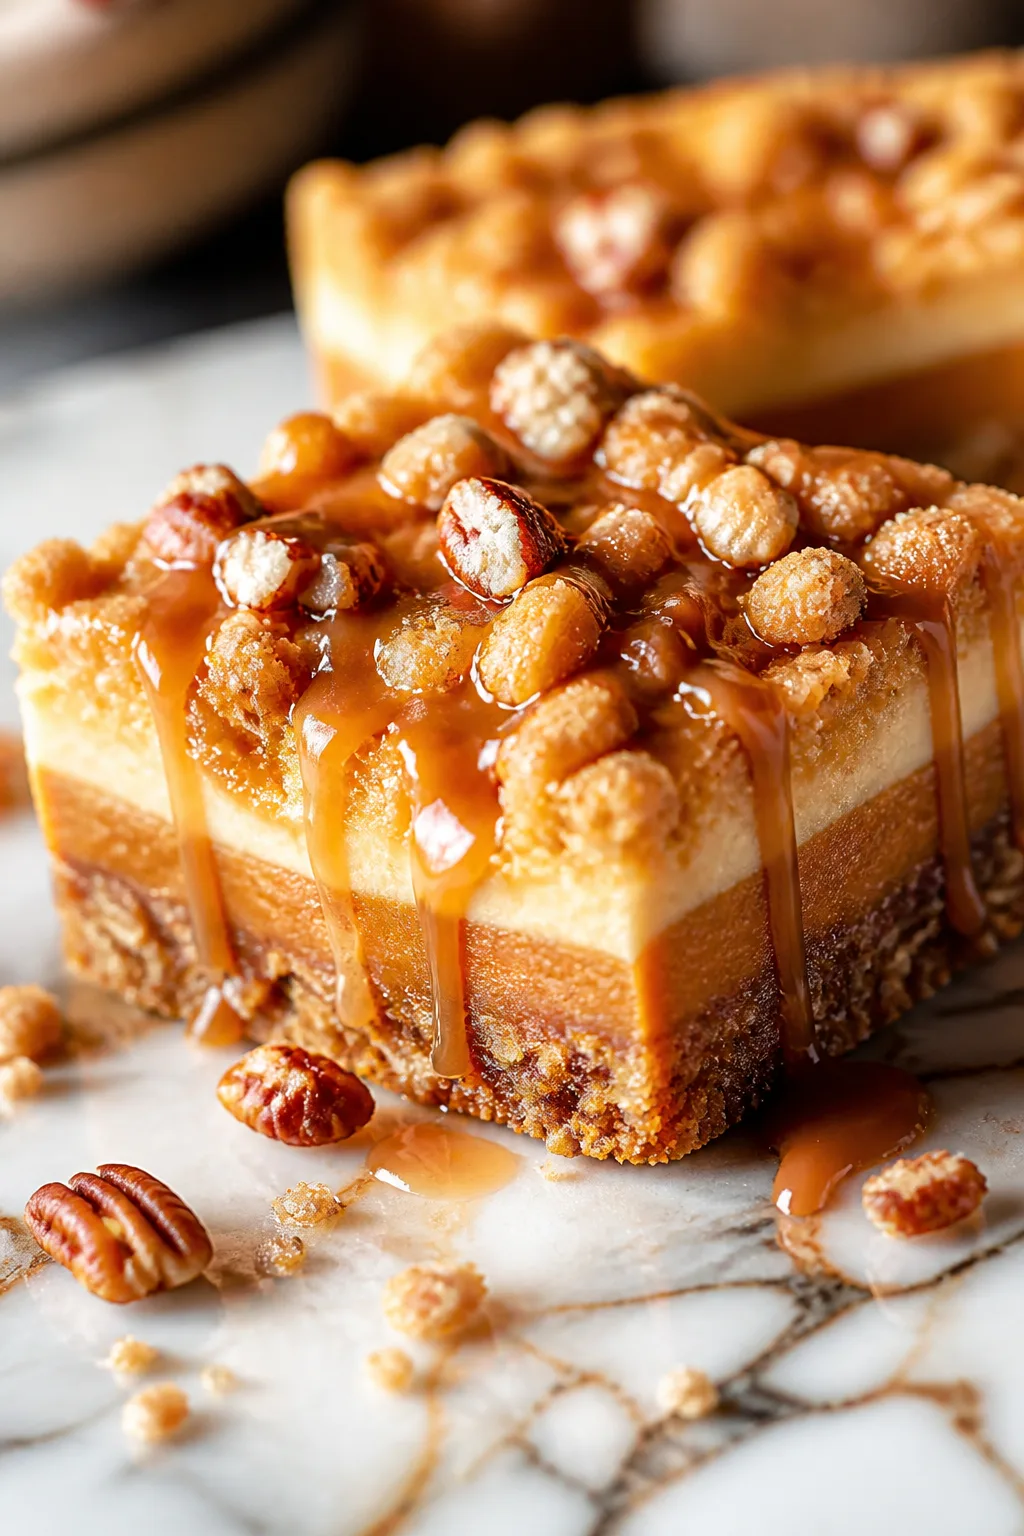
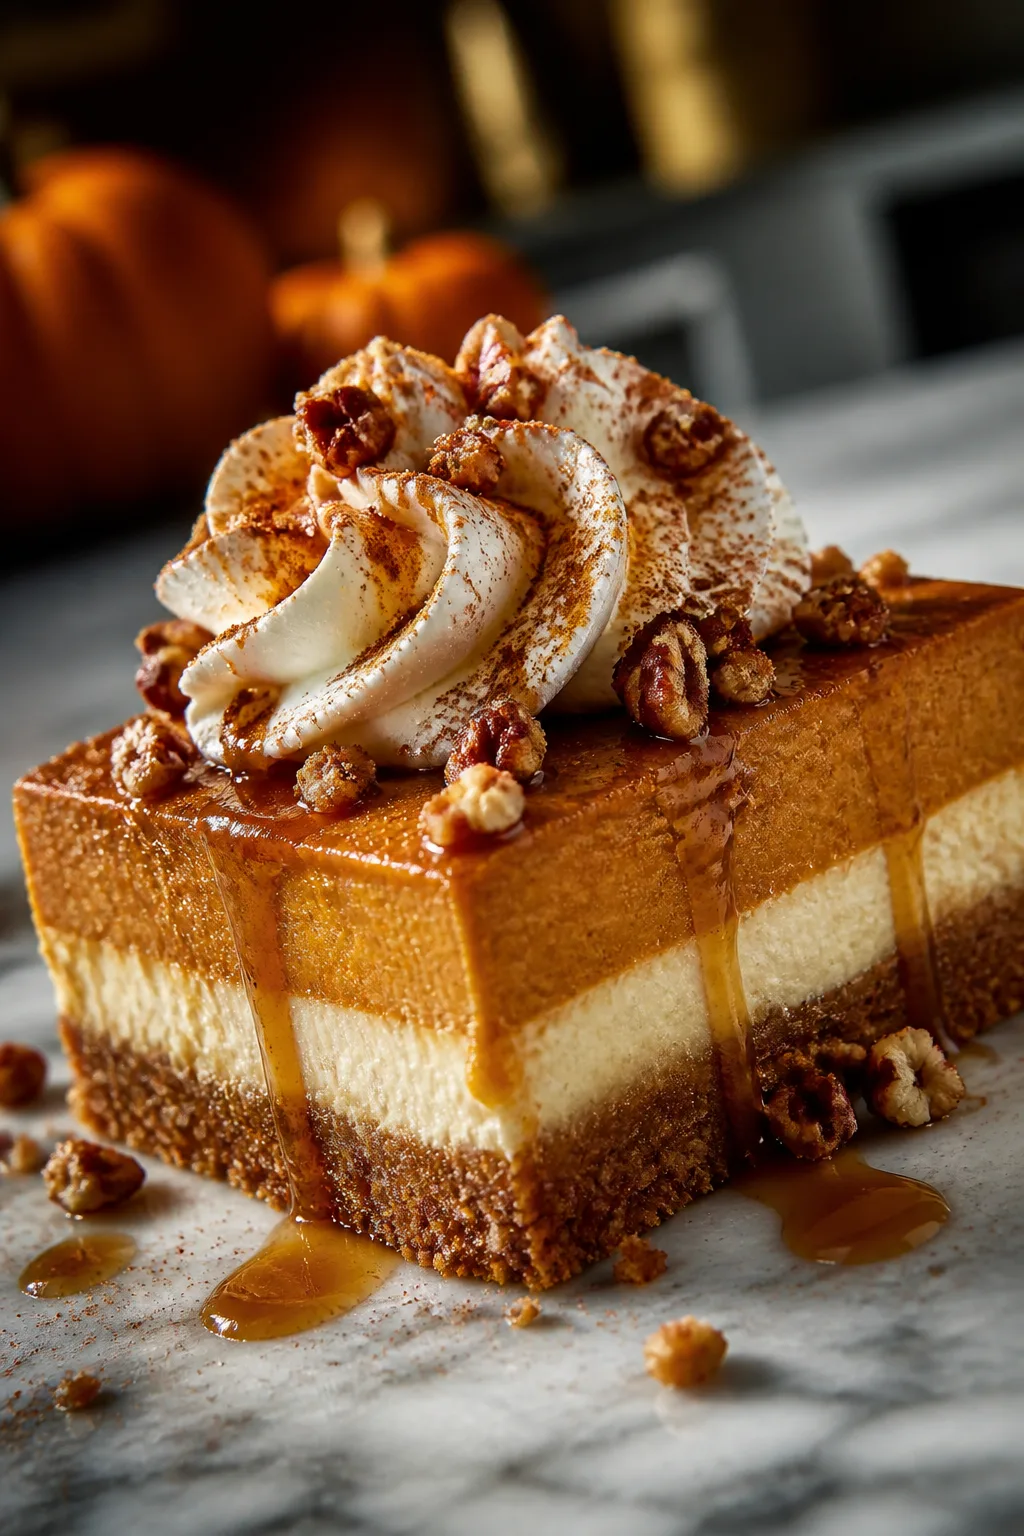
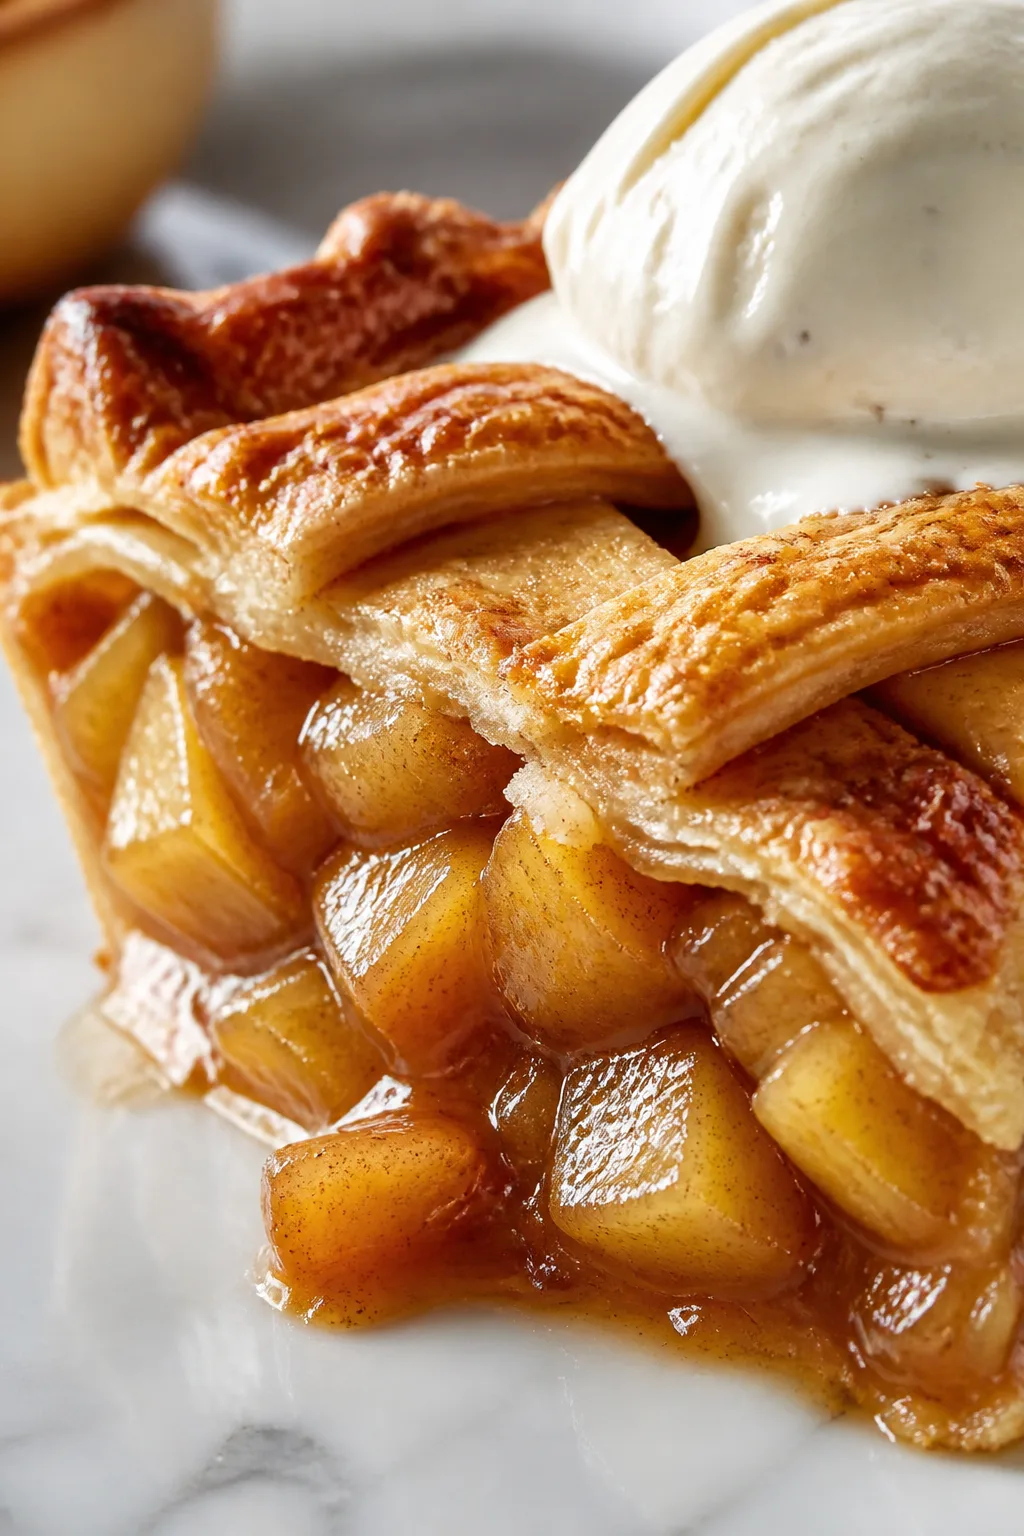
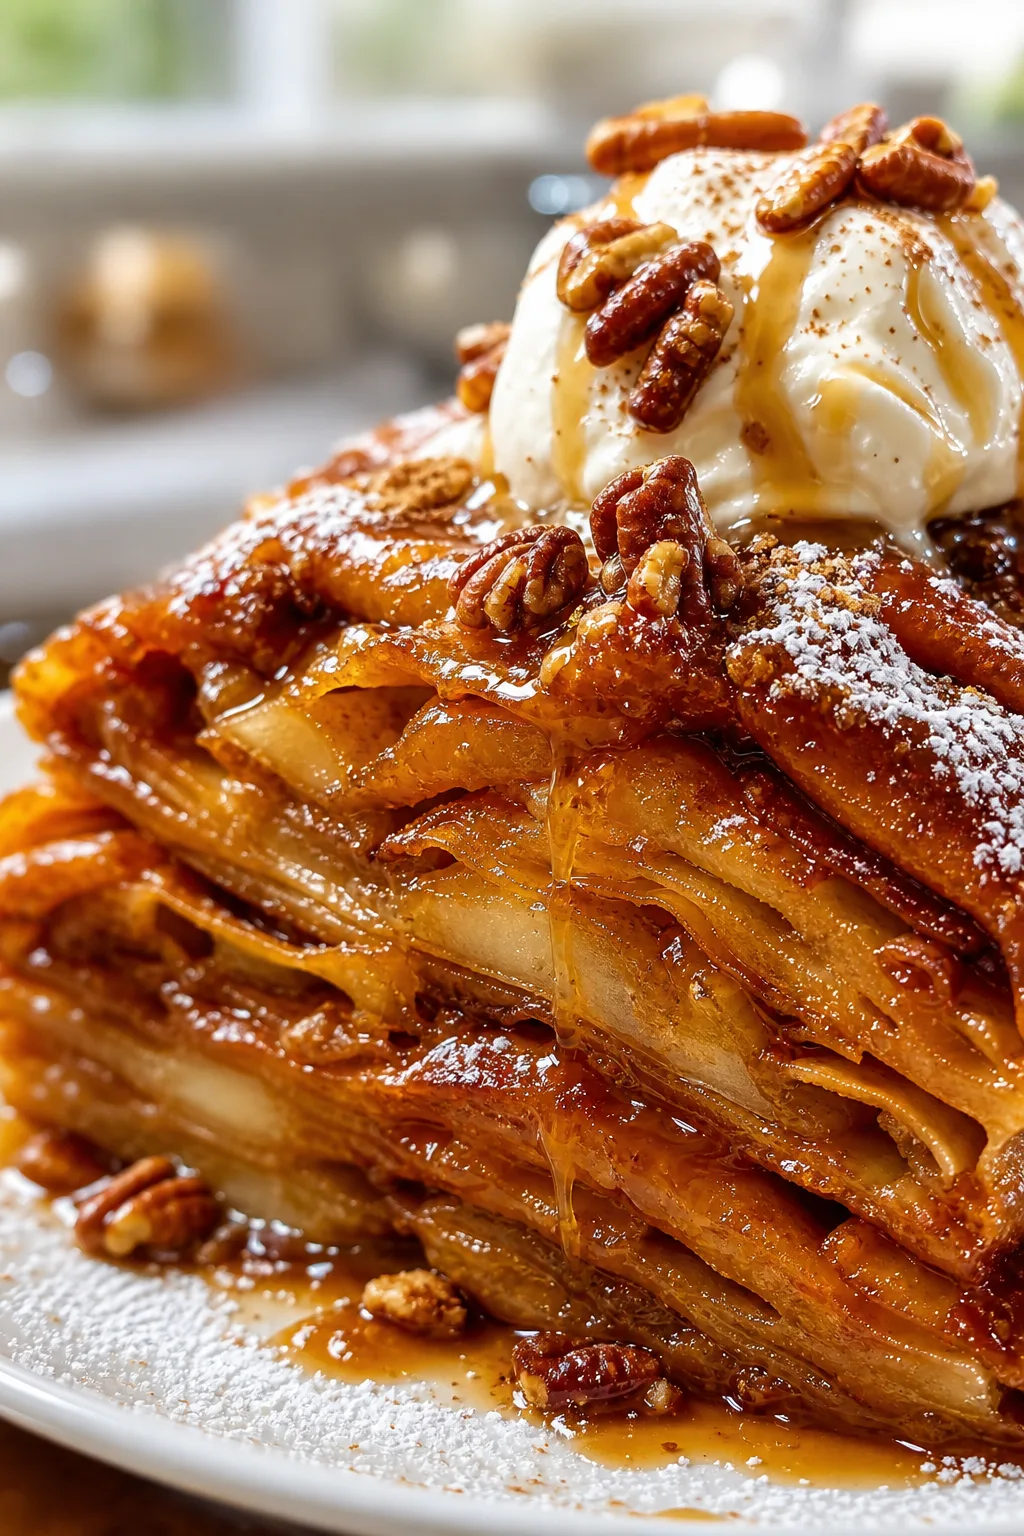
This apple crisp is everything you want on a chilly day—warm cinnamon-spiced apples topped with a buttery oat crumble. I love how the oats get golden and crunchy, adding texture. Perfect for weekend desserts or holiday dinners!
Introduction
I remember the first time I made apple crisp—it was a chilly fall afternoon, and I wanted something warm and comforting without a fuss. This recipe has become my go-to since then because it perfectly balances sweet, tart apples with a crunchy oat topping that's buttery and just a little spiced. What makes this version special is the combination of cinnamon and nutmeg, plus a squeeze of lemon juice to brighten the apple flavor. I also learned that using cold butter in the topping creates those irresistible little clumps that bake into crunchy bits, not just a dry crumb. The result is cozy, rustic, and incredibly satisfying. It's the kind of dessert that feels like a warm hug after a long day, great for sharing with family or impressing guests without spending hours in the kitchen. I’ve had my share of apple crisps that turned out soggy or bland, but this one hits all the right notes—golden, bubbly, and bursting with apple goodness. You’ll love how it fills your house with that classic fall aroma, too!
How To Do It
Step 1
Preheat your oven to 350°F (175°C). Start by preparing the apples: peel, core, and slice them into even pieces about 1/4-inch thick. Toss the apple slices with lemon juice to prevent browning and add a bright note that balances the sweetness. Then sprinkle in the granulated sugar, brown sugar, cinnamon, and nutmeg. Mix gently but thoroughly to coat every slice evenly. This step is crucial because it ensures the apples release their juices and soak up the spices during baking, creating that luscious filling. Avoid mashing the apples to keep some texture in the final dish.
⏱ Time: 15 minutes
✓ Doneness: Apples are well-coated with sugar and spices, slightly glossy but not mushy
Step 2
In a separate bowl, combine the rolled oats, flour, brown sugar, and salt. Add the cold butter cubes and use your fingers or a pastry cutter to work the butter into the dry ingredients until the mixture resembles coarse crumbs with some pea-sized pieces. This technique is key because those chunks of butter melt during baking, creating the crisp’s signature crunchy topping. If you rush or melt the butter beforehand, the topping can become greasy or flat instead of crumbly and crisp.
⏱ Time: 10 minutes
✓ Doneness: Mixture looks crumbly with visible butter pieces, not uniform dough
Step 3
Transfer the spiced apple mixture into a greased 8x8-inch baking dish, spreading it out evenly. Distribute the oat topping evenly over the apples, covering them completely to ensure a golden crust forms on top. This layering is important because it traps steam beneath, allowing the apples to soften while the topping crisps up nicely. Don’t press the topping down; leaving it loose helps it bake to a perfect crunch.
⏱ Time: 5 minutes
✓ Doneness: Even layer of crumbly topping covers apples without gaps
Step 4
Bake the apple crisp in the preheated oven for about 40 minutes. Keep an eye on the topping; it should turn golden brown and crispy, and the apple filling should be bubbling around the edges. Bubbling is a good sign that the juices have thickened and the apples are tender. Avoid opening the oven too often during baking as this lets heat escape and can affect the texture.
⏱ Time: 40 minutes
✓ Doneness: Golden-brown topping with bubbling apple juices at edges
Step 5
Once baked, remove the crisp from the oven and let it cool for 10-15 minutes to allow the filling to thicken further. This resting time makes serving easier and enhances the flavors as the spices meld beautifully. Serve warm, ideally with a scoop of vanilla ice cream or a dollop of whipped cream to contrast the warm spiced apples with creamy coolness.
⏱ Time: 15 minutes
✓ Doneness: Filling has thickened slightly and topping remains crisp
Step 6
If you want to prep ahead, you can assemble the crisp without baking and keep it covered in the fridge for up to 24 hours. When ready, bake directly from the fridge but add 5-10 minutes to the baking time. This flexibility makes it a great dessert for busy days or unexpected guests.
⏱ Time: 0 minutes (prep ahead)
✓ Doneness: Topping remains crumbly and apples are fresh before baking
Step 7
For an extra touch, sprinkle a little coarse sugar on top of the oat crumble before baking. This adds a subtle sparkle and crunch that’s really delightful. It’s a small step but elevates the texture and presentation.
⏱ Time: 2 minutes
✓ Doneness: Sugar crystals visible on topping pre-bake
Step 8
If you want to make this gluten-free, swap the all-purpose flour for almond flour or a gluten-free blend. Just note that the texture of the topping will be a bit different—more tender and less crisp—but still delicious. Adjust baking time slightly if needed, watching for browning.
⏱ Time: 0 minutes (ingredient swap)
✓ Doneness: Topping browns evenly without burning
Step 9
When serving leftovers, you can reheat individual portions in the microwave for about 30 seconds or in a toaster oven until warm. Adding a splash of apple juice or butter before reheating helps restore moisture and flavor. Avoid overheating to keep the topping from becoming soggy.
⏱ Time: 5 minutes
✓ Doneness: Warmed through but topping remains somewhat crisp
Variations
Add Nuts for Extra Crunch
Stir in 1/2 cup chopped walnuts or pecans into the oat topping before baking. This adds a toasty crunch and nutty flavor that pairs beautifully with the spiced apples. It’s a simple upgrade that feels a bit more special.
Note: Nuts may brown faster than oats, so check topping color mid-bake to avoid burning.
Use Pears Instead of Apples
Swap apples for firm pears like Bosc for a sweeter, softer filling. Pears bring a gentle floral sweetness and pair nicely with the warm spices. The topping remains the same, making this a quick twist on the classic.
Note: Pears cook faster than apples; reduce baking time by 5-10 minutes and watch for bubbling.
Make It Vegan
Use coconut oil or vegan butter in place of butter and maple syrup instead of brown sugar for a plant-based version. The texture will be slightly different but still delicious and comforting.
Note: Coconut oil melts faster than butter, so chill topping mixture before baking to maintain crumbly texture.
Add a Splash of Bourbon
Mix 1-2 tablespoons of bourbon into the apple filling for a warm, boozy depth. It complements the spices and adds complexity. Great for adult gatherings!
Note: Alcohol mostly cooks off during baking but adds flavor; avoid adding too much liquid to prevent soggy filling.
Top with Streusel and Oats
Combine a classic streusel mix (butter, flour, sugar) with oats for a double-layer topping that’s extra crunchy and buttery. It creates a more decadent texture and richer flavor.
Note: Ensure butter stays cold for streusel and oats to maintain crispness and prevent greasiness.
Pro Tips
Keep your butter cold until the last moment before mixing into the topping.
Cold butter melts slowly and creates steam pockets during baking, which gives the topping its light, crumbly texture. If the butter is too warm or melted before mixing, the topping will be greasy and dense instead of crisp.
Don’t skip the lemon juice when tossing the apples.
Lemon juice prevents the apples from browning and adds a subtle acidity that balances the sweetness and spices. Without it, your filling can look dull and taste overly sweet.
Use a mix of sugars (granulated and brown) in the filling.
Brown sugar adds moisture and a deeper caramel flavor to the apples, while granulated sugar helps the filling thicken properly as it bakes. This balance keeps the filling flavorful and not overly sticky.
Let the apple crisp rest after baking before serving.
Resting lets the juices thicken and flavors meld, improving texture and taste. Serving immediately can result in a runny filling and less defined layers.
Use old-fashioned rolled oats for the topping.
Rolled oats provide the perfect chewy texture and toast well during baking. Instant oats would get soggy and lose that satisfying crunch.
Don’t overmix the topping once butter is added.
Mixing just until pea-sized butter pieces remain ensures a crumbly topping. Overmixing melts the butter too much and leads to a dense, greasy texture.
Bake at 350°F for even cooking and browning.
This temperature allows the apples to soften and the topping to brown evenly. Higher temps risk burning the topping before the filling cooks through.
Common Mistakes to Avoid
Using too soft or sweet apples
Why it happens Many assume any apple works for baking, but soft or overly sweet varieties break down too much, resulting in mushy filling.
Fix Choose firm, tart apples like Granny Smith or Honeycrisp. They hold shape and provide balanced flavor when baked.
Melting butter before mixing topping
Why it happens Some think melted butter is easier to mix, but it prevents the topping from crisping properly.
Fix Keep butter cold and cut into small cubes, then mix quickly to maintain pea-sized pieces for a crumbly texture.
Skipping lemon juice in apple mixture
Why it happens People often omit lemon juice, thinking it’s unnecessary or will make the dish tart.
Fix Add lemon juice to prevent browning and brighten flavors; it’s subtle and essential for balanced taste.
Pressing down the topping too much
Why it happens Some press the topping to compact it, thinking it will hold better.
Fix Leave the topping loose so it crisps up nicely. Pressing compresses the butter and flattens the texture.
Opening oven door frequently during baking
Why it happens People check too often, causing heat loss.
Fix Trust the timing and visual cues. Opening the door lets heat escape and slows cooking, affecting texture.
Nutrition
Per Serving:
Nutritional values are estimates and may vary based on specific ingredients used.
Storage & Tips
Room Temperature
Apple crisp can be kept covered at room temperature for up to 2 hours safely. Beyond that, refrigerate to prevent spoilage. Cover loosely with foil or a clean towel to avoid drying out the topping.
Refrigerator
Store leftovers in an airtight container in the fridge for up to 4 days. The topping may soften but reheating in the oven or toaster oven helps restore some crispness. It’s still tasty cold but texture changes.
Freezer
Freeze apple crisp in a tightly sealed container or freezer-safe bag for up to 3 months. Wrap the baking dish tightly with plastic wrap and foil if freezing unbaked. Thaw overnight in the fridge before reheating.
Reheating
Reheat portions in a toaster oven or regular oven at 350°F for 10-15 minutes until warmed through and topping crisps up. Microwave can be used but topping will soften; add a splash of apple juice if needed to refresh filling.
Make Ahead
Assemble the crisp a day ahead and keep uncovered in the fridge. Bake fresh on serving day for best texture. Alternatively, bake fully and reheat before serving. Both work well for busy schedules.
FAQ
Can I use frozen apples for this recipe?
You can, but frozen apples release more water, which may make the filling watery. To prevent this, thaw and drain excess liquid before mixing with sugar and spices. Adjust baking time as needed to cook off extra moisture.
How do I prevent the topping from getting soggy?
Use cold butter in the topping and don’t press it down. Bake at the right temperature (350°F) so the topping crisps evenly. Also, avoid opening the oven door frequently to maintain heat and proper baking.
Can I make this gluten-free?
Yes! Swap all-purpose flour with almond flour or a gluten-free baking blend. The texture will be slightly different — more tender but still delicious. Use certified gluten-free oats if needed for strict diets.
What’s the best apple variety for baking?
Tart, firm apples like Granny Smith, Honeycrisp, or Braeburn hold their shape well and balance sweetness. Avoid softer apples like McIntosh that turn mushy when baked.
How do I store leftover apple crisp?
Refrigerate leftovers in an airtight container for up to 4 days. Reheat in the oven to bring back some crispness. You can also freeze for longer storage; thaw overnight in the fridge before reheating.
Can I add other fruits besides apples?
Absolutely! Pears, berries, or peaches can be mixed in for variation. Just adjust sugar and baking time depending on the fruit’s water content and sweetness.
Why does my apple crisp sometimes turn out soggy?
Sogginess can come from too much liquid in the filling or topping that’s too dense. Make sure apples are well-coated but not swimming in juice, and keep butter cold in the topping to ensure crispness.
Can I prepare this dessert ahead of time?
Yes! Assemble the crisp without baking and store in the fridge up to 24 hours before baking. You can also bake in advance and reheat before serving. Both options save time while keeping great flavor.
Final Thoughts
I hope you give this cozy apple crisp a try—it’s one of those desserts that feels like a warm hug. Don’t forget to share how yours turns out!