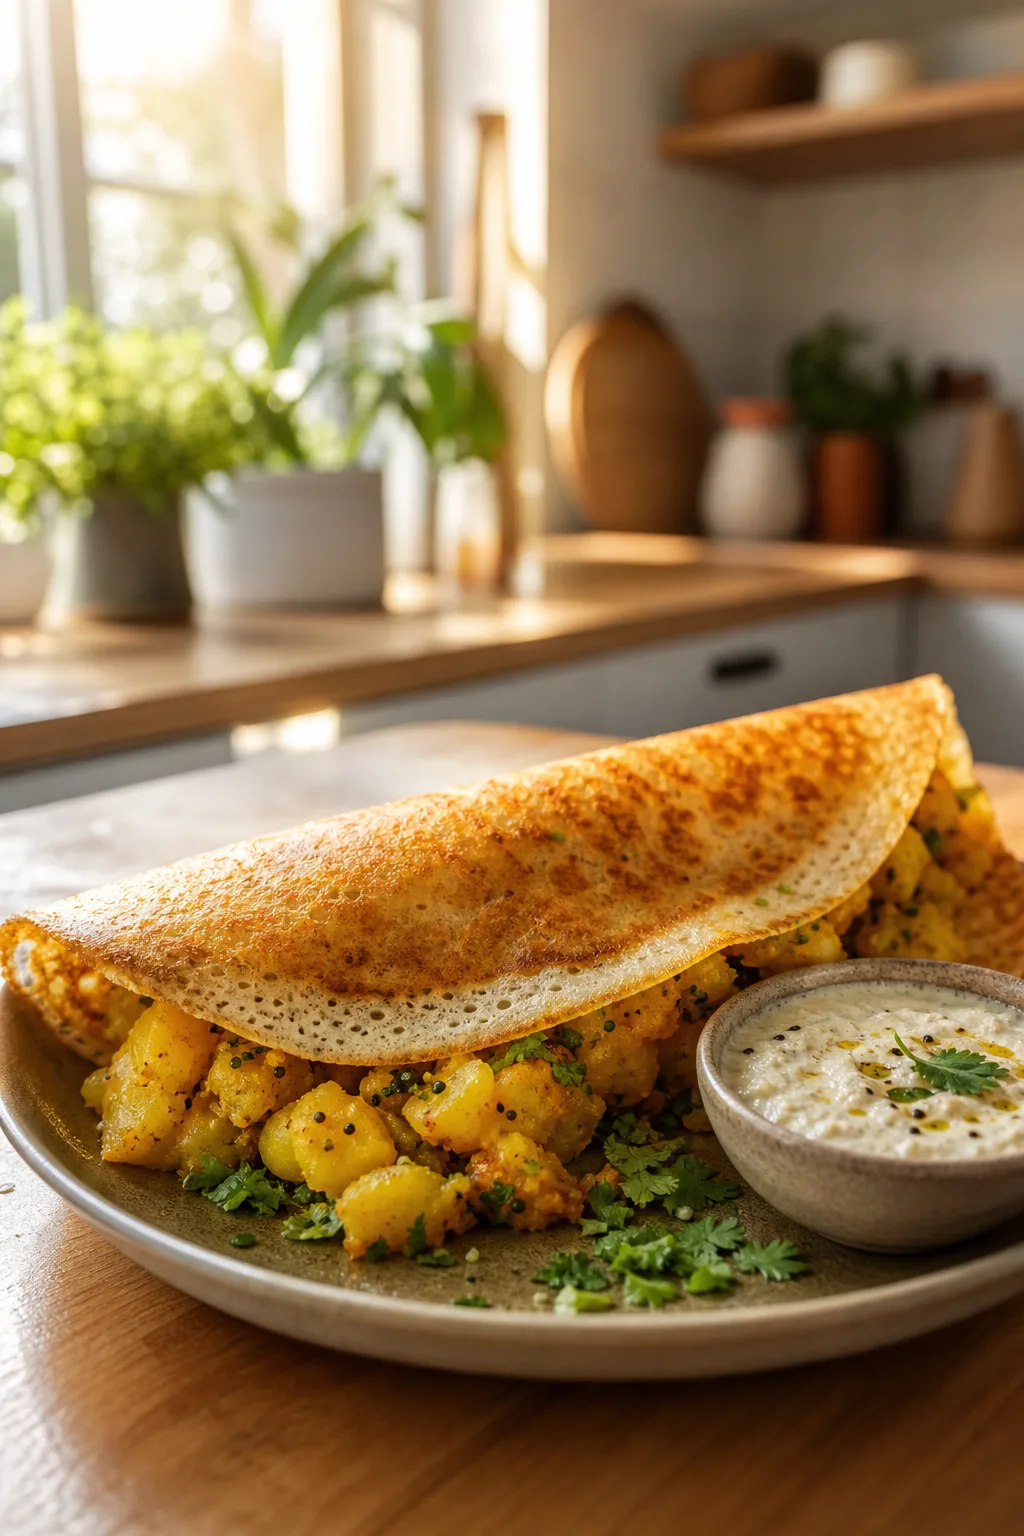
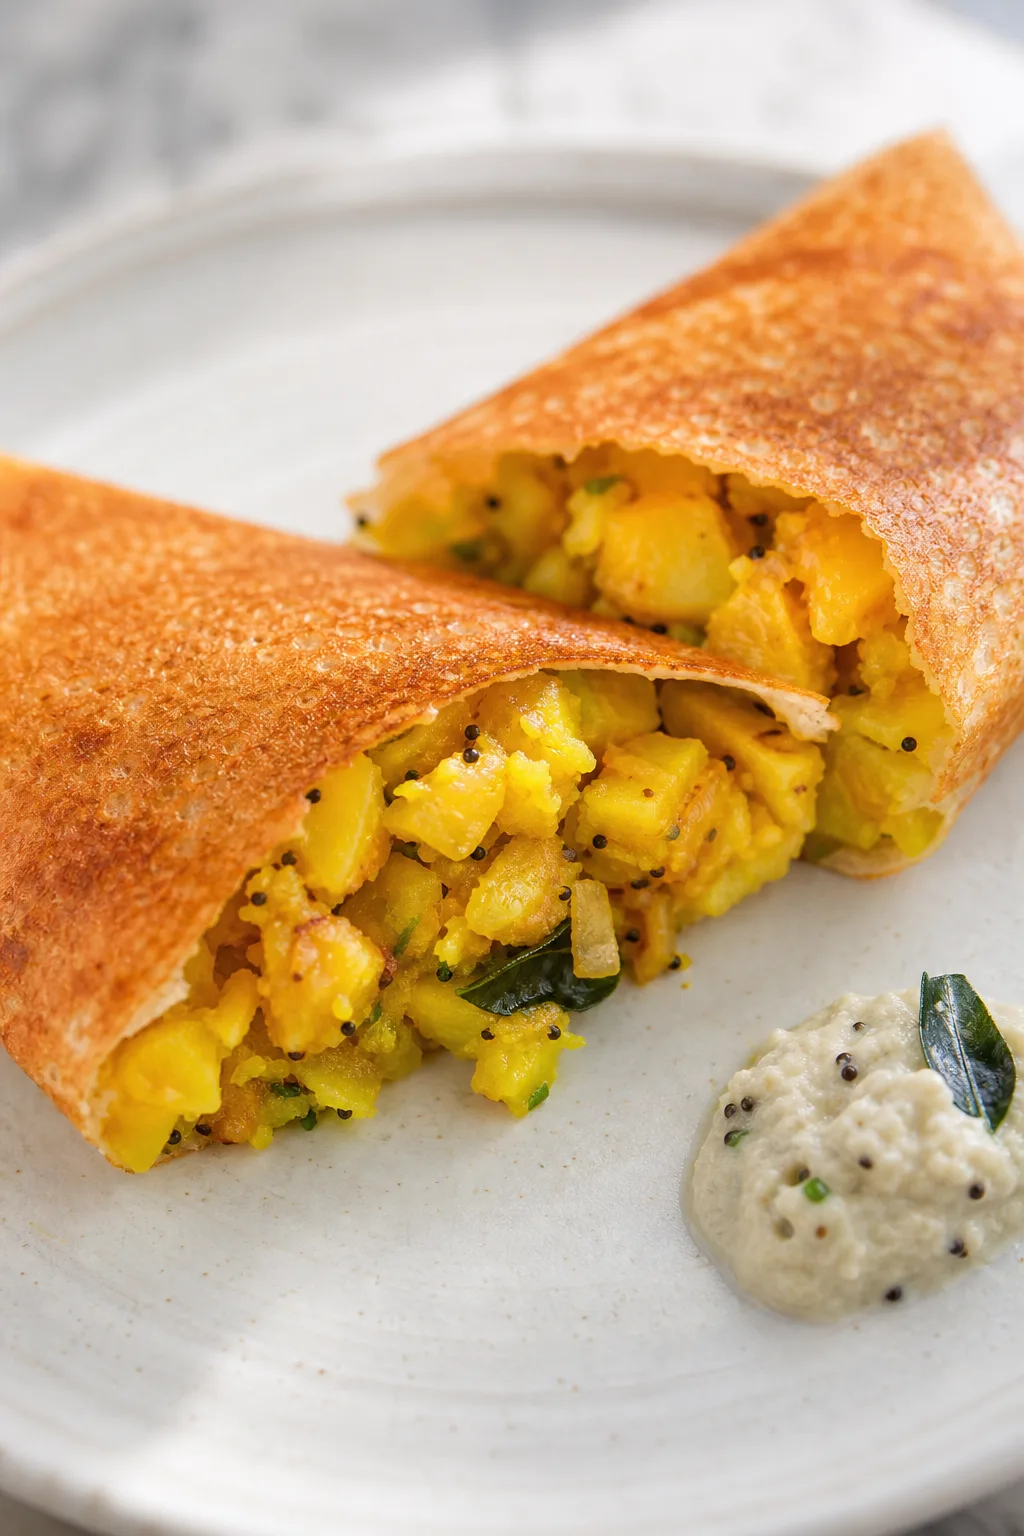
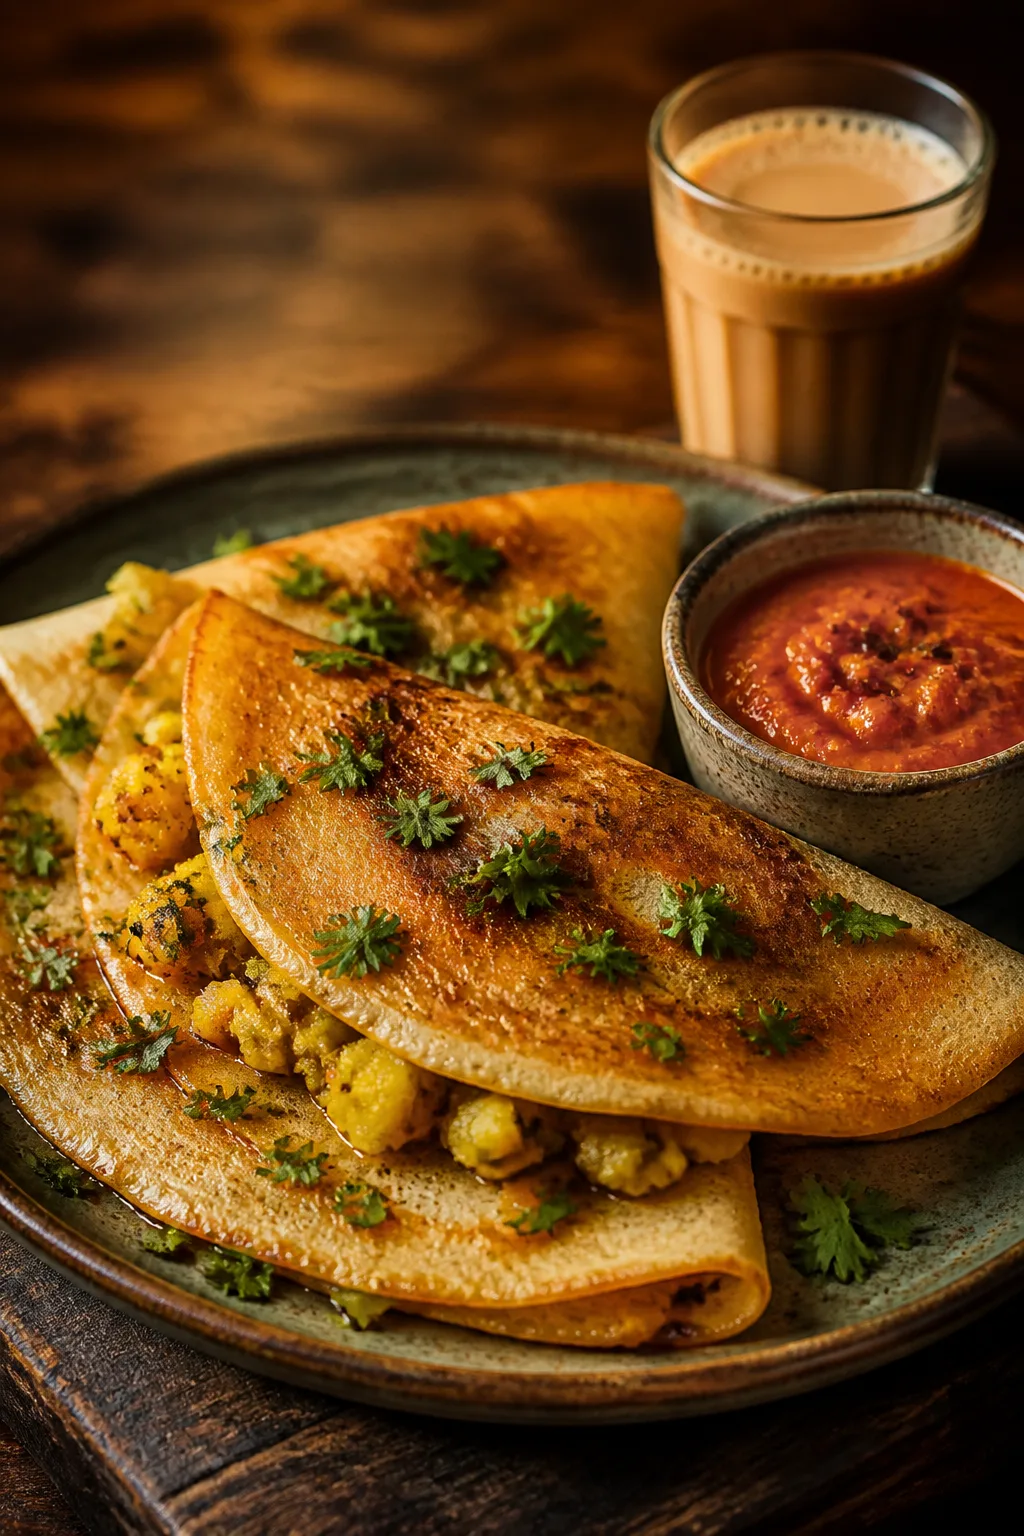
This crispy masala dosa is a flavorful Indian breakfast classic. The spiced potato filling adds a comforting twist, making it a wholesome and quick meal to brighten your morning.
Introduction
I first tried making masala dosa a few years ago after tasting it at a friend's house, and honestly, it was a bit intimidating at first. The batter fermentation and the crispy texture seemed tricky, but once I got the hang of it, it became a favorite weekend breakfast in my house. What I love about this version is that I soak the rice and dal overnight, which really helps the batter ferment perfectly, giving that signature tang and crispiness without any fuss. The spiced potato filling is simple but packed with flavor thanks to mustard seeds, curry leaves, and fresh coriander — it’s comforting and bright at the same time. A little secret I learned is to spread the batter thin and cook on medium heat; this prevents sogginess and gives you that beautiful golden crust. When you bite into a freshly made masala dosa, you get this satisfying crunch followed by the warm, mildly spiced potatoes inside — it’s just so comforting. I usually serve it with coconut chutney and sambar, but honestly, even on its own, it’s a winner. If you’ve never made dosa before, don’t worry — it takes a few tries, but once you nail it, you’ll want to make it again and again!
What You'll Need
Approximately 8 dosas, 4 servings
- 1 cup parboiled rice, soaked for 4-6 hours
- 1/4 cup urad dal (split black gram), soaked for 4-6 hours
- 1/2 teaspoon fenugreek seeds
- Salt to taste
- 2 large potatoes, boiled and mashed
- 1 tablespoon vegetable oil
- 1 teaspoon mustard seeds
- 1 teaspoon chana dal (split chickpeas)
- 1 teaspoon urad dal
- 1-2 green chilies, finely chopped
- 1/2 teaspoon turmeric powder
- 1/2 inch ginger, finely chopped
- A few curry leaves
- Fresh coriander leaves, chopped
- Oil or ghee for cooking dosas
How To Do It
Step 1
Start by rinsing the parboiled rice and urad dal separately under cold water until the water runs clear. Soak both the rice and dal along with fenugreek seeds in water for at least 4-6 hours or overnight. This soaking softens the grains and helps with fermentation, which is key for the dosa’s texture and flavor. Make sure to drain the water completely before grinding to avoid a runny batter.
⏱ Time: 6 hours soaking
✓ Doneness: Rice and dal should feel soft and swollen to the touch before grinding.
Step 2
Grind the soaked rice and dal separately using a wet grinder or high-speed blender. First, grind the urad dal with fenugreek seeds into a smooth, fluffy batter, adding water gradually to get a thick but pourable consistency. Then grind the rice coarsely to a slightly grainy texture. Mix both batters well, add salt, cover, and let it ferment overnight or for 8-12 hours in a warm spot. Proper fermentation is what gives dosa its tangy flavor and crispiness when cooked.
⏱ Time: 15 minutes grinding + 8-12 hours fermentation
✓ Doneness: Batter should rise and become bubbly with a slightly sour aroma.
Step 3
While the batter ferments, prepare the potato filling. Heat oil in a pan over medium heat and add mustard seeds. Once they start to pop, add chana dal, urad dal, green chilies, ginger, and curry leaves. Fry until golden and fragrant, then add turmeric powder and mashed potatoes. Stir well to combine and cook for a few minutes to let the flavors meld. Finish with fresh coriander leaves. This filling should be flavorful but not too wet, so it doesn’t make the dosa soggy.
⏱ Time: 10 minutes
✓ Doneness: Potato mixture should be warm, aromatic, and slightly dry.
Step 4
Heat a non-stick or cast iron griddle over medium heat. To test if it’s ready, sprinkle a few drops of water; if they sizzle and evaporate quickly, the pan is at the right temperature. Lightly grease the pan with oil or ghee. Pour a ladleful of fermented batter onto the center and spread it quickly in a circular motion to form a thin, even layer. The thinner the spread, the crispier the dosa will be. Cooking at medium heat prevents burning while allowing the dosa to crisp up nicely.
⏱ Time: 2 minutes per dosa
✓ Doneness: Edges should lift and turn golden brown with crisp texture.
Step 5
Drizzle a little oil or ghee around the edges of the dosa and cook until the bottom is golden brown and crisp. Avoid flipping the dosa; instead, fold it in half or roll it with the potato filling placed in the center. The heat cooks the filling gently inside. Overcooking can make the dosa tough, so watch carefully to get that perfect balance of crisp and tender.
⏱ Time: 1-2 minutes
✓ Doneness: Dosa should be golden and crisp; filling warm but not mushy.
Step 6
Repeat the process with the remaining batter, stirring it gently before each dosa to keep the consistency even. Keep the cooked dosas warm by covering them with a clean kitchen towel or placing them in a low oven. This helps maintain their crispness and allows you to serve all dosas hot together.
⏱ Time: 20-25 minutes for remaining dosas
✓ Doneness: Each dosa should maintain crisp edges and warm filling.
Step 7
Serve the masala dosa immediately with coconut chutney and sambar on the side. These accompaniments add cooling and tangy flavors that balance the savory dosa perfectly. If you don’t have these, a simple tomato chutney or even plain yogurt works well. Enjoy while the dosa is still hot and crisp for the best experience.
⏱ Time: Immediate serving
✓ Doneness: Dosa is crisp and hot; chutneys fresh and vibrant.
Step 8
If you want to prepare ahead, you can make the potato filling a day in advance and refrigerate it. Reheat gently before stuffing the dosas. The batter can also be stored in the fridge after fermentation for up to 2 days, but it may continue to sour slightly, so taste before using.
⏱ Time: Preparation ahead
✓ Doneness: Filling warm and moist; batter bubbly but not overly sour.
Step 9
For an extra crispy dosa, try adding a teaspoon of semolina (rava) to the batter before cooking. It helps absorb moisture and adds a nice crunch. Also, using a well-seasoned cast iron griddle can improve the crispness and even cooking. Experiment with heat and batter thickness to find your perfect dosa texture.
⏱ Time: Optional step during batter prep
✓ Doneness: Dosa edges crispier with a slight granular texture.
Variations
Rava Masala Dosa
Swap the rice batter with semolina (rava) mixed with yogurt and water for a quicker, no-fermentation dosa option. The texture is crispier and slightly grainier, ideal if you’re short on time but still want that masala dosa flavor.
Note: Since rava batter doesn’t ferment, add a pinch of baking soda for lightness and cook on medium heat to avoid burning.
Paneer Masala Dosa
Add crumbled paneer to the potato filling for a protein boost and creamy texture. The mild paneer pairs beautifully with the spices, making the filling richer and more substantial.
Note: Add paneer last to the filling and cook briefly to warm through without drying it out.
Spinach Masala Dosa
Toss finely chopped spinach into the potato filling for extra greens and nutrients. It adds color and a slight earthiness, balancing the spices with freshness.
Note: Wilt spinach separately to remove excess moisture before mixing into the filling to prevent sogginess.
Cheese Masala Dosa
Sprinkle grated cheese over the potato filling before folding the dosa. The cheese melts inside for a gooey, indulgent treat that kids and adults love alike.
Note: Use a mild melting cheese and cover the dosa briefly after folding to allow cheese to melt fully.
Spicy Red Chili Masala Dosa
Boost the heat by adding finely chopped red chilies or red chili powder to the potato filling. This variation is perfect for spice lovers who want a fiery kick to start their day.
Note: Adjust the chili quantity carefully to your heat tolerance and balance with a cooling chutney.
Pro Tips
Use a cast iron or non-stick griddle for even cooking and crispiness.
Cast iron retains heat well and distributes it evenly, which is crucial for cooking dosa uniformly. A non-stick pan helps spread the batter thinly without sticking. Uneven heat can cause soggy or burnt spots, so a well-heated pan is key to that perfect golden crust.
Stir the fermented batter gently before making dosas to redistribute air bubbles.
Fermentation produces bubbles that lighten the batter. Stirring gently mixes these bubbles evenly, ensuring consistent texture in each dosa. Vigorous stirring can deflate the batter, making dosas dense and less crispy.
Control the heat carefully; too high burns the dosa, too low makes it soggy.
Medium heat allows the Maillard reaction to create that golden-brown crust while cooking the batter fully. High heat burns the outside before the inside cooks; low heat results in a pale, soft dosa without crisp edges.
Add a teaspoon of semolina (rava) to the batter for extra crunch.
Semolina absorbs moisture and adds a slight granular texture, enhancing crispiness. It helps create a sturdier dosa that holds fillings better without compromising softness inside.
Cover the batter tightly during fermentation to prevent contamination.
Fermentation relies on beneficial bacteria. Exposure to dust or insects can spoil the batter or introduce unwanted microbes. A clean, warm environment with a covered bowl ensures safe and effective fermentation.
Use fresh curry leaves and coriander for the potato filling to maximize aroma.
Fresh herbs release essential oils that elevate the filling’s flavor. Dried or old leaves lack this vibrancy, resulting in a duller taste. Adding them at the right time during cooking preserves their fragrance.
Serve dosas immediately after cooking for the best texture.
Dosas lose their crispness as they cool due to moisture absorption. Serving them hot ensures the contrast between the crunchy exterior and soft filling is at its peak, making for a delightful eating experience.
Common Mistakes to Avoid
Skipping fermentation or fermenting in a cold place
Why it happens Many cooks rush the process or neglect the importance of a warm environment, leading to poor fermentation.
Fix Place the batter in a warm spot, like inside an oven with the light on or near a radiator. Fermentation develops flavor and texture; without it, dosas will be dense and lack tang.
Spreading the batter too thick or unevenly
Why it happens Beginners often pour too much batter or don’t spread it quickly enough, resulting in thick, soggy dosas.
Fix Use just enough batter and spread it in a quick circular motion to get a thin, even layer. Practice makes perfect to achieve the ideal thinness and crispness.
Not heating the pan properly before cooking
Why it happens If the pan isn’t hot enough, dosa sticks or cooks unevenly.
Fix Test pan heat by sprinkling water drops; they should sizzle and evaporate immediately. Preheat the pan well and grease lightly before pouring batter.
Adding too much water when grinding the batter
Why it happens Too much water makes the batter runny, which affects dosa texture and cooking.
Fix Add water gradually to achieve a thick but pourable batter consistency. Thick batter spreads well and crisps up better.
Overcooking the potato filling or making it too wet
Why it happens Overcooked filling can become mushy, and excess moisture can make dosas soggy.
Fix Cook filling just enough to combine flavors and evaporate excess water. The filling should be warm and slightly dry before stuffing.
Nutrition
Per Serving:
Nutritional values are estimates and may vary based on specific ingredients used.
Storage & Tips
Room Temperature
Masala dosas are best eaten fresh but can be kept covered at room temperature for up to 2 hours. Beyond this, they may lose crispness and become soggy.
Refrigerator
Store leftover dosa and potato filling separately in airtight containers for up to 2 days. Reheat dosas on a hot pan to restore crispness; filling can be microwaved or warmed on stovetop. Cold dosas tend to be chewy and less appetizing.
Freezer
Freeze dosa batter before fermentation or cooked dosas wrapped tightly in foil and plastic wrap for up to 1 month. Thaw overnight in the fridge and reheat on a pan for best texture. Potato filling can also be frozen but may need stirring after thawing.
Reheating
Reheat dosas on a dry non-stick pan over medium heat for 1-2 minutes on each side to regain crispness. Avoid microwaving as it makes them rubbery. Warm filling separately on stovetop with a splash of water if needed.
Make Ahead
Prepare and ferment batter a day ahead, refrigerate overnight. Cook potato filling in advance and reheat before serving. On the day, spread and cook dosas fresh for best texture and flavor.
FAQ
Can I make masala dosa batter without fermentation?
Fermentation is key for dosa’s texture and flavor, but if you’re short on time, you can skip it by using rava (semolina) batter or adding a pinch of baking soda to the batter. The dosa won’t have the same tang or crispness but will still be tasty.
How do I prevent dosa from sticking to the pan?
Make sure your pan is well heated before pouring the batter and lightly greased with oil or ghee. Using a non-stick or well-seasoned cast iron pan helps. Also, spread the batter quickly and evenly to avoid sticking.
What’s the best way to store leftover dosa batter?
Store fermented batter in an airtight container in the fridge for up to 2 days. It may become more sour with time, so taste before using. Stir gently before pouring to redistribute bubbles.
Can I use regular rice instead of parboiled rice?
You can, but parboiled rice produces better texture and fermentation results for dosa. Regular rice may yield a softer, less crispy dosa. If using regular rice, soak and ferment similarly but expect slight differences.
How do I make the potato filling less oily?
Use just enough oil to temper the spices and lightly fry the potatoes. Drain any excess oil after cooking if needed. Over-oiling can make filling heavy and dosa soggy.
Can I freeze the dosa batter?
Yes, you can freeze unfertilized batter in an airtight container for up to 1 month. Thaw in the fridge overnight and allow it to ferment at room temperature before making dosas.
What chutneys go well with masala dosa?
Traditional coconut chutney and tangy sambar are classic accompaniments. Tomato or coriander chutneys also pair well. They add freshness and balance the dosa’s richness.
How thin should I spread the batter for dosa?
Spread the batter as thin as you can in a circular motion to get crispy edges and a tender center. Thicker dosas tend to be softer and less crisp.
Final Thoughts
I hope you enjoy making and eating this masala dosa as much as I do! Don’t forget to share your results and tweaks — I’d love to hear how it turns out for you.