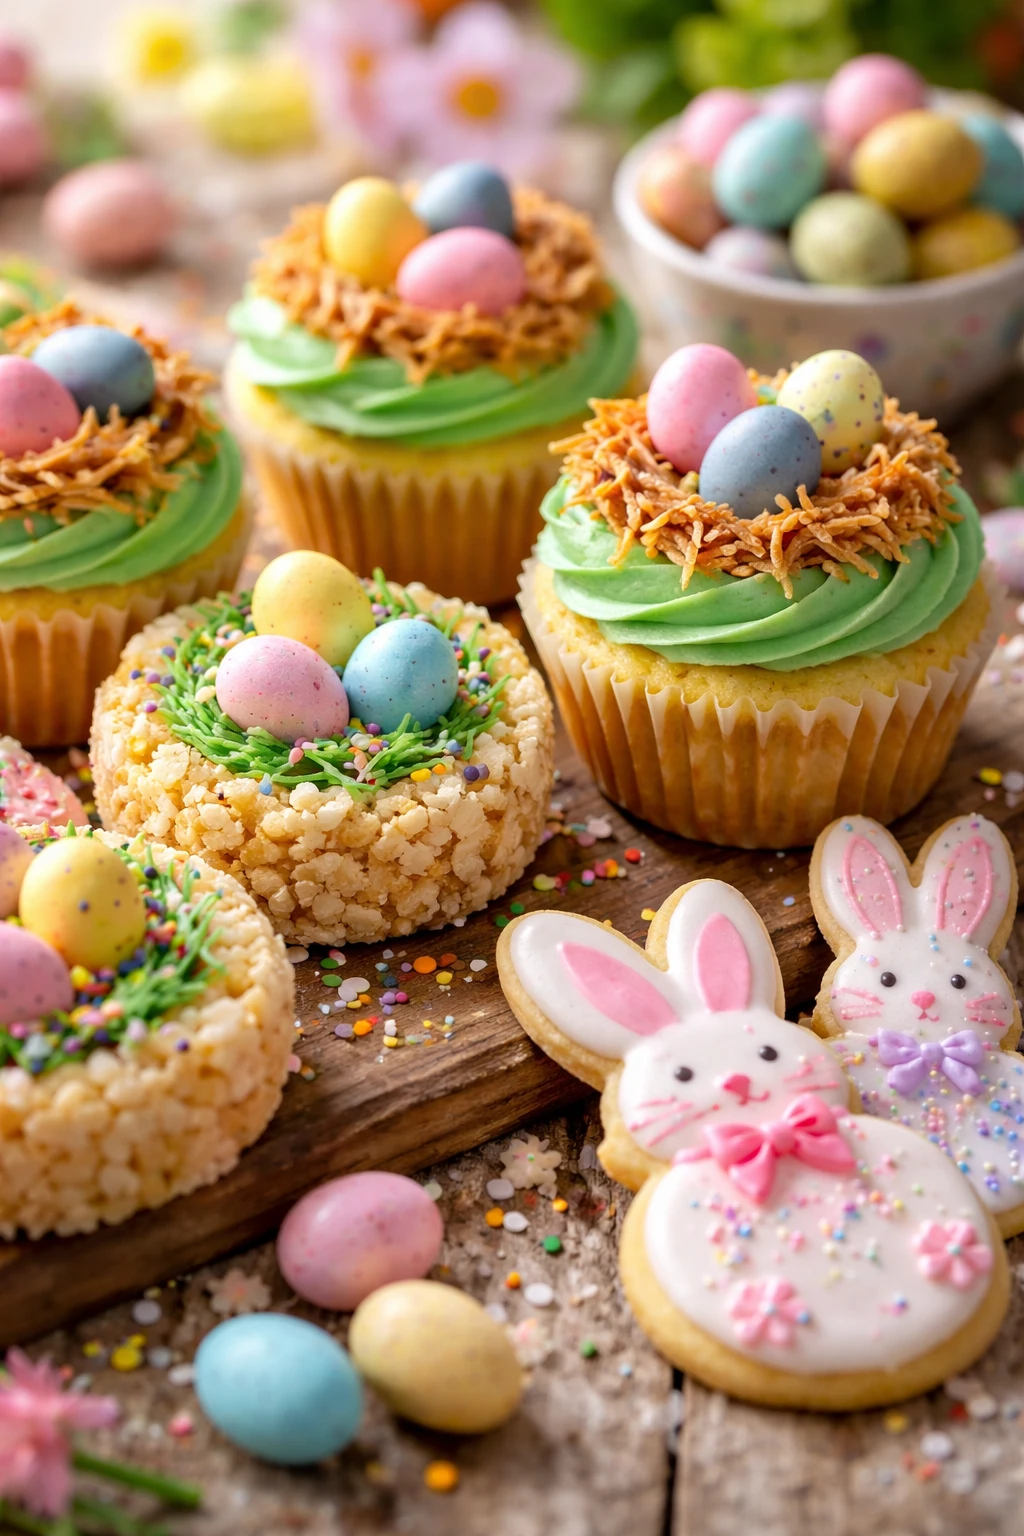
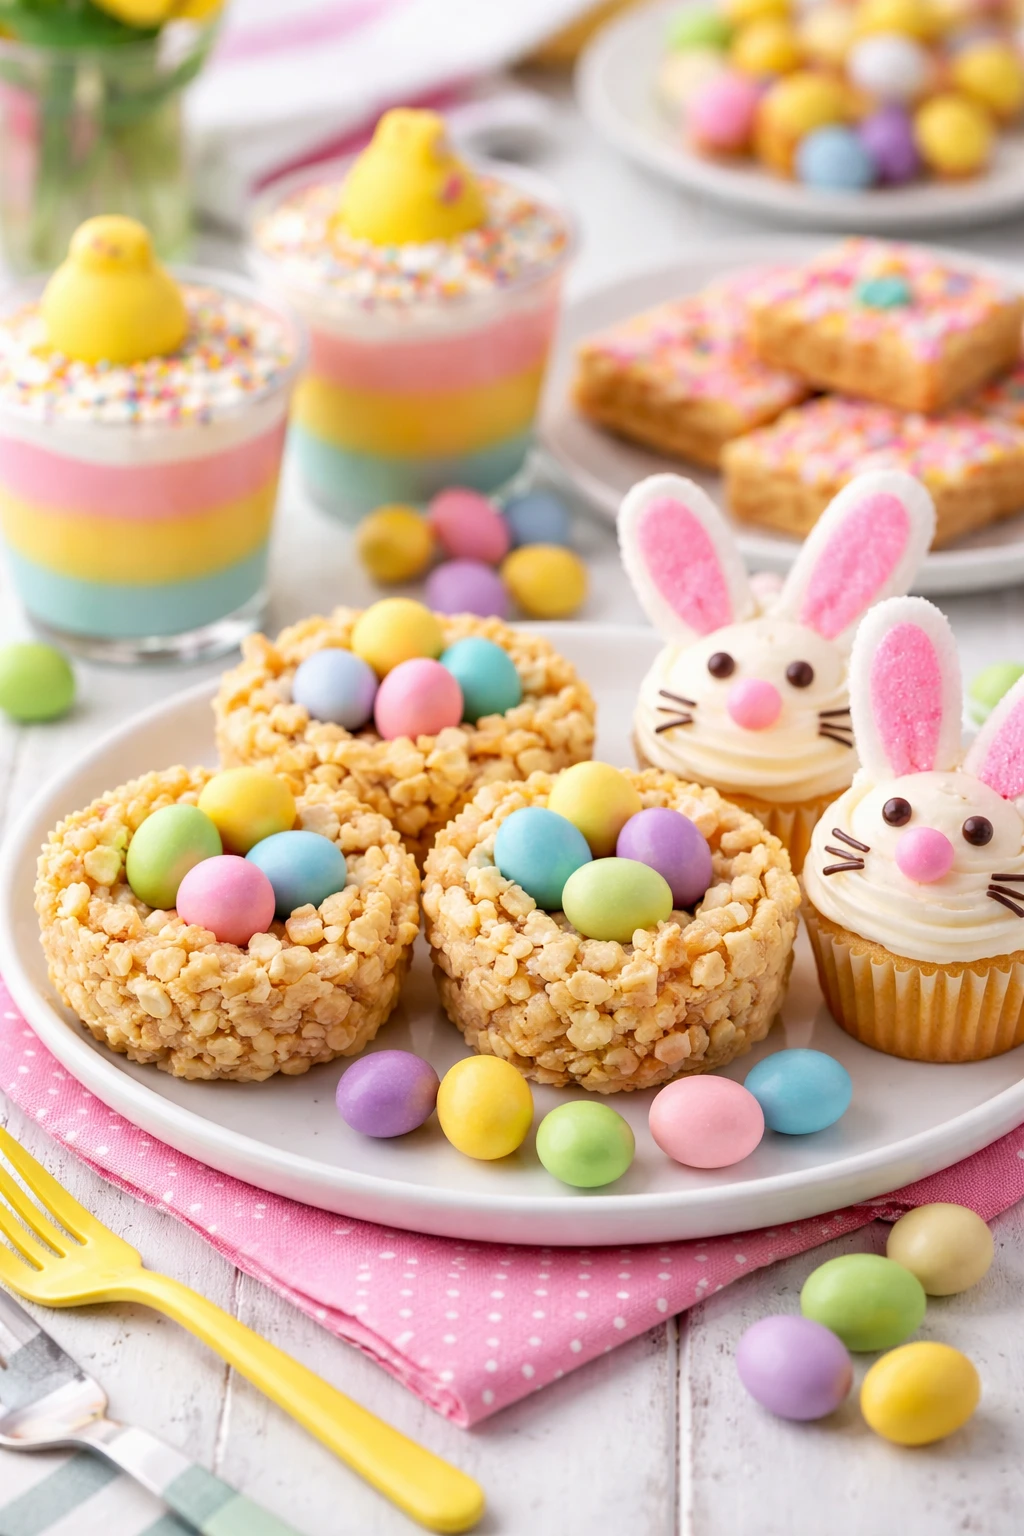
These adorable Easter bunny cupcakes are super simple and a fun way to get kids involved in baking. With colorful sprinkles and easy decorating, they're perfect for spring parties or family fun days!
Introduction
I still remember the first time I made these Easter bunny cupcakes with my niece and nephew. It was such a joy to see their faces light up as they decorated each cupcake with marshmallow ears and colorful sprinkles. What makes this recipe special is how simple and forgiving it is—perfect for little hands and beginner bakers. Unlike fancier cupcakes that require complicated frosting techniques, these rely on a fluffy buttercream base and playful marshmallow decorations to bring the bunnies to life. The trick I learned is to gently press the marshmallows into the frosting so they stay put without squishing the cake. The end result is a batch of soft, moist cupcakes topped with cheerful bunny faces that look almost too cute to eat. They’re perfect for spring celebrations, family gatherings, or just a weekend baking session where everyone can join in the fun. Honestly, sometimes the messiest moments in the kitchen become the most memorable, and these cupcakes definitely bring out the kid in all of us!
What You'll Need
Approximately 12 cupcakes
- 1 1/2 cups all-purpose flour, sifted
- 1 teaspoon baking powder
- 1/4 teaspoon salt
- 1/2 cup unsalted butter, softened
- 3/4 cup granulated sugar
- 2 large eggs
- 2 teaspoons vanilla extract
- 1/2 cup whole milk
- 1 cup powdered sugar
- 2 tablespoons milk (for frosting)
- 1/2 teaspoon vanilla extract (for frosting)
- Pink and white mini marshmallows
- Black edible marker or melted chocolate for eyes
- Colorful sprinkles for decoration
How To Do It
Step 1
Preheat your oven to 350°F (175°C) and line a 12-cup muffin tin with cupcake liners. Sifting the flour, baking powder, and salt together ensures there are no lumps and helps the cupcakes rise evenly. This step is crucial because clumps of baking powder can cause uneven texture or bitter spots. Mixing the dry ingredients separately also means you can incorporate them smoothly into the wet ingredients without overmixing later, which keeps the cupcakes tender.
⏱ Time: 10 minutes
✓ Doneness: Dry ingredients are evenly combined with no lumps
Step 2
In a large bowl, cream the softened butter and granulated sugar until light and fluffy, about 3-5 minutes using a hand mixer on medium speed. This aeration creates tiny bubbles that help make the cupcakes soft and tender. Scrape down the sides of the bowl to ensure all the butter and sugar are incorporated evenly. If you skip this step or rush it, the cupcakes might turn out dense or flat.
⏱ Time: 5 minutes
✓ Doneness: Mixture is pale, fluffy, and smooth
Step 3
Add the eggs one at a time, beating well after each addition to fully incorporate. This slow addition helps emulsify the batter, creating a uniform texture and preventing curdling. Adding vanilla extract now infuses the batter with a lovely aroma. If you add eggs too quickly, the batter might separate, affecting the crumb structure.
⏱ Time: 3 minutes
✓ Doneness: Batter looks smooth and glossy
Step 4
Alternately add the dry ingredients and milk to the wet mixture, starting and ending with the dry ingredients. Mix gently after each addition just until combined to avoid overworking the gluten, which can make cupcakes tough. The batter should be thick but pourable. Overmixing here is a common mistake that results in dense cupcakes.
⏱ Time: 4 minutes
✓ Doneness: Batter is smooth with no streaks of flour
Step 5
Divide the batter evenly into the cupcake liners, filling each about two-thirds full. This allows the cupcakes room to rise without spilling over. Use an ice cream scoop for even portions. Tap the pan gently on the counter to release any air bubbles, which prevents large holes inside the cupcakes.
⏱ Time: 5 minutes
✓ Doneness: Batter is evenly distributed and smooth on top
Step 6
Bake in the preheated oven for 18-20 minutes or until a toothpick inserted into the center comes out clean. Avoid opening the oven door too early to prevent the cupcakes from collapsing. The cupcakes should be golden on top and spring back when lightly touched.
⏱ Time: 20 minutes
✓ Doneness: Golden tops and clean toothpick test
Step 7
While the cupcakes cool, prepare the frosting by mixing powdered sugar, milk, and vanilla extract until smooth and spreadable. Adjust milk quantity to get the right consistency—too thin and it will run off the cupcakes; too thick and it’s hard to spread. This simple frosting lets the decorations really pop without overpowering the flavor.
⏱ Time: 5 minutes
✓ Doneness: Frosting is smooth and spreadable, not runny
Step 8
Once cupcakes are completely cool, spread a generous layer of frosting on each. Then, gently press two pink mini marshmallows on top for bunny ears and one white marshmallow for the tail. Use a black edible marker or melted chocolate to draw eyes and a nose. This playful decoration is what makes these cupcakes so charming and kid-friendly.
⏱ Time: 15 minutes
✓ Doneness: Decorations are secure and visually appealing
Step 9
Finish by sprinkling colorful sprinkles around the bunny faces for a festive touch. Let the frosting set for about 10 minutes before serving so the decorations stay in place during transport or playtime. These cupcakes are best enjoyed the same day for maximum freshness and fluffiness.
⏱ Time: 10 minutes
✓ Doneness: Sprinkles settled and frosting firm
Variations
Chocolate Easter Bunny Cupcakes
Swap half the flour for cocoa powder and add a tablespoon of coffee to enhance the chocolate flavor. Use chocolate frosting and white marshmallows for ears. These have a richer taste and darker color but keep the same fun decorations.
Note: Baking time may increase by 2-3 minutes due to added cocoa powder; test doneness carefully.
Lemon Bunny Cupcakes
Add lemon zest and replace vanilla with lemon extract for a bright, zesty flavor. Use lemon glaze instead of buttercream and decorate with pastel-colored sprinkles to keep it fresh and springy.
Note: Lemon cupcakes might bake a bit faster; watch closely from 15 minutes onward.
Gluten-Free Bunny Cupcakes
Use a gluten-free flour blend in place of all-purpose flour. The texture will be slightly different—more crumbly but still delicious. Ensure your baking powder is gluten-free and follow the same steps.
Note: Gluten-free batter might be thicker; add a splash more milk if needed for proper consistency.
Vegan Bunny Cupcakes
Replace butter with vegan margarine, eggs with flax eggs, and use plant-based milk. Use vegan-friendly marshmallows and frosting. The cupcakes will be a bit denser but still moist and tasty.
Note: Flax eggs require 5-10 minutes to thicken before mixing; be patient for best results.
Carrot Cake Bunny Cupcakes
Add grated carrots, cinnamon, and chopped walnuts to the batter. Frost with cream cheese frosting and decorate with mini carrot candies along with marshmallow ears for a seasonal twist.
Note: Carrot cupcakes are moister and may need an extra 3-5 minutes baking time.
Pro Tips
Use room temperature eggs and butter for easier mixing and better texture.
When ingredients are at room temperature, they emulsify more easily, creating a smooth batter that traps air effectively. Cold ingredients can cause the batter to curdle or be lumpy, resulting in uneven texture and poor rise.
Don’t overmix the batter after adding flour to keep cupcakes tender.
Overmixing develops gluten, which makes cupcakes chewy and dense instead of soft and fluffy. Mixing just until combined ensures a delicate crumb and light texture.
Tap the filled cupcake tin on the counter to release air bubbles before baking.
This simple step helps prevent large air pockets inside the cupcakes, which can cause holes or uneven baking. It also helps the batter settle evenly for uniform cupcake shapes.
Cool cupcakes completely before frosting to avoid melting the frosting.
Frosting warm cupcakes causes it to melt and slide off, ruining the decoration. Waiting until cupcakes are fully cool ensures the frosting stays thick and decorations stay put.
Use an edible marker for detailed bunny faces instead of trying to pipe with chocolate.
Edible markers are easier and less messy for detailed features, especially when working with kids. Chocolate piping requires skill and can be frustrating or uneven.
Store cupcakes in an airtight container to keep them moist.
Exposure to air dries out cupcakes quickly. An airtight container traps moisture, keeping cupcakes soft and fresh for longer.
If you want extra fluffy cupcakes, sift the flour and baking powder together.
Sifting aerates the dry ingredients and removes lumps, which helps produce a lighter batter and more tender cupcakes.
Common Mistakes to Avoid
Using cold butter straight from the fridge.
Why it happens Many assume butter can be used immediately without considering texture.
Fix Always let butter sit at room temperature for at least 30 minutes before creaming. Soft butter traps air better, resulting in fluffier cupcakes.
Overmixing the batter after adding flour.
Why it happens In a rush to combine ingredients, cooks often mix too vigorously.
Fix Mix gently and just until no flour streaks remain. This prevents tough cupcakes caused by excess gluten.
Frosting cupcakes while they’re still warm.
Why it happens Impatience or lack of cooling time leads to melting frosting.
Fix Allow cupcakes to cool completely on a wire rack before frosting for neat, stable decoration.
Not measuring ingredients accurately.
Why it happens Eyeballing measurements can seem quicker but leads to inconsistent results.
Fix Use proper measuring cups and spoons, especially for flour and baking powder, to ensure the right texture and rise.
Skipping the step to tap out air bubbles before baking.
Why it happens Often overlooked as unnecessary.
Fix Gently tap the cupcake pan on the counter after filling to remove trapped air, which prevents holes and uneven tops.
Nutrition
Per Serving:
Nutritional values are estimates and may vary based on specific ingredients used.
Storage & Tips
Room Temperature
Cupcakes can be kept at room temperature for up to 12 hours in an airtight container. Make sure they are covered to prevent them from drying out or collecting dust.
Refrigerator
Store cupcakes in an airtight container in the refrigerator for up to 3 days. The frosting might firm up and the cupcakes become denser; let them sit at room temperature for 15-20 minutes before serving for best flavor.
Freezer
Wrap cupcakes individually in plastic wrap and place in a freezer-safe container. Freeze for up to 2 months. Thaw overnight in the refrigerator, then bring to room temperature before unwrapping to maintain texture.
Reheating
Avoid microwaving frosted cupcakes as the frosting can melt. Instead, serve at room temperature or warm unfrosted cupcakes briefly in a low oven (300°F for 5 minutes) before frosting.
Make Ahead
You can bake the cupcakes 1-2 days ahead and store them unfrosted in an airtight container. Prepare frosting and decorations the day of serving to keep them fresh and vibrant.
FAQ
Can I use boxed cake mix instead of making batter from scratch?
Absolutely! Boxed cake mix works fine if you're short on time. Just choose a vanilla or white cake mix and follow the package instructions. Keep in mind that homemade batter tends to be moister and more flavorful, but box mixes are a convenient alternative.
What if I don’t have mini marshmallows for the bunny ears?
You can substitute with sliced almonds, white chocolate chips, or even cut marshmallows into smaller pieces. The key is to use something small and soft enough to stick into the frosting without falling off.
How do I prevent the cupcakes from sinking in the middle?
Sinking often happens if the batter is overmixed or the oven temperature is too low. Make sure to mix just until combined and preheat your oven properly. Also, avoid opening the oven door during baking to maintain consistent heat.
Can I make these cupcakes dairy-free?
Yes! Use plant-based butter and milk alternatives like almond or oat milk. Make sure your frosting ingredients are dairy-free as well. Vegan marshmallows are available online or at specialty stores for decorations.
How long do these cupcakes stay fresh?
When stored properly in an airtight container at room temperature, they stay fresh for about a day. Refrigeration extends freshness to 3 days but may change texture slightly. For longer storage, freezing is best.
What’s the best way to decorate if I don’t have an edible marker?
You can melt a small amount of chocolate and use a toothpick or fine piping tip to draw the bunny eyes and nose. Alternatively, small chocolate chips or mini candies can be placed for eyes.
Can I add food coloring to the frosting?
Definitely! Adding pastel or bright food coloring can make the cupcakes even more festive. Gel food coloring works best as it doesn’t thin the frosting.
Is it okay to use salted butter?
You can use salted butter but reduce or omit added salt in the recipe to balance flavors. Unsalted butter is preferred for more control over seasoning.
Final Thoughts
Give these bunny cupcakes a try and enjoy the smiles they bring around your table. Don’t forget to share your creations—I’d love to see how your little helpers decorate theirs!