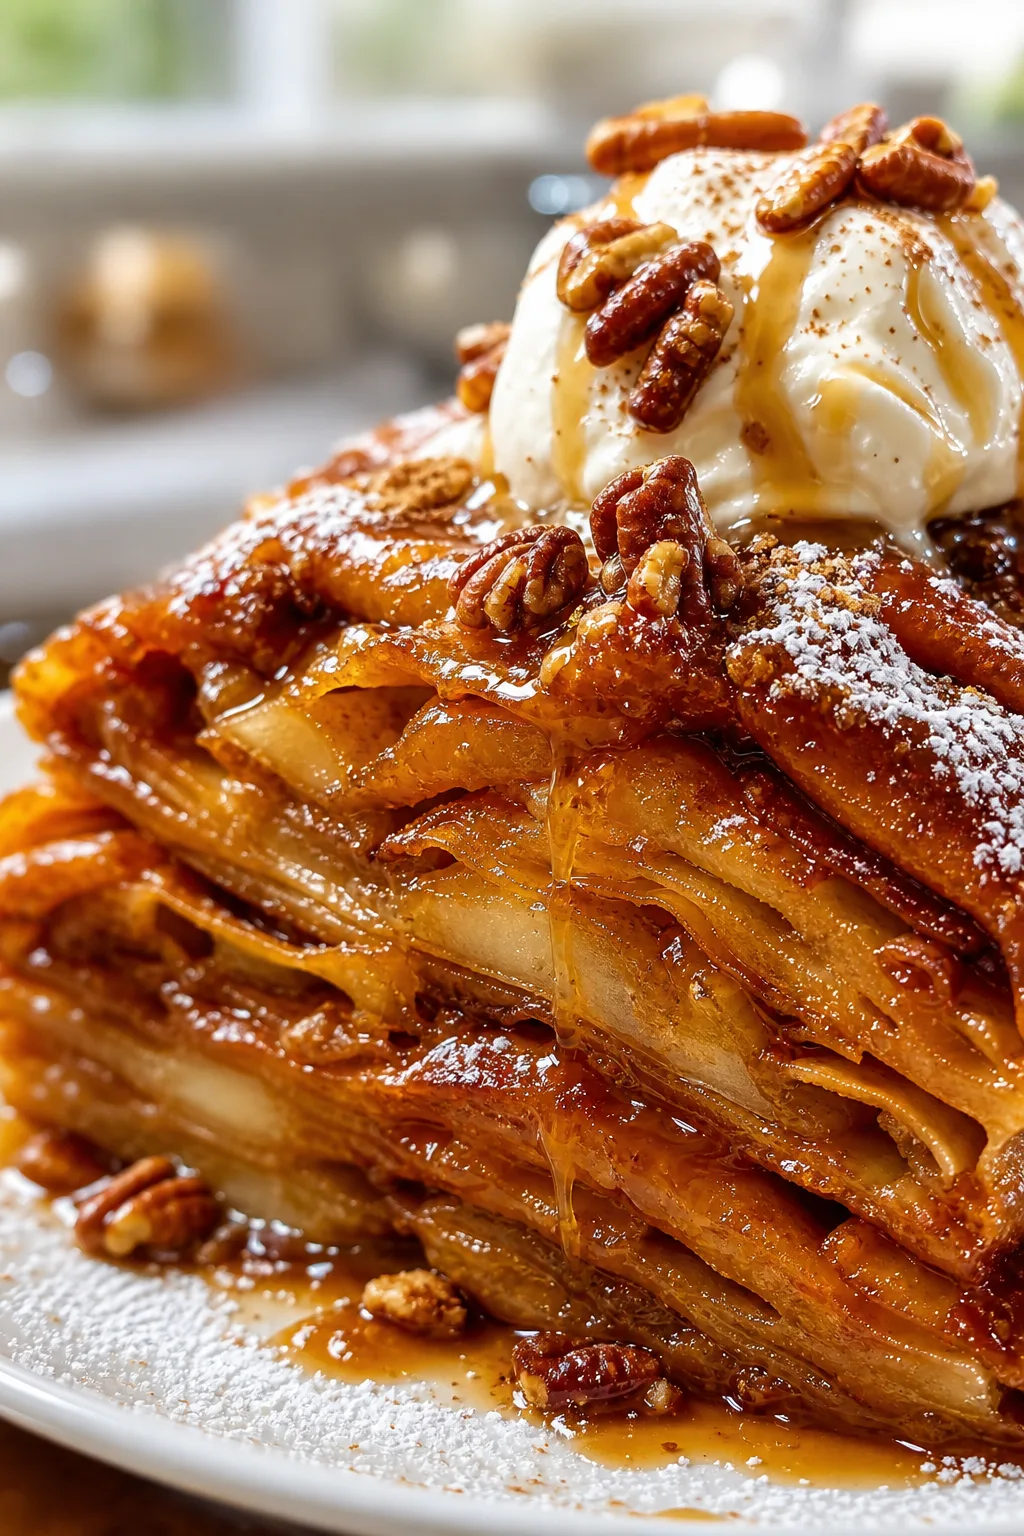
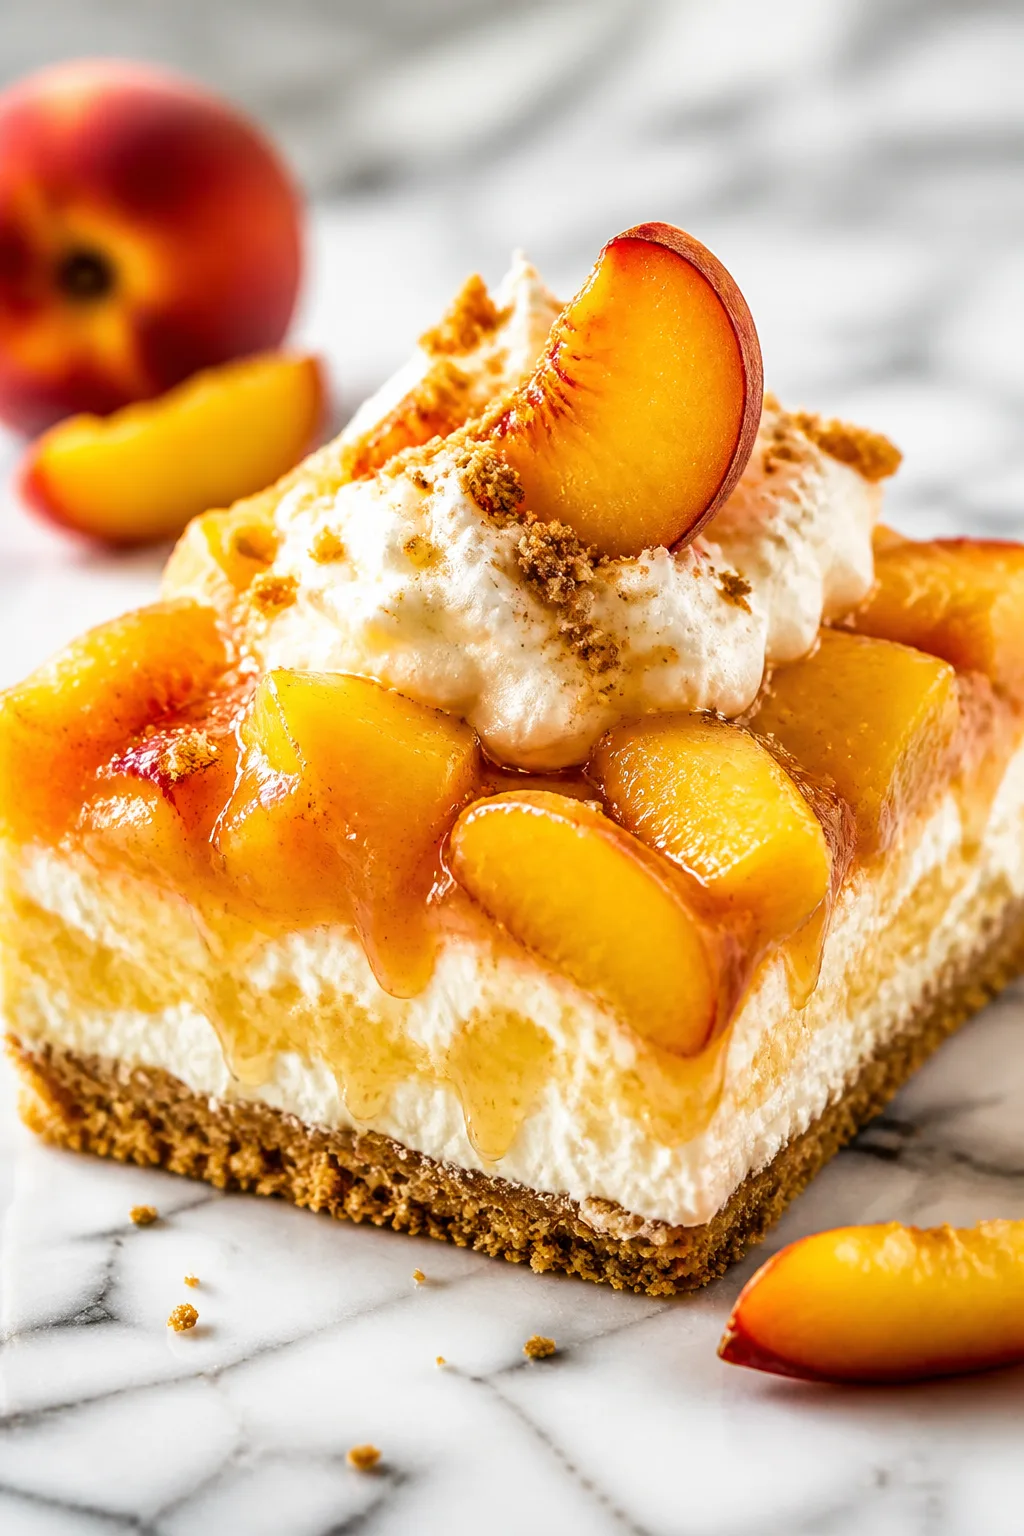
These vibrant Easter treats are super simple and fresh, perfect for brightening up your holiday brunch. I love how they bring color and a burst of flavor with minimal fuss. Great for sharing with family or surprising guests!
Introduction
I first made these Easter treats a few years ago when I wanted something fresh and colorful that didn’t require hours in the kitchen. What I love about this recipe is how it combines simple ingredients with fresh fruit to create a light, festive dessert that feels perfect for spring. Unlike heavier holiday sweets, these treats are bright and airy, making them a refreshing choice after a big meal. The trick I learned early on was to fold the fresh berries gently into the batter to keep them from bursting and turning everything purple—a mistake I made the first time! Also, using a touch of pastel food coloring in the batter adds such a fun, subtle pop of color without overpowering the natural fruit flavors. The finished treats have a delicate crumb with juicy bursts of strawberry and blueberry, topped with a dollop of whipped cream for a creamy contrast. They look pretty on a plate, too, which always gets compliments from guests. I think these are perfect for Easter brunch or any spring gathering when you want something simple but special. I hope you give them a try and enjoy how effortlessly they bring a festive vibe to your table!
What You'll Need
Approximately 12 small treats, serves 6
- 2 cups all-purpose flour, sifted
- 1/2 cup granulated sugar
- 1/4 cup unsalted butter, softened
- 1 large egg
- 1/2 cup whole milk
- 1 teaspoon vanilla extract
- 1 teaspoon baking powder
- 1/4 teaspoon salt
- 1 cup fresh strawberries, chopped
- 1/2 cup blueberries
- 1/2 cup whipped cream
- Food coloring (optional, assorted pastel colors)
- Powdered sugar for dusting
How To Do It
Step 1
Preheat your oven to 350°F (175°C) and line a baking tray with parchment paper. This ensures your treats bake evenly and don’t stick, making cleanup easier. It’s important to get the oven temperature right before mixing the batter because a consistent heat helps the treats rise properly and develop a tender crumb.
⏱ Time: 10
✓ Doneness: Oven preheated and tray ready with parchment paper flat and wrinkle-free
Step 2
In a medium bowl, whisk together the sifted flour, baking powder, and salt to evenly distribute the leavening agent and salt. This prevents clumps and ensures your treats rise uniformly. Sifting also aerates the flour, contributing to a lighter texture.
⏱ Time: 5
✓ Doneness: Dry ingredients are smooth, lump-free, and well combined
Step 3
In a separate large bowl, cream the softened butter and granulated sugar using a hand mixer on medium speed until pale and fluffy. This step incorporates air into the mixture, which helps create a light texture in the final treats. If you skip this, the treats can turn out dense and heavy.
⏱ Time: 4
✓ Doneness: Butter and sugar mixture is visibly lighter in color and fluffy in texture
Step 4
Beat in the egg and vanilla extract to the creamed butter and sugar until fully combined. The egg helps bind the ingredients and adds moisture, while vanilla adds subtle flavor. Mixing thoroughly ensures an even distribution of flavors and structure.
⏱ Time: 3
✓ Doneness: Smooth, homogenous batter without streaks of egg or butter
Step 5
Alternately add the dry ingredients and milk to the wet mixture, starting and ending with the dry ingredients. Mix gently after each addition just until combined to avoid overmixing, which can develop gluten and make treats tough. The milk adds moisture, creating a batter that’s easy to scoop and bake.
⏱ Time: 6
✓ Doneness: Batter is smooth, slightly thick, and without flour pockets
Step 6
If desired, divide the batter into small bowls and add a few drops of pastel food coloring to each, stirring gently to create soft color variations. This step is optional but adds a festive touch that makes these treats feel extra special for Easter celebrations.
⏱ Time: 5
✓ Doneness: Batter bowls show soft, even pastel colors without streaks
Step 7
Gently fold in the chopped strawberries and blueberries into the batter, being careful not to overmix to preserve their shape and prevent the batter from turning purple. This technique keeps the fruit intact and distributes flavor bursts throughout the treats.
⏱ Time: 4
✓ Doneness: Fruit is evenly distributed without crushed pieces or color bleeding
Step 8
Spoon the batter onto the prepared baking tray in small rounds, spacing them about 2 inches apart to allow for spreading. This spacing ensures they bake evenly and don’t merge into one another. Use a tablespoon to keep sizes consistent for uniform baking.
⏱ Time: 5
✓ Doneness: Evenly spaced batter rounds with smooth tops ready for the oven
Step 9
Bake for 25-30 minutes or until the treats are golden around the edges and a toothpick inserted in the center comes out clean. Avoid opening the oven too often as this can cause uneven baking. The golden color indicates caramelization, adding flavor and a slight crunch.
⏱ Time: 30
✓ Doneness: Golden edges, toothpick comes out clean, and treats spring back when touched
Step 10
Allow the treats to cool on the baking tray for 10 minutes before transferring them to a wire rack to cool completely. Cooling on the tray lets them set up, preventing breakage. The wire rack allows air circulation to avoid sogginess.
⏱ Time: 15
✓ Doneness: Treats are firm enough to move without breaking and cool to room temperature
Step 11
Once cooled, dust the treats lightly with powdered sugar and top with a dollop of whipped cream before serving. The powdered sugar adds a delicate sweetness and pretty finish, while the whipped cream adds creamy richness that complements the fruity flavors.
⏱ Time: 5
✓ Doneness: Even dusting of powdered sugar and fresh whipped cream topping applied
Variations
Lemon Blueberry Easter Treats
Swap strawberries for blueberries and add lemon zest to the batter for a fresh citrus twist. The lemon brightens the flavor and pairs beautifully with the juicy blueberries for a zesty spring treat.
Note: Add 1 tablespoon of finely grated lemon zest to the wet ingredients. Be careful to avoid the bitter white pith.
Chocolate Chip and Raspberry Treats
Replace the fresh berries with raspberries and mini chocolate chips for a sweet and tart combo. This variation gives a richer flavor with melty chocolate bites throughout.
Note: Fold in 1/2 cup mini chocolate chips along with the raspberries gently to avoid crushing the fruit.
Gluten-Free Easter Treats
Use a gluten-free all-purpose flour blend instead of regular flour to make these treats suitable for gluten-sensitive guests. The texture will be a bit different but still moist and delicious.
Note: Choose a blend with xanthan gum included to help mimic gluten’s structure and prevent crumbliness.
Vegan Easter Treats
Substitute the egg with a flax egg and use a plant-based milk and vegan butter to make this recipe vegan-friendly. The treats remain tender and flavorful with these swaps.
Note: Mix 1 tablespoon ground flaxseed with 3 tablespoons water and let sit 5 minutes to thicken before adding.
Cream Cheese Frosted Easter Treats
Top cooled treats with a tangy cream cheese frosting instead of whipped cream for a richer, more decadent option. This pairs well with the fresh fruit and adds a creamy texture.
Note: Beat softened cream cheese with powdered sugar and a splash of vanilla until smooth, then spread or pipe on top.
Pro Tips
Don’t overmix the batter once you add the flour to keep the treats tender.
Overmixing develops gluten in the flour, which can make your treats tough and chewy instead of light and soft. Mix just until ingredients come together for the best texture.
Use room temperature ingredients for better mixing and texture.
Butter, egg, and milk at room temperature blend more evenly, trapping air during creaming and producing a smoother batter. Cold ingredients can cause lumps or uneven baking.
Fold fruit in gently at the end to avoid crushing and color bleeding.
Fruit releases juice when crushed, which can discolor the batter and turn it soggy. Gentle folding keeps the fruit intact, preserving bright bursts of flavor and pretty colors.
Preheat your oven fully before baking to ensure proper rise and texture.
Baking in a fully heated oven activates baking powder immediately, giving your treats a good lift. Baking in a cold oven results in dense, flat treats.
Use parchment paper to prevent sticking and promote even baking.
Parchment creates a non-stick surface and helps distribute heat evenly, preventing hot spots and burning on the bottom.
Cool treats on a wire rack to avoid sogginess from trapped steam.
Cooling on a flat surface traps moisture underneath, making the bottom soggy. Wire racks allow air circulation, keeping the texture crisp and light.
Dust with powdered sugar just before serving for best appearance.
Powdered sugar absorbs moisture over time and can become sticky or dissolve. Adding it last keeps the treats looking fresh and festive.
Common Mistakes to Avoid
Overmixing the batter after adding flour
Why it happens Many assume mixing longer makes batter smoother, but this develops gluten and toughens the treats.
Fix Mix only until the flour disappears and the batter is uniform. Stop as soon as you see no dry flour patches to keep treats tender.
Using cold butter or eggs
Why it happens Some skip tempering ingredients for convenience, but cold items don’t blend well, causing lumps.
Fix Bring butter, eggs, and milk to room temperature before mixing to ensure even texture and proper rising.
Adding fruit too early or mixing vigorously
Why it happens Rushing leads to crushed fruit, making batter purple and wet.
Fix Fold fruit in gently at the end of mixing to keep berries intact and prevent color bleeding.
Baking in an oven that’s not fully preheated
Why it happens Some put treats in too soon, leading to uneven rise and dense texture.
Fix Always wait for the oven to reach the correct temperature before baking to ensure even cooking.
Skipping parchment paper or greasing incorrectly
Why it happens Treats stick and break when removed without proper lining.
Fix Line baking sheets with parchment or use non-stick spray to prevent sticking and preserve shape.
Nutrition
Per Serving:
Nutritional values are estimates and may vary based on specific ingredients used.
Storage & Tips
Room Temperature
These treats keep well at room temperature for up to 2 days if stored in an airtight container. Keep them away from direct sunlight and heat to prevent the whipped cream topping from melting or spoiling.
Refrigerator
Store in an airtight container in the fridge for up to 4 days. The whipped cream topping may lose some fluffiness when cold, so let treats sit at room temp for 10-15 minutes before serving or add fresh whipped cream.
Freezer
Freeze the baked treats (without whipped cream) for up to 2 months. Wrap tightly in plastic wrap and place in a freezer-safe container to prevent freezer burn. Thaw overnight in the fridge and bring to room temperature before serving.
Reheating
Warm treats gently in a 300°F oven for 5-7 minutes to refresh texture. Avoid microwaving as it can make them rubbery. Add a fresh dollop of whipped cream after warming if desired.
Make Ahead
You can prepare the batter and chop fruit 1 day ahead, storing the batter covered in the fridge. Bake and cool the next day, then add toppings just before serving for maximum freshness.
FAQ
Can I use frozen fruit instead of fresh?
Frozen fruit can be used but it releases more moisture, which may make the batter soggy. If you do, thaw and drain excess liquid before folding into the batter gently to preserve texture.
What if I don’t have food coloring?
No worries! The treats will still taste delicious without food coloring. The fresh fruit adds natural pops of color, so your treats will look festive and fresh either way.
How do I know when the treats are done baking?
Look for golden edges and a toothpick inserted in the center coming out clean or with a few moist crumbs. The treats should spring back lightly when touched.
Can I make these treats gluten-free?
Absolutely! Use a gluten-free all-purpose flour blend with xanthan gum to mimic the structure. The texture might be slightly different but still tasty and moist.
Is there a vegan version of this recipe?
Yes! Substitute the egg with a flax egg, use plant-based milk and vegan butter. The treats will still be tender and flavorful with these swaps.
How should I store leftovers with whipped cream topping?
Leftovers with whipped cream should be refrigerated in an airtight container and consumed within 2 days. The whipped cream may lose some texture but can be refreshed by whipping a little before serving.
Can I make the batter ahead of time?
Yes, you can prepare the batter and fold in the fruit, then store it covered in the fridge overnight. Bake fresh the next day for best results.
What’s the best way to serve these Easter treats?
Serve them at room temperature with a dusting of powdered sugar and a fresh dollop of whipped cream. They’re perfect alongside tea or coffee for brunch.
Final Thoughts
I hope you enjoy making and sharing these bright Easter treats as much as I do! Don’t forget to let me know how they turn out—happy baking!