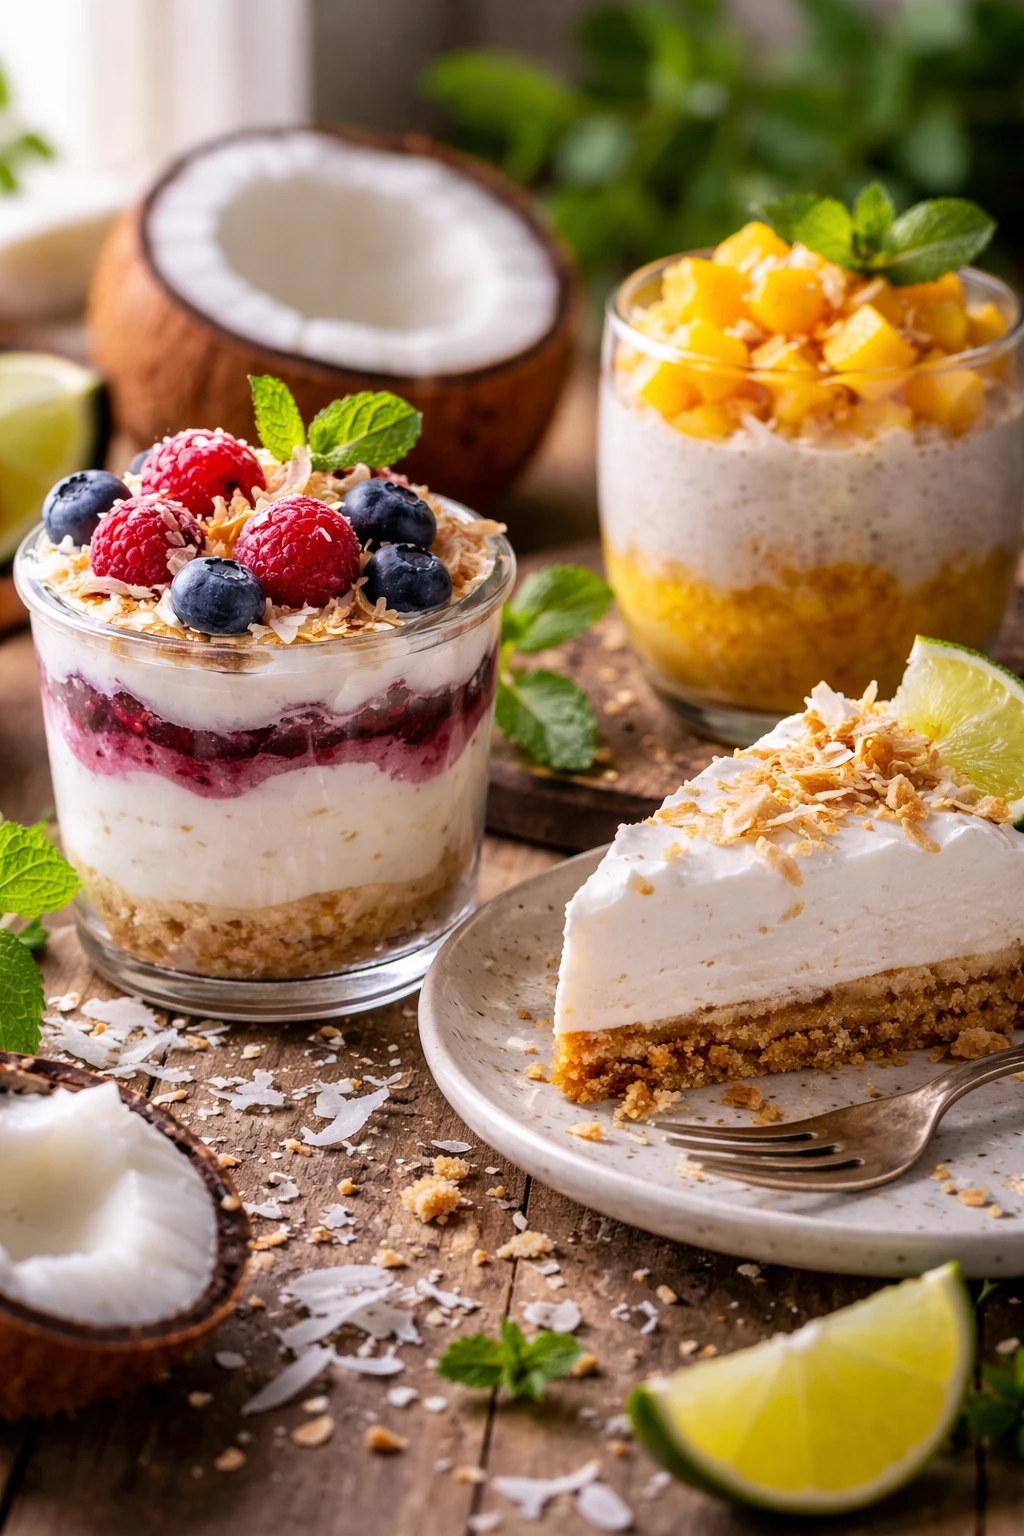
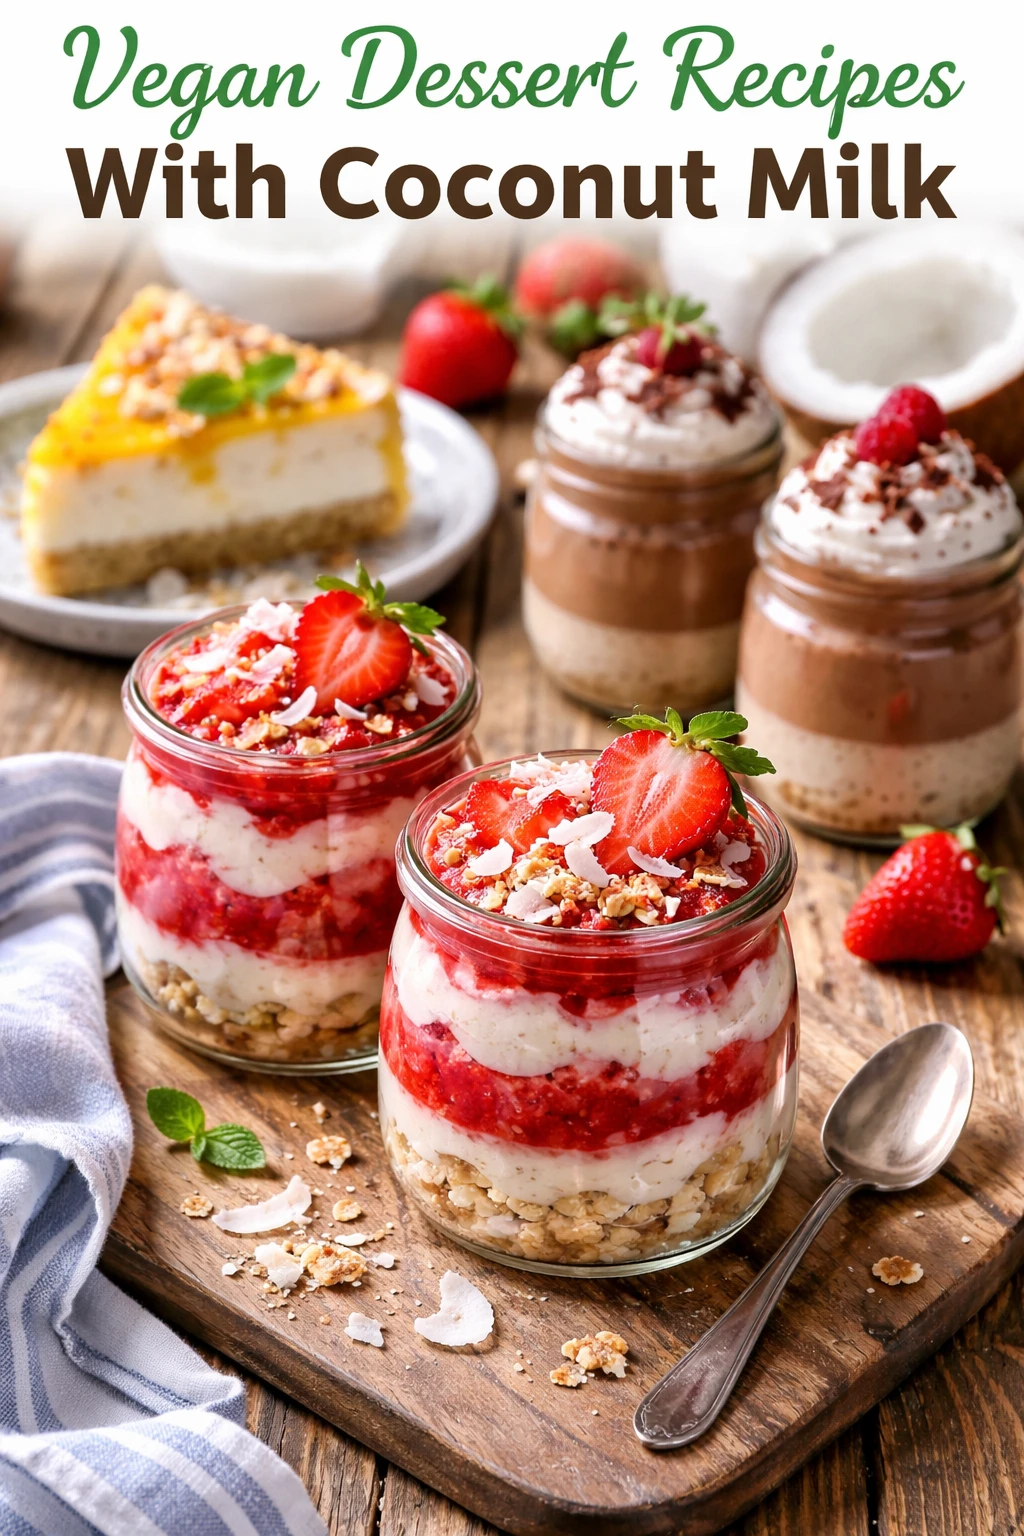
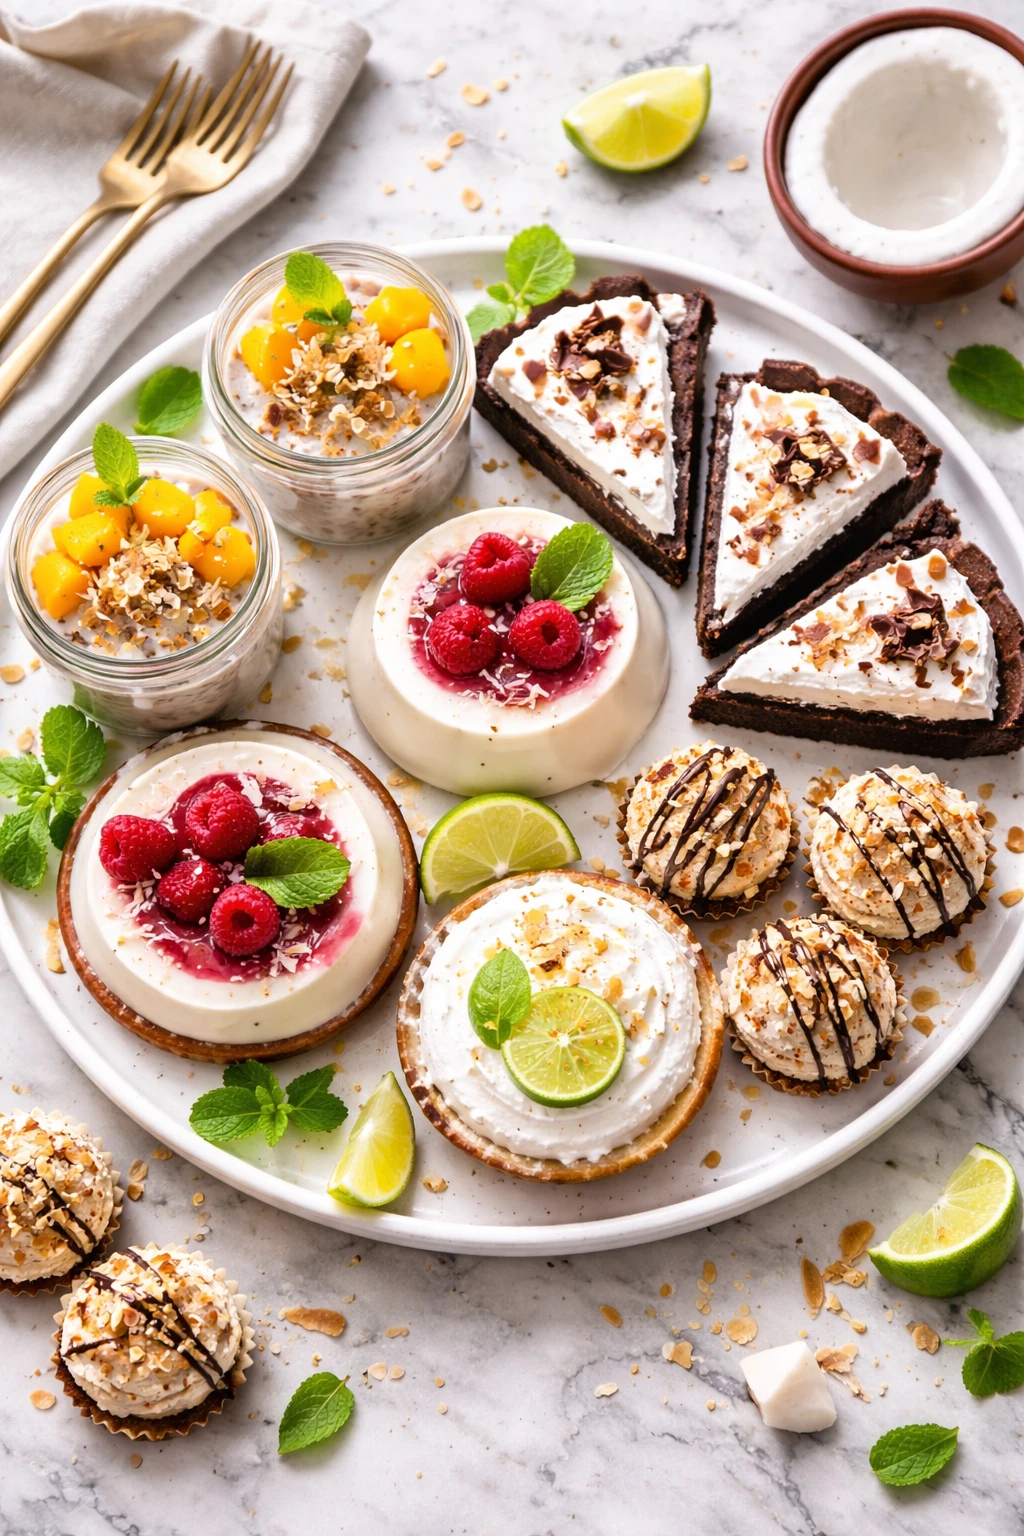
This vegan coconut milk pudding is silky and indulgent without any dairy. Using full-fat coconut milk gives it that dreamy richness. Perfect for a cozy dessert or anytime you want a plant-based treat that feels special!
Introduction
I stumbled upon this vegan coconut milk pudding recipe a few years ago when I was craving something sweet but dairy-free. At first, I tried lighter coconut milks and it just didn’t have that luxurious texture I wanted. The trick I learned was to always use full-fat coconut milk — it makes all the difference, giving the pudding a creamy, silky mouthfeel that feels indulgent but is totally plant-based. I also love how simple it is: just a few pantry ingredients, and it comes together quickly. The cornstarch thickens it perfectly without any weird gums or additives. I remember the first time I made it for friends, and everyone was surprised it was vegan — the richness fools you! It’s perfect after dinner or whenever you want a cozy, comforting dessert that’s easy to whip up. Plus, it’s naturally gluten-free and allergen-friendly, which makes it a go-to in my kitchen. This pudding ends up smooth, luscious, and just lightly sweetened, so you can add fresh fruit or a drizzle of maple syrup if you want to jazz it up. I think you’ll love how effortlessly satisfying it is.
How To Do It
Step 1
Start by shaking the can of full-fat coconut milk well to mix the cream and liquid. Pour it into a medium saucepan. This step is important because the cream settles on top and you want an even consistency in your pudding. If you skip this, the texture might be uneven with some parts too thick and others watery.
⏱ Time: 2
✓ Doneness: The coconut milk should look homogenous and smooth in the pan.
Step 2
In a small bowl, whisk together the cornstarch, sugar, and salt. This dry mix will help thicken the pudding evenly. Make sure the sugar is fully combined to avoid gritty spots in the final pudding.
⏱ Time: 3
✓ Doneness: The mixture should be smooth with no lumps.
Step 3
Slowly whisk the dry mixture into the coconut milk in the saucepan over medium heat. Keep whisking constantly to prevent lumps from forming. This is the step where the pudding starts thickening, so patience and steady stirring are key.
⏱ Time: 5
✓ Doneness: The mixture will start to thicken and coat the back of a spoon.
Step 4
Continue cooking and whisking for about 10 minutes until the pudding is thick and glossy. Don’t rush this step by turning the heat too high; that can cause clumping or burning. The slow simmer lets the starch fully gelatinize, giving you that silky texture.
⏱ Time: 10
✓ Doneness: The pudding should be thick enough to hold a trail when you drag a spoon across the bottom.
Step 5
Remove the saucepan from heat and stir in the vanilla extract. This adds depth and a warm aroma to the pudding. Adding vanilla at the end preserves its delicate fragrance, which can be lost if cooked too long.
⏱ Time: 2
✓ Doneness: The pudding should have a smooth, fragrant finish.
Step 6
Pour the pudding into individual serving dishes or a large bowl. To prevent a skin from forming on top, press a piece of plastic wrap directly onto the surface. This keeps the pudding smooth and creamy as it cools.
⏱ Time: 3
✓ Doneness: The surface should be covered completely by the plastic wrap.
Step 7
Let the pudding cool to room temperature, then refrigerate for at least 2 hours to set fully. Chilling allows the pudding to firm up and the flavors to meld. If you serve it too soon, it will be runny and less satisfying.
⏱ Time: 120
✓ Doneness: The pudding should be set and hold its shape when gently touched.
Step 8
Before serving, you can top the pudding with fresh berries, toasted coconut flakes, or a drizzle of maple syrup for extra flavor and texture contrast. These toppings add freshness and a bit of crunch that complement the creamy pudding.
⏱ Time: 5
✓ Doneness: Toppings should be evenly distributed and fresh.
Step 9
Serve chilled and enjoy! This pudding keeps well in the fridge, so you can make it a day ahead for easy dessert prep. Just give it a gentle stir before plating if needed.
⏱ Time: 1
✓ Doneness: Pudding is creamy, smooth, and ready to eat.
Variations
Chocolate Coconut Pudding
Add 2 tablespoons of cocoa powder to the dry ingredients for a rich chocolate twist. This version is perfect if you want a dairy-free chocolate dessert that’s still creamy and smooth.
Note: Mix cocoa powder thoroughly with sugar and cornstarch to avoid lumps. You might need a touch more sugar to balance the bitterness.
Mango Coconut Pudding
Stir in 1/2 cup of pureed ripe mango just before chilling for a tropical flair. This adds fresh fruit flavor and a subtle sweetness that pairs beautifully with coconut.
Note: Add the mango puree after the pudding has thickened and been removed from heat to maintain its bright flavor.
Matcha Coconut Pudding
Whisk 1 teaspoon of matcha green tea powder into the dry ingredients for a vibrant color and earthy flavor. This variation is great if you want a unique, antioxidant-rich dessert.
Note: Make sure to sift matcha powder to avoid clumps and blend well with cornstarch and sugar.
Vanilla Bean Coconut Pudding
Replace vanilla extract with the seeds from one vanilla bean pod for an intense, natural vanilla flavor and pretty specks throughout the pudding.
Note: Scrape seeds into the coconut milk before heating to infuse flavor fully.
Spiced Coconut Pudding
Add 1/2 teaspoon ground cinnamon and a pinch of nutmeg to the dry mix for a warm, cozy flavor perfect for fall or winter desserts.
Note: Spices should be mixed thoroughly with sugar and cornstarch for even distribution.
Pro Tips
Always whisk the mixture continuously while cooking to prevent lumps.
Constant whisking ensures the cornstarch is evenly distributed and prevents it from settling and clumping at the bottom, which can ruin the pudding’s smooth texture.
Use full-fat coconut milk from a can, not the carton beverage.
The canned full-fat coconut milk contains the cream needed for richness and proper thickening, whereas carton versions are too watery and result in a thin, runny pudding.
Press plastic wrap directly onto the pudding surface while it cools.
This prevents a skin from forming on top, keeping the pudding silky and smooth, which enhances the eating experience and presentation.
Don’t rush the thickening process by turning the heat too high.
Slow heating allows the cornstarch granules to swell gradually and evenly, preventing lumps and ensuring a glossy, smooth pudding.
Taste and adjust sugar before chilling.
Chilling dulls sweetness slightly, so getting the sugar balance right beforehand means the final dessert won’t be bland or overly sweet.
Let the pudding chill for at least 2 hours before serving.
This resting time allows the pudding to fully set and flavors to meld, producing the ideal texture and taste.
Use a non-reactive saucepan like stainless steel.
Reactive metals like aluminum can alter the flavor and color of the pudding, so stainless steel ensures a clean taste and even heating.
Common Mistakes to Avoid
Skipping the shaking of the coconut milk can cause uneven texture.
Why it happens Some people assume the coconut milk is uniform, but the cream separates and settles on top, so not mixing it leads to lumpy pudding.
Fix Always shake the can vigorously before opening to recombine the cream and liquid for a smooth base.
Adding cornstarch directly without mixing with sugar causes lumps.
Why it happens Dry starch tends to clump when it hits liquid unless combined with sugar or another dry ingredient first.
Fix Whisk cornstarch with sugar and salt before adding to the coconut milk to ensure even dispersion.
Cooking at too high a temperature leads to clumping or burning.
Why it happens High heat causes starch to gelatinize too quickly and unevenly, resulting in lumps or a scorched flavor.
Fix Cook over medium or medium-low heat, stirring constantly until thickened.
Not covering pudding while cooling causes a skin to form.
Why it happens Exposure to air dries out the surface, creating a rubbery layer that’s unappealing.
Fix Press plastic wrap directly onto the pudding surface to prevent skin formation.
Serving pudding before it’s fully chilled results in runny texture.
Why it happens Pudding needs time to set as it cools; serving it warm or just cooled won’t give the desired firmness.
Fix Refrigerate for at least 2 hours or until set before serving.
Nutrition
Per Serving:
Nutritional values are estimates and may vary based on specific ingredients used.
Storage & Tips
Room Temperature
The pudding can safely sit at room temperature for up to 2 hours if covered. Beyond that, it’s best to refrigerate to prevent spoilage.
Refrigerator
Store in an airtight container for up to 4 days. The texture thickens when chilled, so give it a gentle stir before serving. It’s best served cold but can be brought to room temperature if preferred.
Freezer
Freezing is not recommended as the pudding’s texture can become grainy and separate upon thawing. If you must freeze, use an airtight container and consume within 1 month.
Reheating
Reheat gently on the stovetop over low heat with a splash of coconut milk to loosen the texture if too thick. Avoid microwave reheating as it can cause uneven heating and curdling.
Make Ahead
You can prepare the pudding base a day ahead and refrigerate it covered. Add toppings and vanilla extract just before serving to keep flavors fresh.
FAQ
Can I use light coconut milk instead of full-fat?
Light coconut milk is too thin and won’t provide the rich, creamy texture needed for this pudding. Using full-fat coconut milk gives the pudding its silky consistency and depth of flavor.
What can I substitute for cornstarch?
You can use arrowroot powder or tapioca starch as a substitute in equal amounts. However, these may alter the texture slightly, sometimes making it more jelly-like or less glossy.
How do I prevent lumps in the pudding?
Whisk the cornstarch with sugar and salt before adding to the coconut milk, and stir constantly over medium heat while cooking. This prevents clumping and ensures a smooth texture.
Can I make this pudding gluten-free?
Yes! This recipe is naturally gluten-free since it uses cornstarch instead of flour and no gluten-containing ingredients. Just ensure your cornstarch is certified gluten-free if you have sensitivities.
Why does my pudding form a skin on top?
A skin forms when the pudding is exposed to air as it cools. To avoid this, press plastic wrap directly onto the surface while it cools to keep the pudding moist and smooth.
Can I add fruit to the pudding?
Absolutely! Fresh berries, mango puree, or sliced bananas work wonderfully. Add fresh fruit just before serving to keep it vibrant and prevent it from breaking down in the pudding.
Is this pudding suitable for diabetics?
You can reduce the sugar or substitute with a sugar alternative like erythritol or stevia. Keep in mind this may slightly affect texture and sweetness, so adjust to taste carefully.
How long does the pudding last in the fridge?
Stored in an airtight container, it keeps well for up to 4 days. After that, the texture and flavor may start to decline, so it’s best enjoyed fresh or within that timeframe.
Final Thoughts
I hope you give this vegan coconut milk pudding a try — it’s such a comforting, simple dessert that always feels like a little celebration. Let me know how yours turns out!